How To Make A Bean Frame
I have been using these bean frames for around 4 years now, and I love them. They have so many benefits compared to the traditional method of growing your beans up canes. This way means the plants can move with the wind, not against it. At the end of the growing season you can chop down the whole lot of plants and twine, composting easily. Come autumn you can fold up the frame and store it over winter easily. In the spring you’ll be able to simply open the frame and thread it with twine.
The dimensions in these instructions will give you a bean frame that is 1.8m tall by 1.5m wide. With a plant spacing of 120mm, it will give you a frame that 24 plants can grow up. You can tailor your measurements if you want to grow less, grow dwarf varieties or just to fit in your growing area.
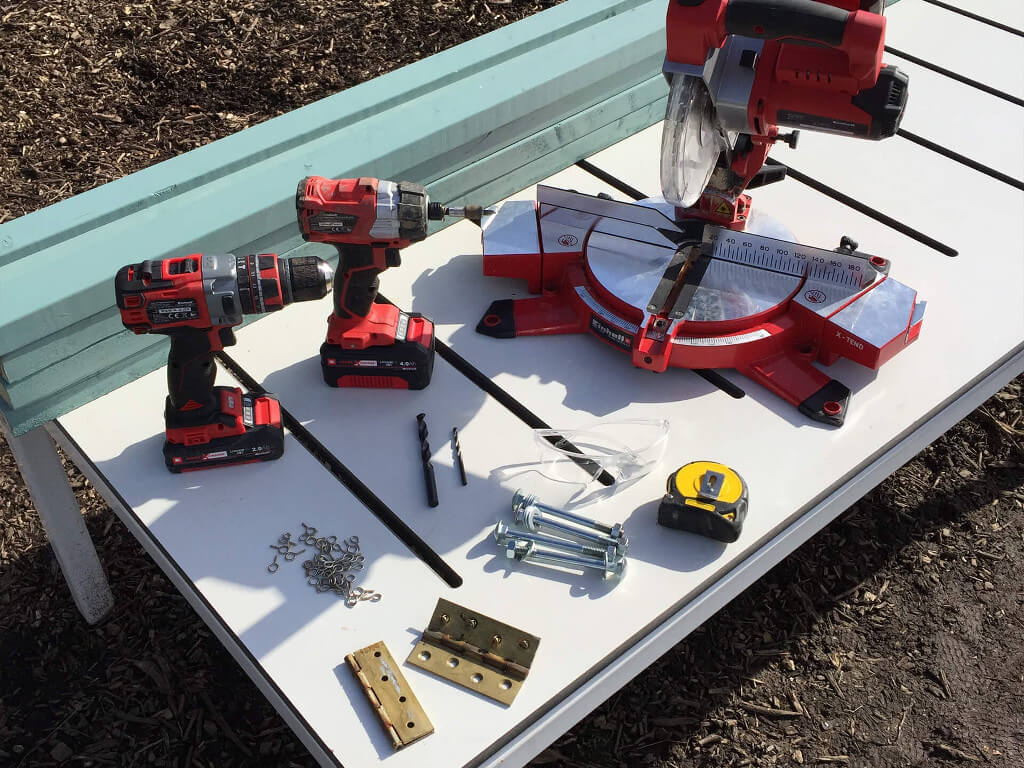
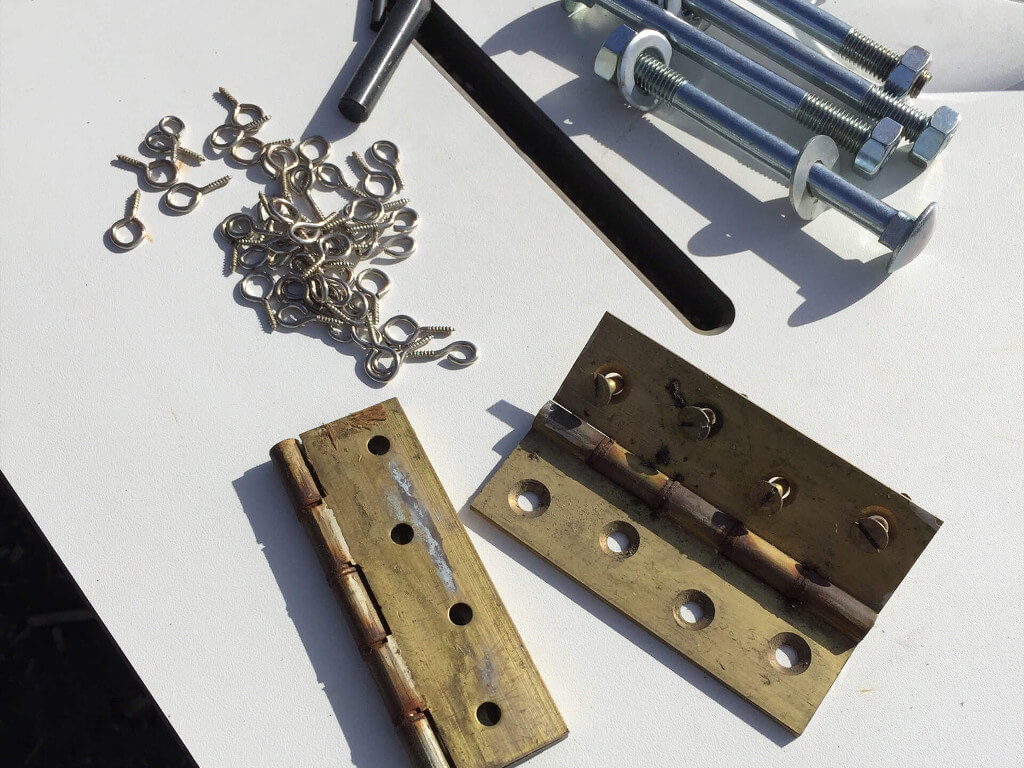
What materials and equipment you will need:
| Material | Tools |
|---|---|
| 8 x CLS Timber - 38 x 63 x 2400 mm | Power X-Change Impact driver – 4510030 |
| Box of 4x60mm screws | Power X-Change Impact Drill – 4513860 |
| Box of 4x40mm screws | Drill bits – 10mm/5mm/1.5mm |
| 48 x Eye Hook Screws | Power X-Change Mitre Saw - 4300890 |
| 2 x Hinges | Pencil |
| Garden paint | Tape measure |
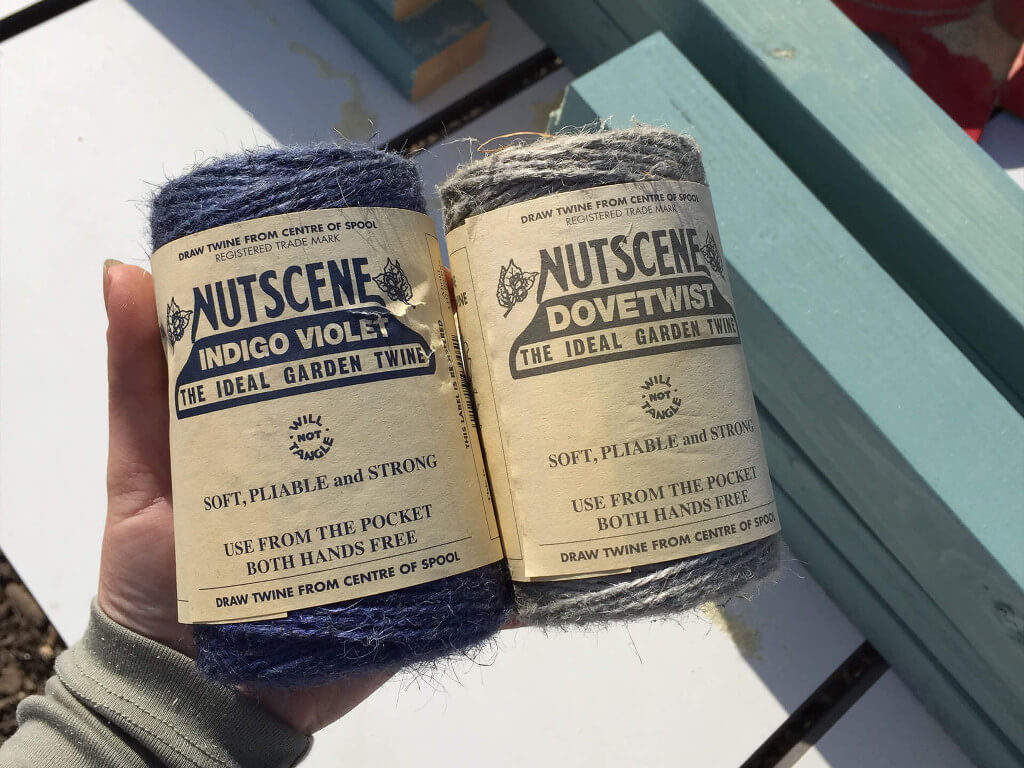
| Biodegradable twine | |
| 4 x Stainless Steel Bolts M10 x 90mm |
Step 1
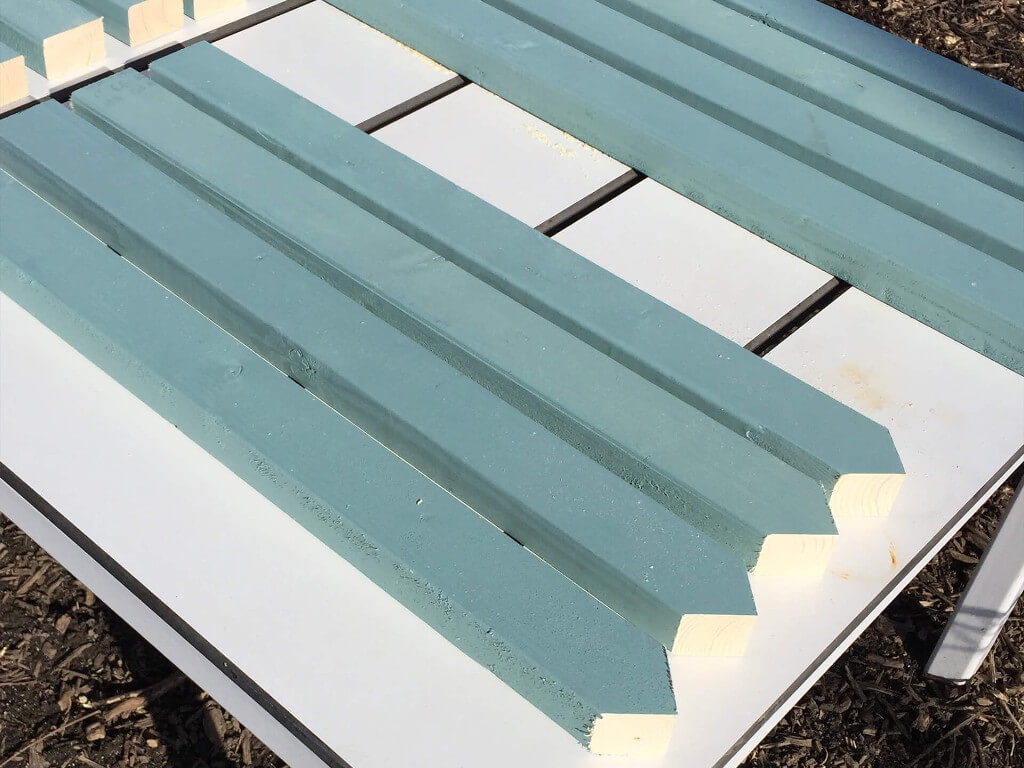
The first step is to paint your wood before constructing your frame. It’s much easier to paint the wood while it is flat, so take your time to give it a minimum of two coats. I use a garden paint so it will stand up to the elements and protect the wood.
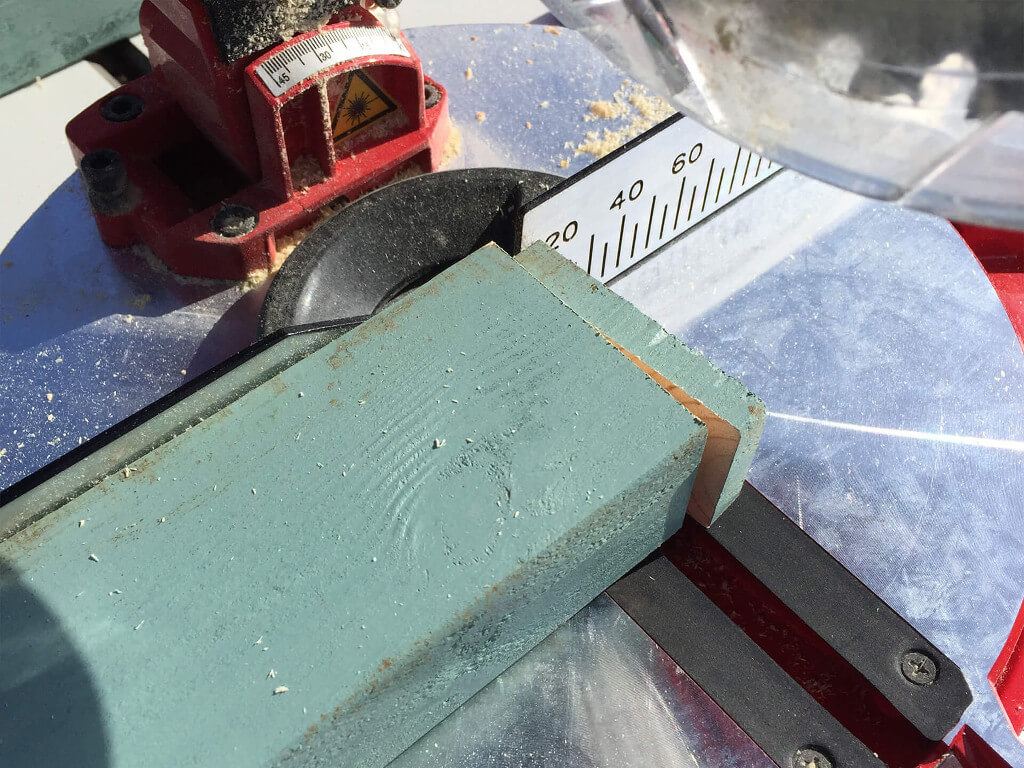
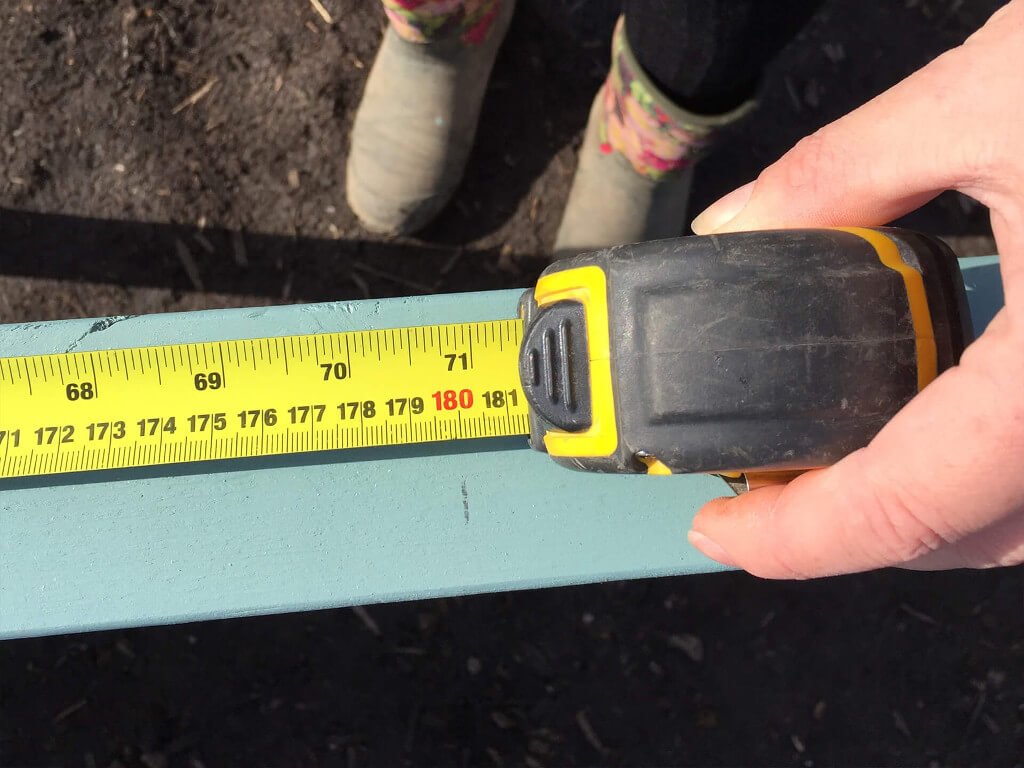
Step 2
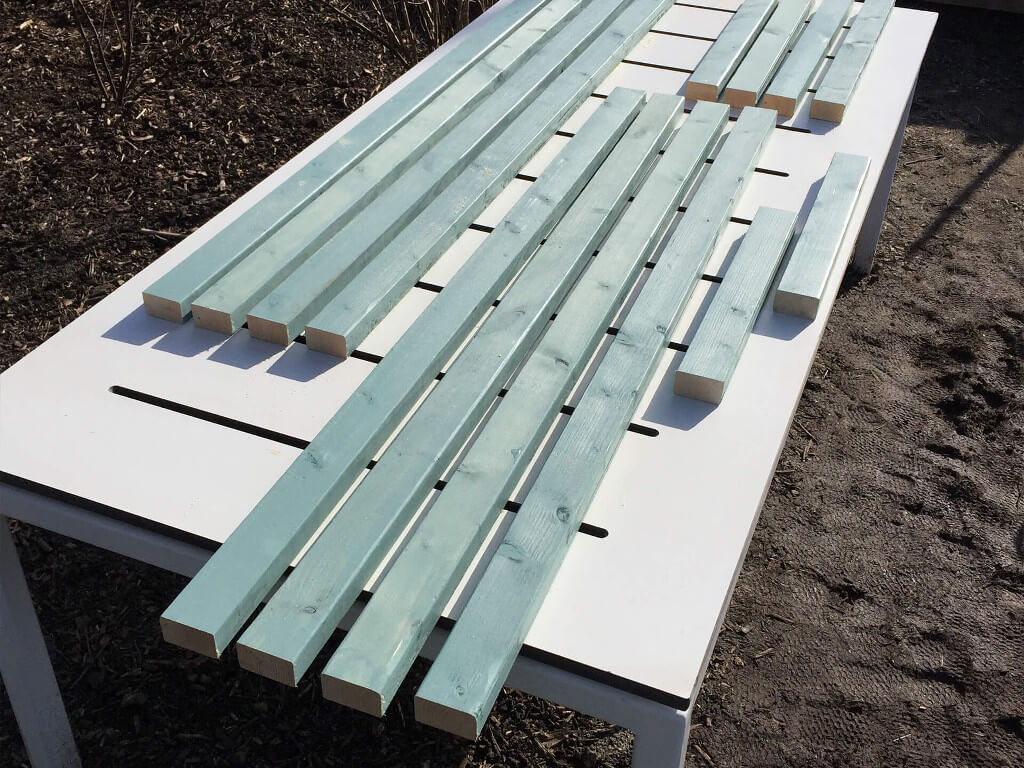
You will be making two frames that will be hinged together at the top. First, using your mitre saw, square up your wood by cutting a few mm off one end. Then you need to cut 4 lengths to 1.8m and 4 lengths to 1.5m.
Step 3
Take two of the off cuts from the 1.8m lengths and cut these down to 500mm. These will be your braces to hold the bottom of the frame together when it’s open. If you want your frame to be wider, you can make these braces longer.
Step 4
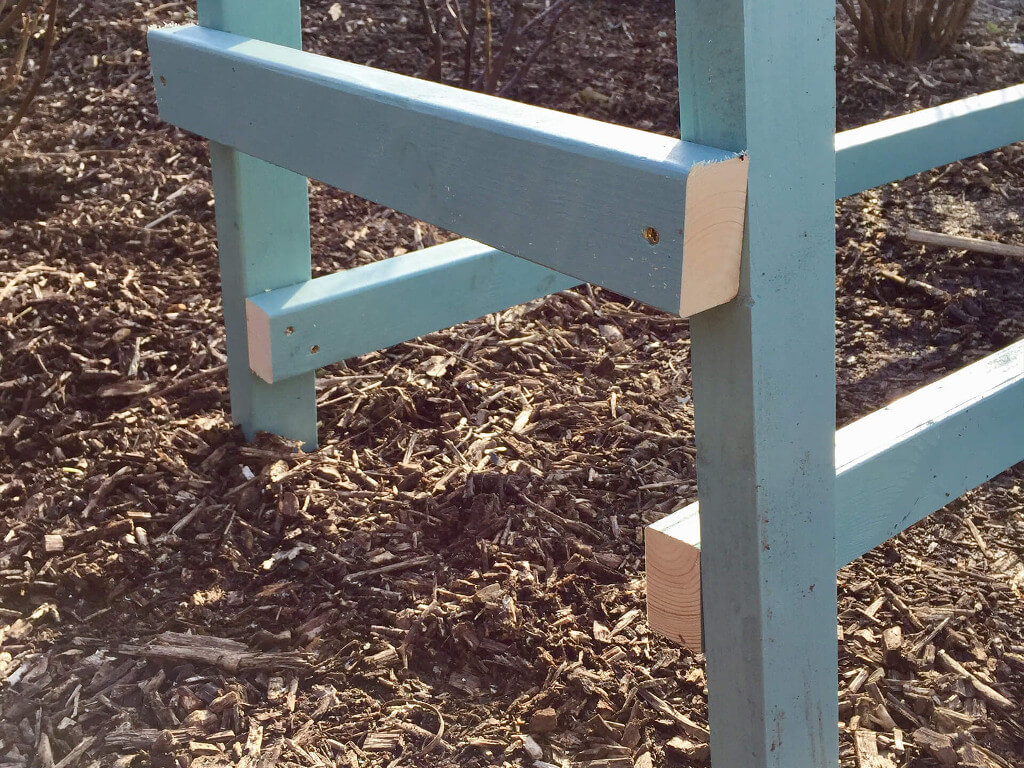
Now take all four of the longer off cuts left from your 1.5m cuts. These will be your pieces of wood that you will drive into the ground and bolt your frame too. Cut these down to 700mm. Using your mitre saw, cut one end to create an arrow which will make it easier to hammer them into the ground.
Step 5
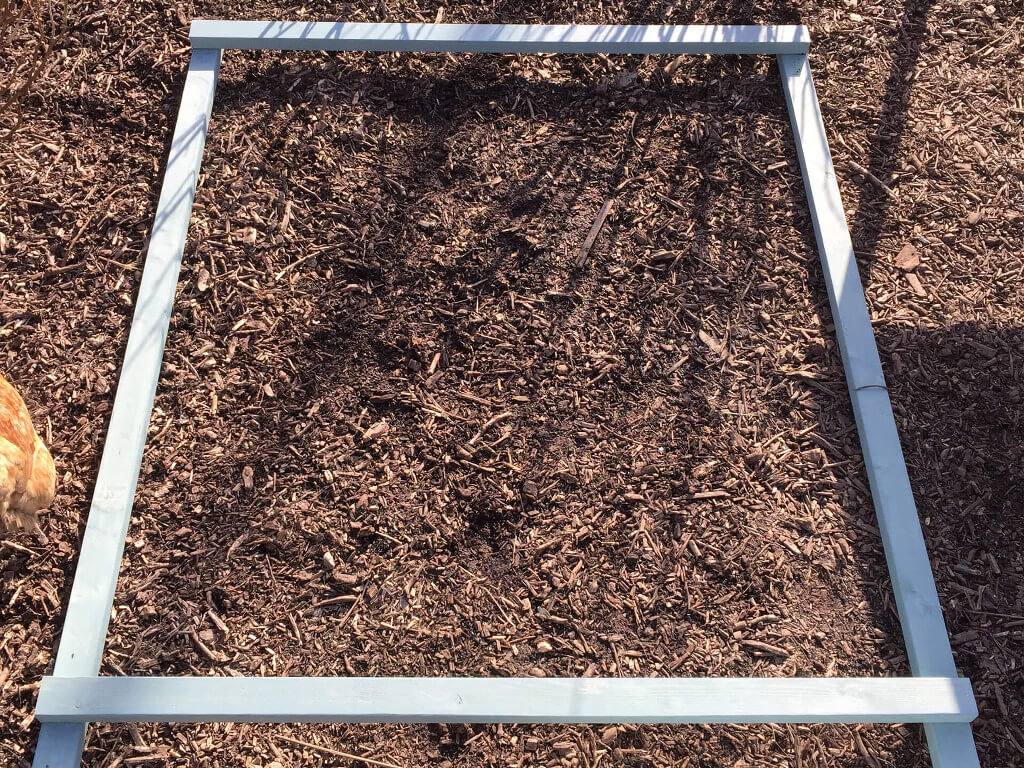
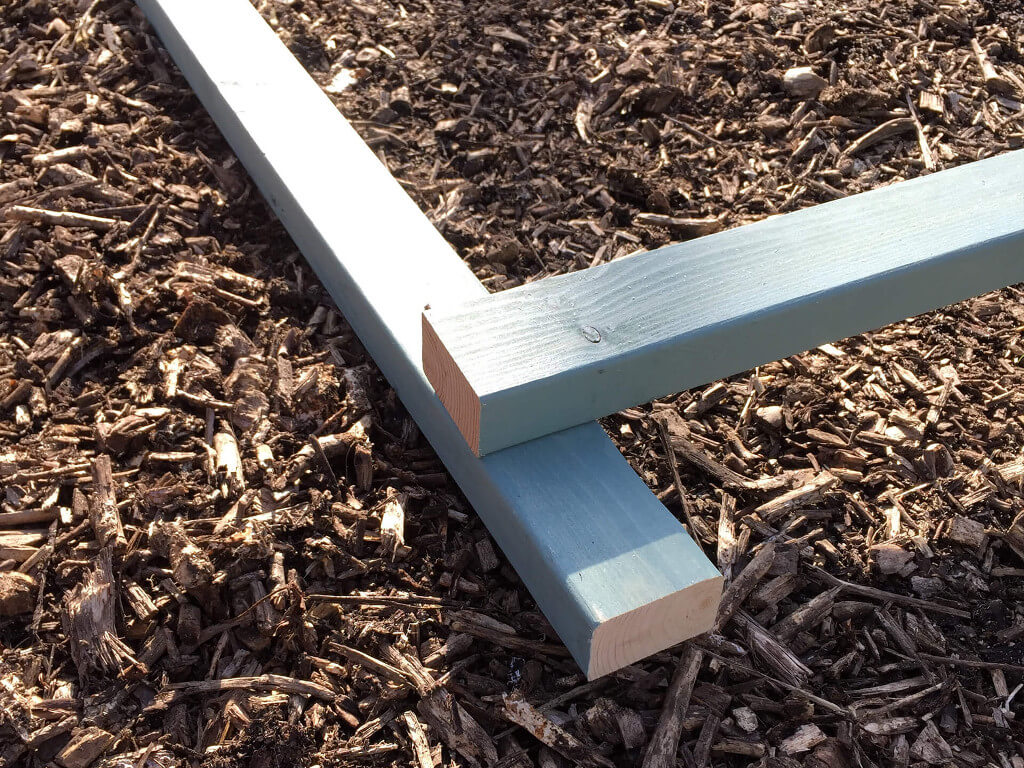
Its time to construct the two frames. You want the 1.8m lengths underneath and the vertical 1.5m lengths on top to make a square. One of the 1.5m lengths need to be positioned 100mm up from the ends of the 1.8m (see picture) Using your impact drill and 5mm drill bit, make two pilot holes in each corner, just going through the 1.5m. Take your 60mm screws and screw the frame together.
Repeat step 5 to make two frames.
Step 6
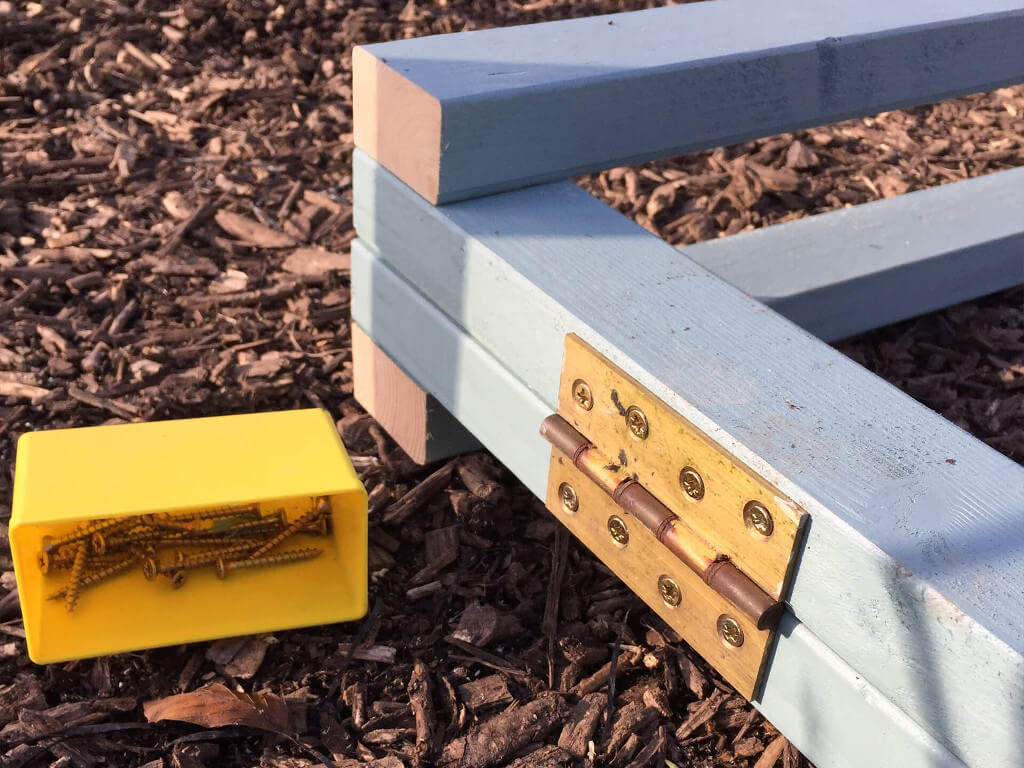
Align the two frames, with one on top of the other. The two 1.5m pieces that are at the top of the frame need to be touching. Measure in from each end 150mm and position your hinges on that line. Make sure the centre of the hinge is central to the joint of the two pieces of wood. Screw in place with 40mm screws.
Step 7
With the two frames now attached together by the hinge, lift up the frame and open out so it stands by itself. To strengthen your frame, take the two 500mm off cuts and screw them to join the two frames lower down, using 60mm screws. I measured 200mm up from the 1.5m lengths so the brace bars are level. This will strengthen your frame.
Step 8
Now your frame is made, touch up the cut ends with your garden paint to prolong its life.
Step 9
On all the 1.5m lengths, using a pencil, measure 30mm in and mark this as your first eye hook screw. From there, measure and mark every 120mm along until you reach the end of the frame. This is your spacing for your plants. Using the 1.5mm drill bit, make a small hole at each of the points. This will help you screw your eye-hook screws in.

Step 10
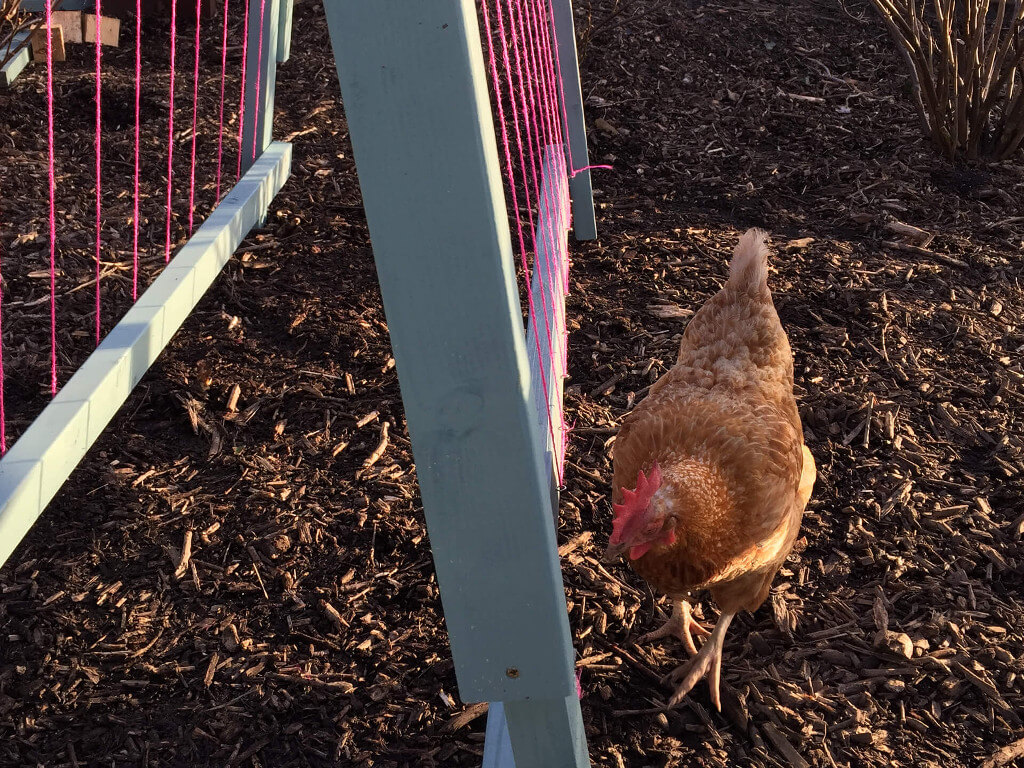
Once all 48 eye-hook screws are into the wood, you can start threading it all up with twine. Starting from one end, pull the twine from bottom to top, along to the next eye-hook and then back down. Keep threading through until one side of the frame is complete. Tie off the thread at either end, making sure the twine is pulled taut.


Step 11
Decide where you want to place the bean frame and take into consideration where the light falls and where it might block out light to plants nearby. Level the ground as well as possible and place a brick underneath each leg of your frame. This raises it off the ground while you drive the stakes into the ground.
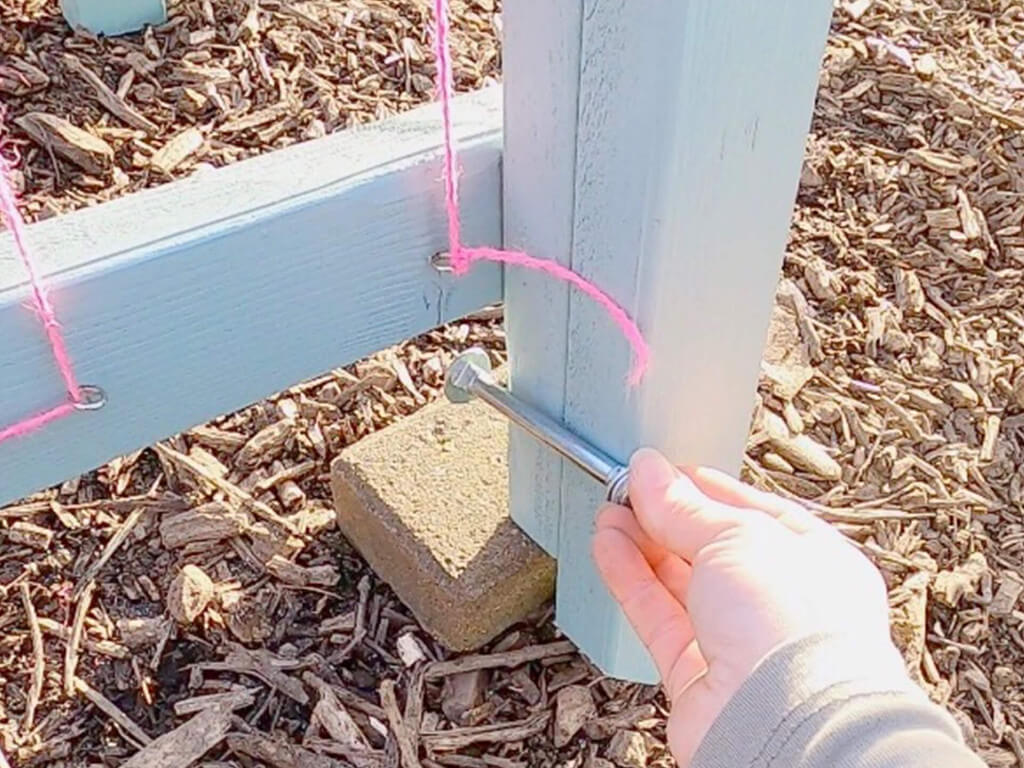
Step 12
Place your 70mm stake, touching the leg of your frame. Begin to hammer in the stake as far as you can so most of it is buried into the ground. Make sure you keep the stake following the same angle of the bean frame. Once it is in the ground as far as possible, drill through both your stake and your bean frame with a 10mm drill bit. Bolt the two together tightly so your frame is now fixed in place, but the legs are raised off the ground so it won’t rot.
Step 13
Repeat on the other three legs and then remove the bricks. Your frame should now be suspended in the air. This will prevent it from rotting. Year on year you will have to replace the stakes but your bean frame will stay intact.
The time spent making this bean frame really pays off over the years of you using it. To dismantle it in the autumn, cut down the bean vines and twine together and compost. Then remove the bolts (keep safe until the spring), and remove the stakes. Remove one of the screws from each of the side braces and twist like a clock hand to an upright position. Your bean frame can now be folded up flat and stored.