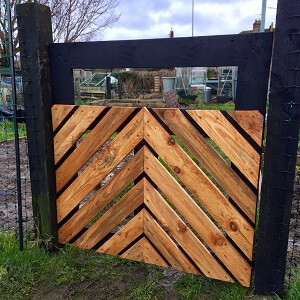
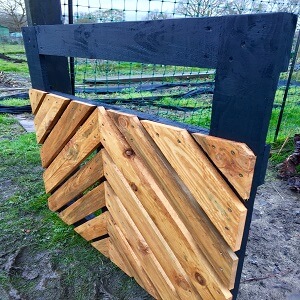
How To Make A Garden Gate
Growing your own food can be hard when fighting against wildlife like rabbits, badgers and deer. It’s even trickier for me when I had to have eyes in the back of my head whilst weeding, always on the look out for one of the chickens taking a fancy to my plot neighbour’s chard.
So, a gate became a necessity. See below how we built the gate!
Here are the materials you need:
| Material | Tools |
|---|---|
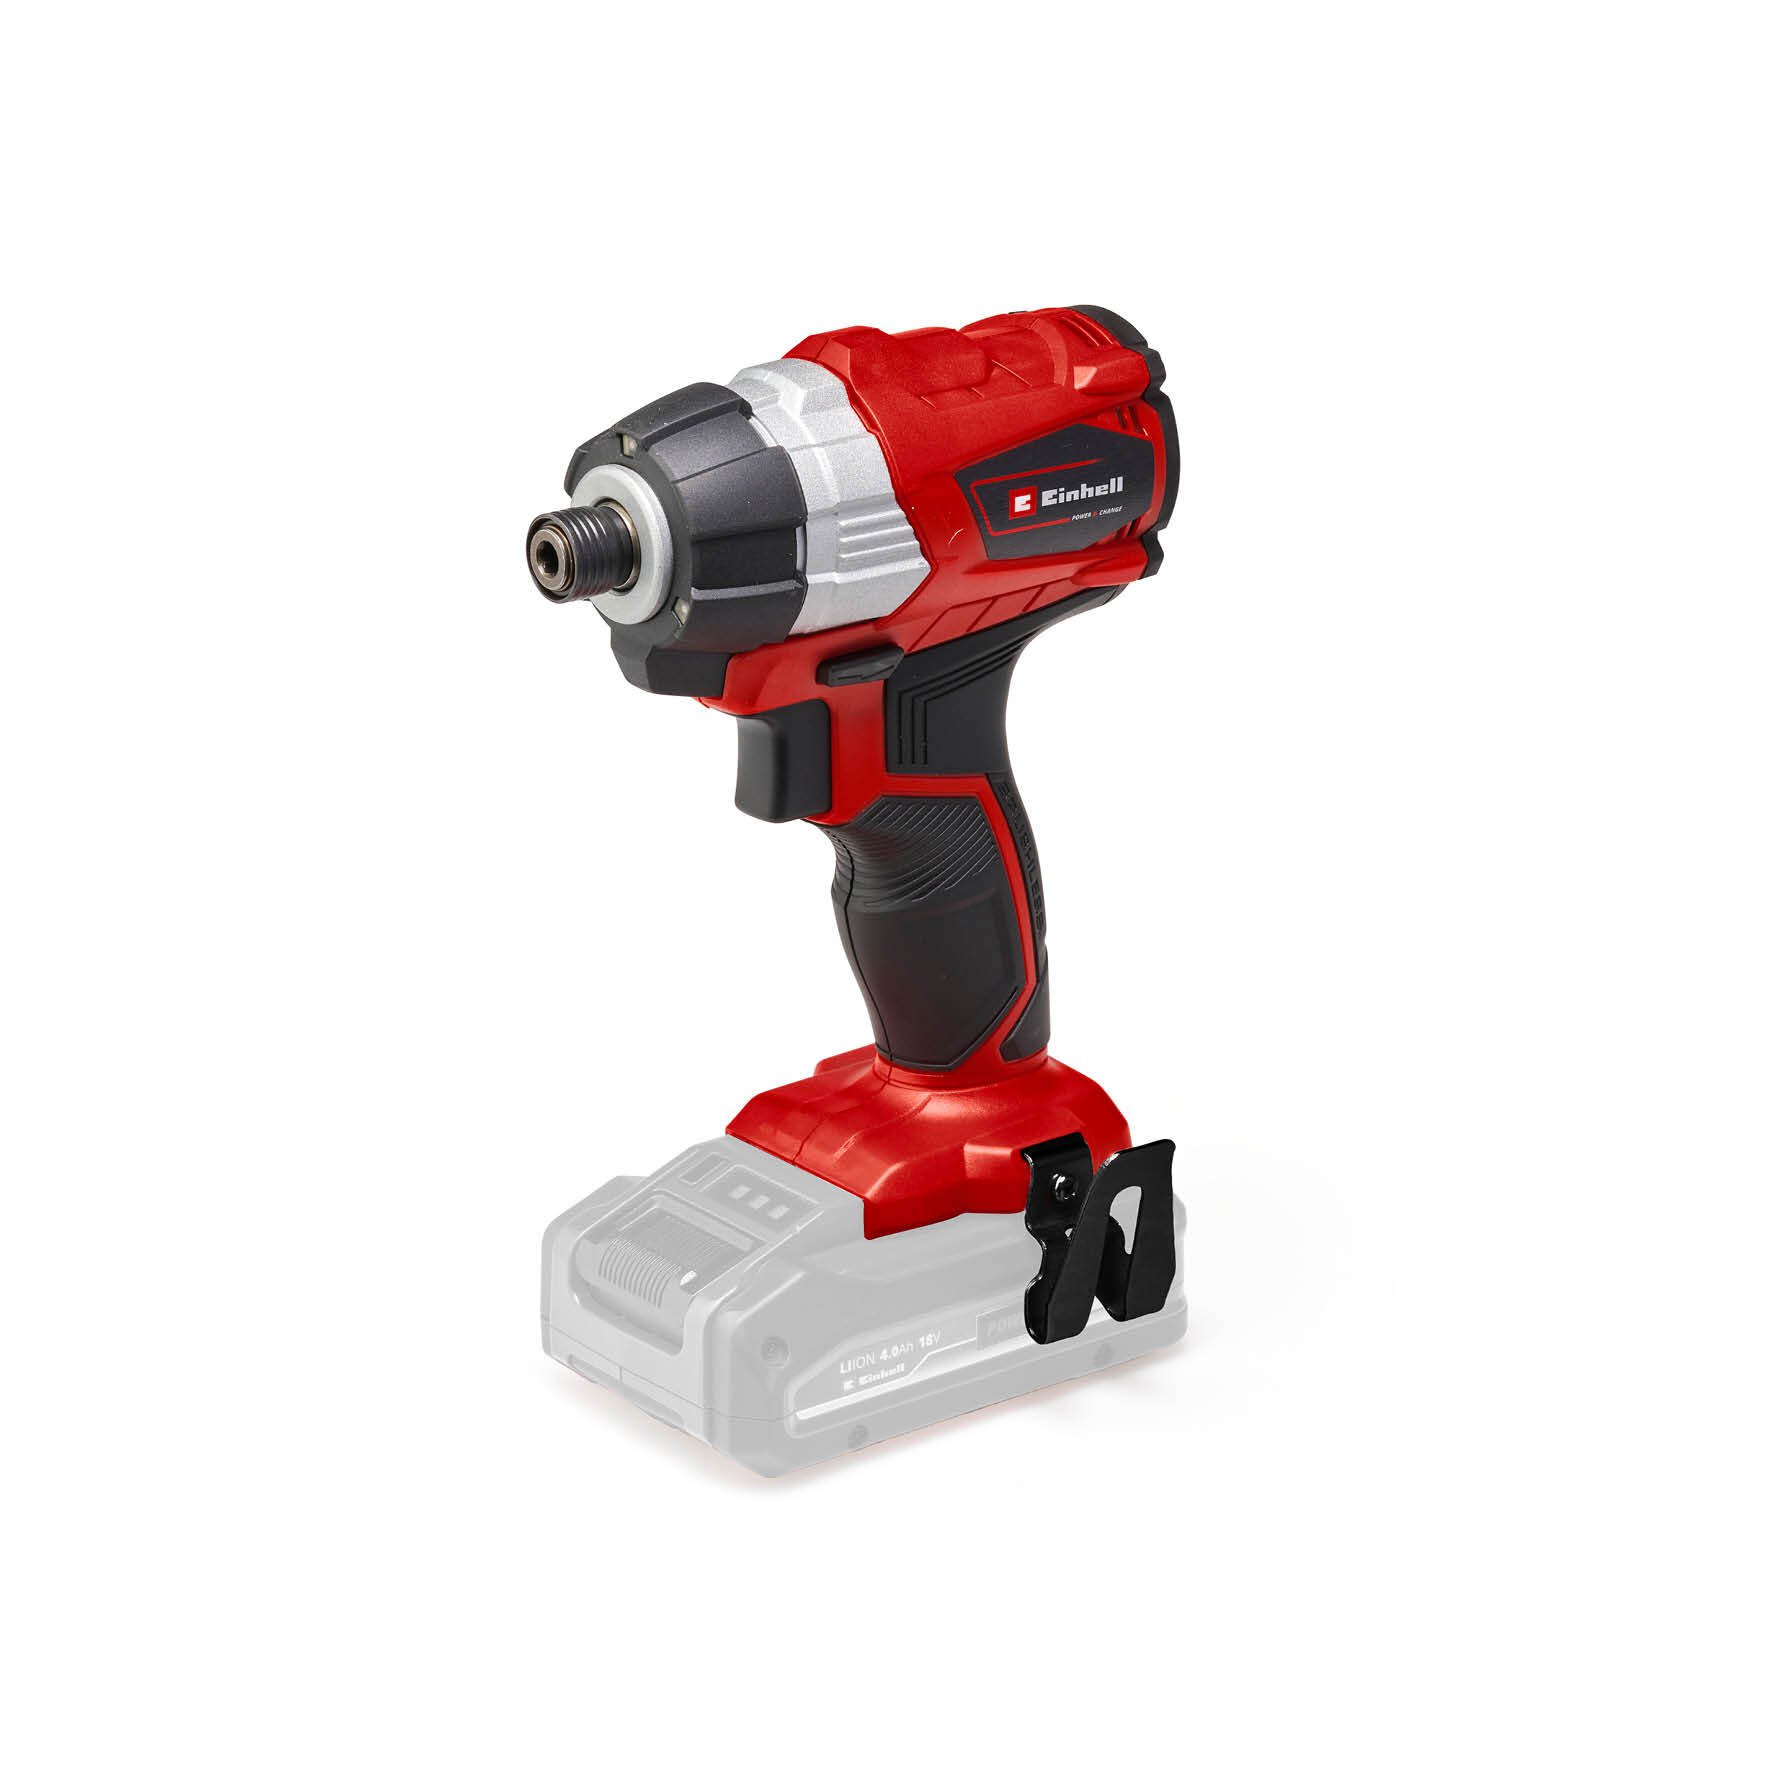
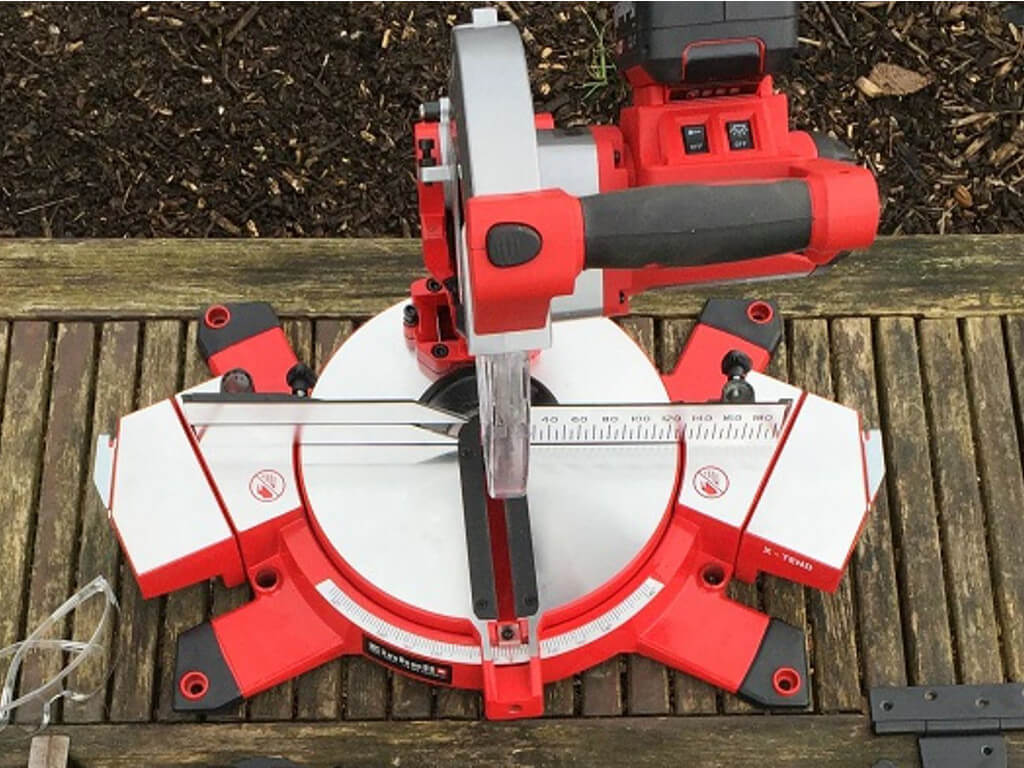
| Treated Sawn Timber - 19x100x1800mm pack of 5 | Power X-Change cordless Impact Driver – 4510030 |
| 1 x standard size pallet | Power X-Change cordless Impact Drill – 4513860 |
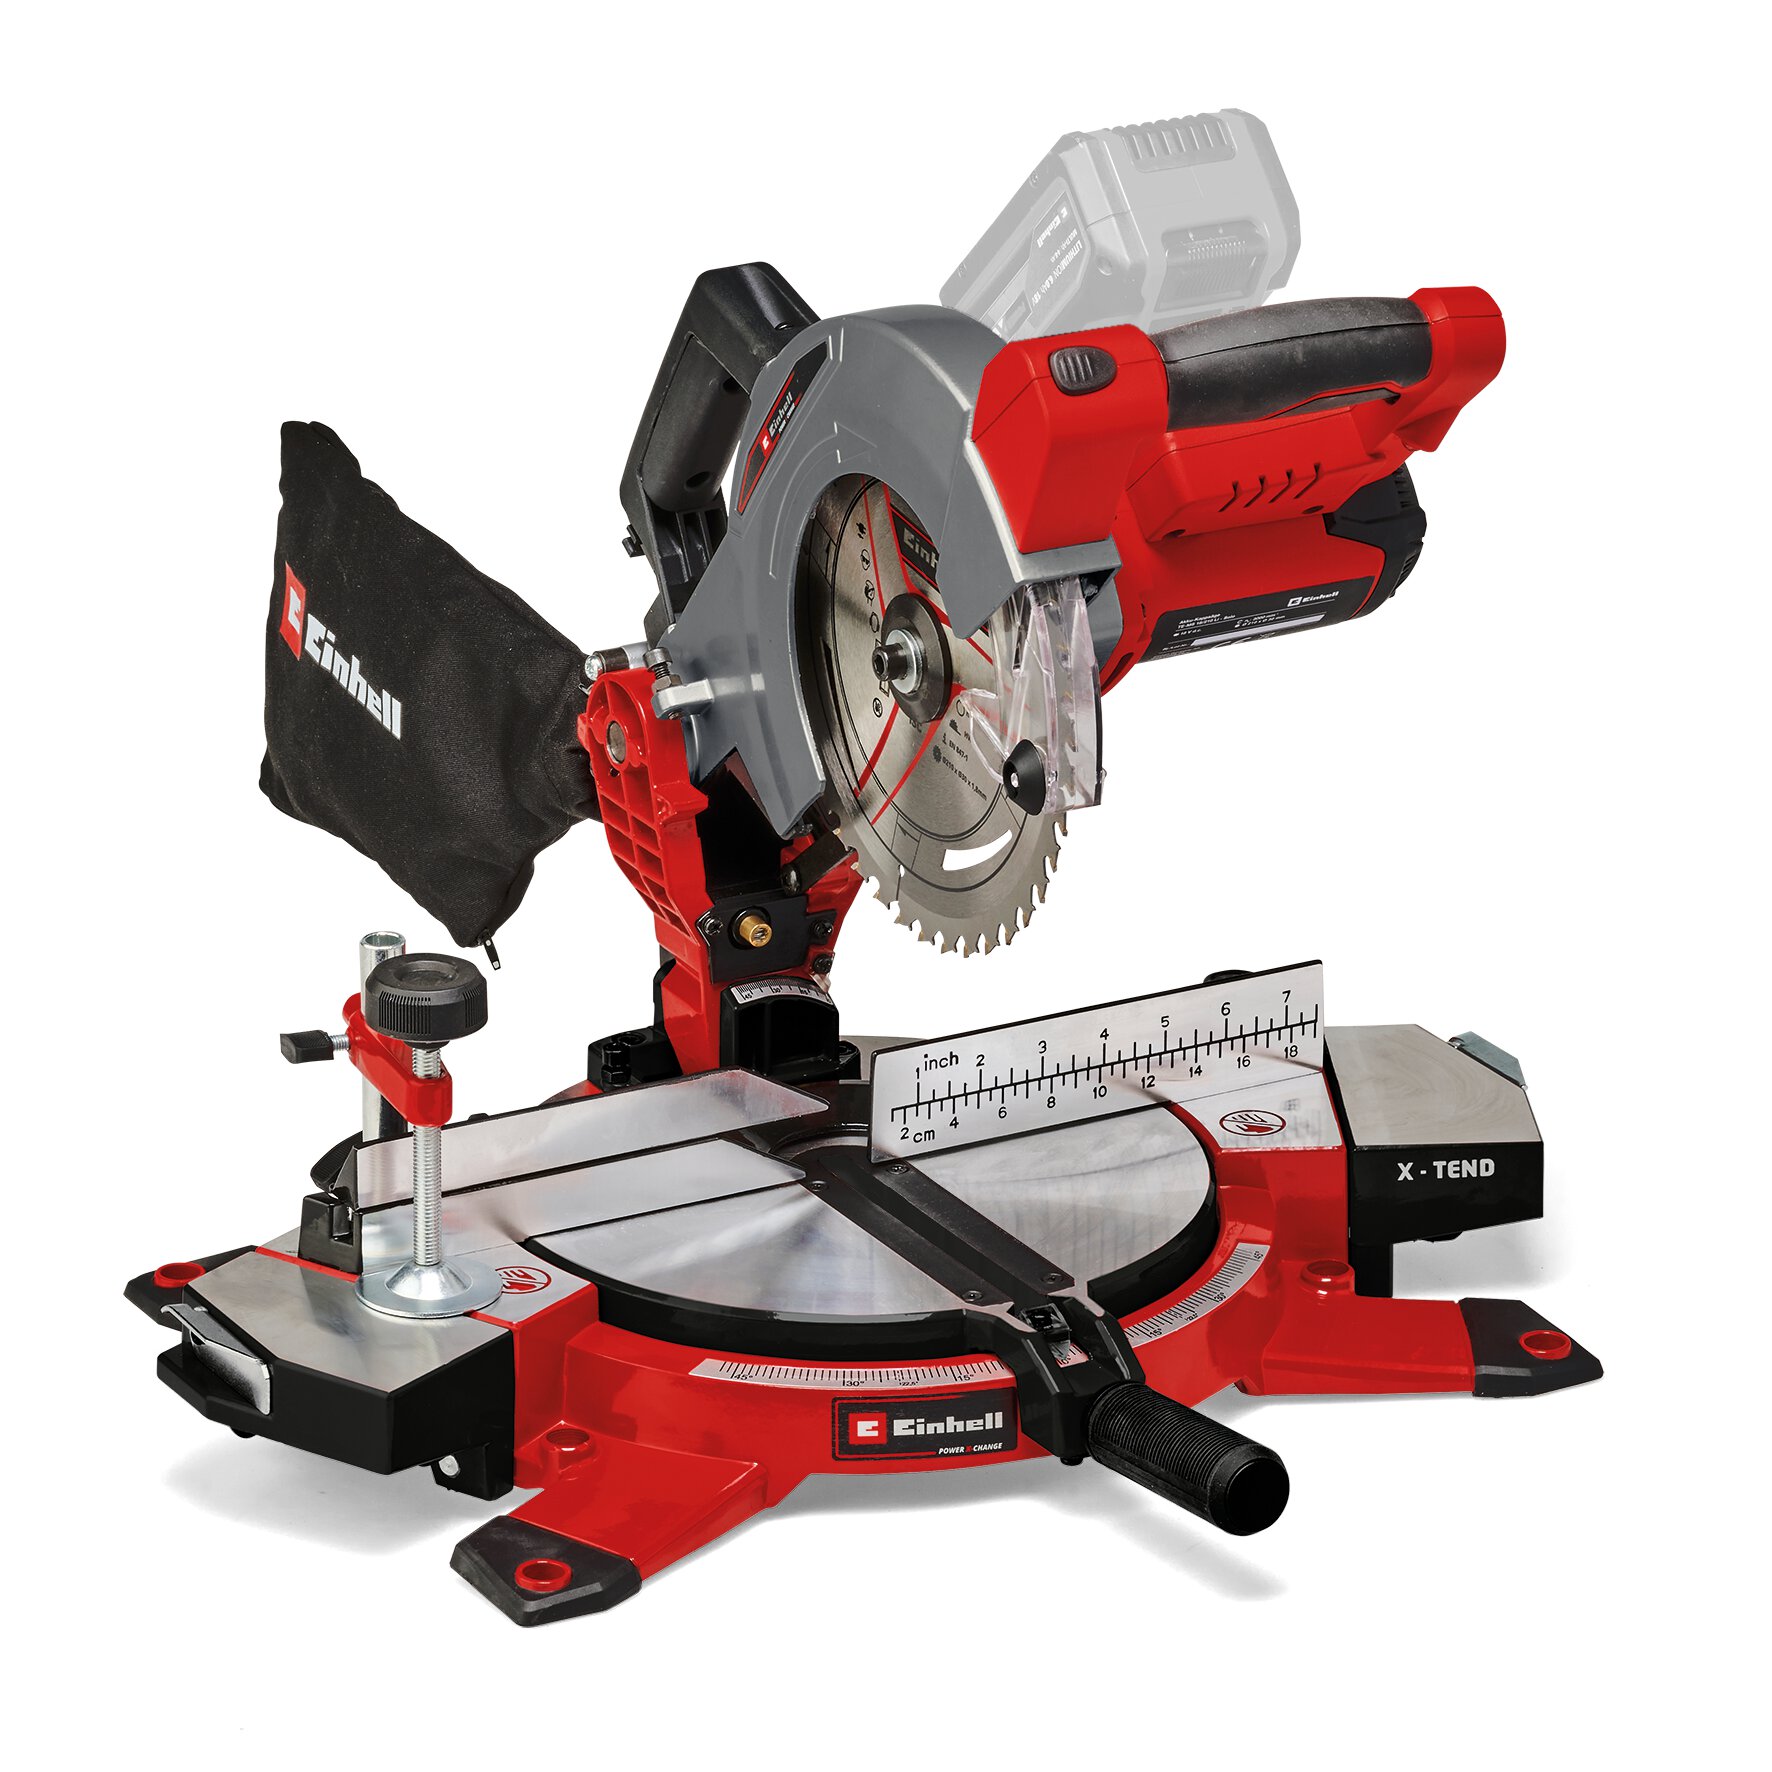
| Box of 4 x 30 mm screws | Power X-Change cordless Mitre Saw – 4300890 |
| Medium Duty Tee Hinges 305 mm 2 pack | Power X-Change cordless Circular Saw – 4331204 |
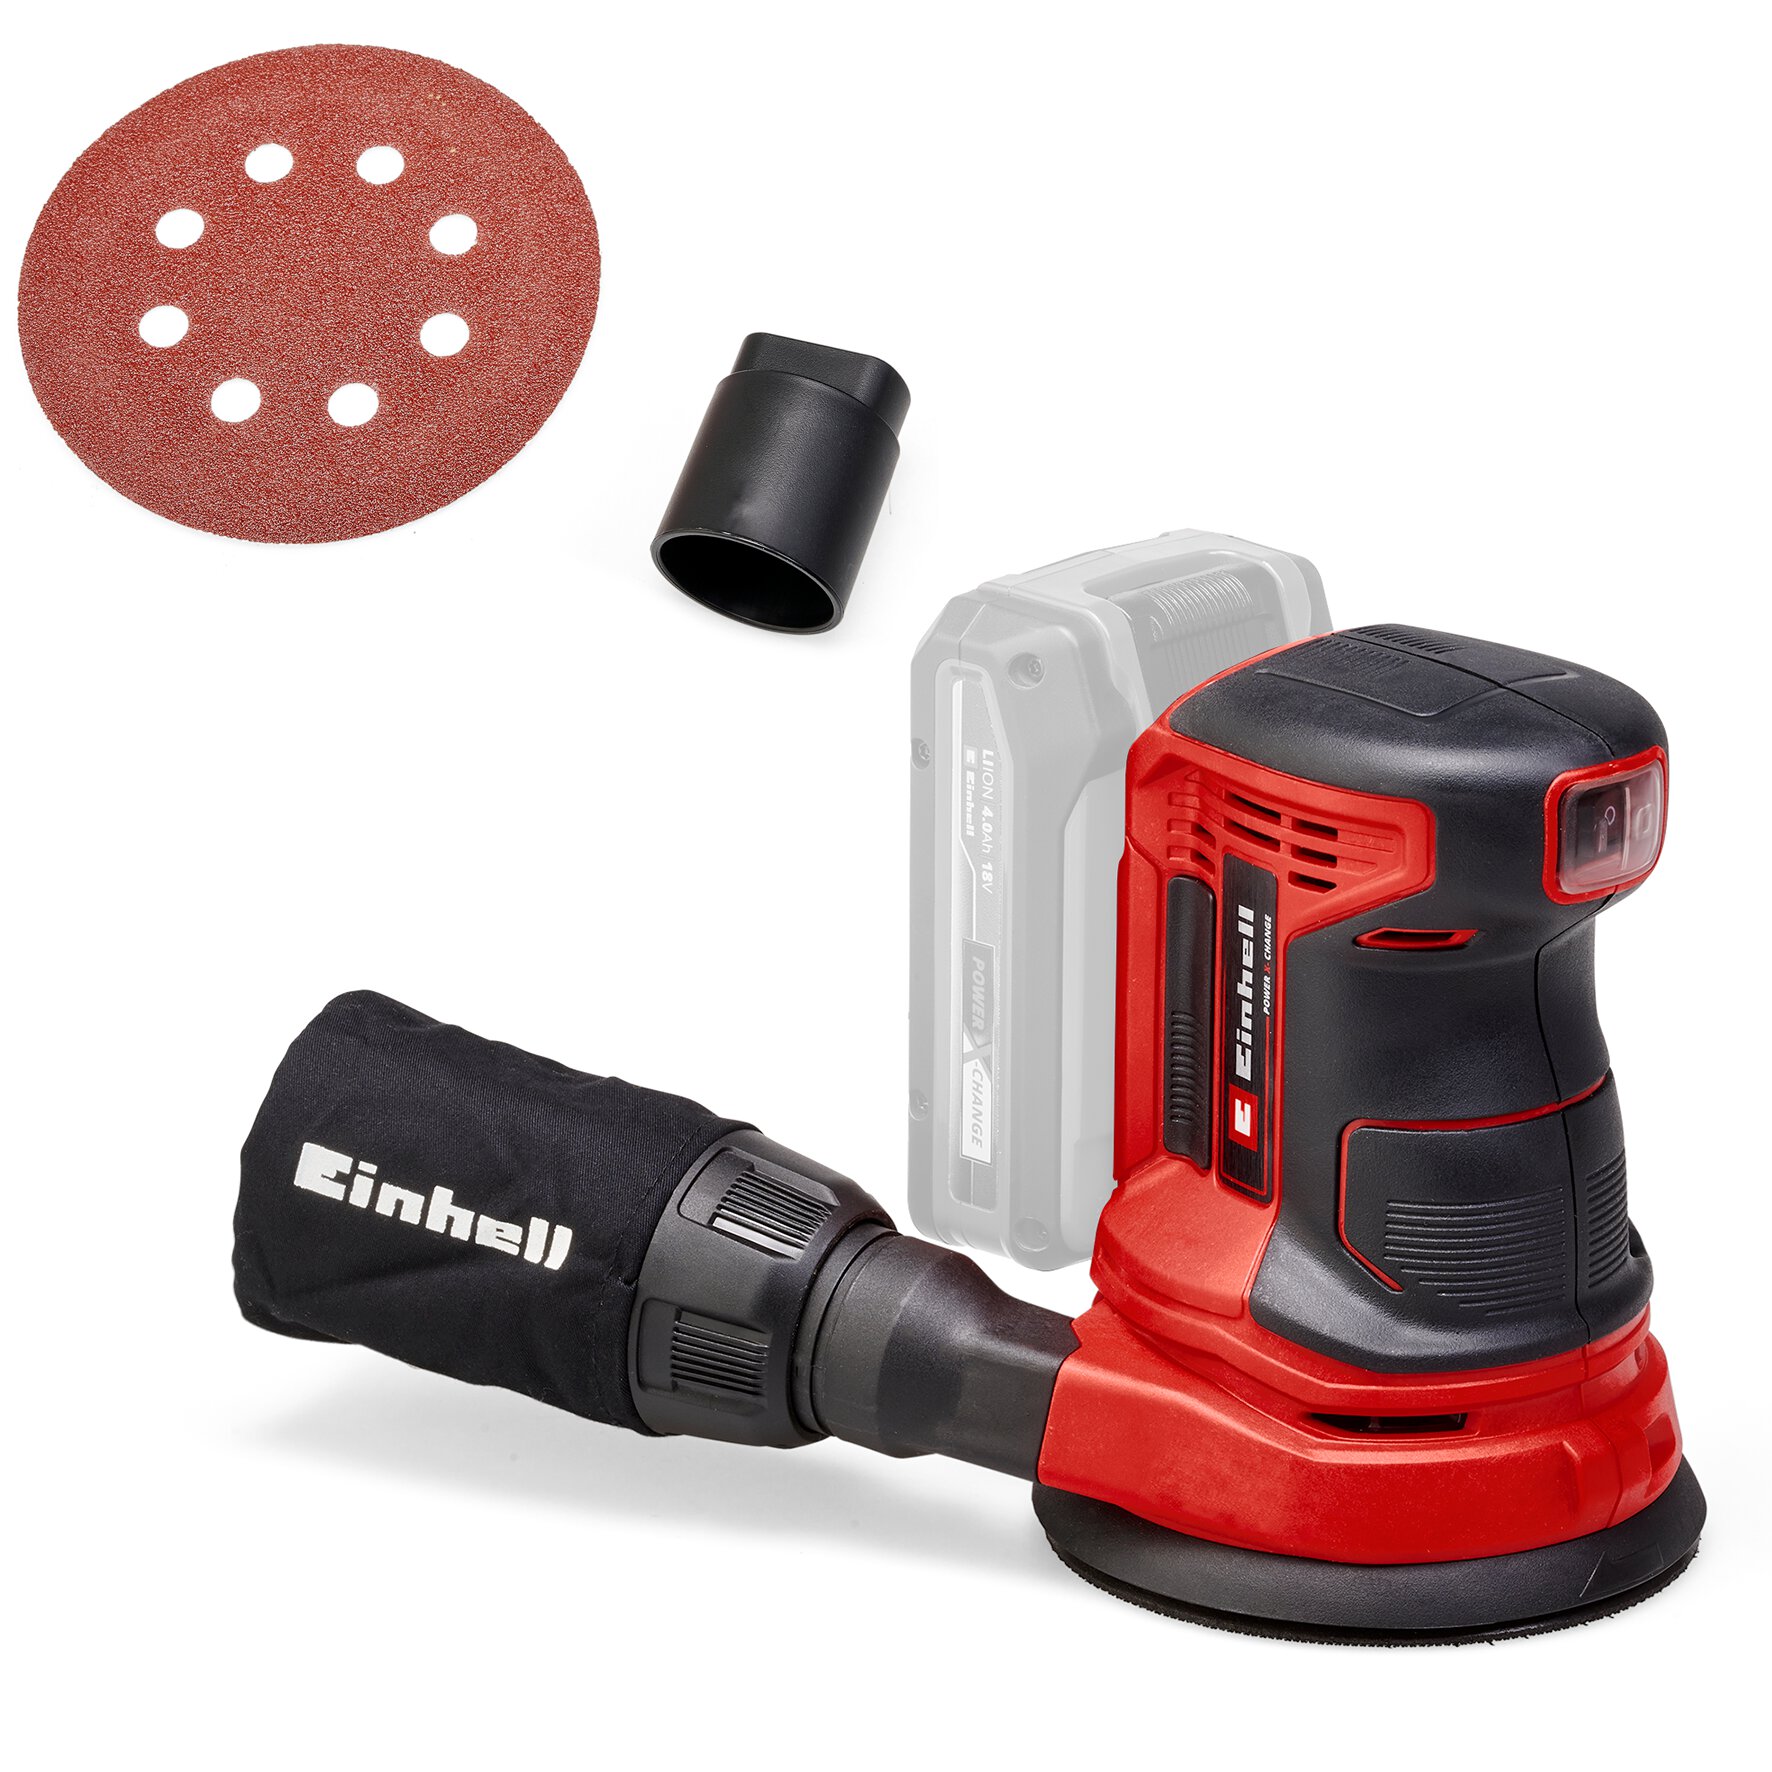
| Bolt or latch of choice | Power X-Change cordless Sander – 4462010 |
Step 1
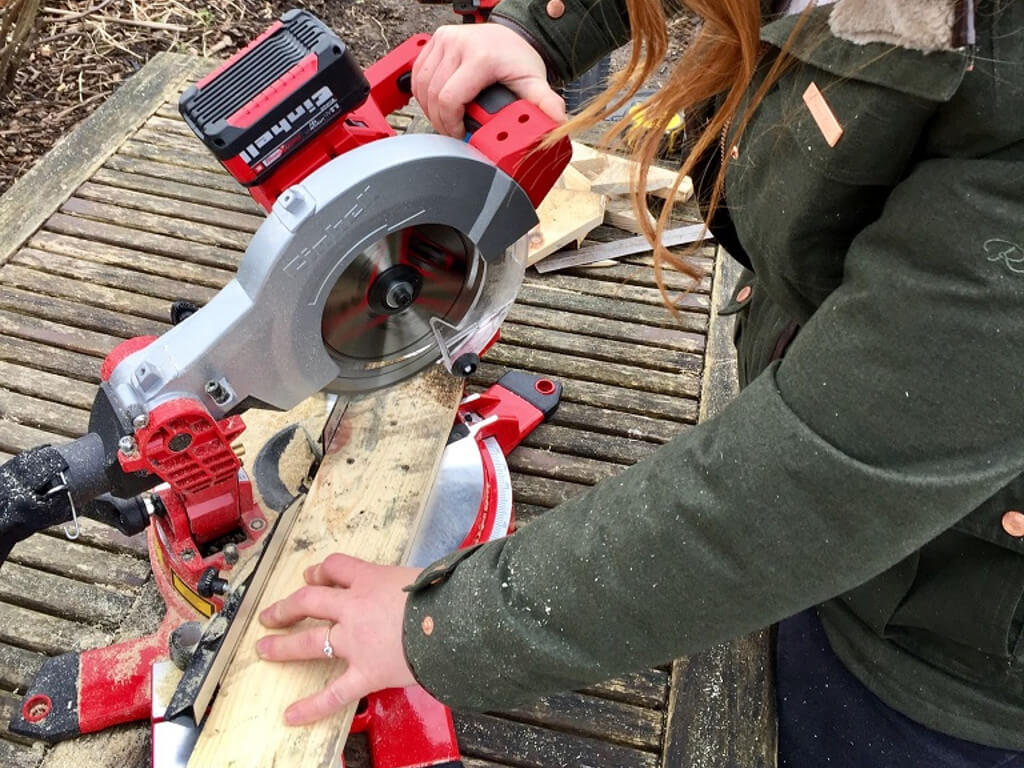
Your treated timber will come with square edges, however its always good practise to recut a couple of millimetres off one end to measure from. I used a Cordless Mitre Saw - 4300890 which is the quickest and easiest way to achieve square cuts. Alternative tools could be a skill saw, jigsaw or even a hand saw. If using those tools, you need to make sure all your cuts are square, because if one isn’t, it could put your whole gate out of alignment.
The treated timber came in 1.8m or 2.4m lengths, I went for the 1.8m option as it would fit in the car. From the sawn timber cut 3 lengths at 880mm and 2 at 900mm. These five lengths will make the frame of your gate. Keep the offcuts as we will need those later.
Step 2
Now we need to assemble the frame. This method does not use any mortise and tenon joints, instead we simply lay the timber on top of each other. Its important to place your horizontal lengths of timber down first, with the vertical lengths on top. See below:
Step 3
Before we screw these timbers together, you need to make sure your gate is square. Using a tape measure, measure from corner to the opposite corner (diagonal) and take note of the measurement. Do the same on the other diagonal point to point and you should have the same measurement. If it’s not, you can move the panels ever so slightly to get the same dimensions.
Step 4
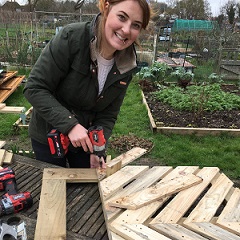
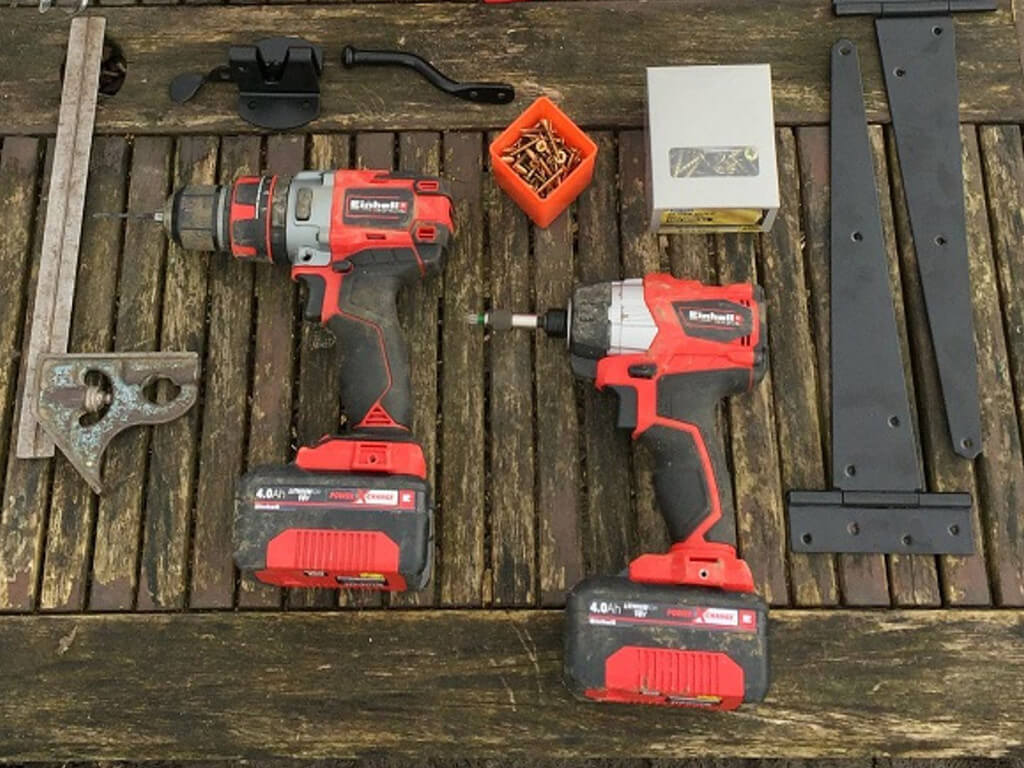
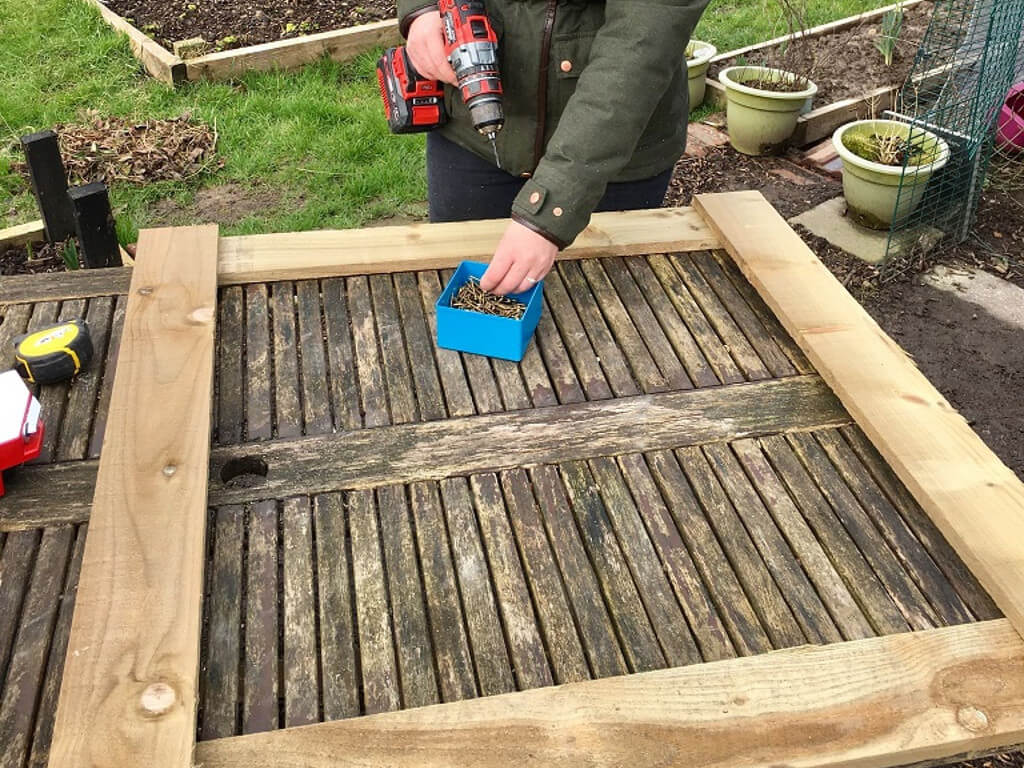
Using a Cordless Drill cordless drill and a 3mm drill bit, drill through the top layer of wood. This is called a pilot hole and will ensure that the timber doesn’t split when you screw the pieces together. Use this method throughout this build. I used three 30mm screws in each corner to make the frame really strong. If you want to triple check your frame is square, you can now take it over to your gate posts and position it in-between. If the frame is square, you will have an equal gap all the way around.
Step 5
Now you have your basic frame, you need to attach a horizontal bar that you can attach your diagonal pieces too. This will also strengthen the frame. Using your last piece cut at 880mm, screw it on the same side as the horizontal pieces. I measured 250mm down from either side and screwed it to the verticals.
Step 6
Next you need to add a vertical bar in-between the bottom and middle bar, this can be cut from the offcuts. Measure and cut to size. Find the centre on the bottom and middle bar and mark the point with a pencil on the edge of the wood. Do the same with the vertical bar you just cut and then line these two pencil marks up. This will ensure the vertical bar is central.
Step 7
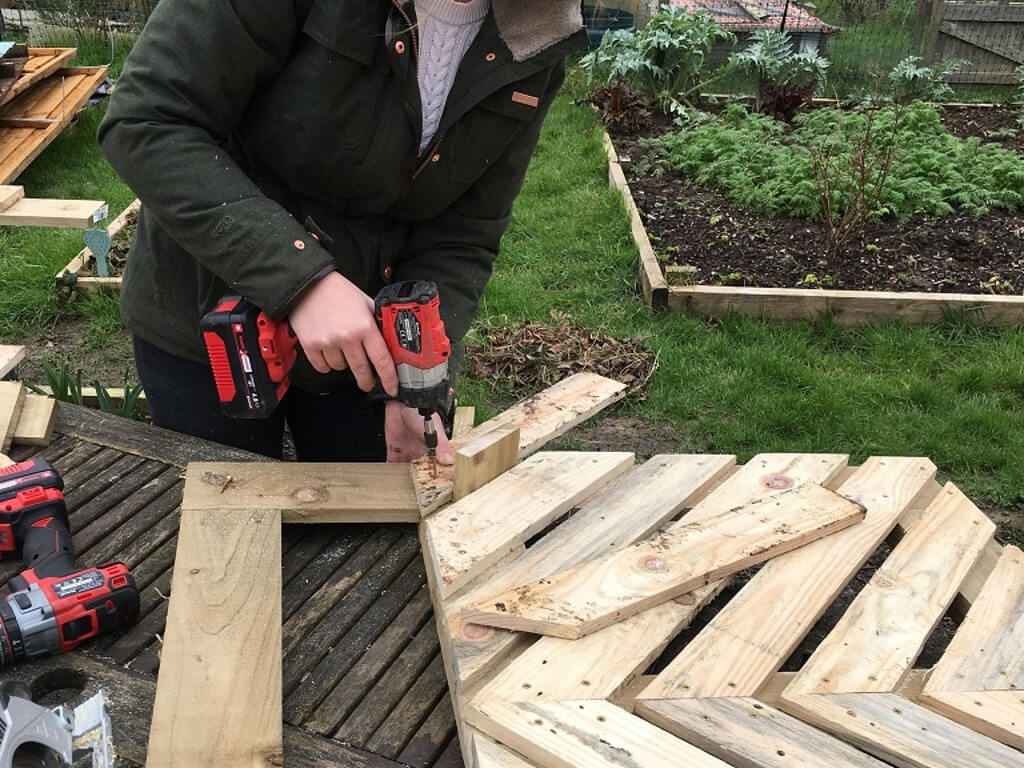
The diagonal strips from the pallet will be screwed to the frame. Turn your frame over so the horizontal bars are below and the vertical bars are on top. Next, you need to get this side all at the same level. As you can see on the vertical bars, they are lower than the horizontal. To overcome this, measure and cut sections from your off cuts to fill in these gaps. Once screwed in place, it will give you a flat surface to attach your pallets too.
Step 8
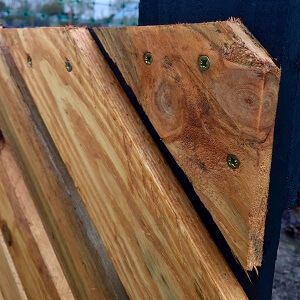
Now is the exciting bit of deconstructing your pallet with a crow bar or pallet remover tool remove the slats. Then adjust your Circular Saw circular saw to cut at 45 degrees. If you are using a different cutting method, you can mark your slats with a 45-degree angle with a handsaw which has a bevel incorporated on the handle. Cut each piece from the pallet at 45 degrees on one end which will form your mitre.
Step 9
Draw a centre line from top to bottom on your central vertical bar. Now start placing the pallets at the top of the vertical bar, making sure the two pieces butt up together on the central line. This will create an arrow effect. Cut four strips from your treated timber and use them as 19mm packers between the diagonal bars, this will give you even gaps between the slats. Work from the top down.eg. pallet at 45 degrees on one end which will form your mitre.
Step 10
There are two ways to do this next step:
- Screw all your diagonal slats in place with the end of the pallets going over the edge of the gate. Once aligned and screwed in place, you can get a Circular Saw or Jigsaw and cut along the edge of the gate frame, cutting off the surplus material.
- If you don’t feel confident enough to cut along the edge of the gate, place your diagonal pieces in position and draw a line on the underside of the diagonal where it meets the edge of the gate frame. Then you can remove the diagonal pieces from the gate, cut along the pencil line and then screw to the frame with the 30mm screws with the 3mm pilot hole.
Step 11
If like me you didn’t have enough strips of pallets to do all the diagonals, use the pallet off cuts to fill in the rest. Make sure you recut the end with a 45 degree angle to keep clean, accurate mitres. When all the pieces are screwed in place, it’s time to get the sander out! You can sand as little or as much as you wish, the main thing you want to sand is the edges and anything that could give you a splinter. Once you are happy, it’s time to add the ironmongery!
Step 12
I brought medium duty tee hinges at 305mm long. These need to be fixed to your gate on the bottom and middle horizontal bar. Position these centrally on the bar with the hinge off the edge of the frame by 1mm. Screw these in place with the 30mm screws.
Step 13
Now the hinges are on, its time to move the gate into its final position! Place a packer on the floor either side of your gate to raise it up off the floor, I used bricks. Unfortunately, the ground at my allotment isn’t level and I’m sure that’s the same for most people. Get someone to help hold it in place so you have an even gap between the post and the gate. You are looking for a 10mm gap on the side where you screw on the hinges. Screw one 30mm fixing into the top and bottom, then make sure the gate opens before screwing in all the fixings. If it binds, realign the gate and try again. Finally attach you latch or bolt and admire your work!