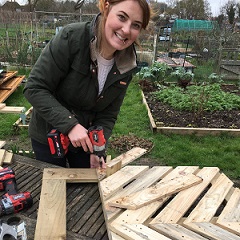
How to build a raised bed
Raised beds not only allow you to control the soil but are also better at retaining moisture, especially “no dig” gardening which is what I will be showing you how to make. I find raised beds easier to manage/weed and the pathways are easily trimmed with Einhell’s battery powered grass cutter.
For this you will need the biggest wood you can afford. I got a lot of my wood second hand but this time I have treated myself to new scaffold boards. Whatever wood you use, you don’t want it treated with chemicals. Although this will lengthen the life of your raised bed, the chemicals could possibly leach into the soil and your veggies will no longer be organic.
This “how to” will show you two different methods of making a raised bed, whether you want to make one with square corners, or angled to fit a specific area. Scroll down for the angled instructions.
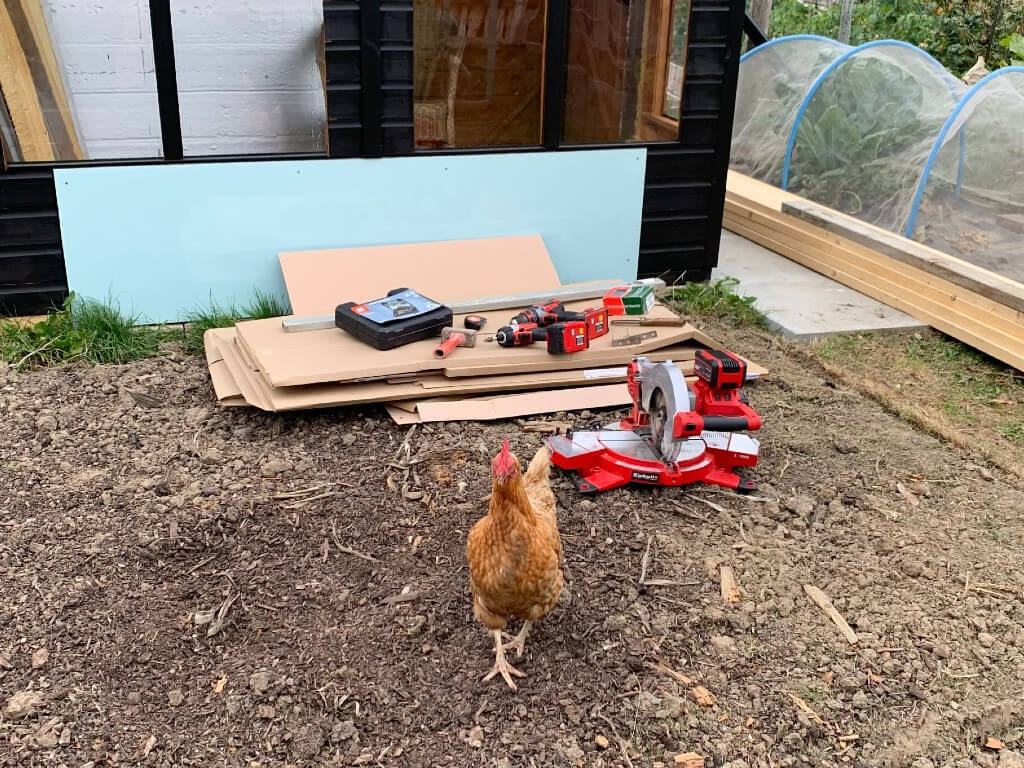
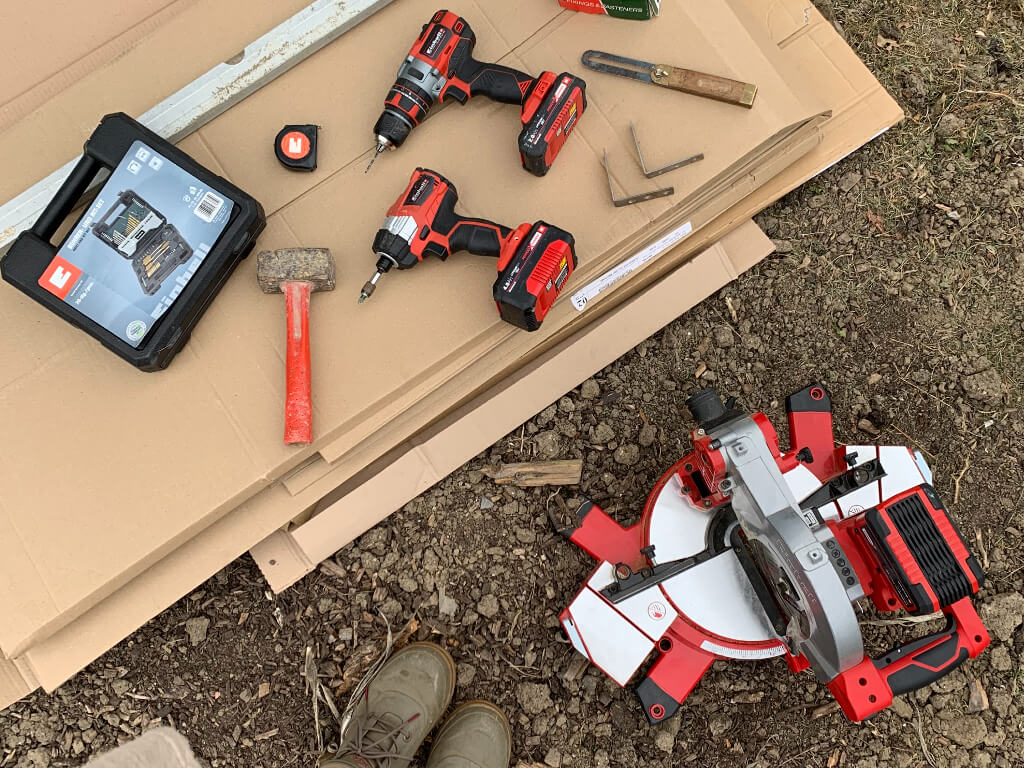
Here’s the materials and the equipment that you will need:
| Material | Tools |
|---|---|
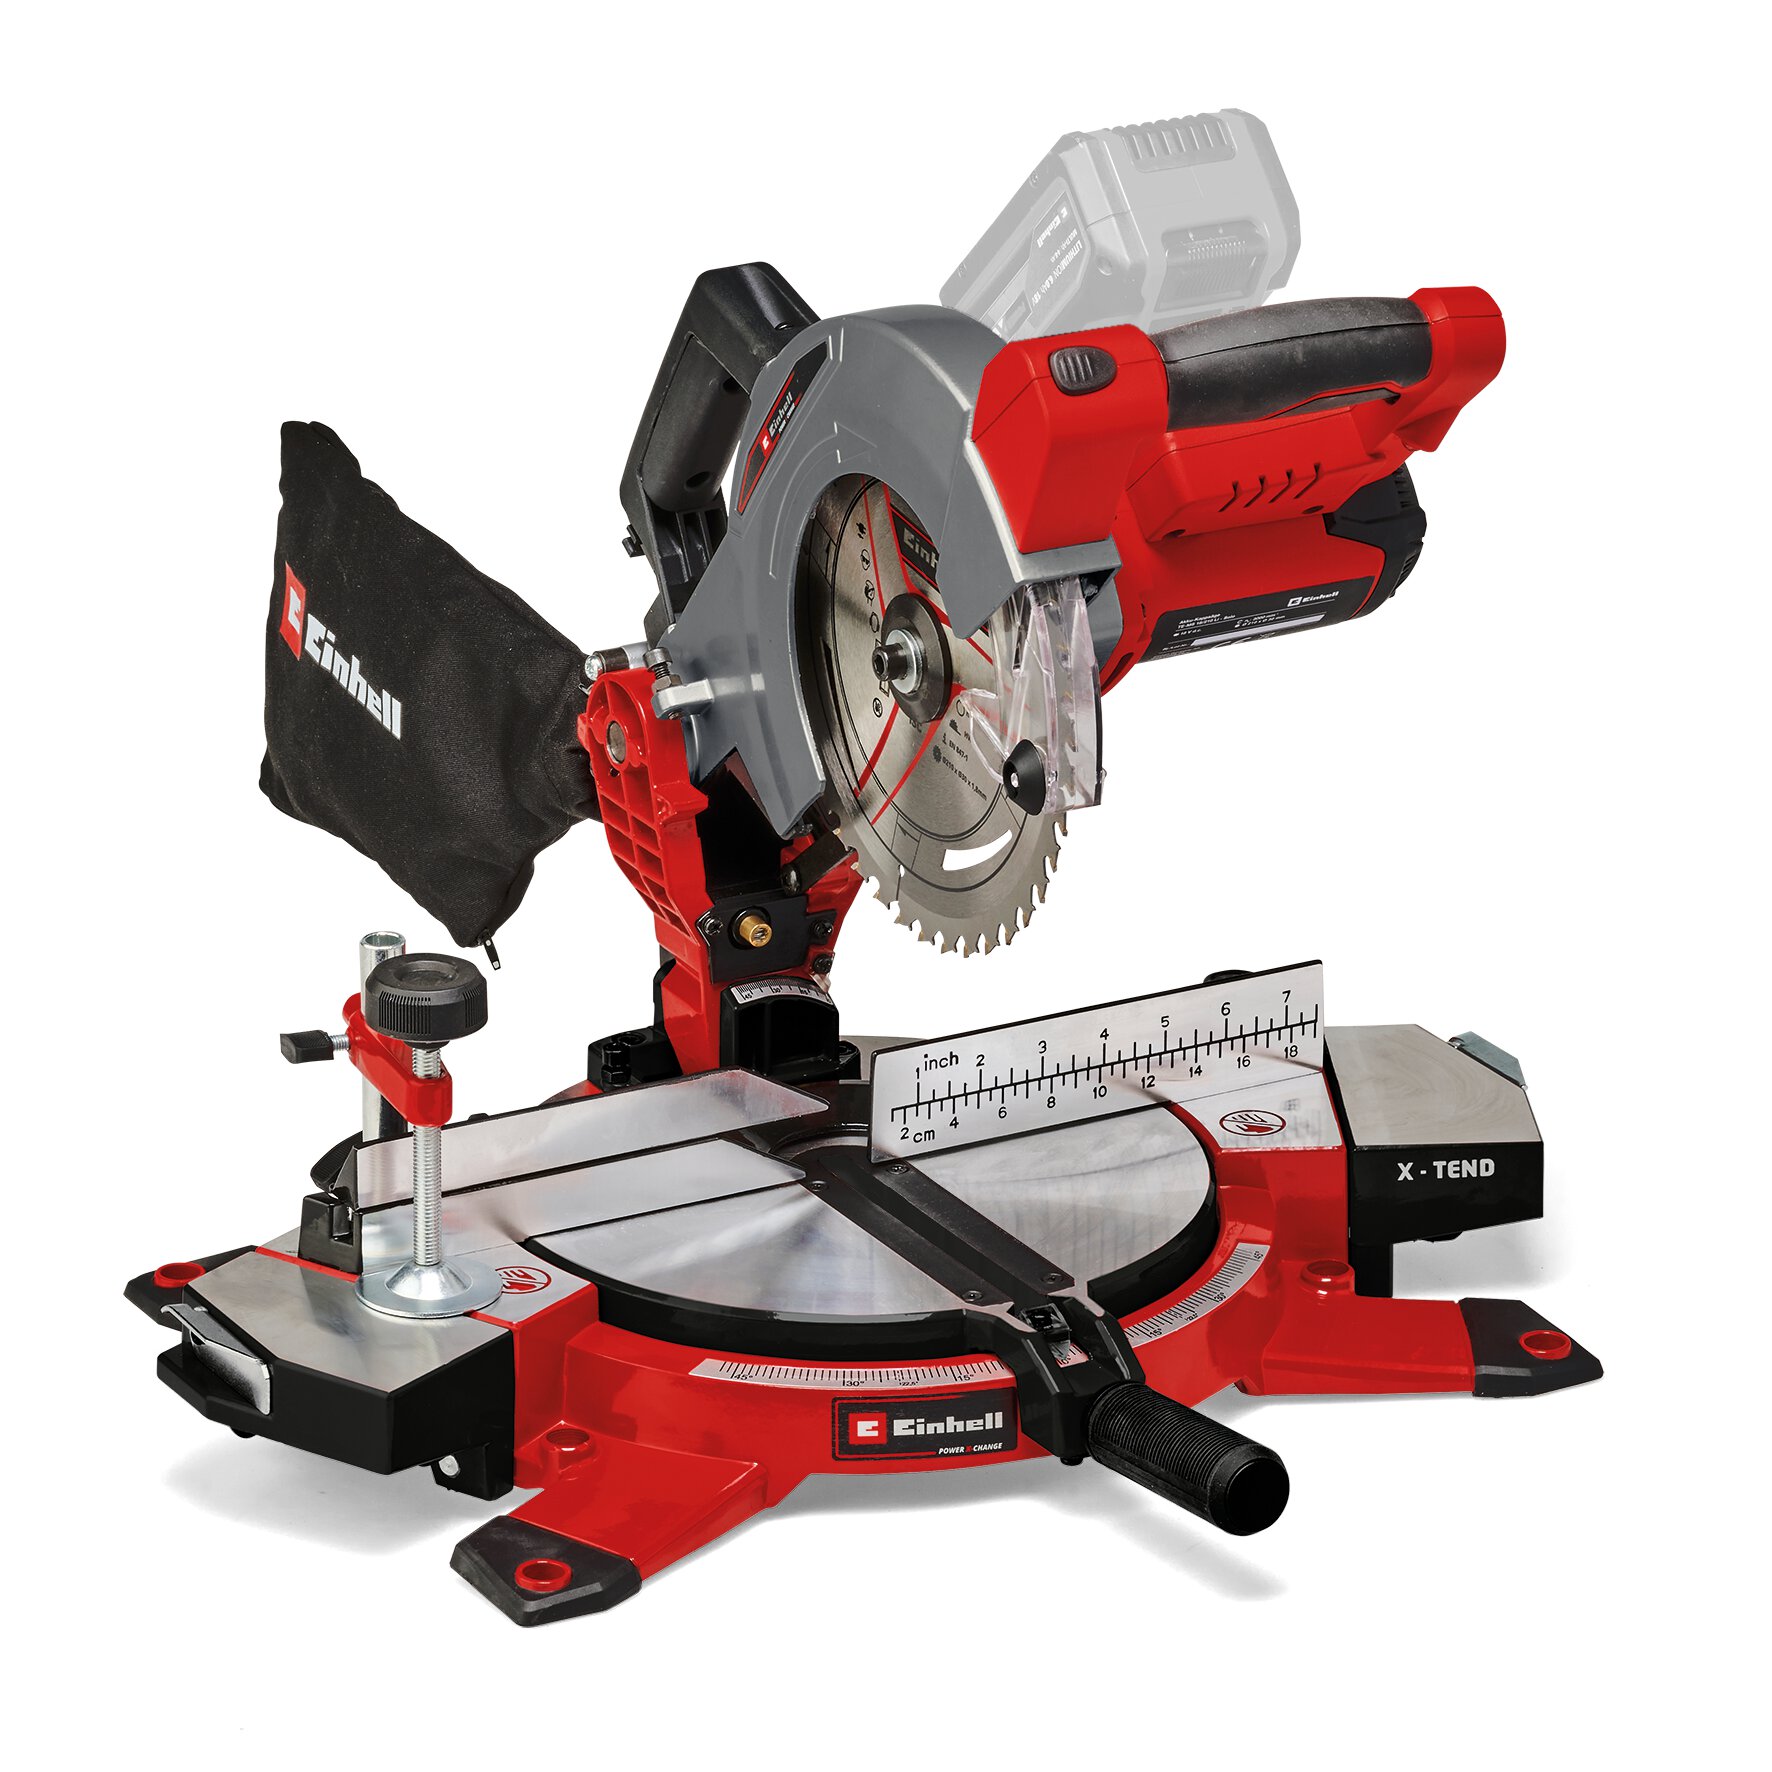
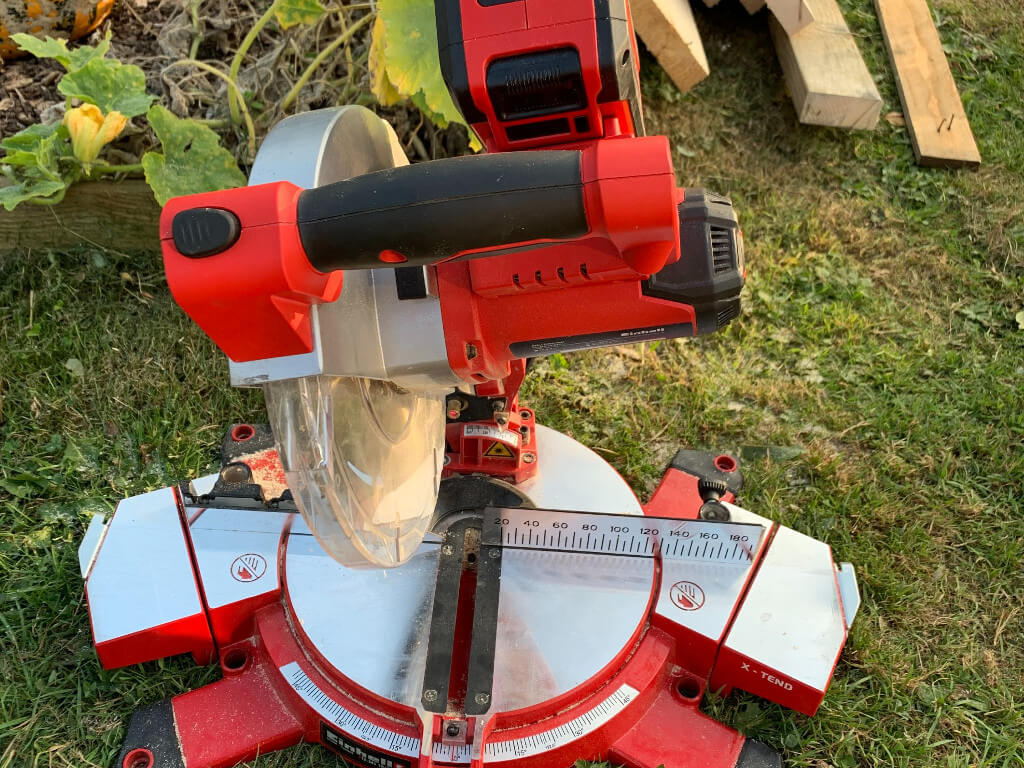
| Chunky untreated wood that is long enough for the raised bed you want to make | Power X-Change Cordless Mitre Saw TE-MS 18/210 Li - 4300890 |
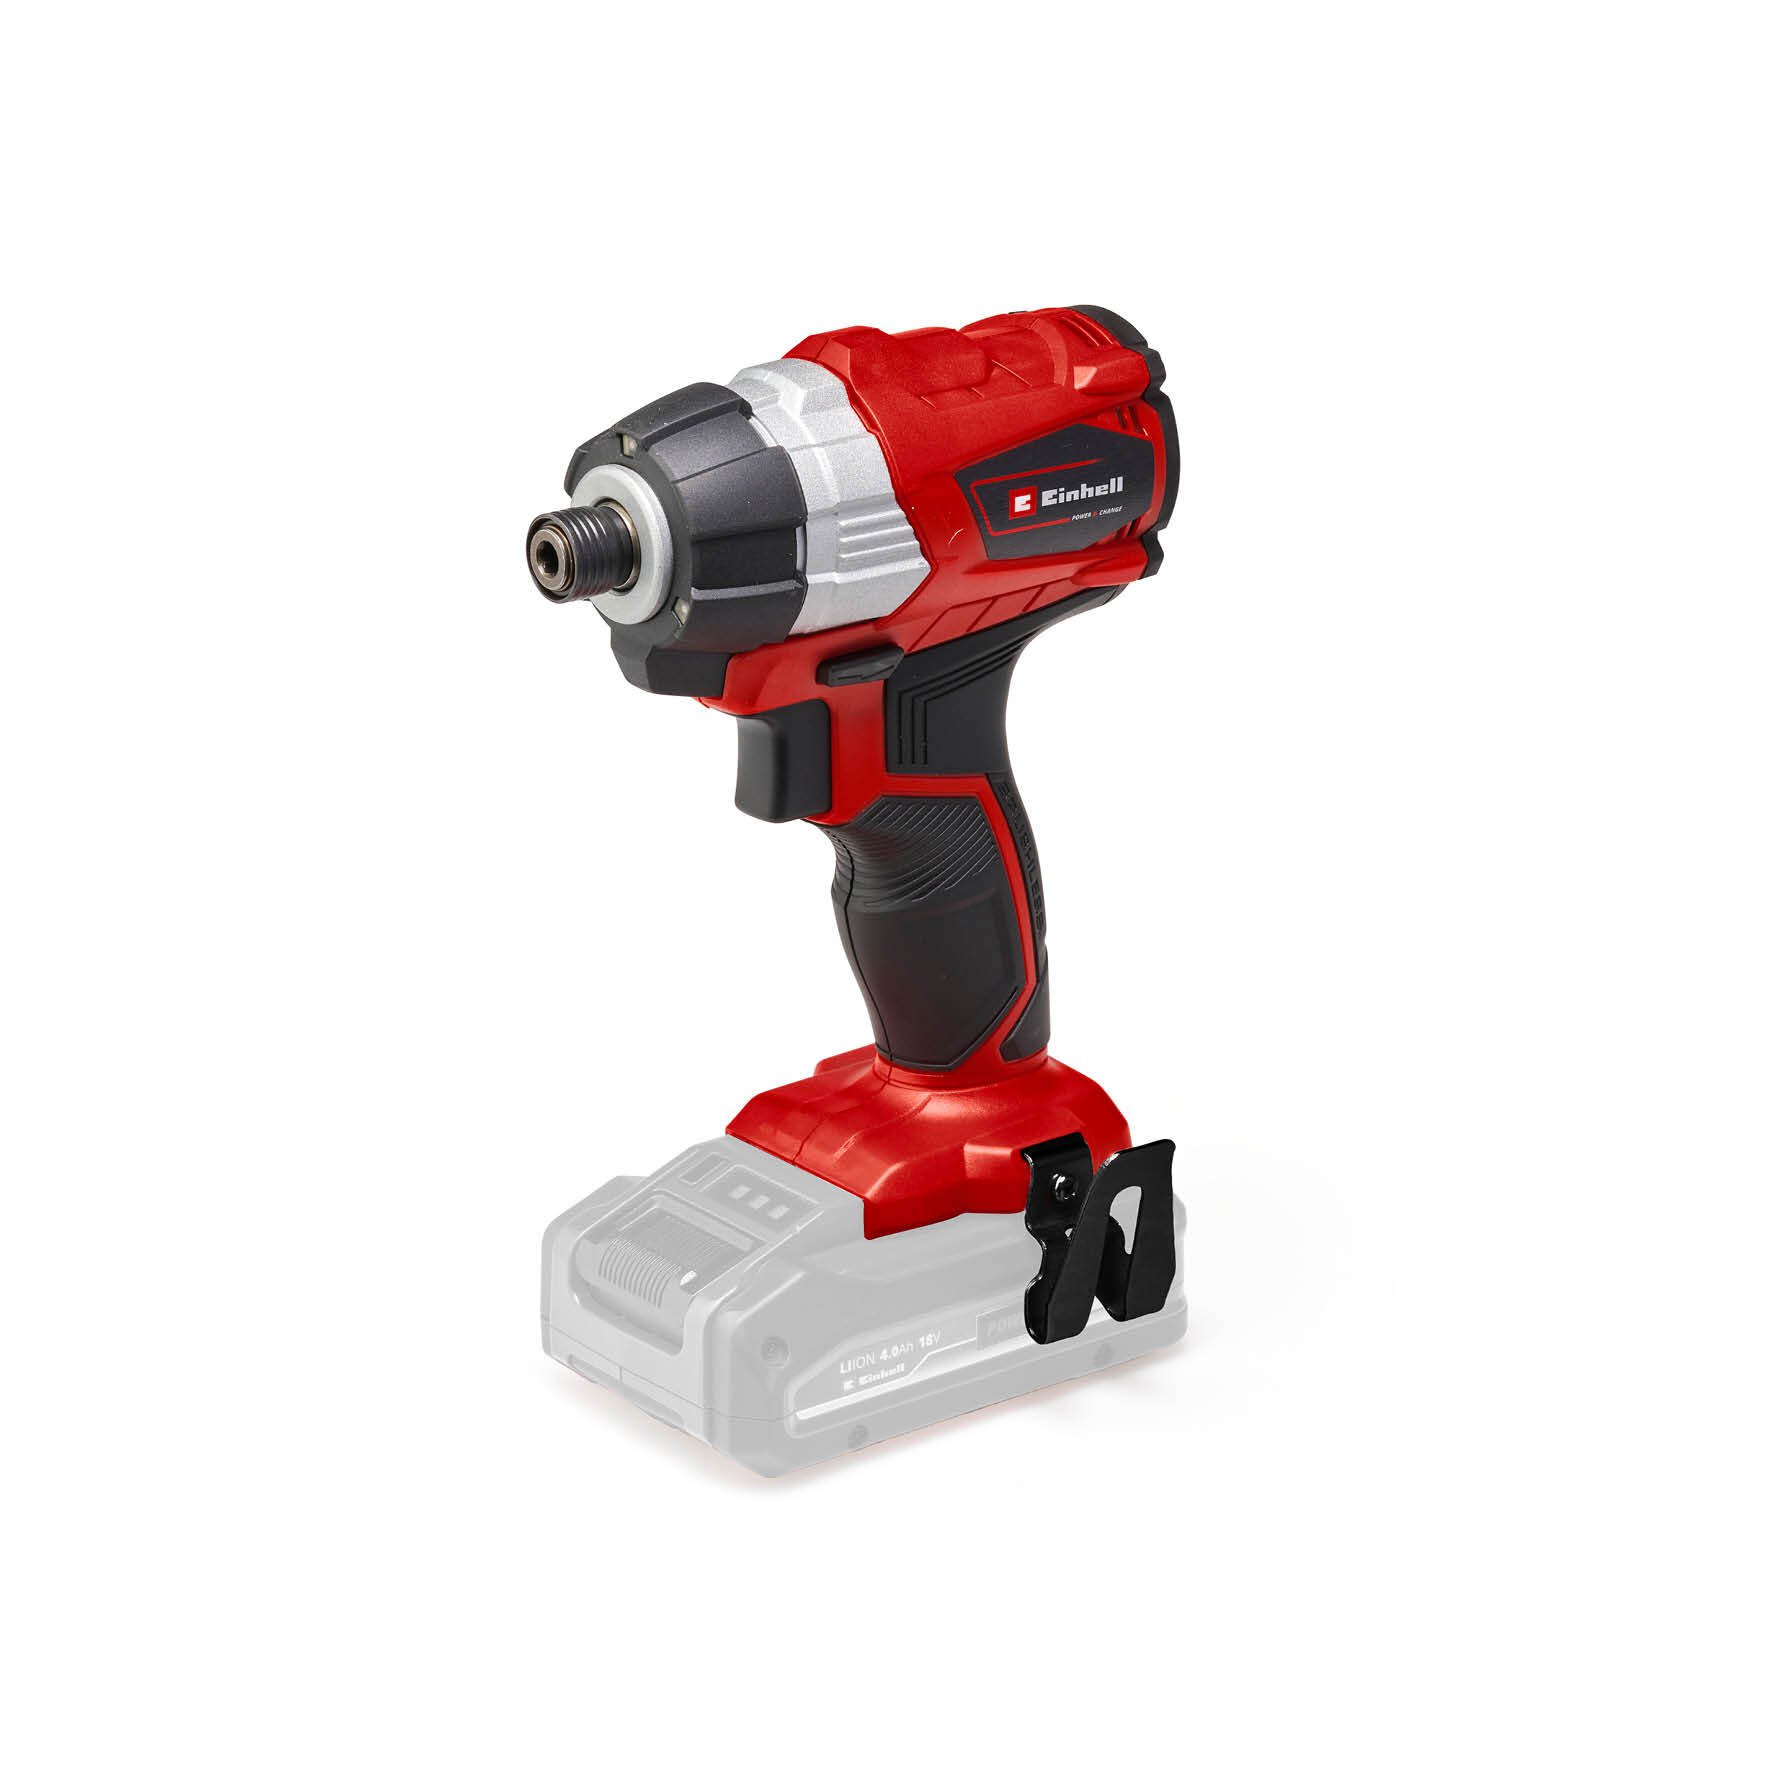
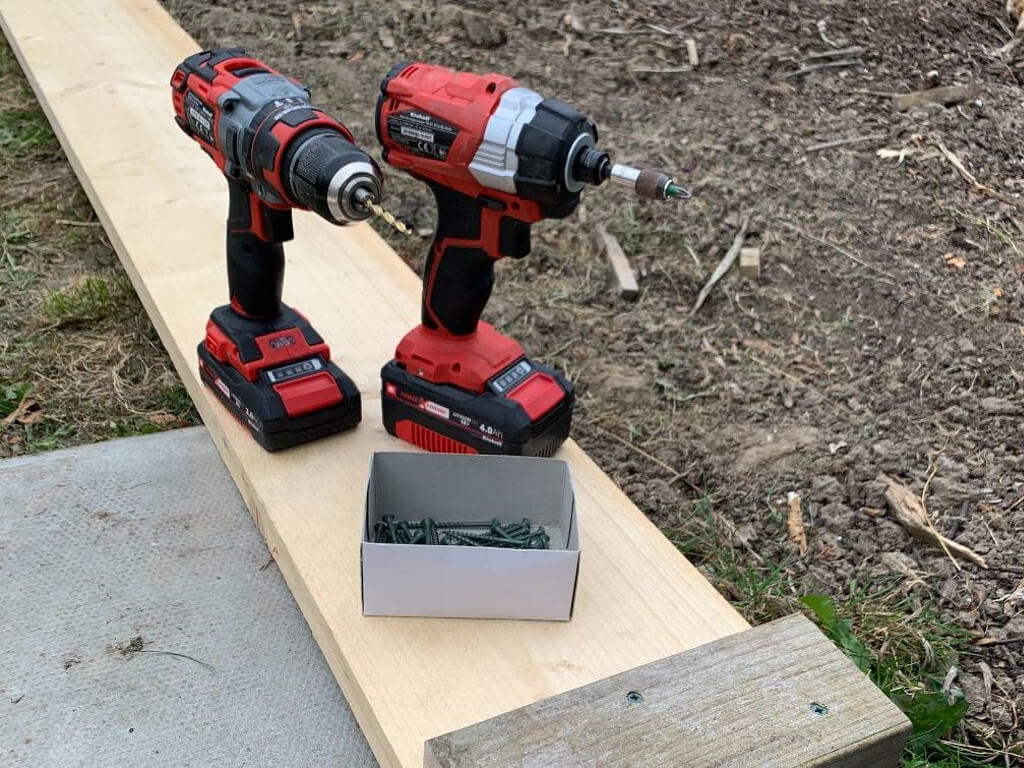
| 1 length of wood for your corner post. Ideally 2x3 | Power X-Change Impact driver – 4510030 |
| Decking or galvanised screws | Power X-Change Cordless TE-CD 18 Li-i Brushless-Solo Impact Drill |
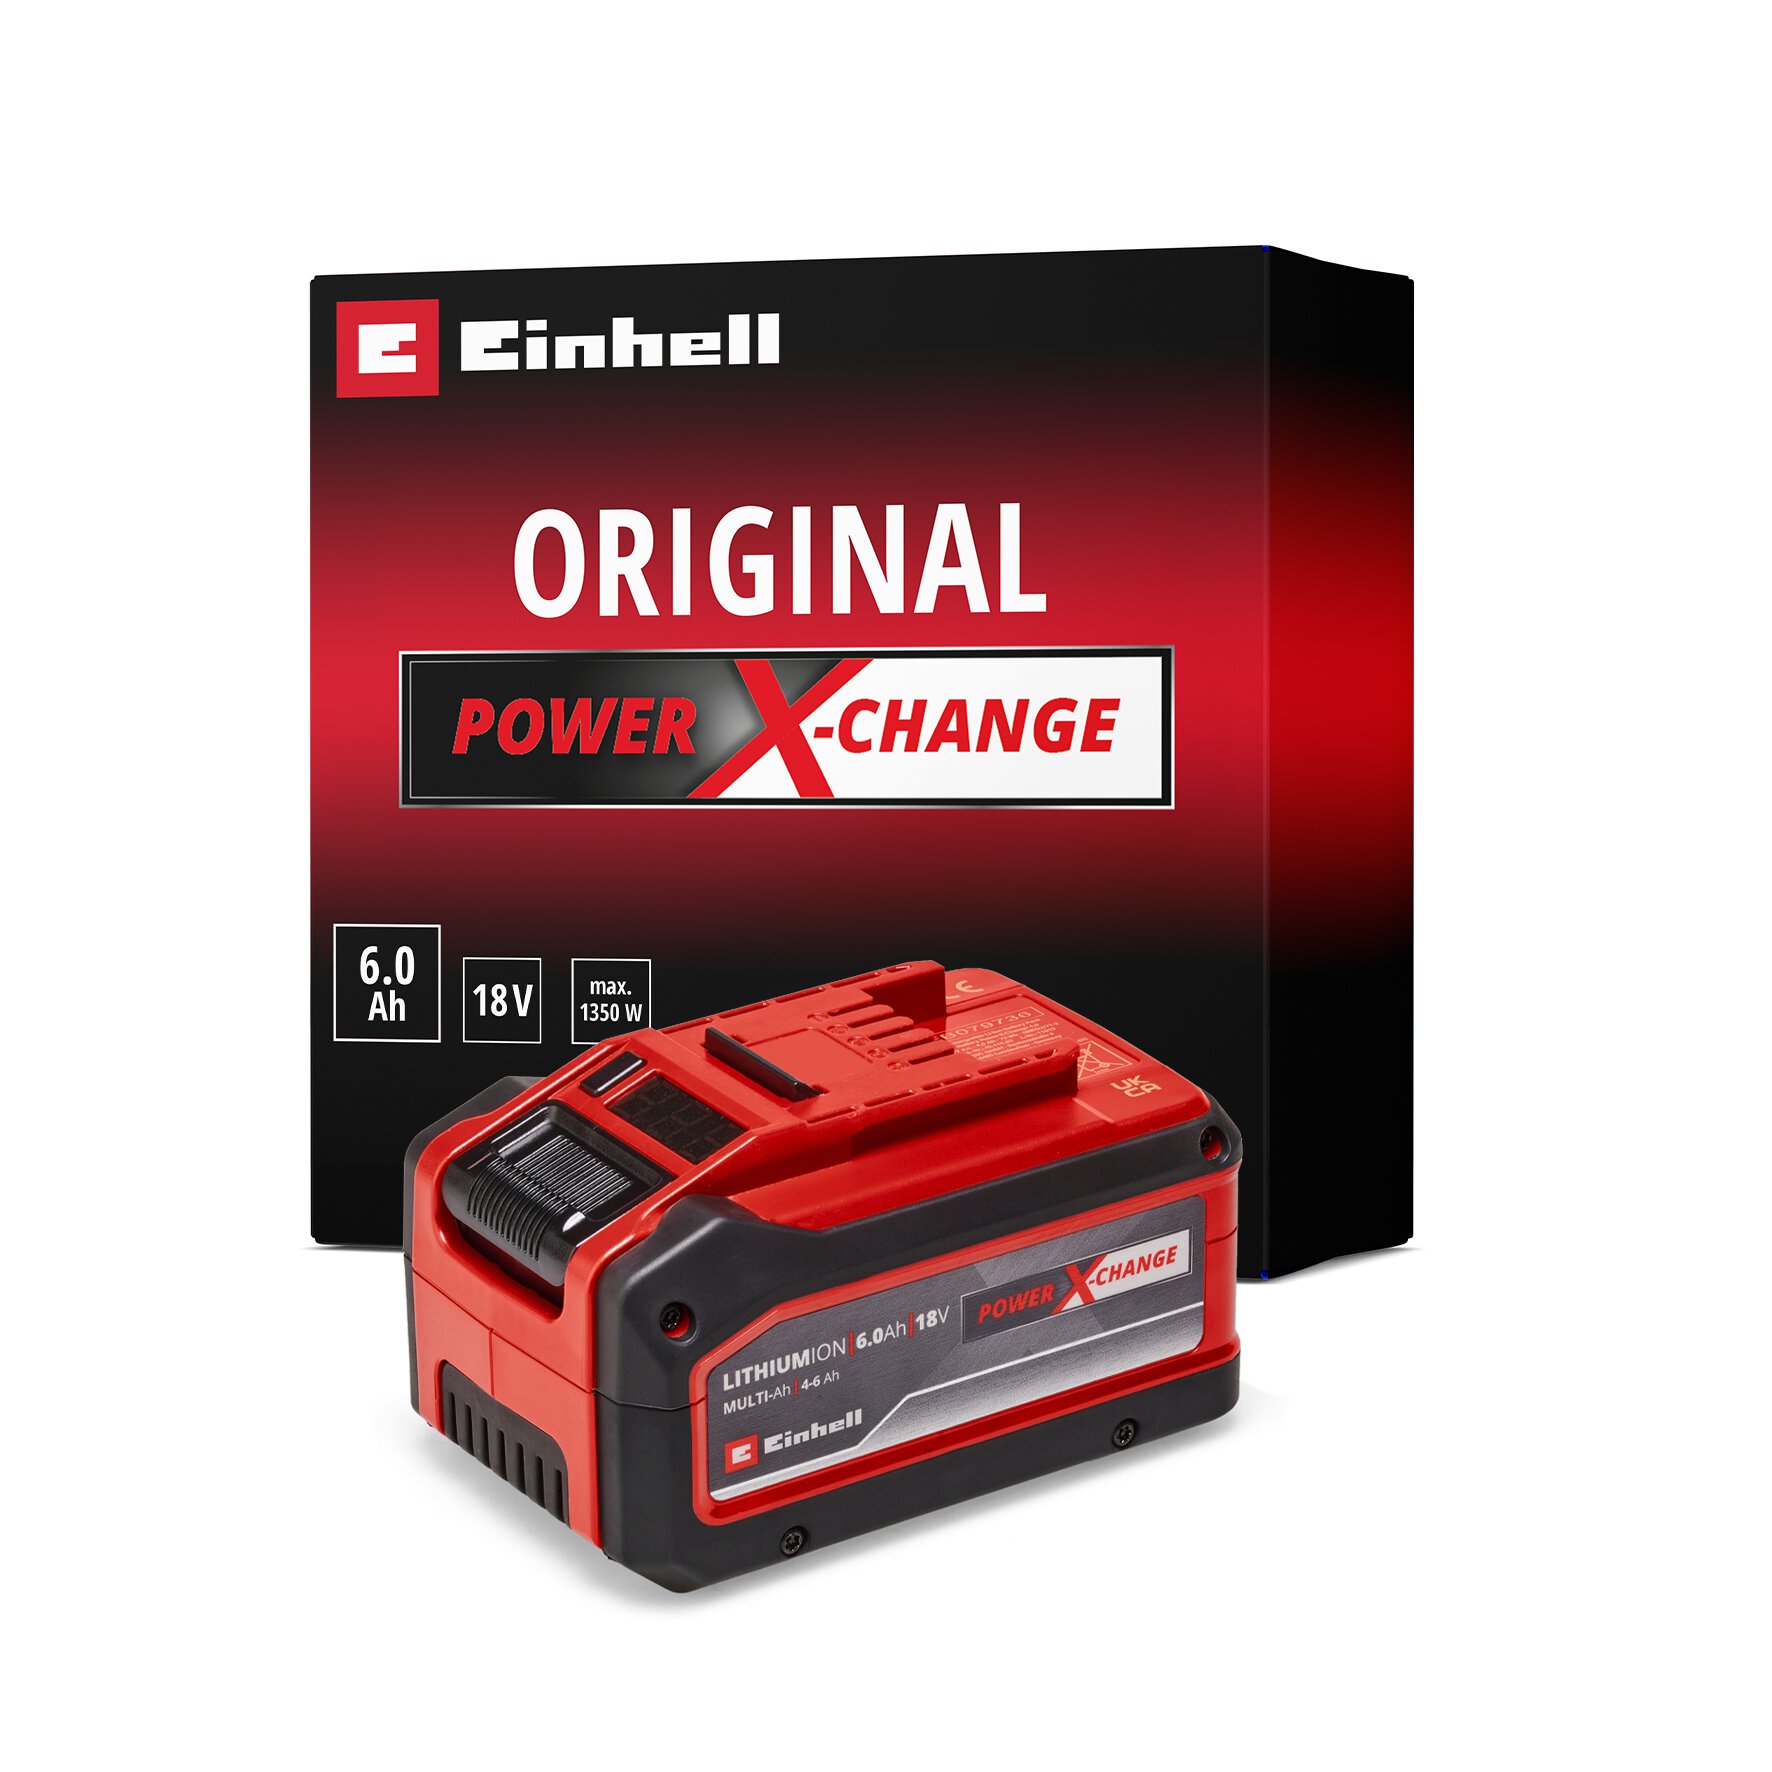
| Cardboard | 18V 4-6 Ah Multi-Ah PXC Plus – 4511502 |
| Brackets if making an angled bed | Einhell Drill And Screwdriver Bit Set 70 Piece - 4258085 |
| Hand saw | |
| Pencil | |
| Tape measure | |
| 4mm drill bit | |
| Level | |
| Twine | |
| Tent pegs | |
| Sliding bevel | |
| Mallet |

Step One:
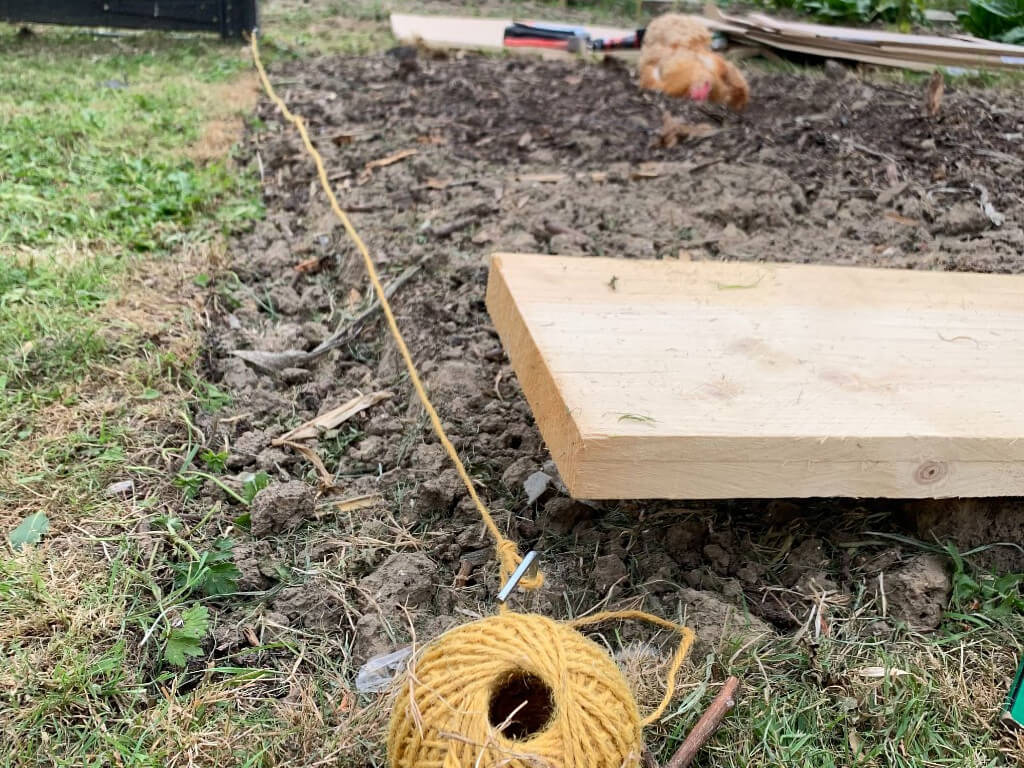
To mark out the area you want to make your raised bed on, grab some tent pegs and twine. This will give you something to measure up to. Alternatively, if your bed size doesn’t depend on the space, skip this step and get cutting.
Step Two:
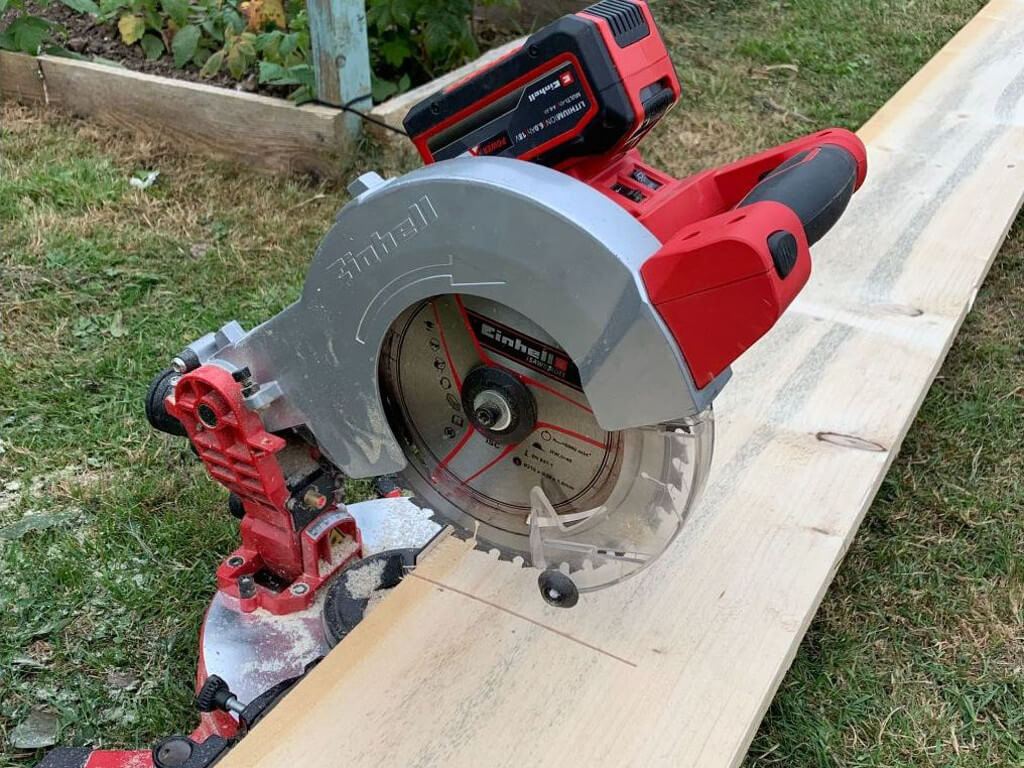
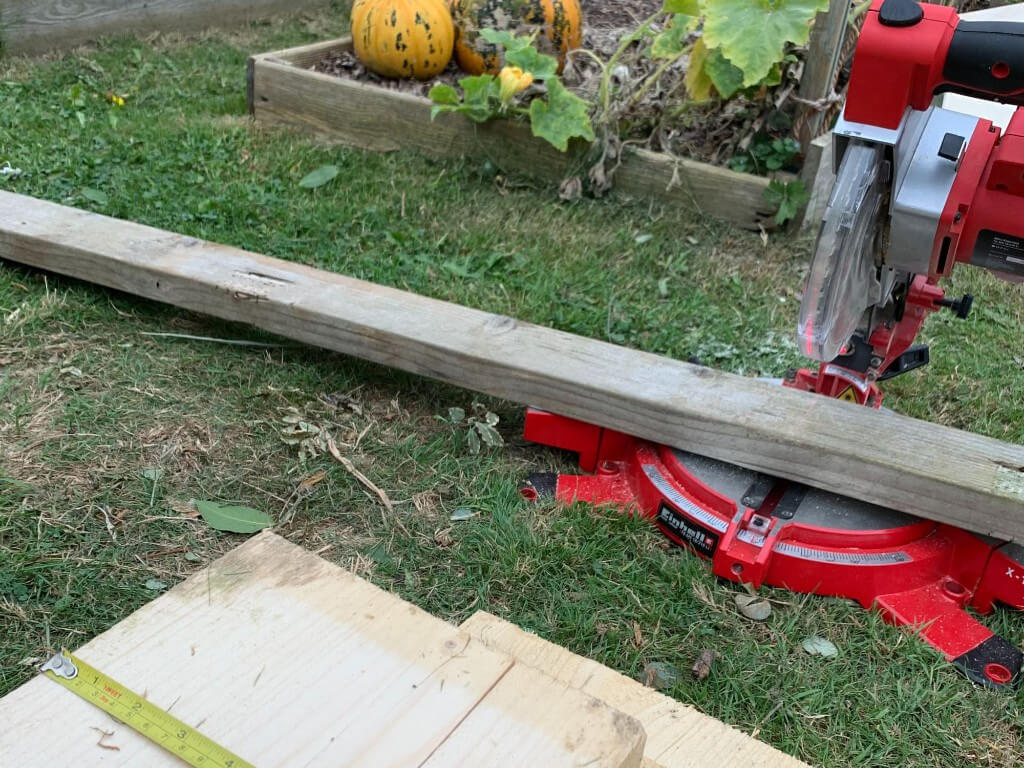
You need to measure out your first piece of wood and minus the thickness of your wood twice. The first side of my bed needs to be 2180mm in total, the wood is 40mm thick so I need to cut my first length at 2100mm. Using your mitre saw, cut the wood to length making sure that your wood has square edges if its reclaimed wood. Repeat this step for the other side of the bed.
If your wood is too wide for your mitre saw, and you don’t have a sliding mitre saw, cut through as much of the wood as possible and then flip it over to cut the rest from the other side. The laser beam on the mitre saw really helps when aligning the two cuts.
Step Three:
Next measure the depth of your wood, mine was 220mm. The wood I used for the corner posts is salvaged wood, so first I used the mitre saw to square up one end. From there I measured 220mm and cut four lengths.
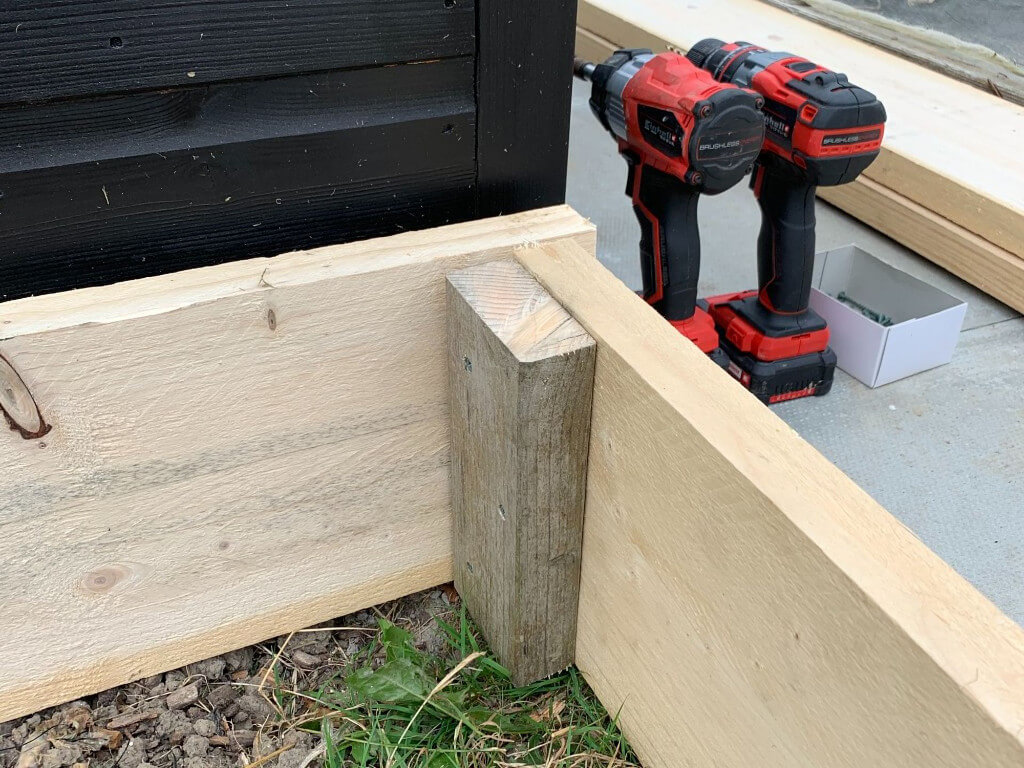
Step Four:
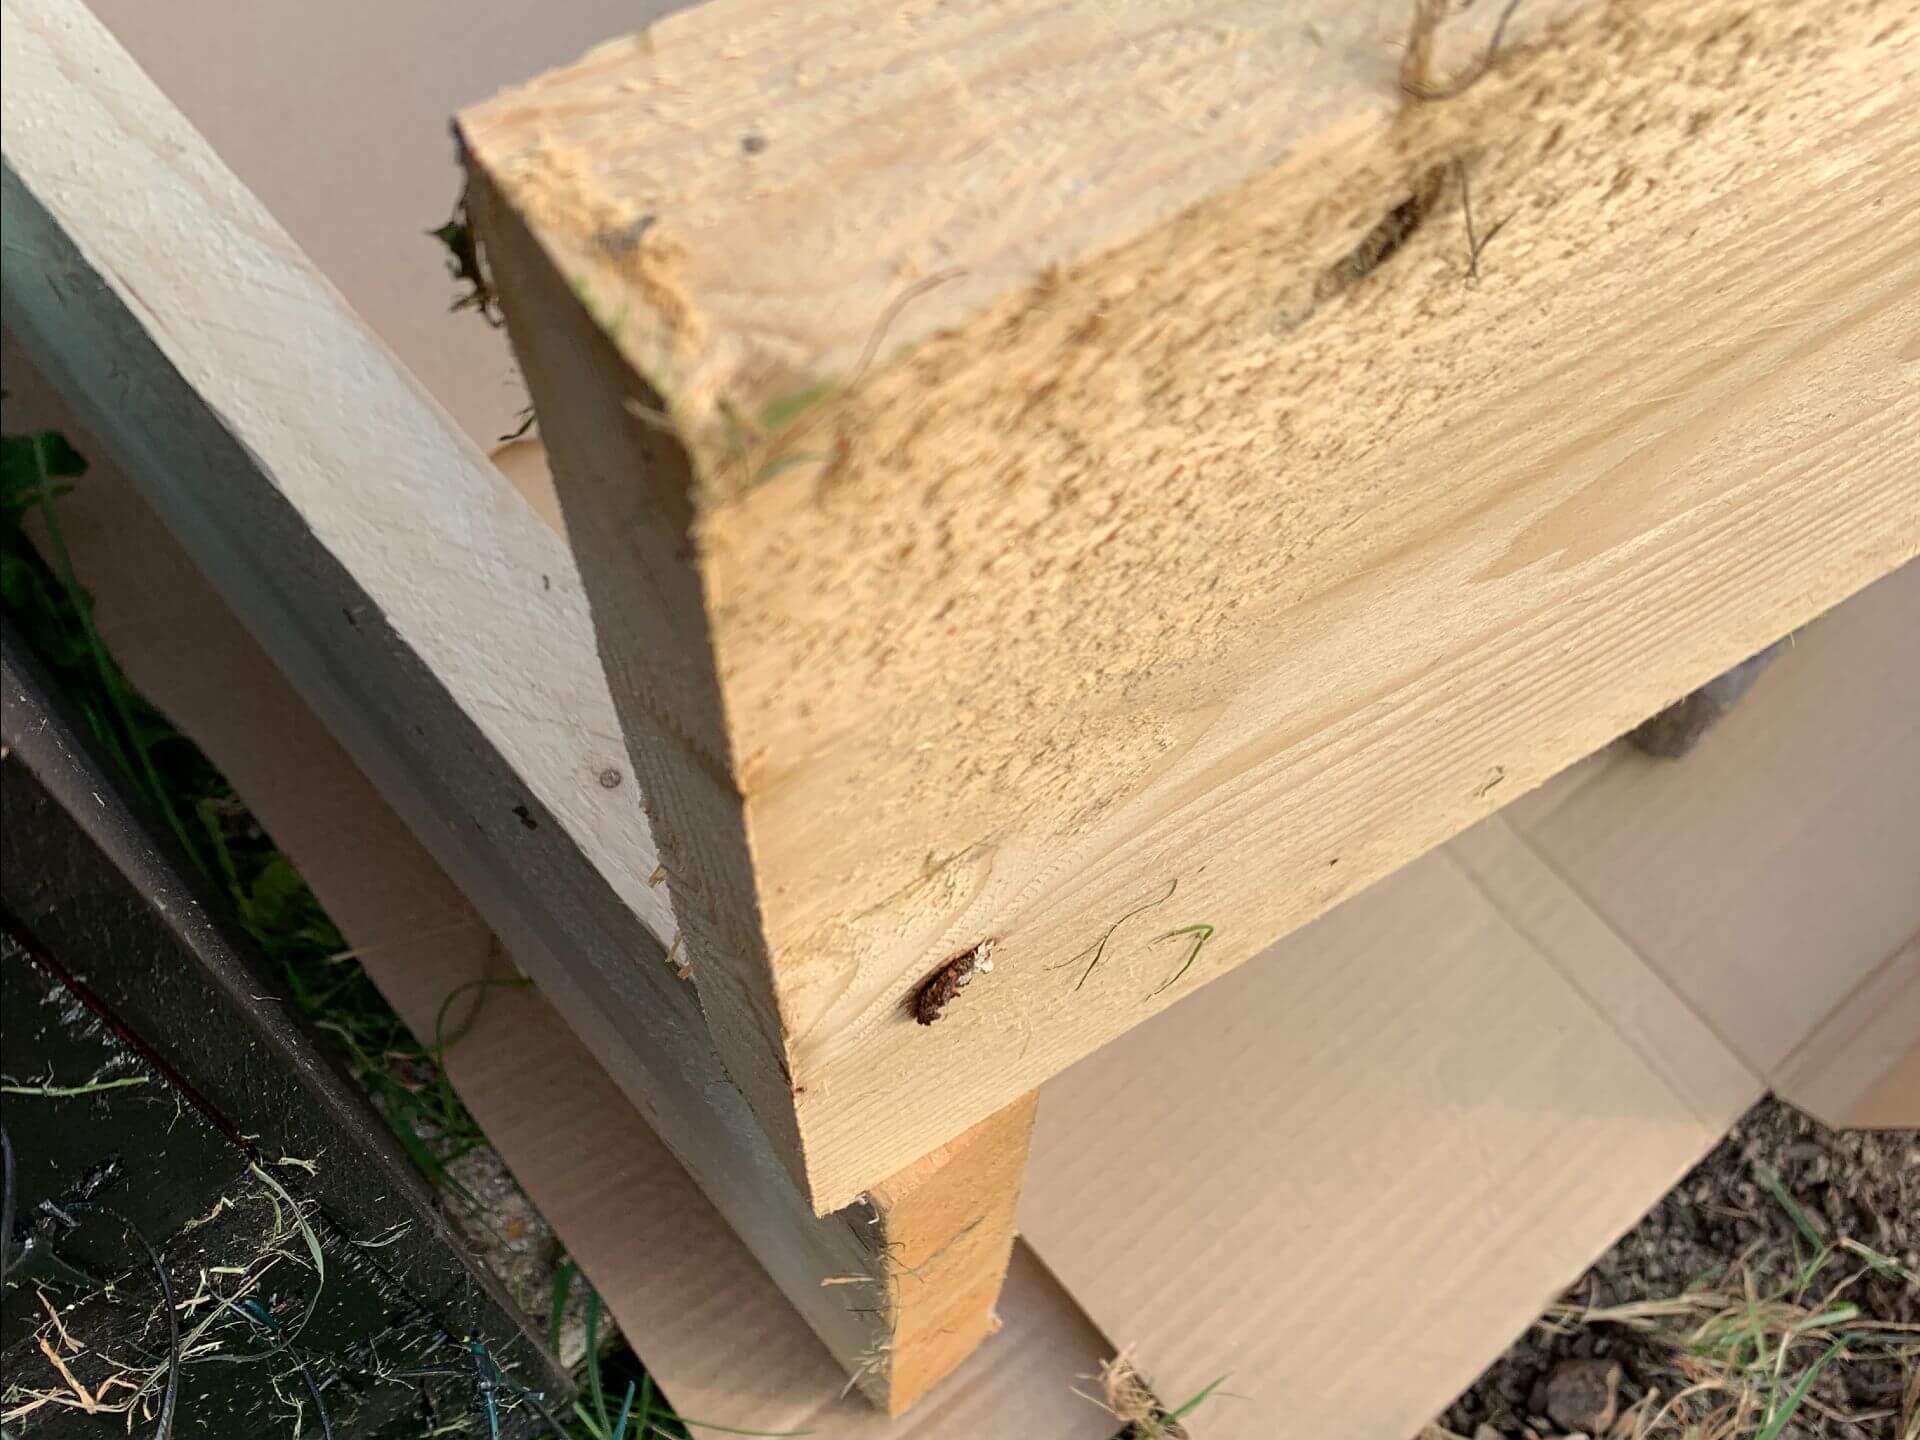
Place your corner blocks on the ends of the two lengths of wood you have cut, making sure they are flush on all three sides. Using your drill and a 4mm drill bit, drill three holes through the corner post to create a pilot hole. Screw the post to the length of wood with decking screws, making sure they are long enough to give a strong hold.
Step Five:
Position one of your side panels in the area you want the raised bed. Take your level and make sure the wood is sitting level. If it isn’t level you can either pack up the wood or dig down to make the soil level.
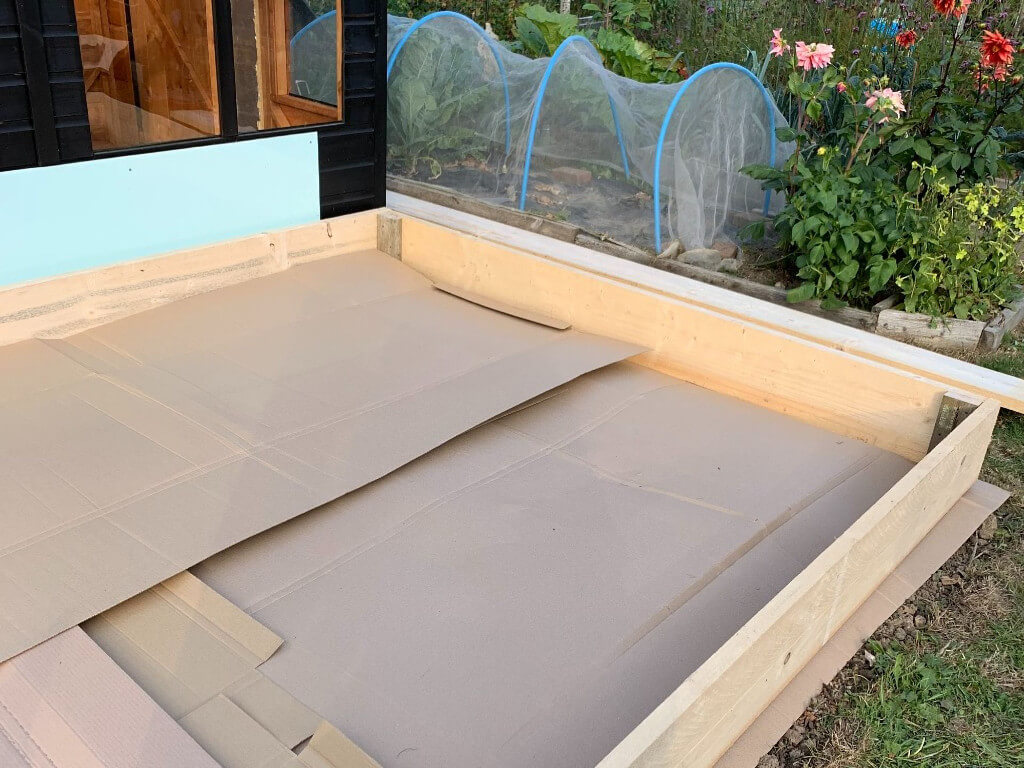
Step Six:
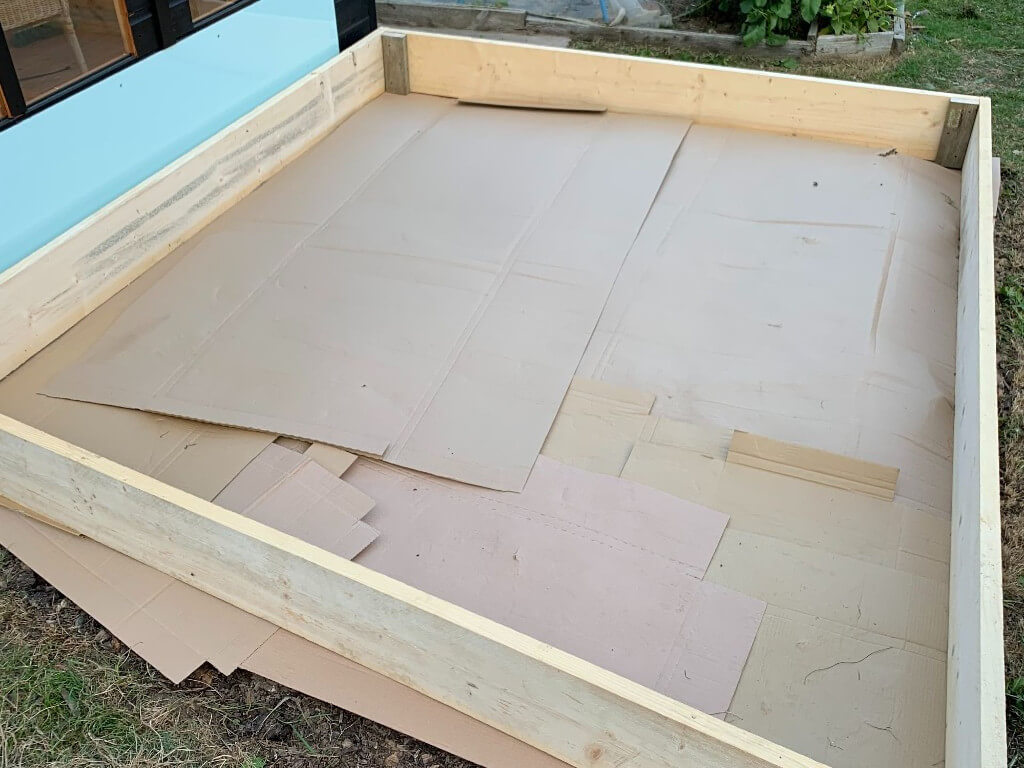
If you plan on making this a no dig raised bed, now is the time to lay out your cardboard. Make sure all tape is removed from the cardboard, otherwise you’ll be digging up tape with your potatoes for years to come. To supress the weeds as much as possible, lay the cardboard underneath your wooden bed.
Step Seven:
Measure the distance between the two sides, this will give you your last measurement to cut the remaining two planks to. Cut using your mitre saw.
Step Eight:
Position your last two cut lengths in place, again making sure they are level. Starting at one of the corners, drill three pilot holes to line up with corner post, not with the side panel. Your sides will not be screwed together, but instead both screwed to the corner post. Screw together with your impact driver and decking screws.
Step Nine:
Now that its all fixed together, you’re ready to start filling your bed. I will be adding a layer of organic matter that hasn’t yet decomposed. I’ll then add a mixture of compost and well-rotted manure.
Steps for an angled bed:
In the video I show how to make half of my bed square, with the other half angled to fit the space I have to maximise my growing area.
Repeat steps 1 & 2
Step Three:
Once you have two sides of your raised bed in place and level, measure the distance between your two boards and add 80mm. Cut your piece of wood to length.
Step Four:
Take your board over to your raised bed area and balance the board on top of the other boards using that 80mm overhang you added to the measurement.
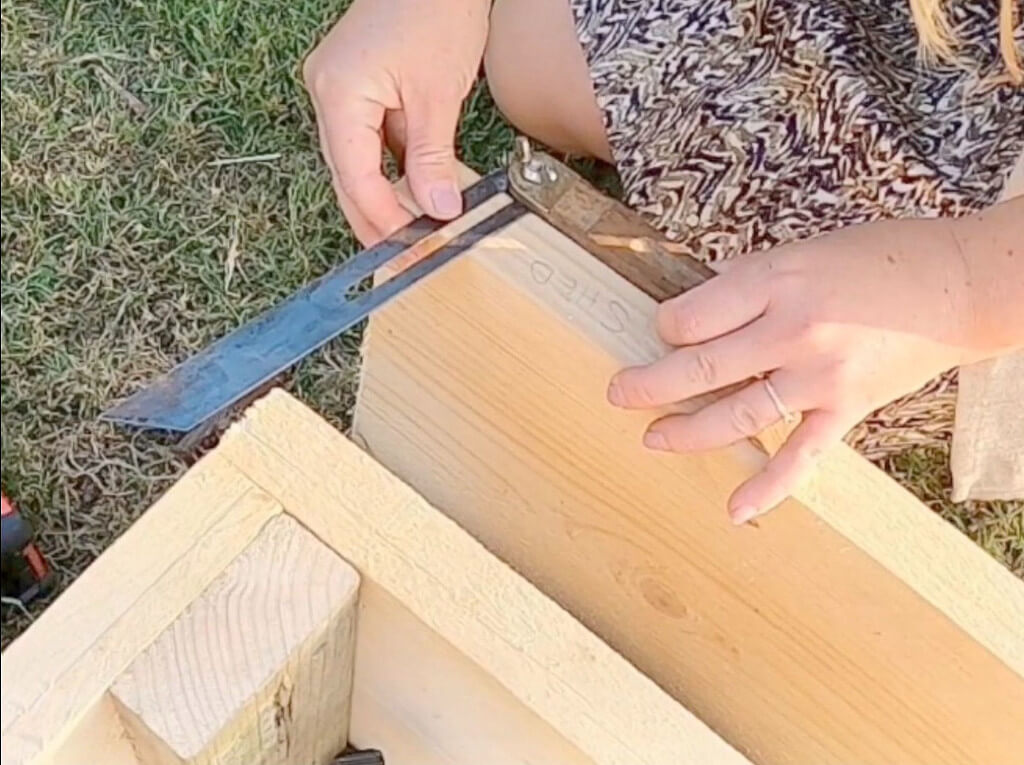
Step Five:
Taking a pencil, mark the underside of your board that is up in the air, where the two boards meet. Once done, take it down and flip it over so you can see the lines. Using your sliding bevel, place the wooden handle flat to the wood and adjust the bevel to match the pencil line.
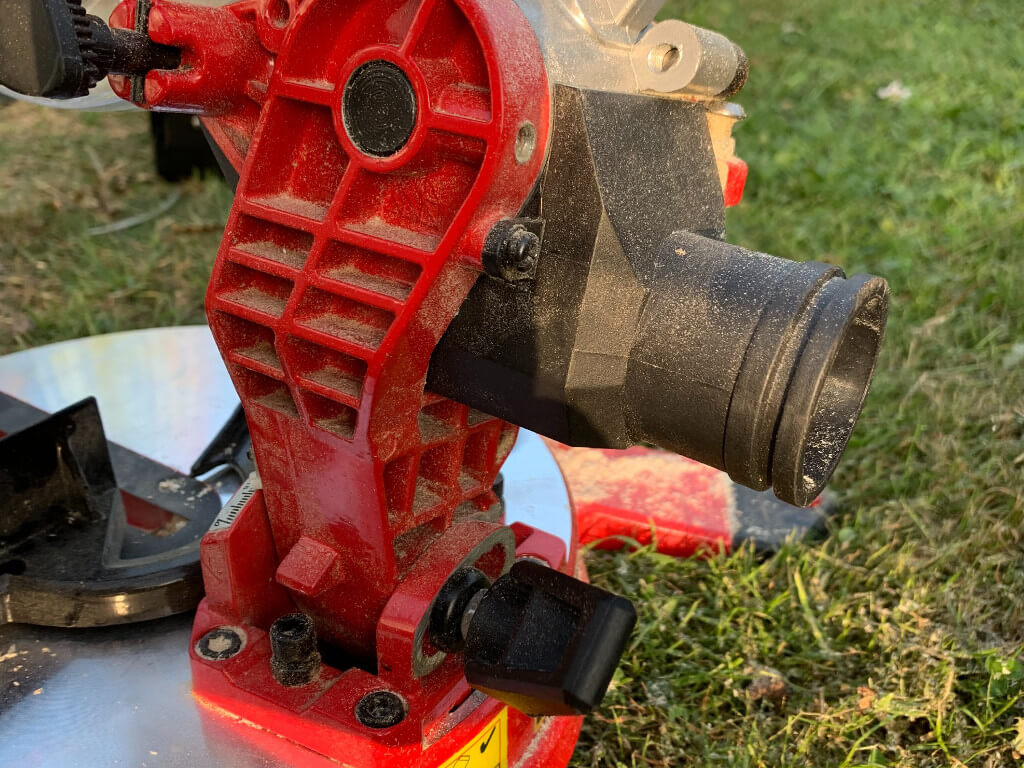
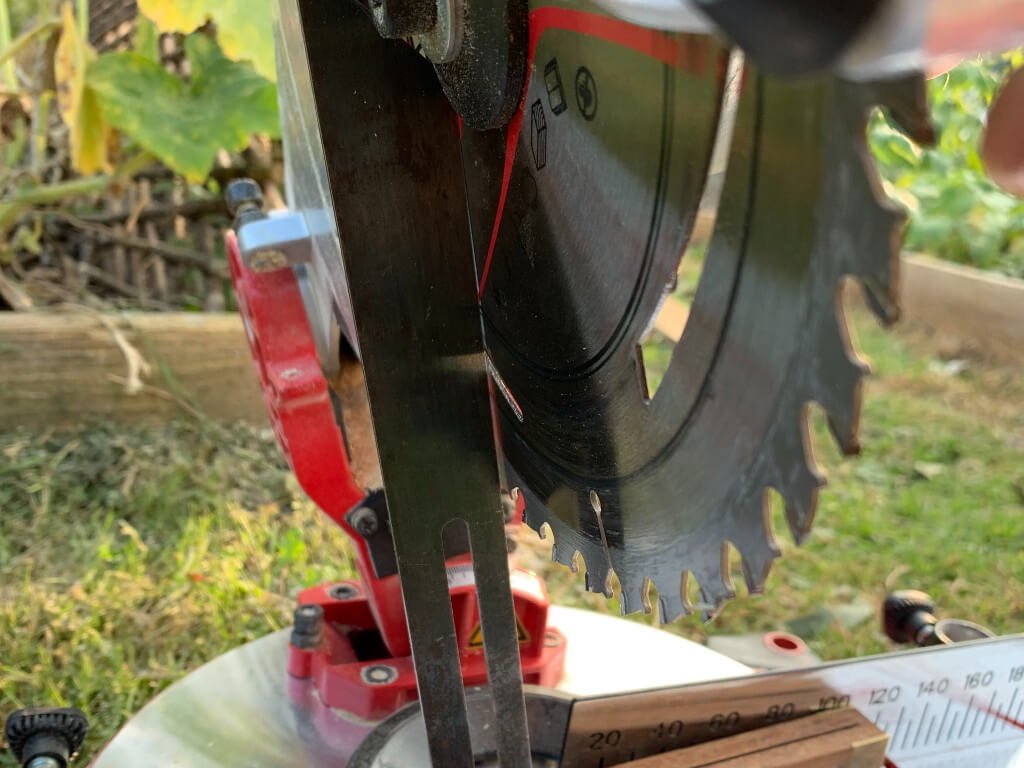
Step Six:
Now you have your angle, you can adjust your mitre saw to match. First, take the battery out of your mitre saw to ensure it doesn’t accidentally turn on. Loosen the knob on the back of the mitre saw and push the blade over to the sliding bevel until its perpendicular. Tighten the knob to secure in place.
Step Seven:
Put your battery back in the mitre saw and cut your angle, following your pencil line. If you don’t have a sliding mitre saw, cut as much as you can and finish off with a handsaw.

Step Eight:
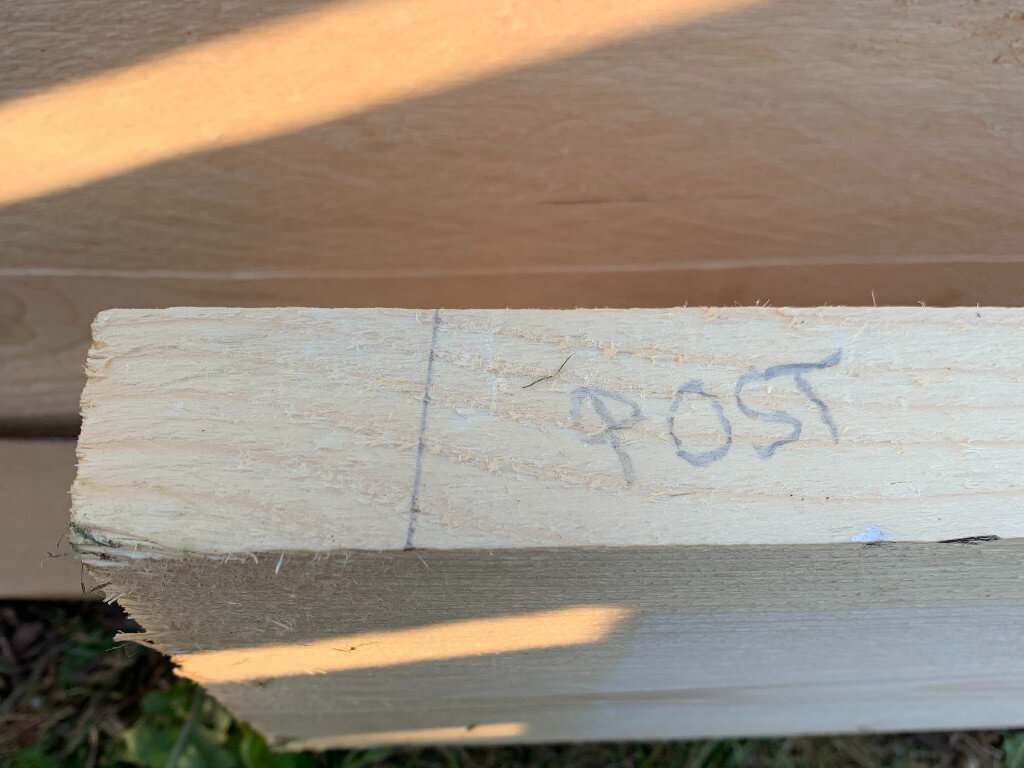
Repeat the step for the other end, remembering that the other end may be a different angle. I found it easiest to label each end of the wood so I didn’t get confused.
Step Nine:
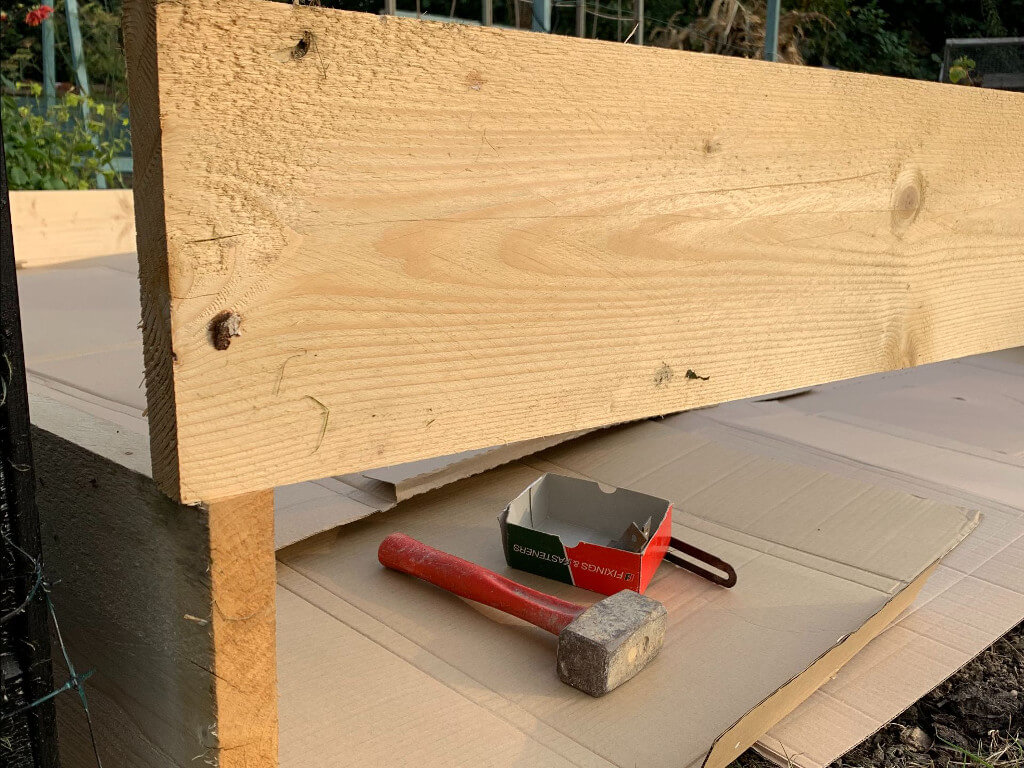
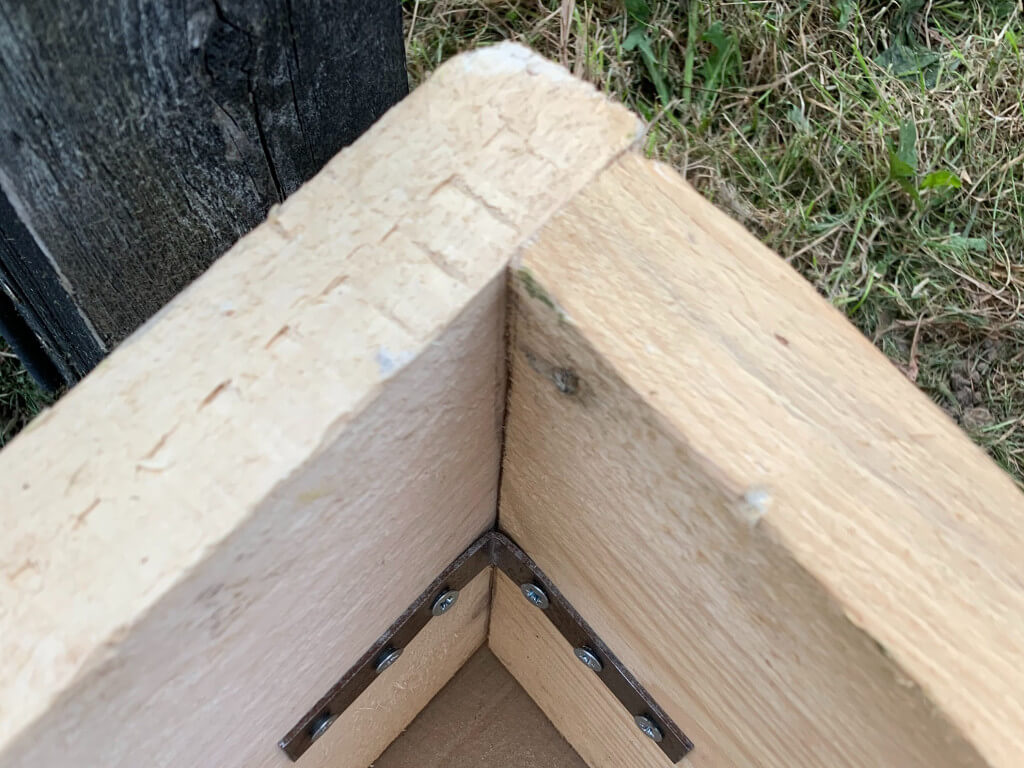
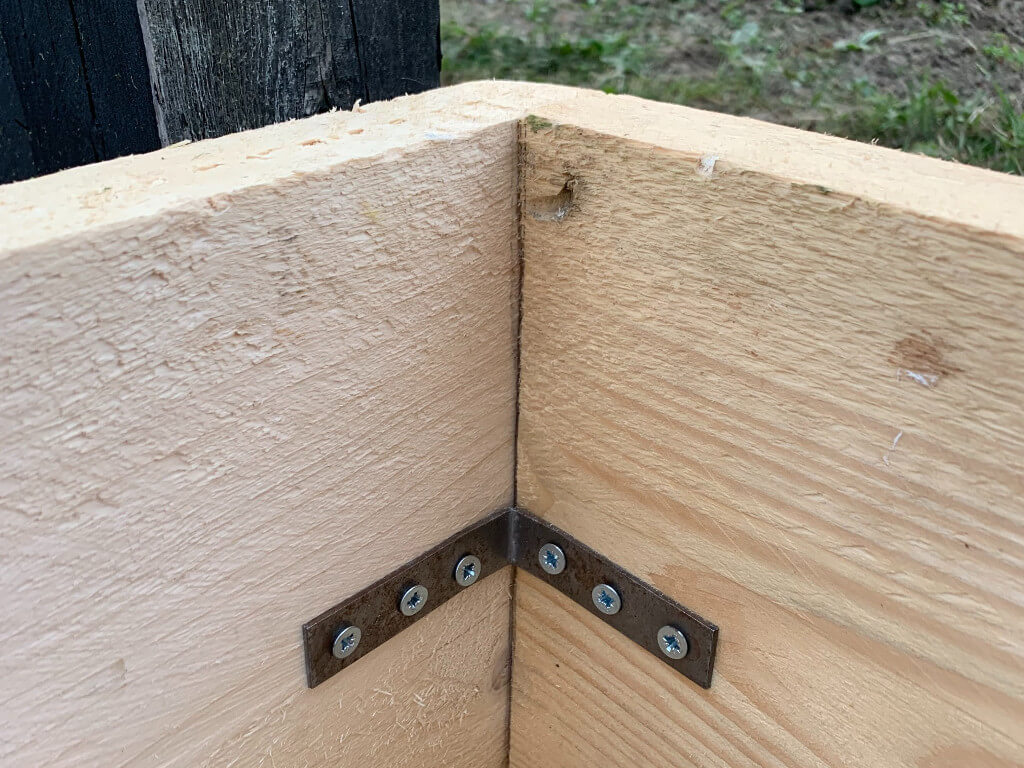
To fix the raised bed together you will need to use brackets. You will need at least two L shape brackets on each corner. Take a mallet and hammer the brackets into the angle you require for the bed.
Step Ten:
Place your boards so they are level and flush in the corner. Mark a pencil line on the inside of your boards, where they join in the corner. This will give you a line to secure your bracket up to so you don’t have to hold everything in place all at once.
Step Eleven:
Take your impact driver and use galvanised screws to attach the bracket to your first board on the line. Once fixed, bring the second board up, making sure its flush and level and screw the bracket to the second board. Repeat for the second bracket.
Step Twelve:
Repeat on the other side of your bed and then fill your bed!