How to install guttering
Harvesting rainwater is simple and effective. Not only does it reduce your water consumption, but your plants will receive more nutrients than tap water. You can harvest water off any structure; however, a shed is the simplest. In the video I demonstrate how to install guttering on a pent roof but I will also discuss how to do this for an apex roof at the end of this blog.

Here’s the materials and the equipment that you will need:
| Material | Tools |
|---|---|
| Lengths of guttering for your shed | Power X-Change Cordless TE-CD 18 Li-i Brushless-Solo Impact Drill |
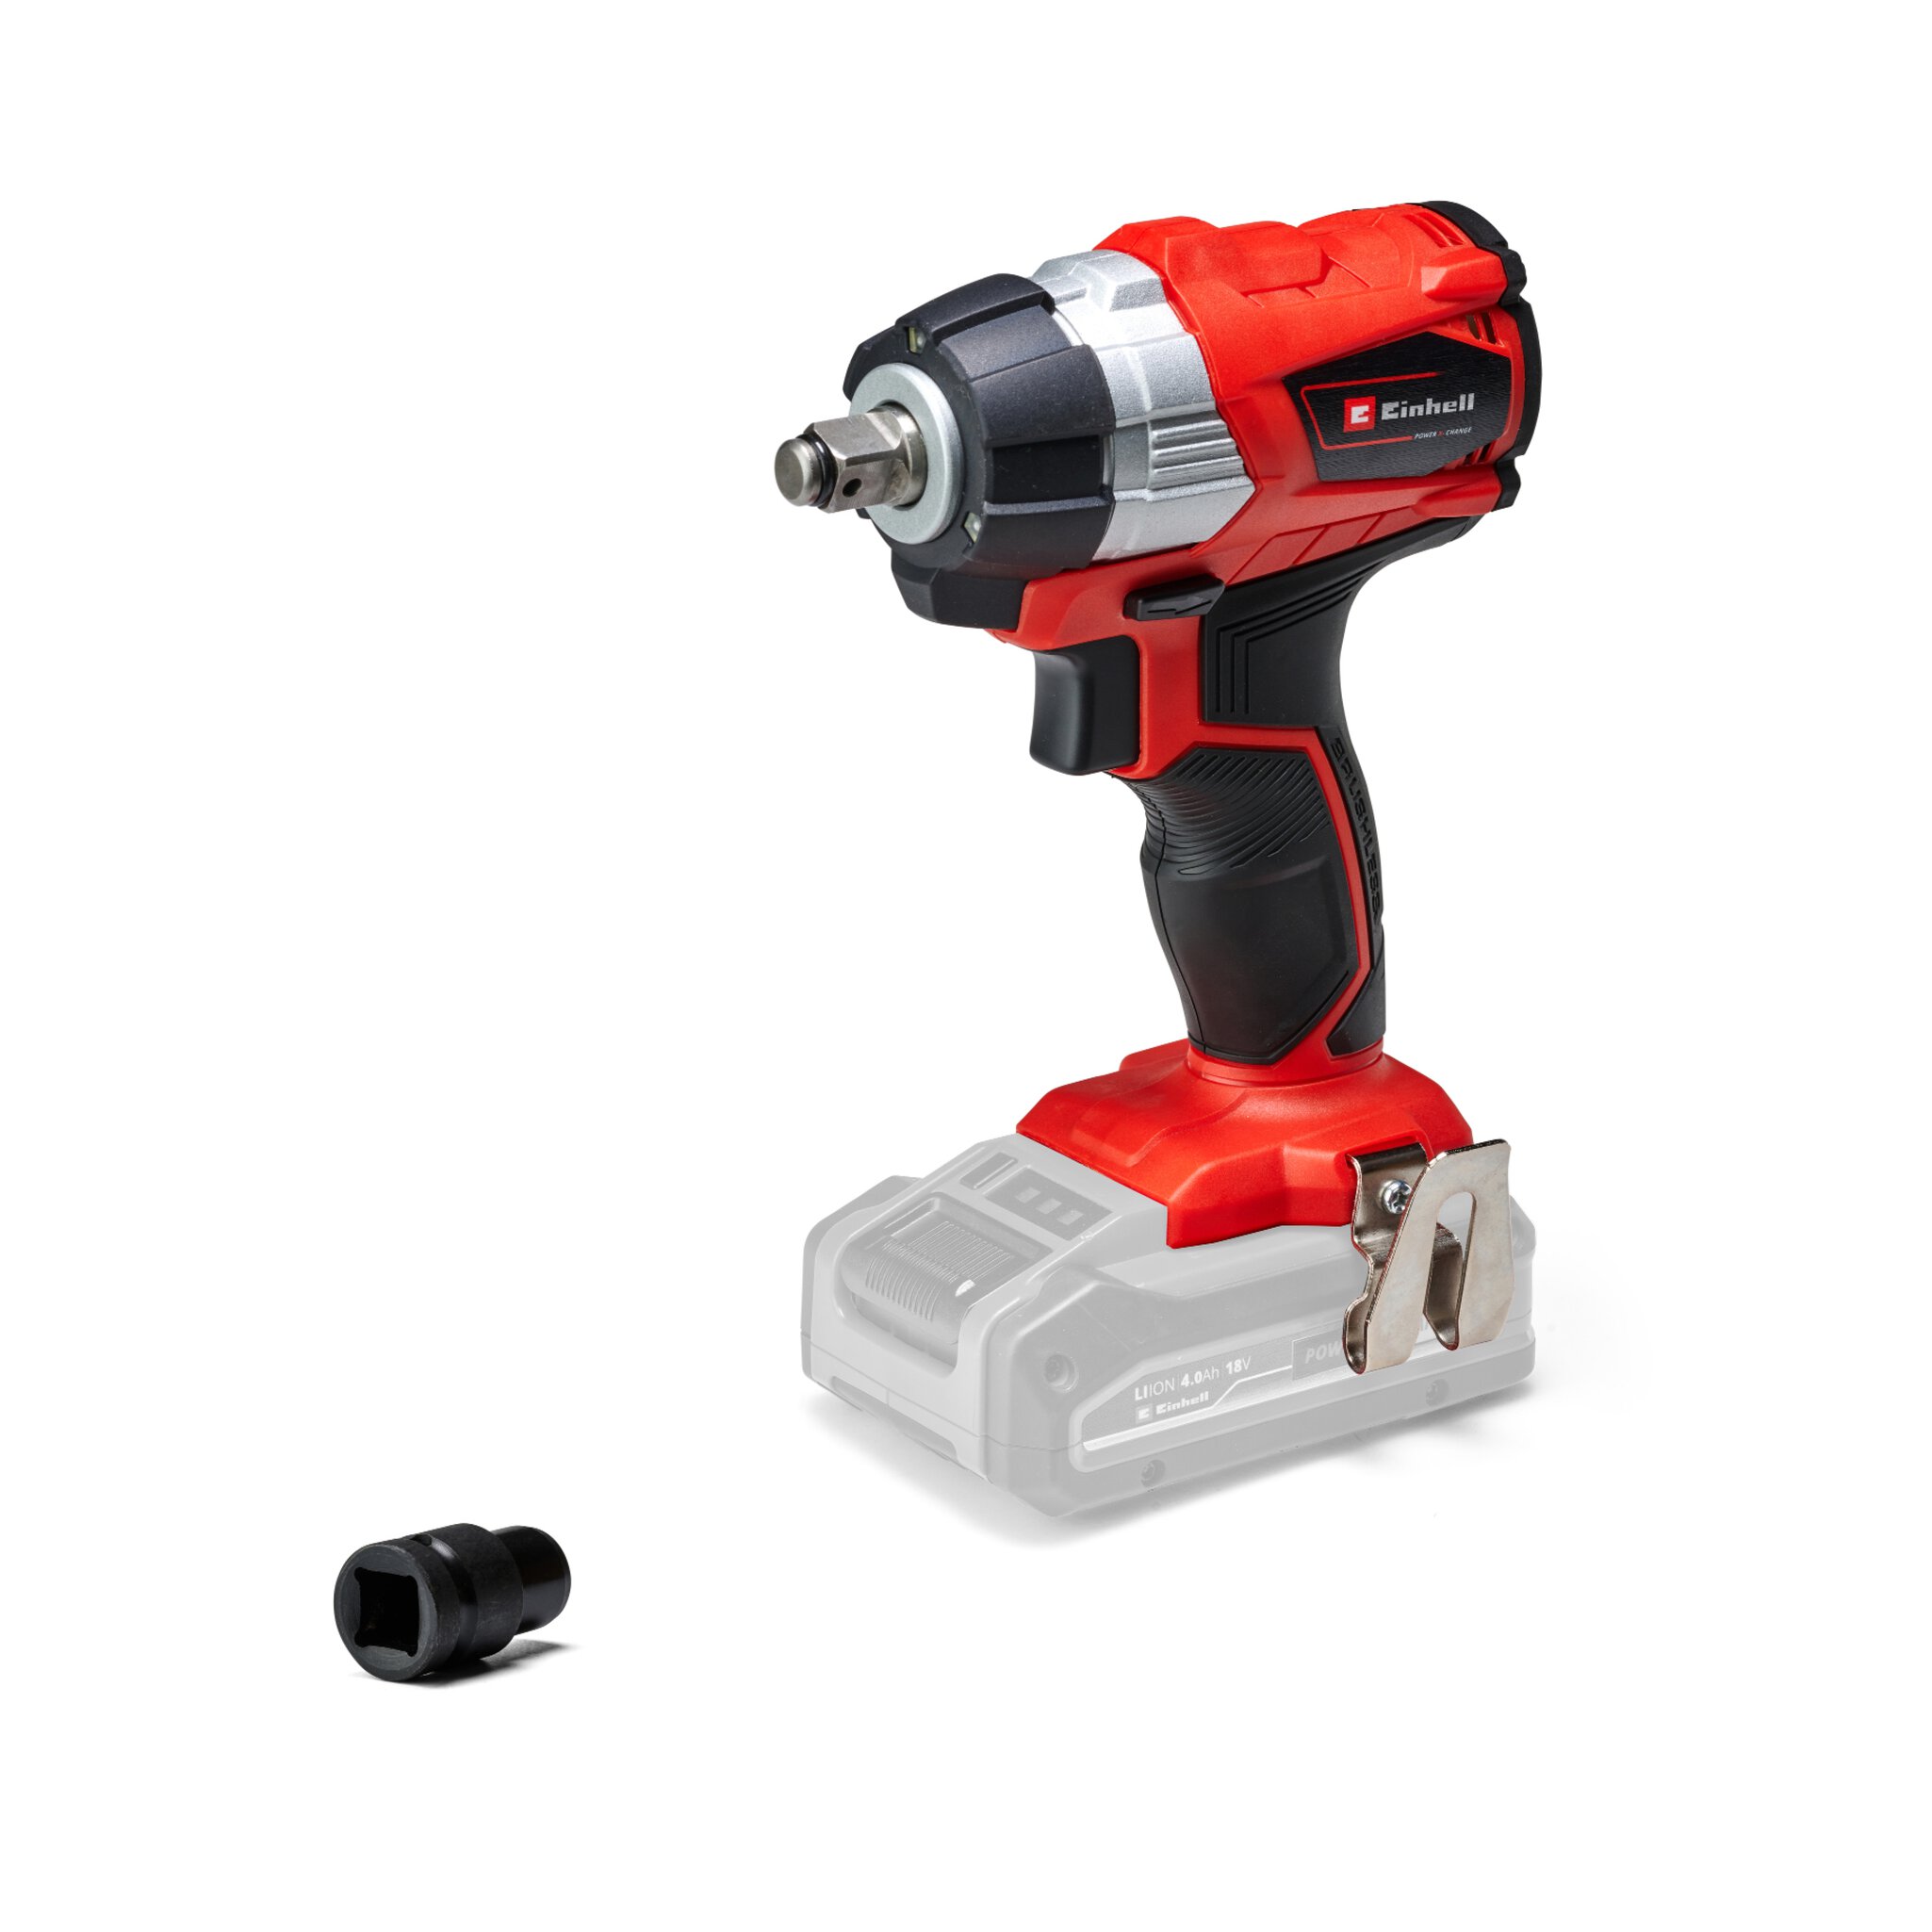
| Down pipe | Power X-Change Cordless TE-CI 18 Li Brushless-Solo Impact driver |
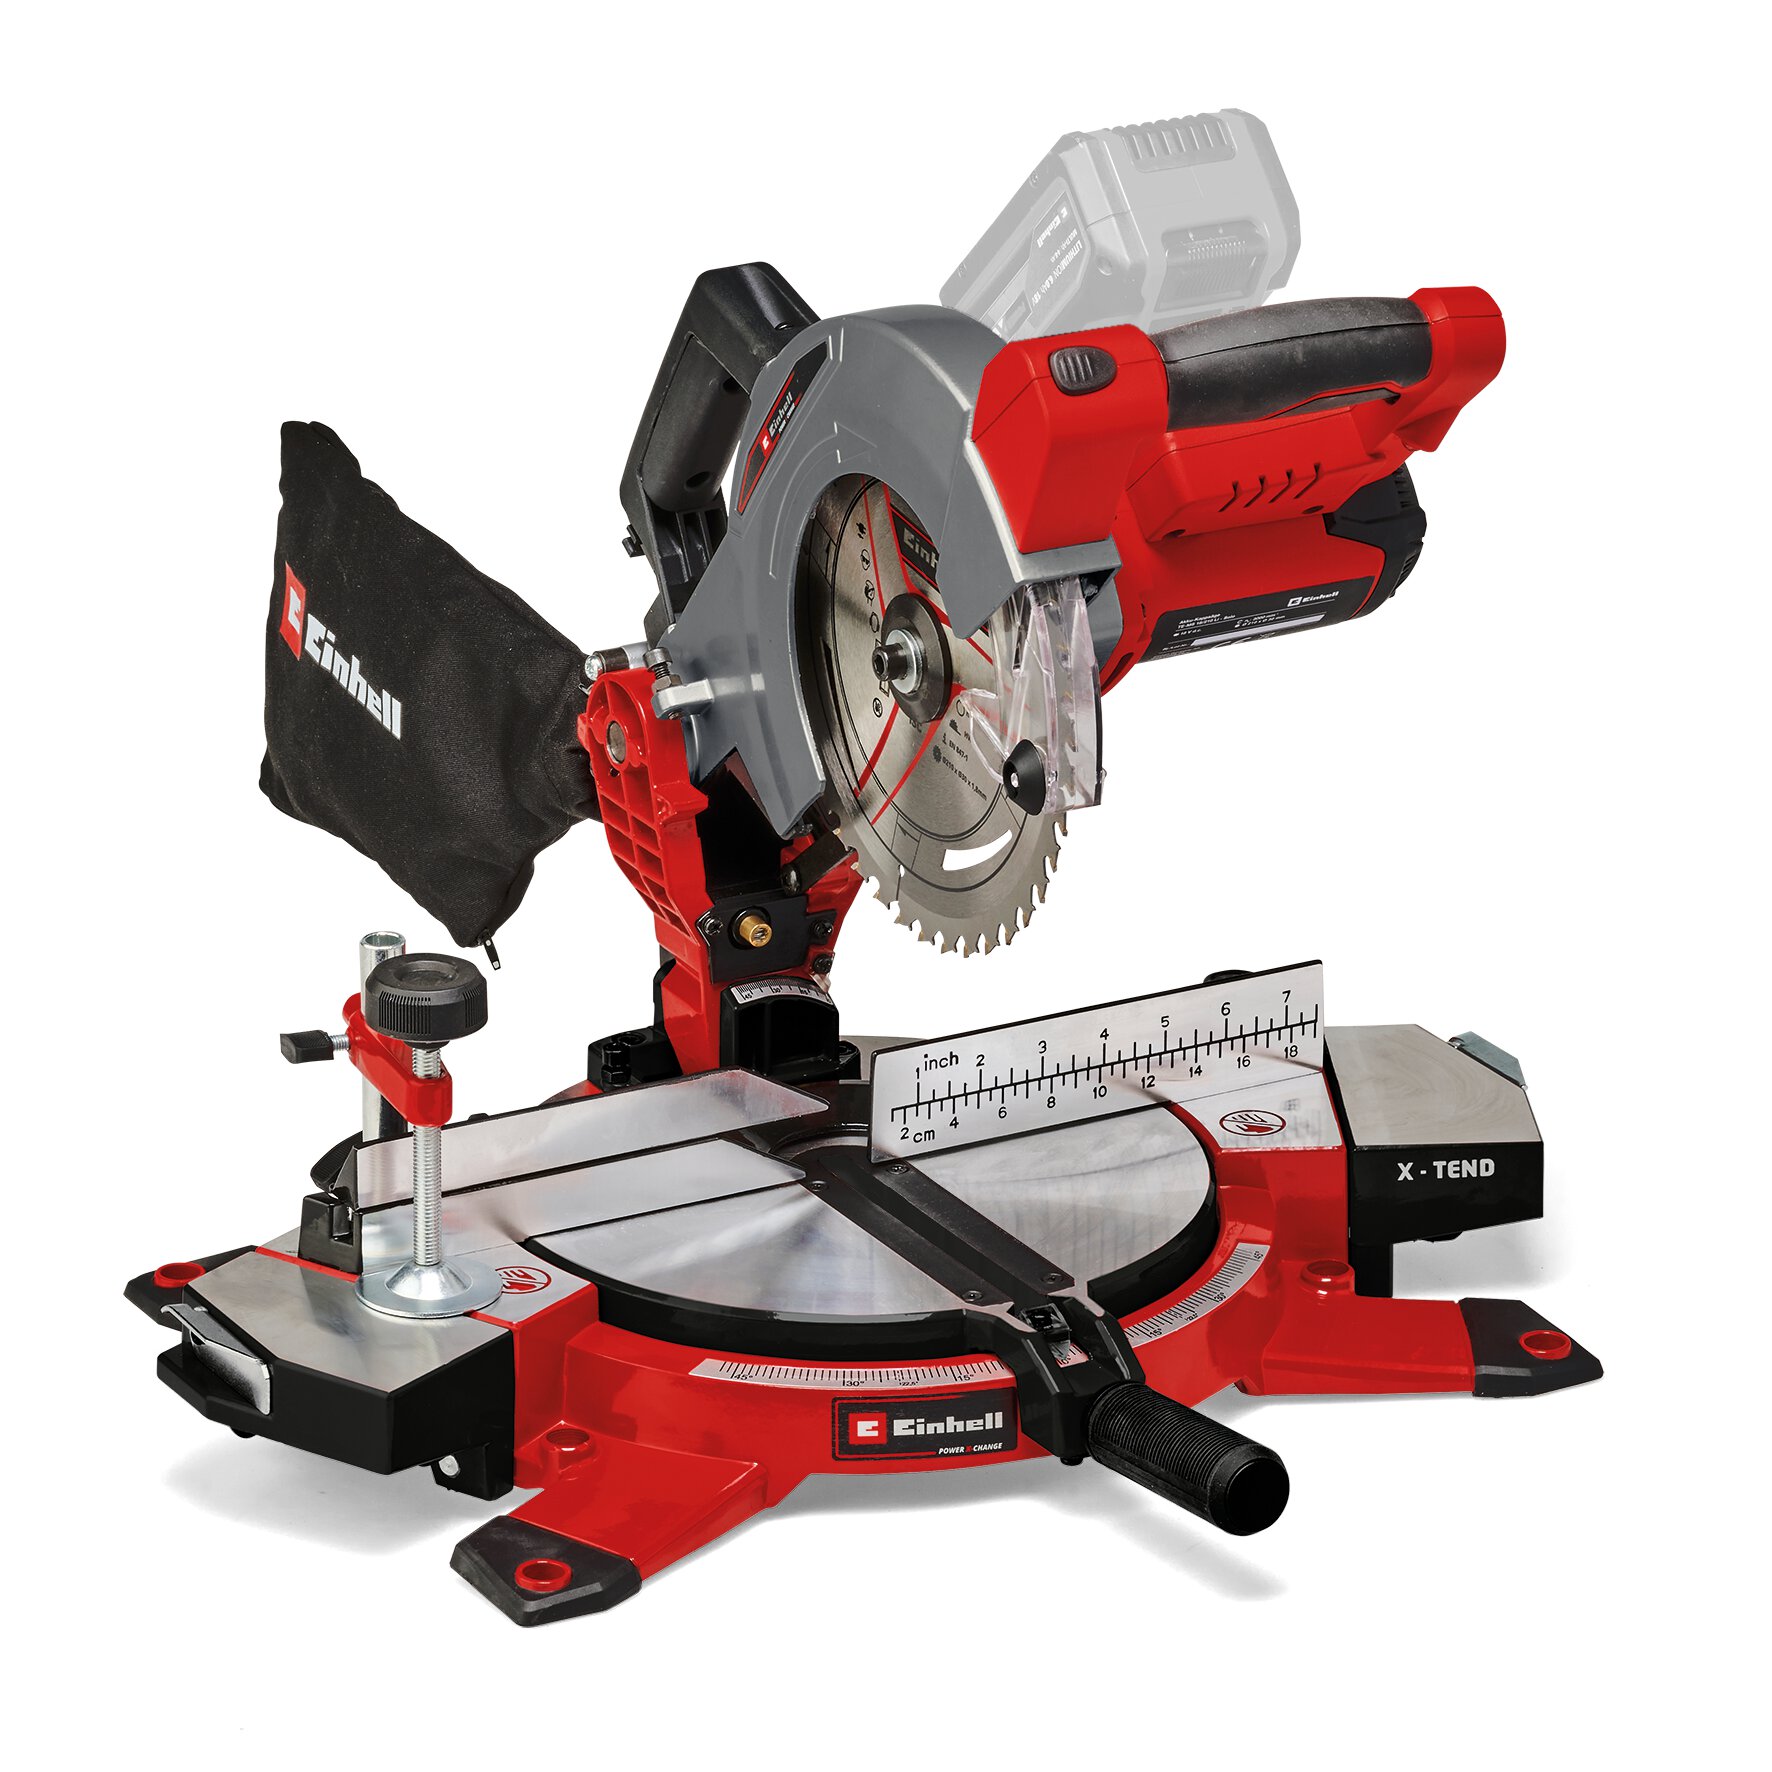
| Guttering brackets | Power X-Change Cordless Mitre Saw – 4300890 |
| Stop ends to cap the ends | Level |
| Half round running outlet | 2x 10mm packers |
| Twine/String | |
| Einhell Drill And Screwdriver Bit Set 70 Piece - 4258085 | |
| Screws |
Step One:
First of all, you need to make sure your shed is level. Take your level and place it on the underside of your shed roof. This should be level but if it isn’t, you’ll need to adjust the levels of your brackets accordingly.
Step Two:
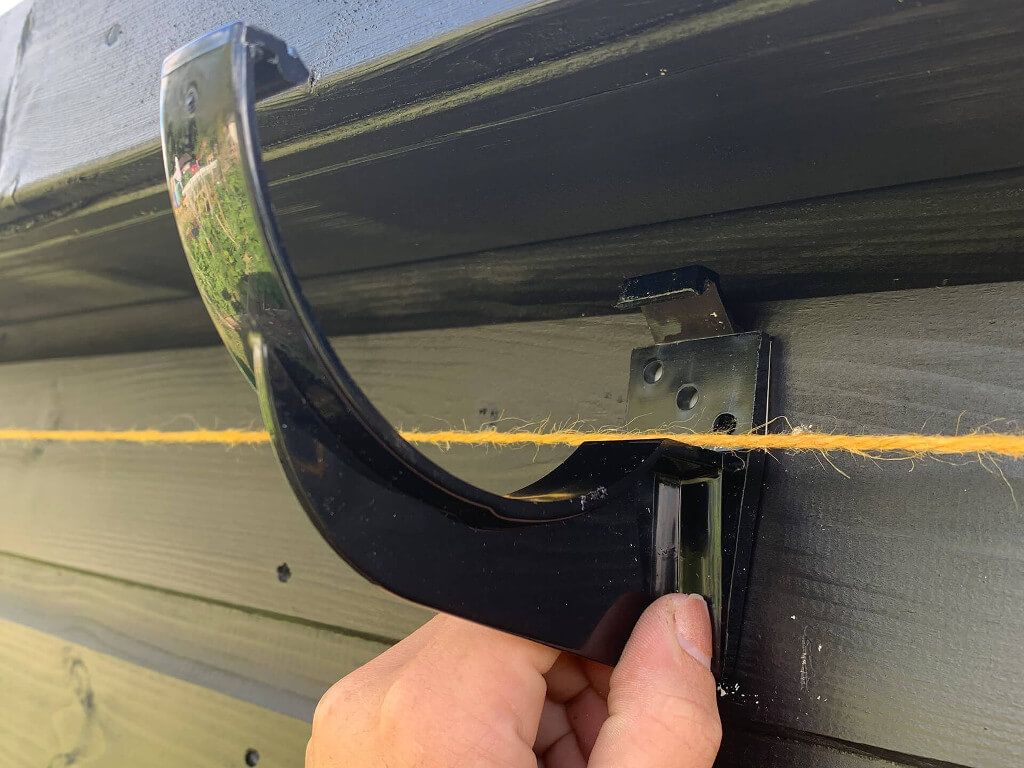
Take a 10mm packer, bracket and drill set up with a 4mm drill bit. Starting at the furthest point away from the water butt, place your 10mm packer on the underside of the shed roof and place your bracket tight up to it. Using your drill, make a pilot hole into the shed. Take your impact driver and screw it in place. Repeat and screw all three holes in the bracket.
Step Three:
Go to the other end of your shed, the closest to your water butt and this time, take two 10mm packers so you have 20mm. Repeat step 2 with the 20mm packer. This will give your guttering a 10mm fall over a distance of 2.5m. For larger sheds use a thicker packer.
Step Four:
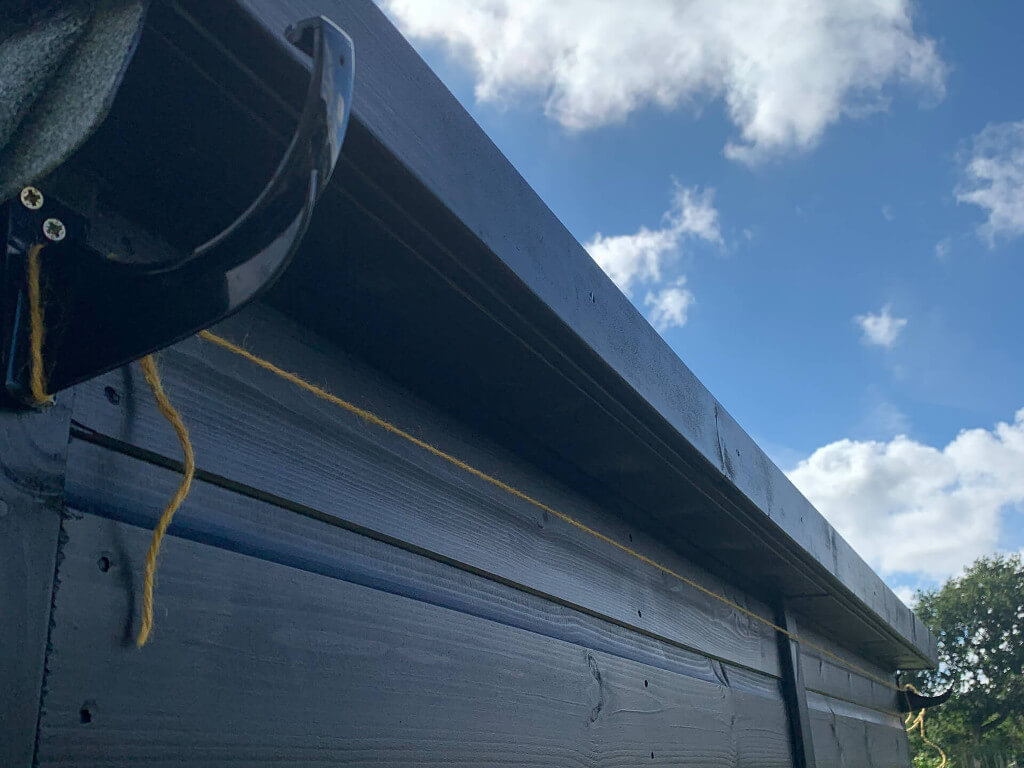
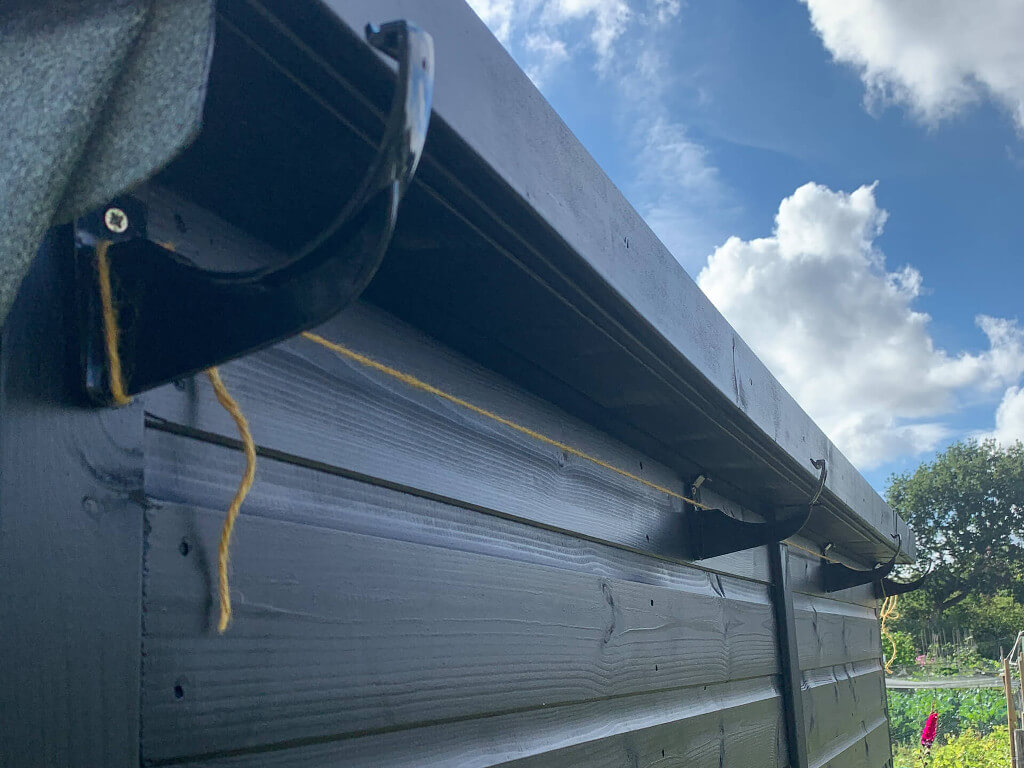
Tie a piece of twine or string from one bracket to the other, ensuring that they are tied from the same point. Make sure the string is taught as this is your plumb line to fix the rest of your brackets.
Step Five:
You need one bracket for every 1m of your shed. Because my shed is a pent roof, all of the rainwater will be travelling to the guttering so I used 4 brackets over 2.5m. Measure the length of the shed where the guttering is going and divide the space so you have an even distance for each bracket.
Step Six:
Take the remaining bracket and position them up to the string line. Repeat step 2 for fixing them in place.
Step Seven:
Take your guttering and use the mitre saw or a hand saw, cut a 150mm section off. If you are using a mitre saw, make sure you use an old blade as the plastic will blunt the blade. You need a clean square cut so take your time if you are using a hand saw.

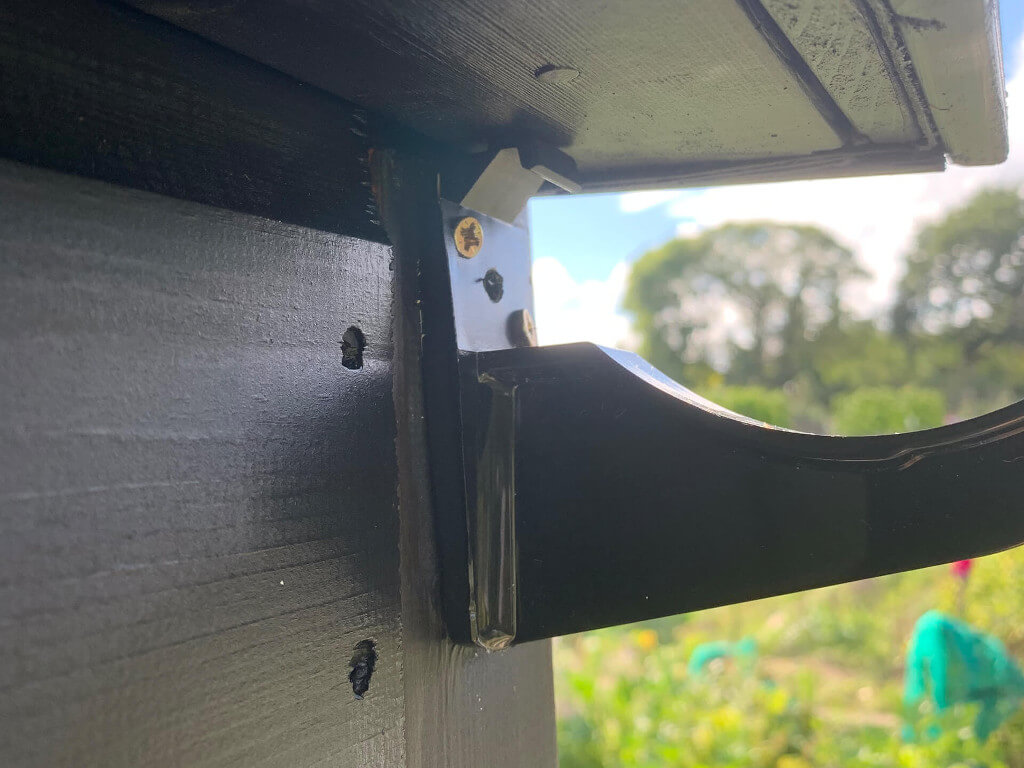
Step Eight:
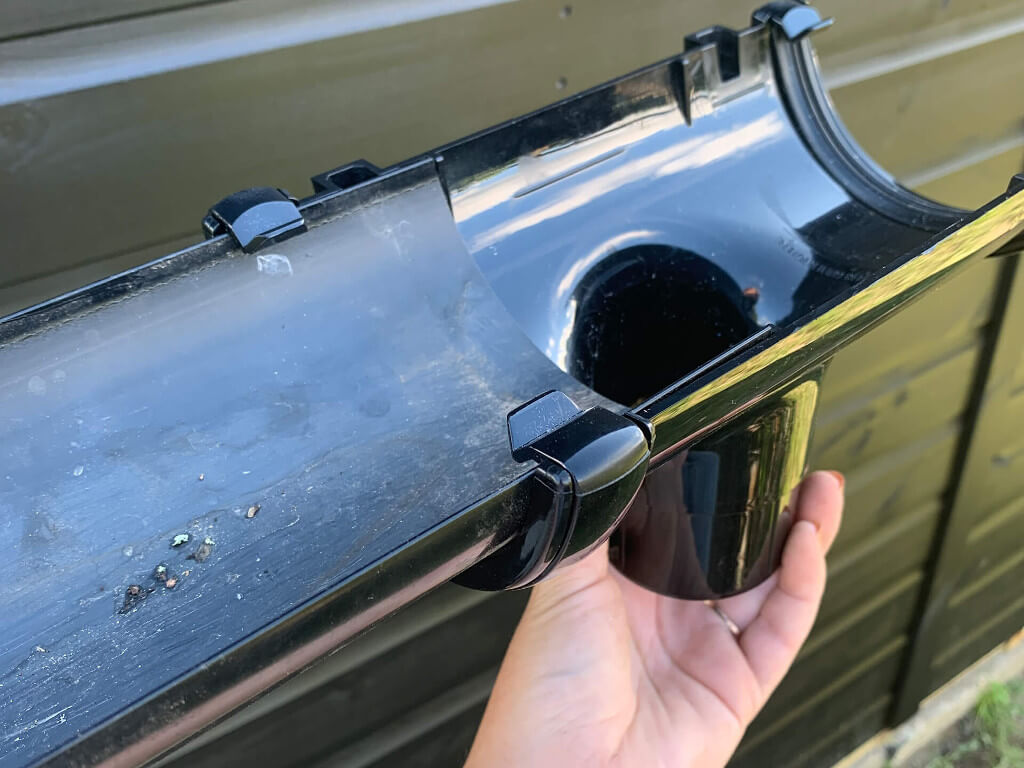
Connect the 150mm length of guttering to the left-hand side of your half round running outlet, which is where your downpipe will connect to. To do this, hook the guttering on the back of the bracket and click in place at the front. Make sure the guttering is pushed into the running outlet until it reaches the lugs on the inside.
Step Nine:
Now connect this section to the end bracket at the lowest end, using the same method as before by hooking it on the back and clipping into the front. Add your stop end to the end of the guttering ensuring it is outside of the shed so no water is lost.
Step Ten:
Measure the distance between the end of the shed and the half round running outlet. Add on a few centimetres so the guttering pushes up inside the outlet and reaches the lugs on the inside.
Step Eleven:
Attach the guttering to the brackets and running outlet by again, hooking the guttering on the tabs at the back and pushing down at the front until it clips in place.
Step Twelve:
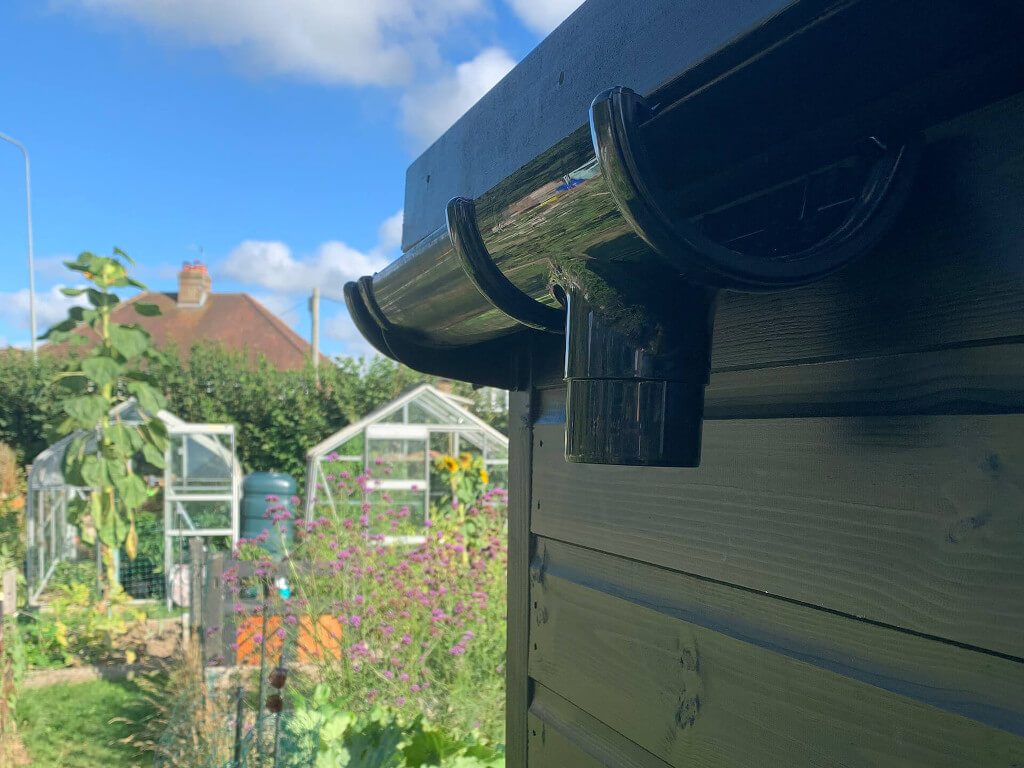
Attach your other end cap so the whole unit is water tight. At the back of the half round running outlet, there will be two holes for you to screw it to the shed so everything is fixed in place. To test if everything is fitted correctly and the brackets are fixed at the right height, take a watering can and pour it in the guttering. The water should run to the lowest point and out of your outlet.
Step Thirteen:
Now you can attach your downpipe. This will vary depending on where you position your water butt. Most hardware stores have a large selection of different connectors so you can attach elbows and small pieces of downpipe to direct the water into the water butt. Just ensure that your pipe work always runs downhill, maintaining a fall.

For apex sheds, you can do these two ways. You can either have guttering on either side of your shed with two water butts. For this you would use the method above. If you only wanted one water butt, you would start on one corner and make this your highest point. You would then continue the guttering to go along one side, along the back of the shed, and back around to the front on the other side. You can buy connectors that create a right-angle channel so the water can travel around the corners of the shed. All you would need to do is maintain the fall going all around the three sides of the shed.