How to make a Bird Box
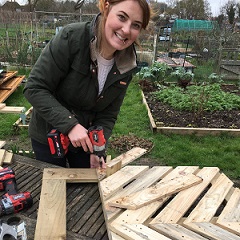
Welcoming birds into your garden or allotment is a brilliant way of increasing the wildlife in your area, plus they are a natural predator for garden pests like caterpillars. You can make bird boxes at any time of the year but autumn and winter is perfect as it will give time for birds to take up residence before chick season in the spring. This is a great project for children to help construct and paint.
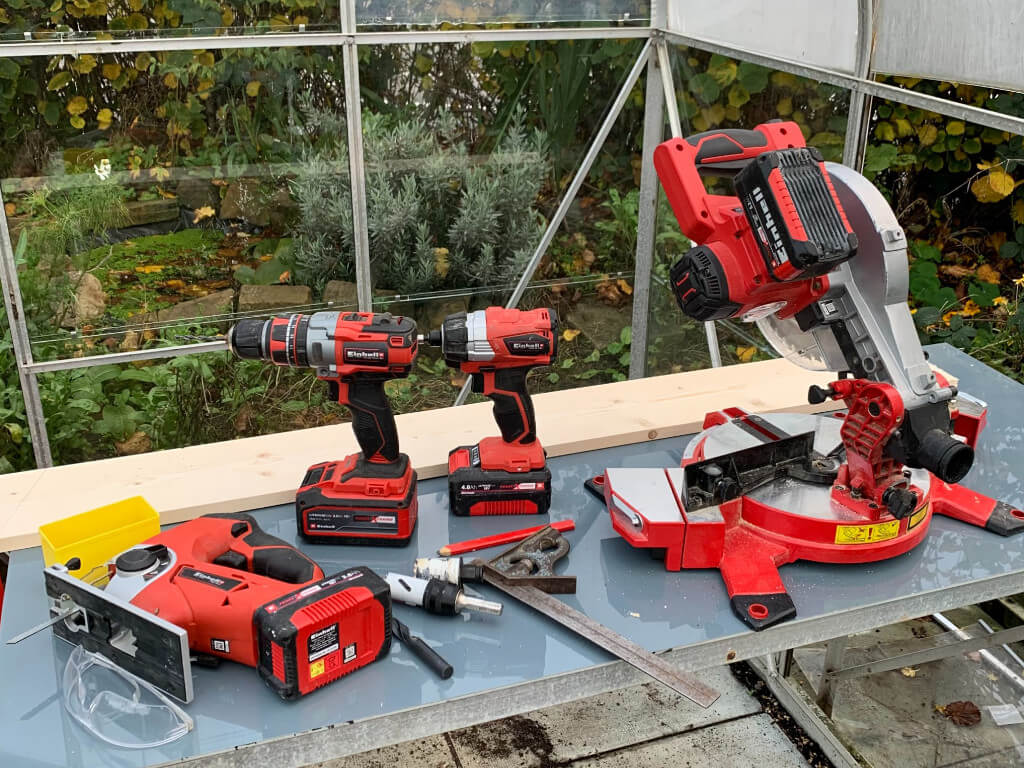
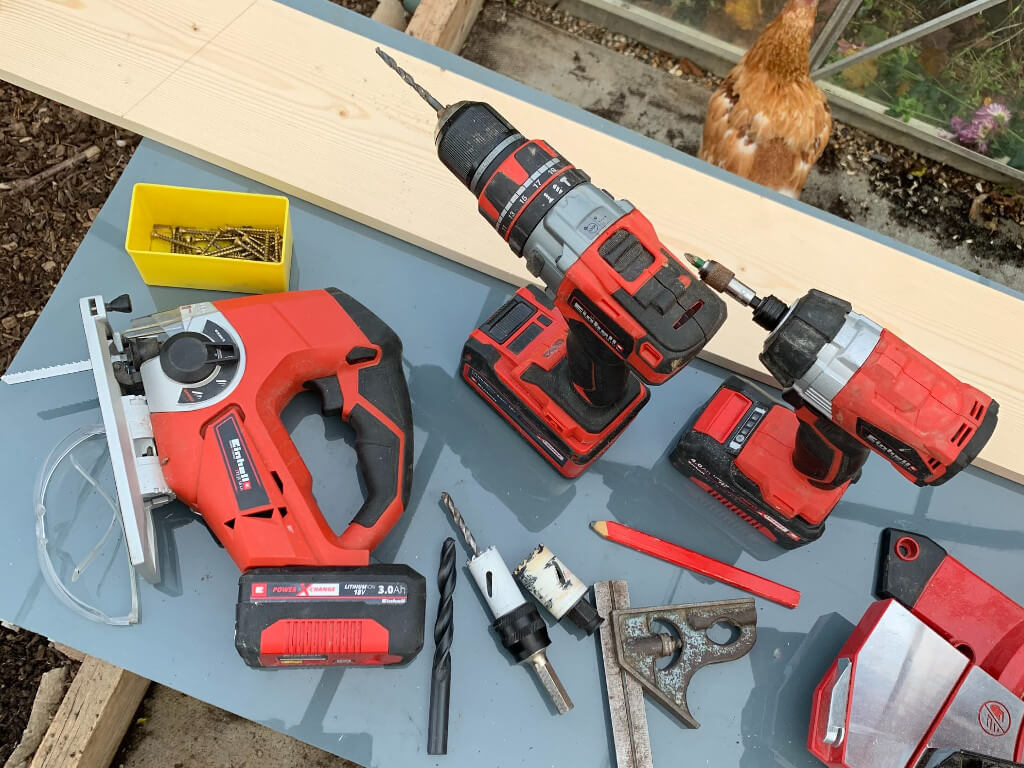
Here’s the materials and the equipment that you will need:
| Material | Tools |
|---|---|
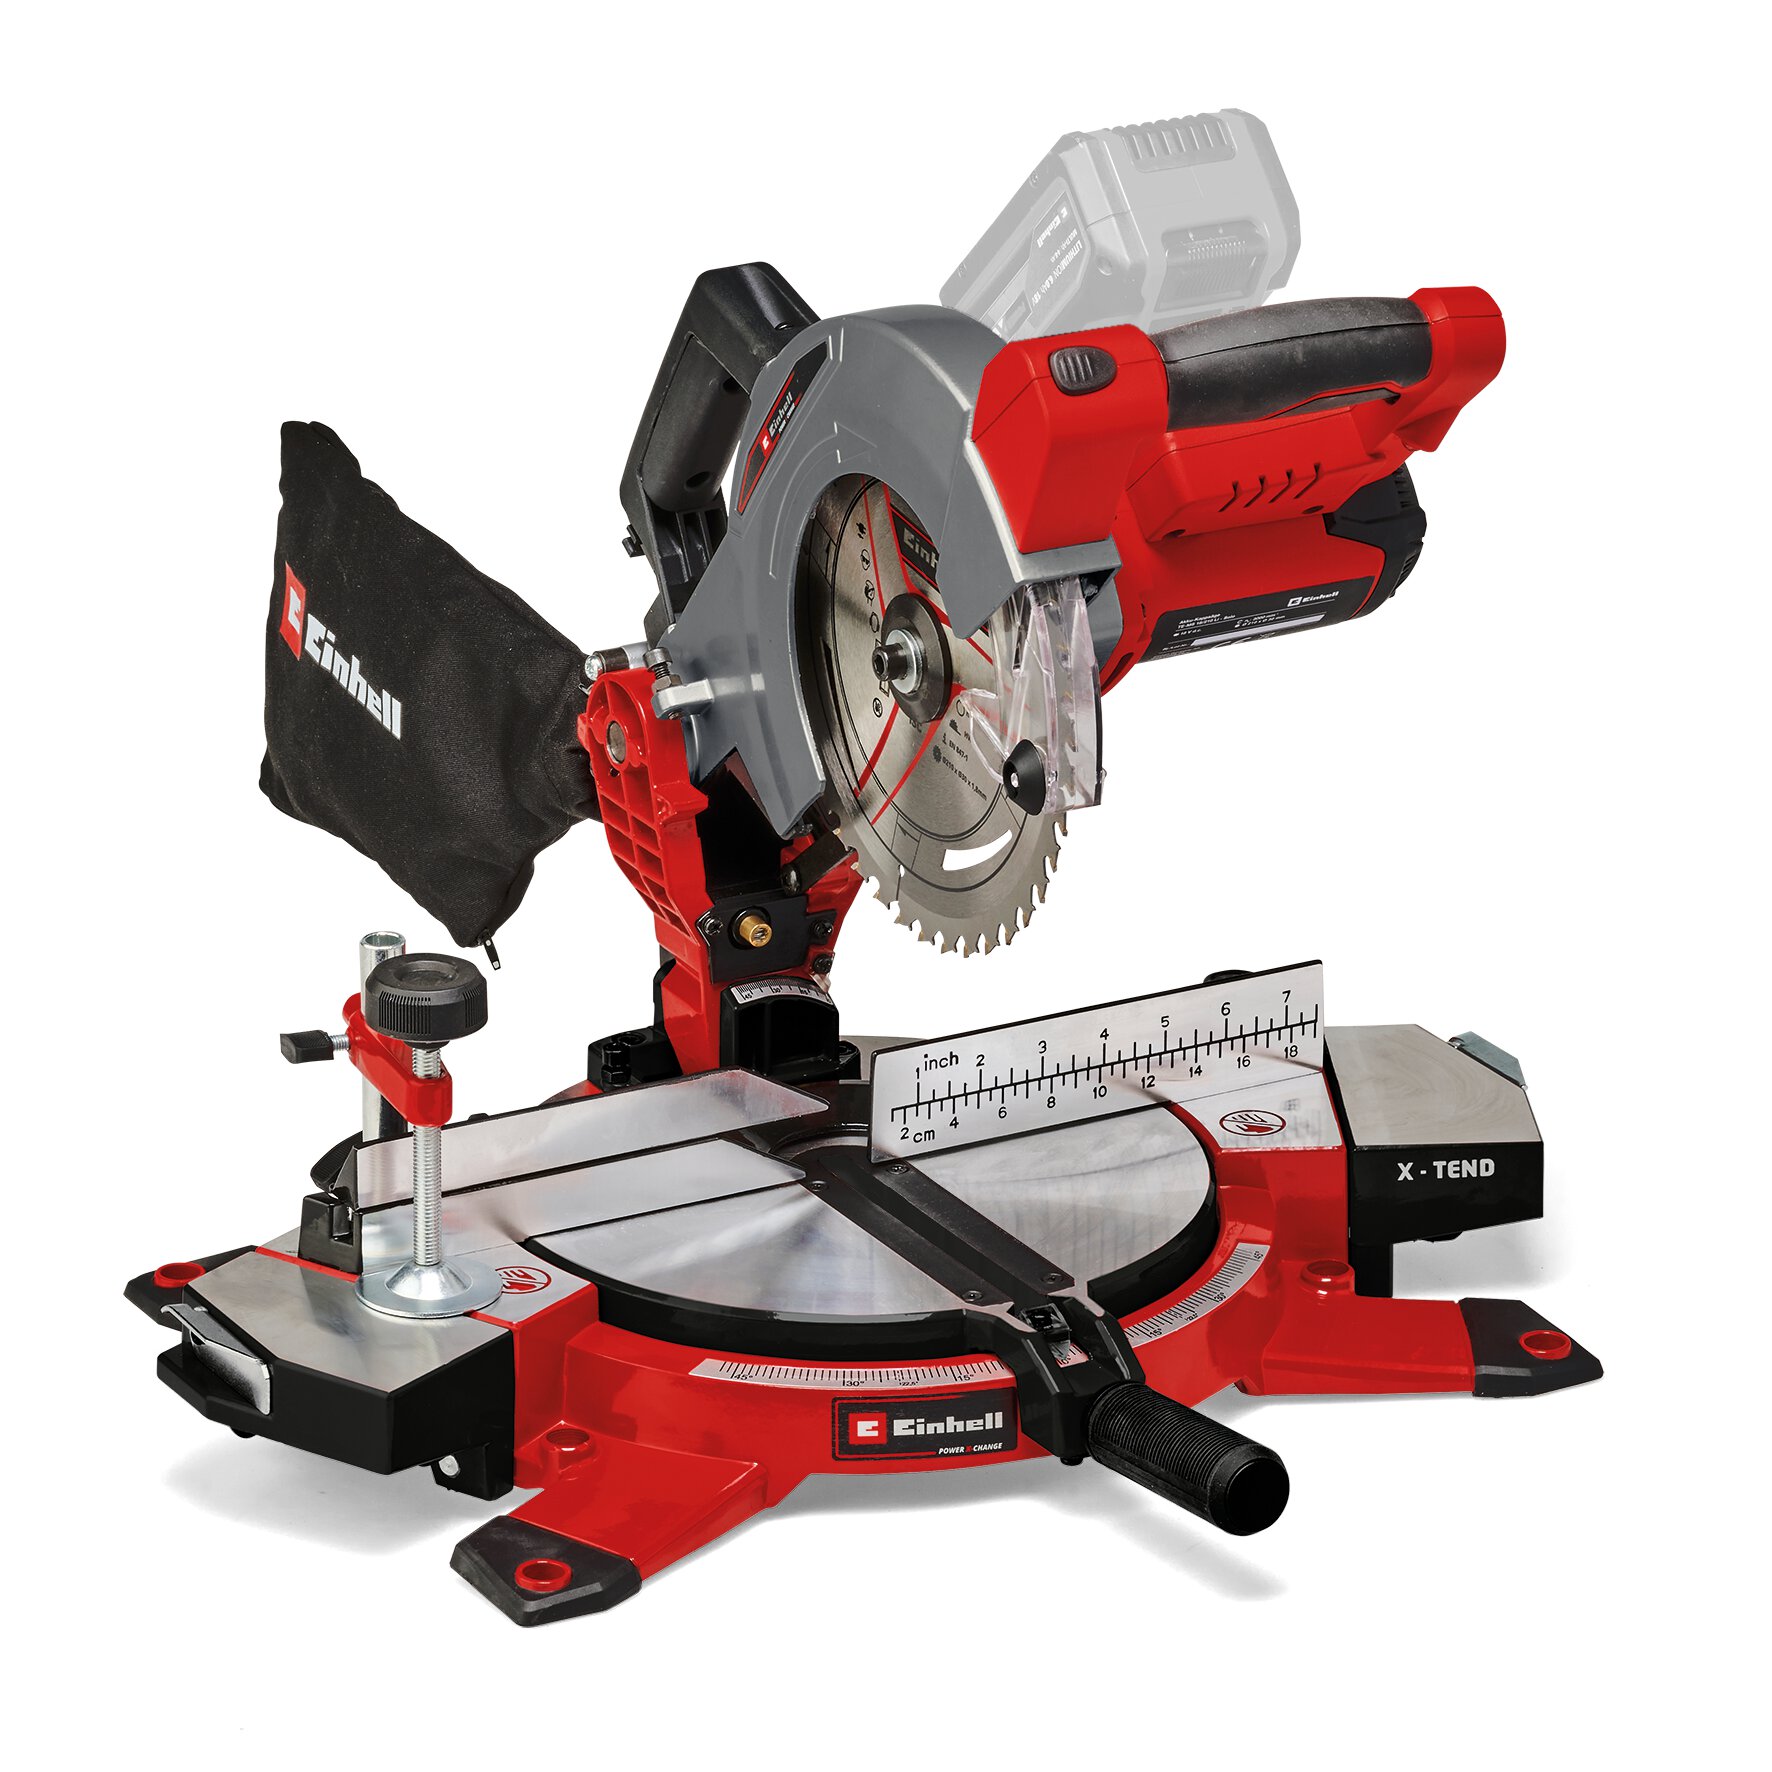
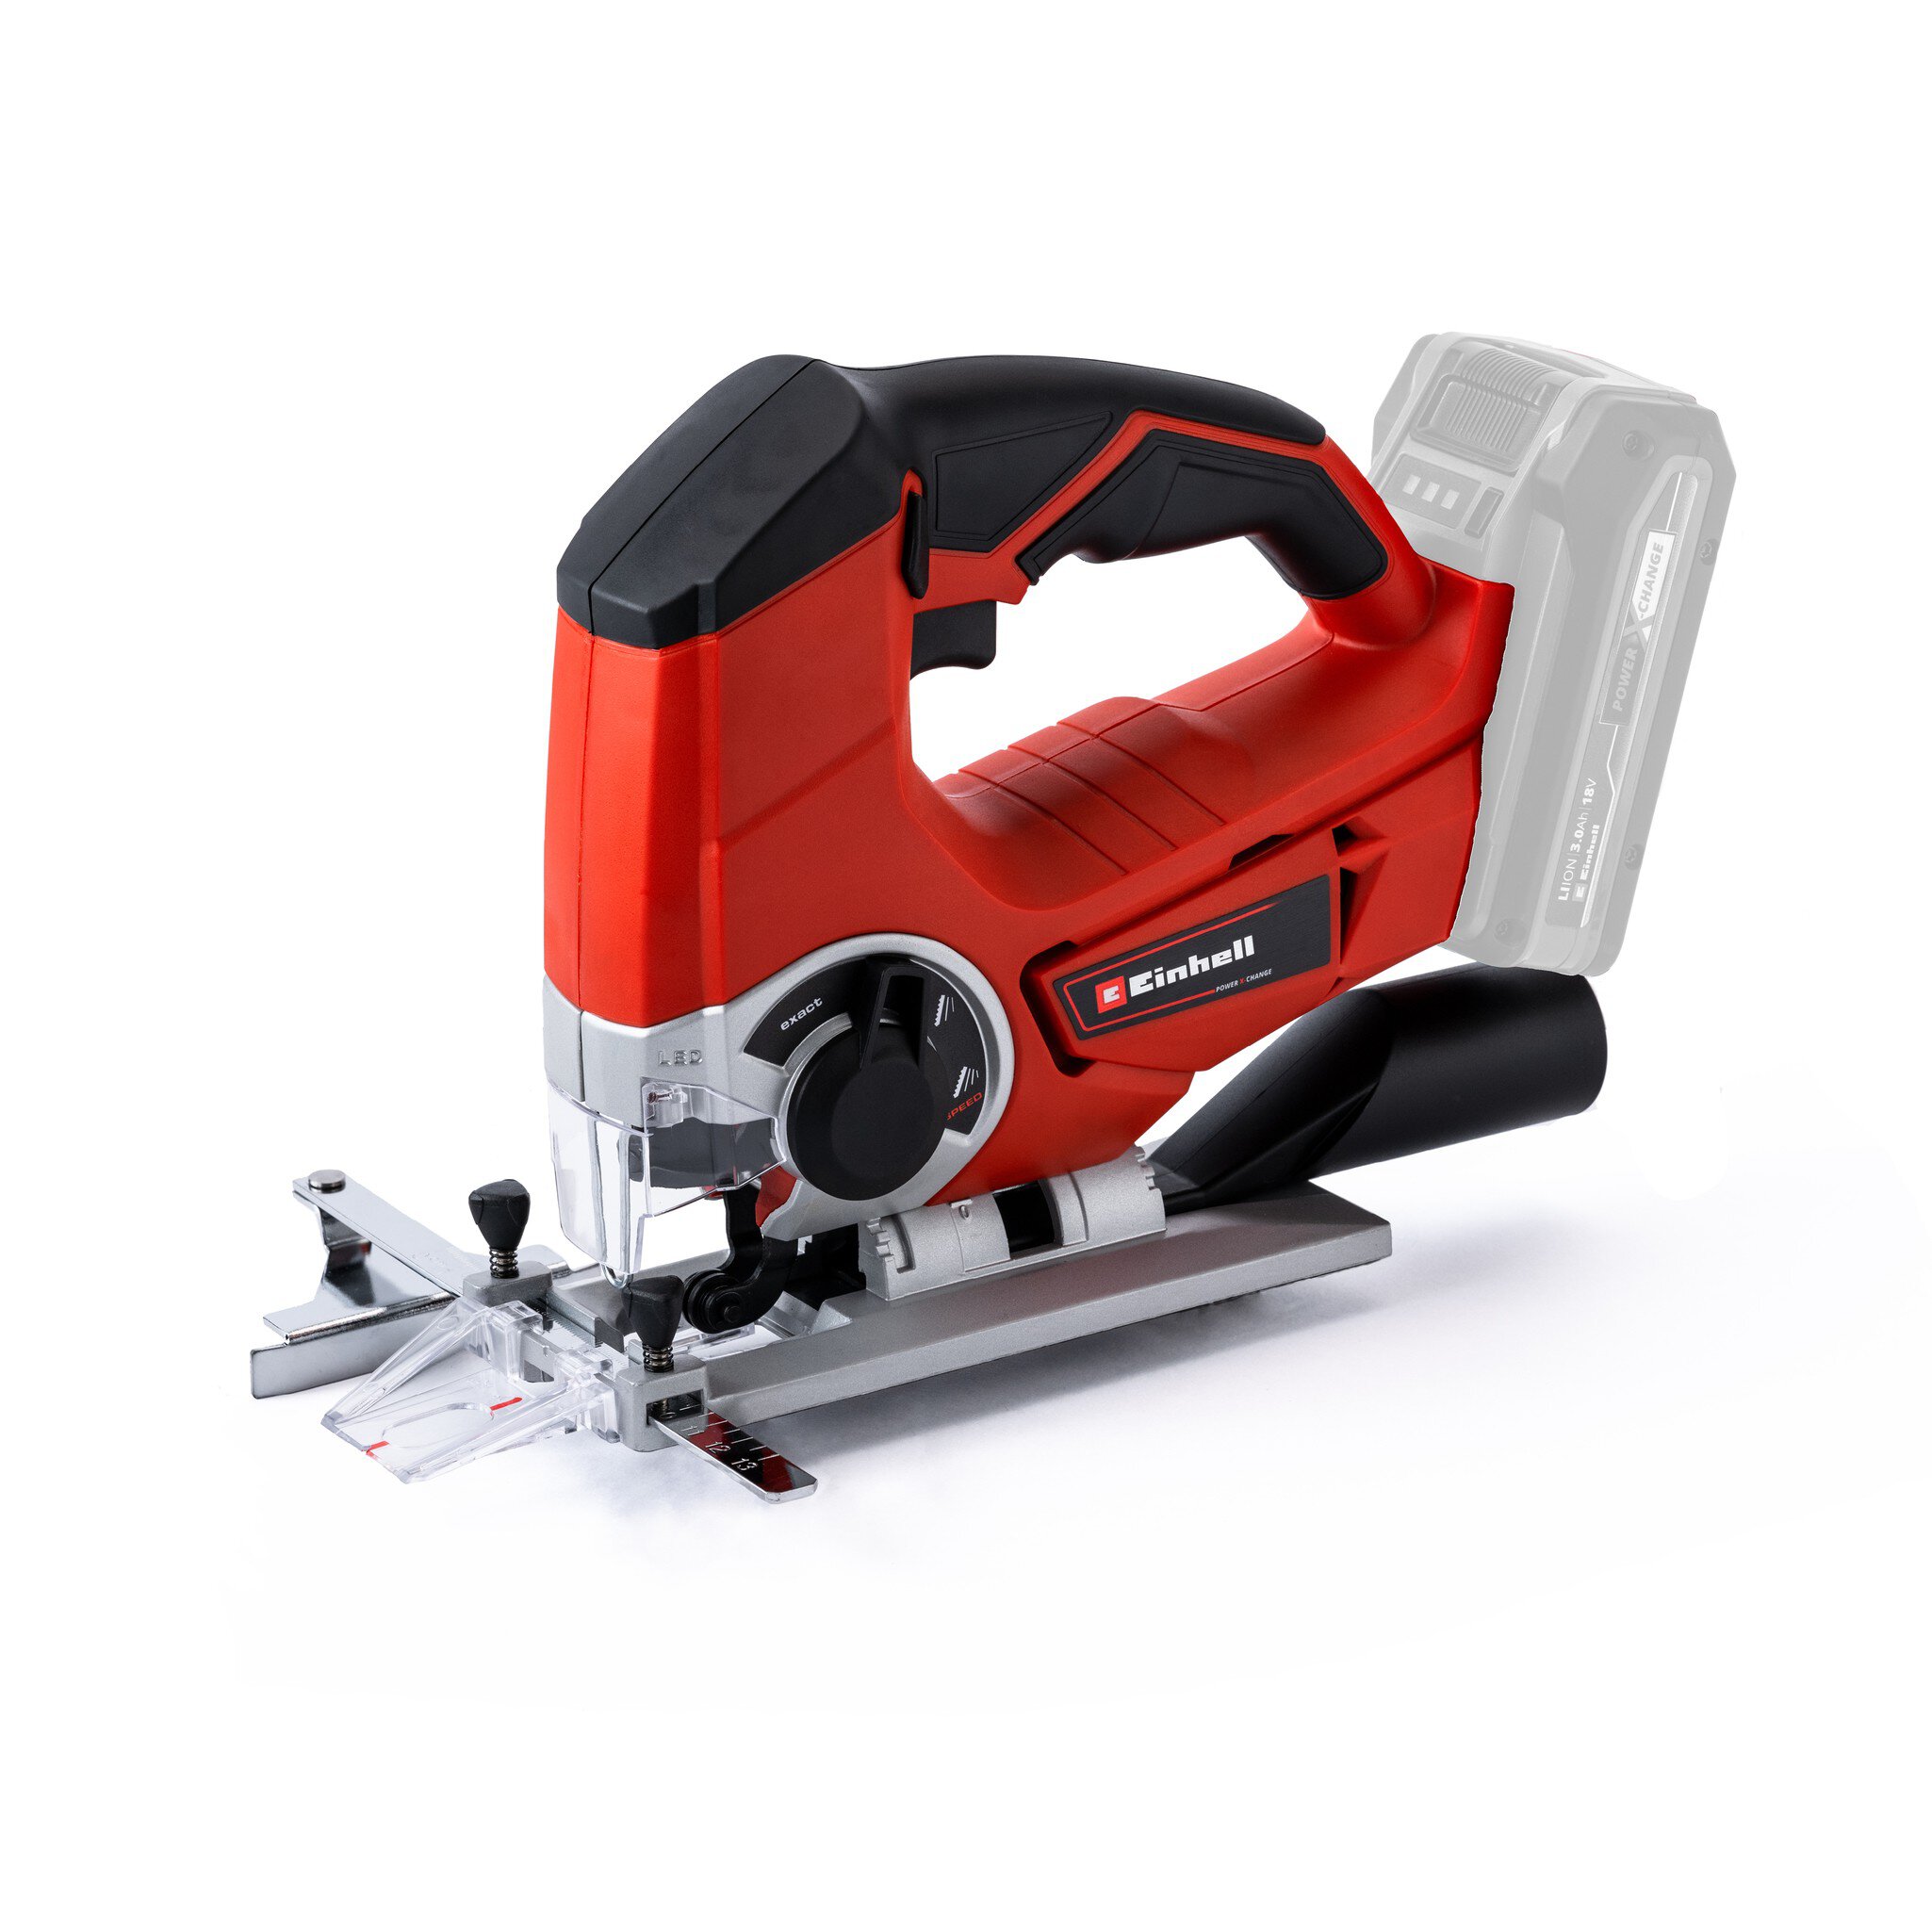
| 144x18mm x2.4m timber | Power X-Change TE-MS 18/210 Li - Cordless Mitre Saw |
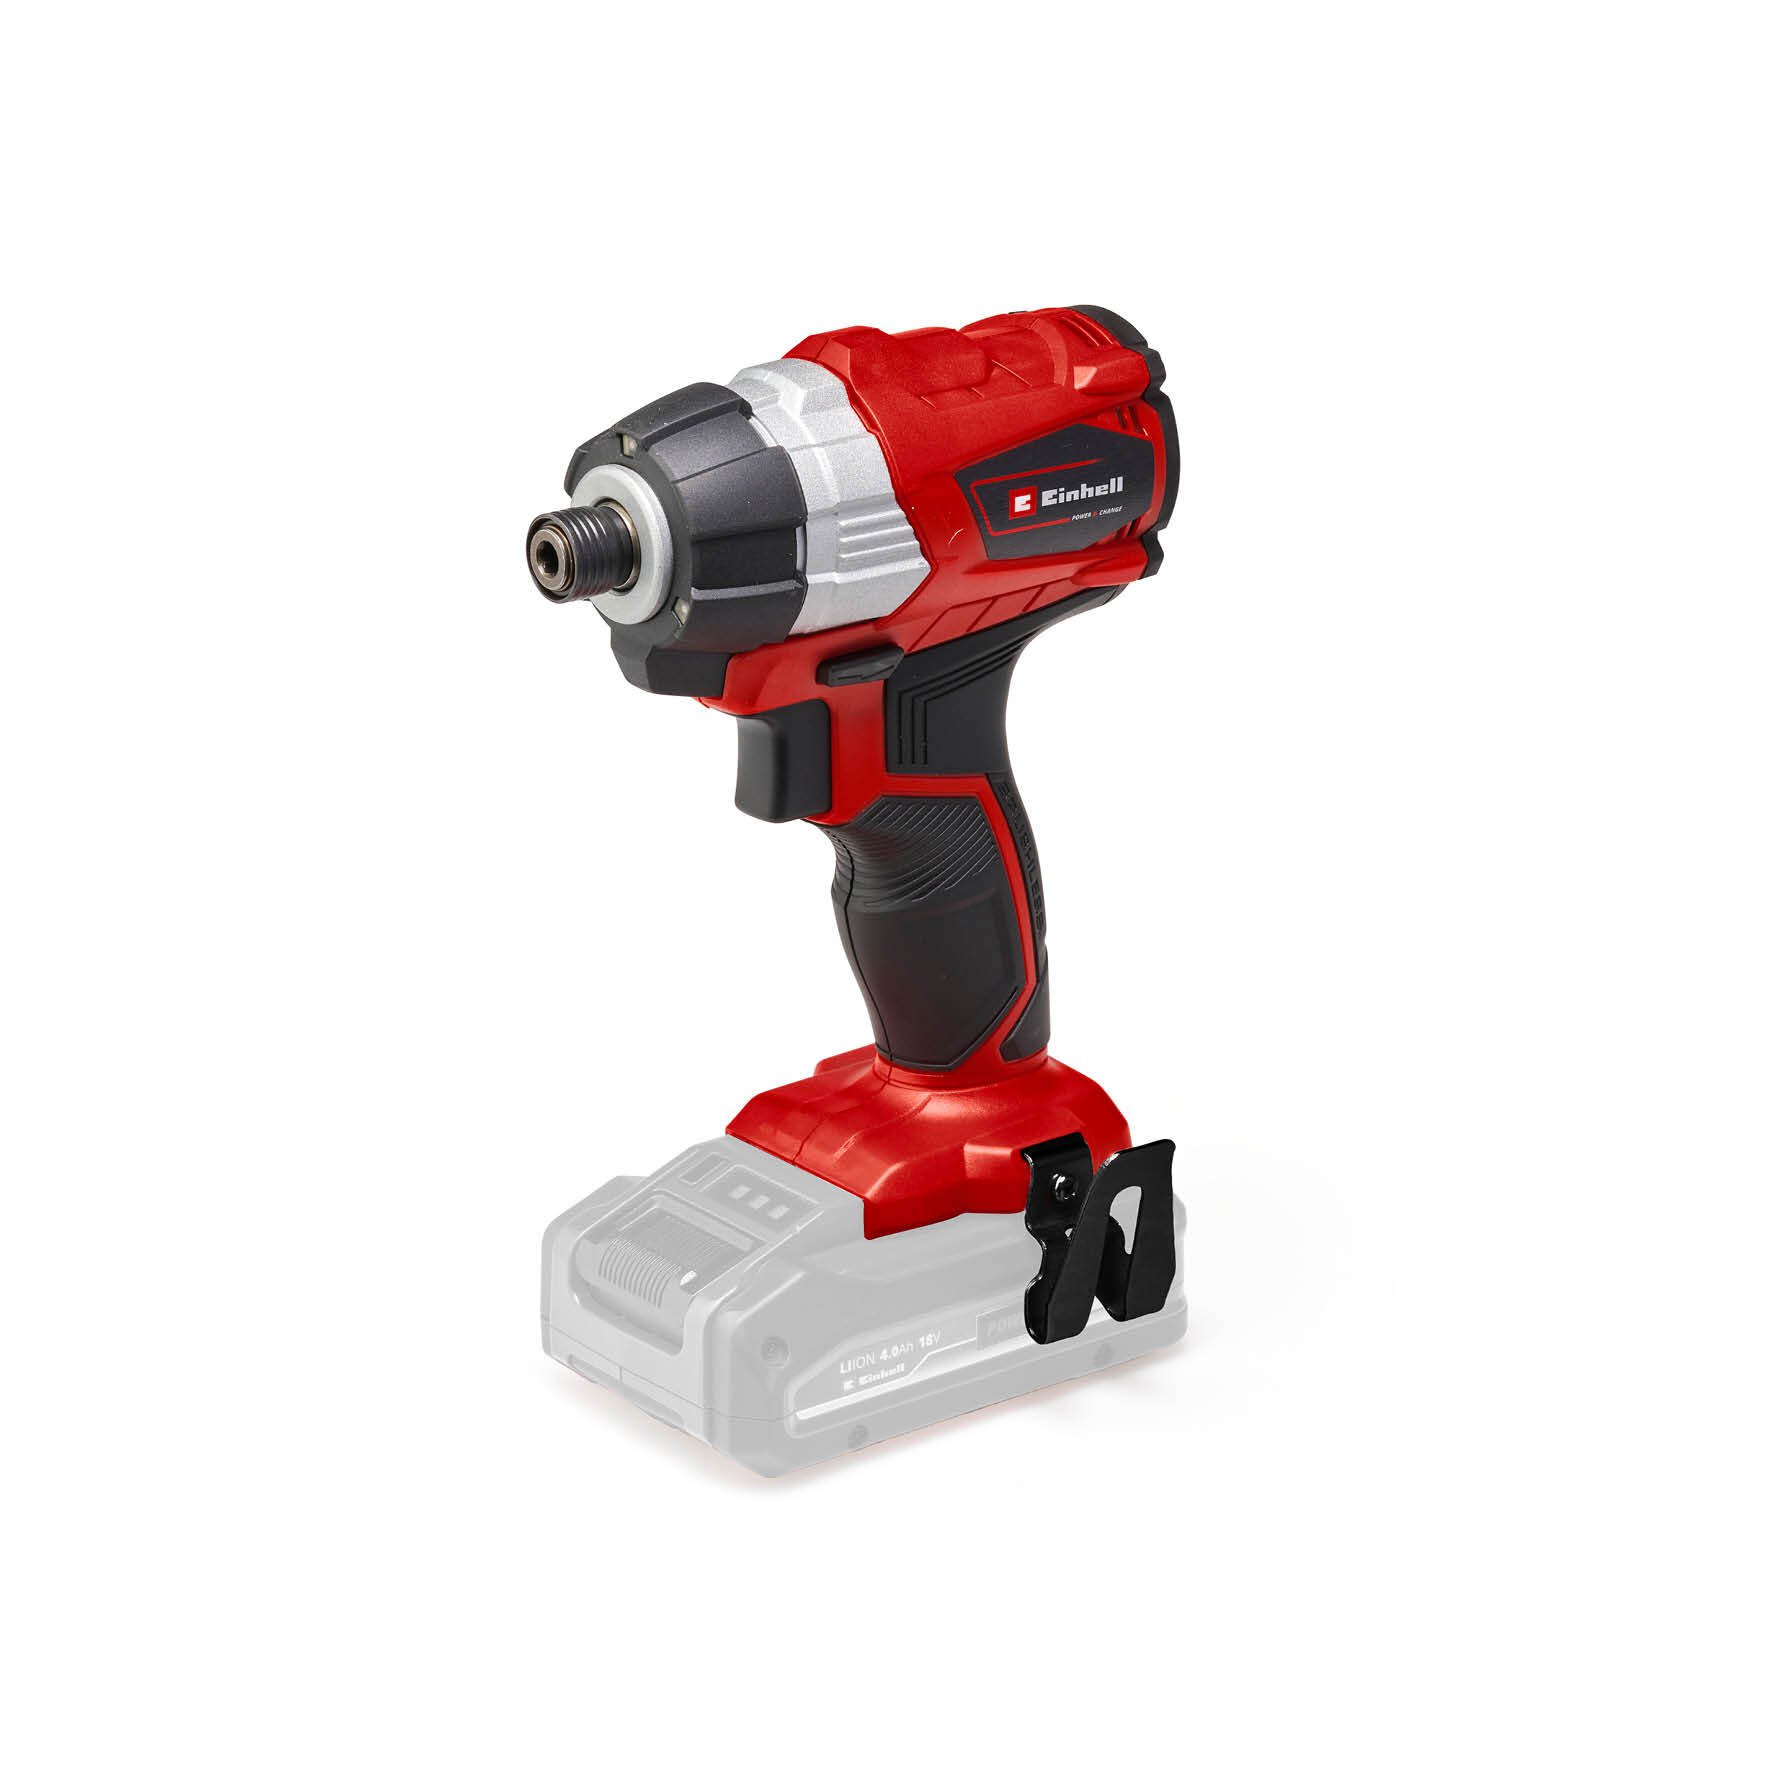
| 30mm screws (thinner the better) | Power X-Change TE-CI 18 Li BL solo - Cordless Brushless Impact driver |
| Old bicycle inner tube or similar rubber to create a weather strip | Power X-Change TE-JS 18/165 Li-Solo - Cordless Jigsaw or Holesaw |
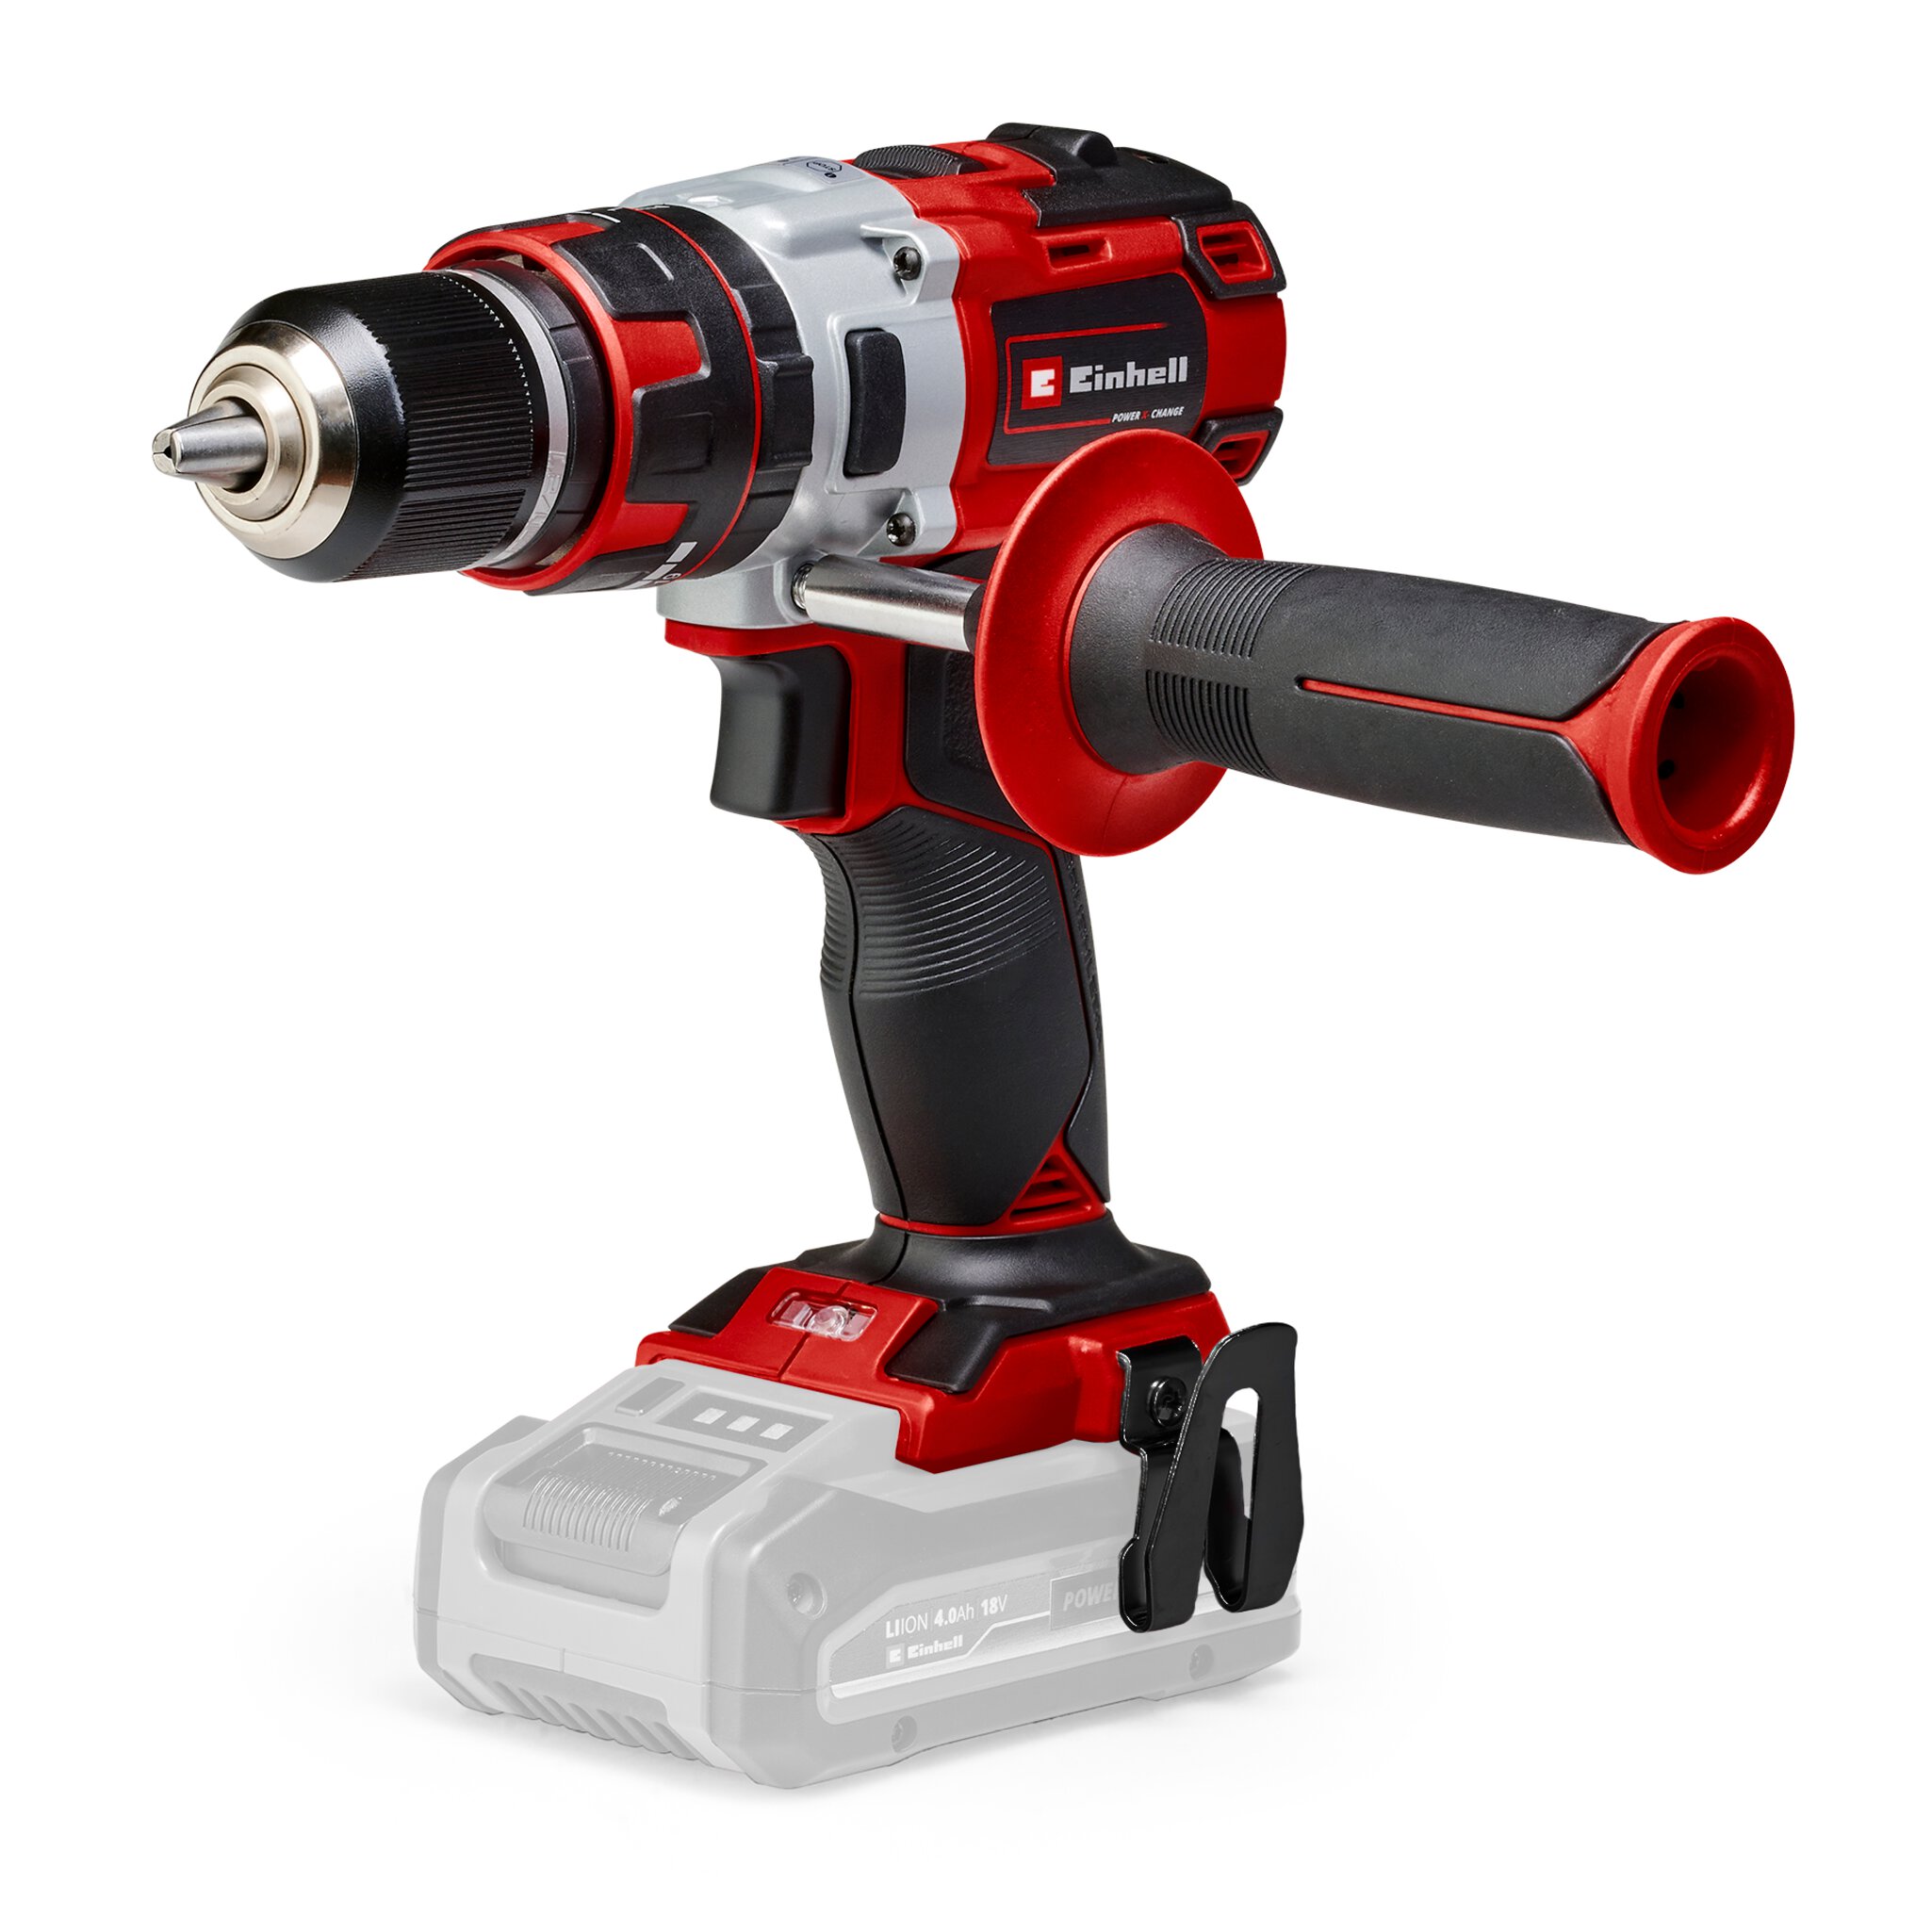
| Power X-Change TE-CD 18 Li-i BL solo - Cordless Brushless Combi Drill | |
| 18V 4-6 Ah Multi-Ah PXC Plus battery | |
| Tape measure | |
| Various drill bits |
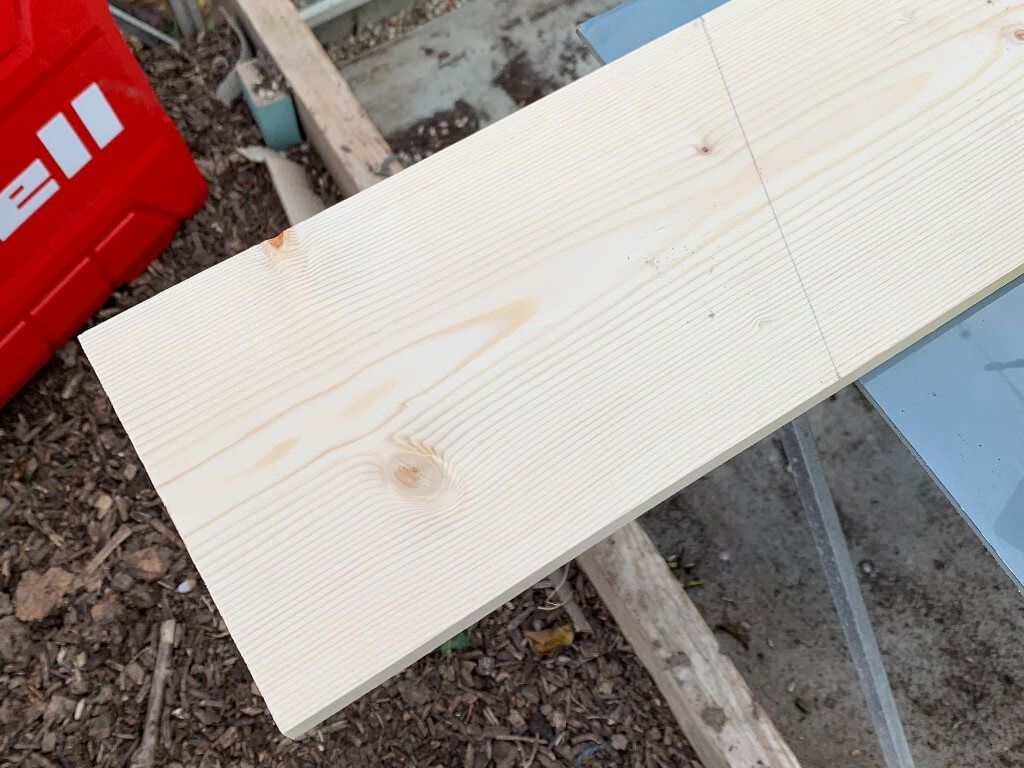
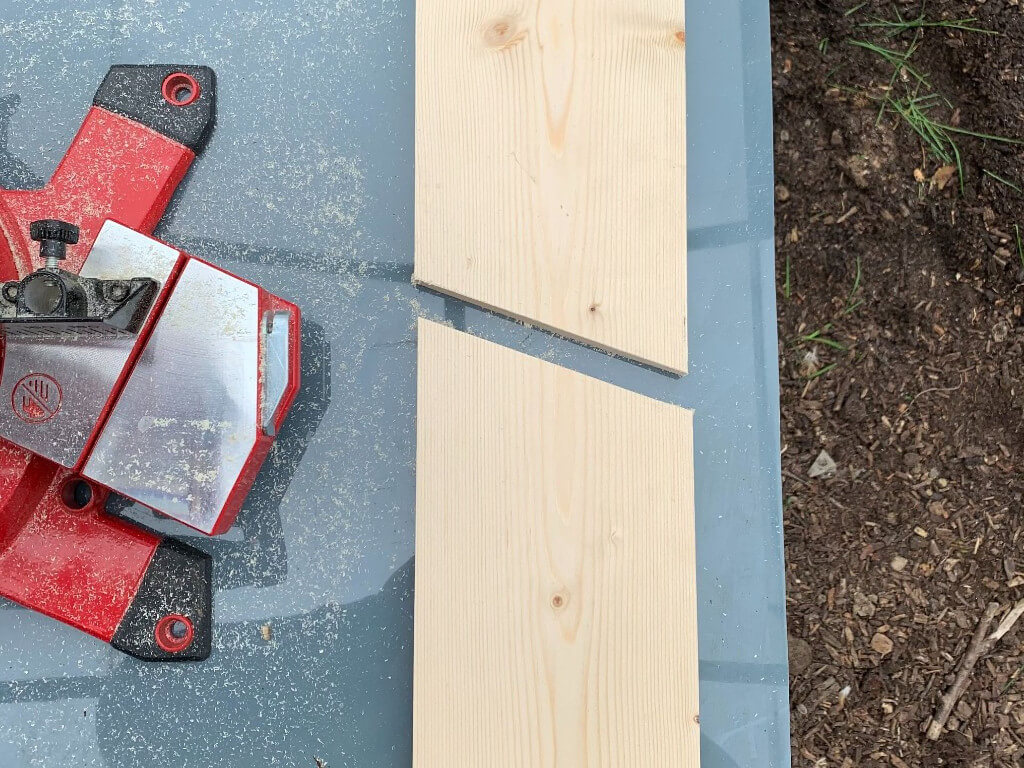
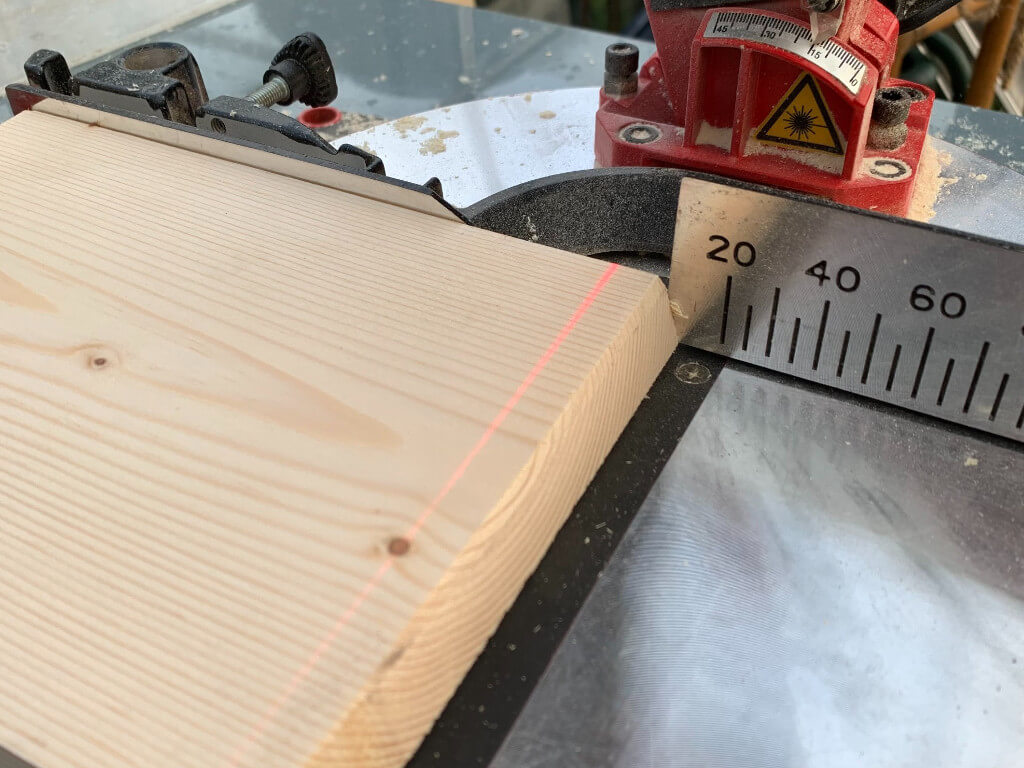
Step One:
Take your length of wood and measure 200mm down one side and 250mm down the other. Join these two lines with a pencil and straight edge, this will give you a diagonal line. Using your mitre saw, turn on the laser line and change the angle of your saw so the laser line matches your diagonal line. Cut the board. If you don’t have a mitre saw you can use a skill saw, jigsaw or hand saw.
Step Two:
Take the side panel you have just cut and lay it on top of the remaining panel, so the diagonal lines match up. Draw along the bottom of the side panel to mark the remaining board. Set your mitre saw back to 0 and cut along the line. You now have two side panels.
Step Three:
Next we need to cut the other panels. We need one panel for the front at 200mm long and 210mm long for the roof. Mark these out onto the remaining board and cut them using the mitre saw. We want square edges on these cuts which will make it easier when putting your bird box together.
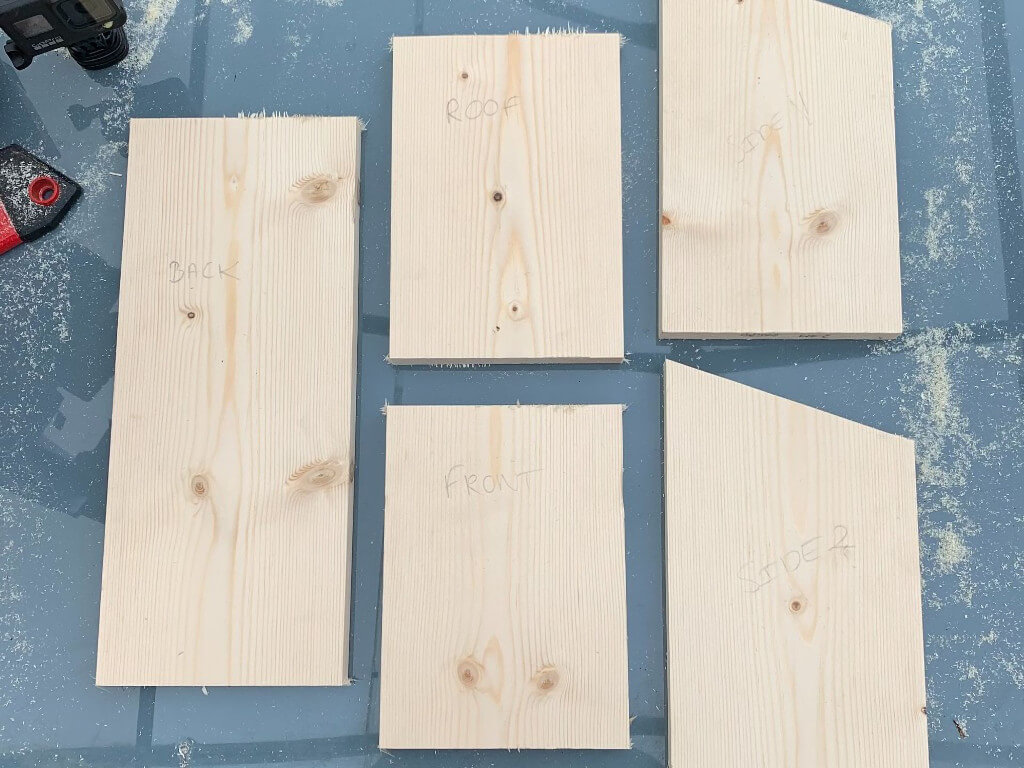
Step Four:
We need a back for the bird box which will also double up as a point to fix the bird box to a shed, fence or tree. Measure 350mm on your board and cut this to length.
Step Five:
Now we have all of our components cut apart from the base. You can make your bird box to attract a type of garden bird by altering the opening you have on the bird box. 25mm is perfect for blue tits, 32mm is preferred by house sparrows and open front boxes are loved by robins.
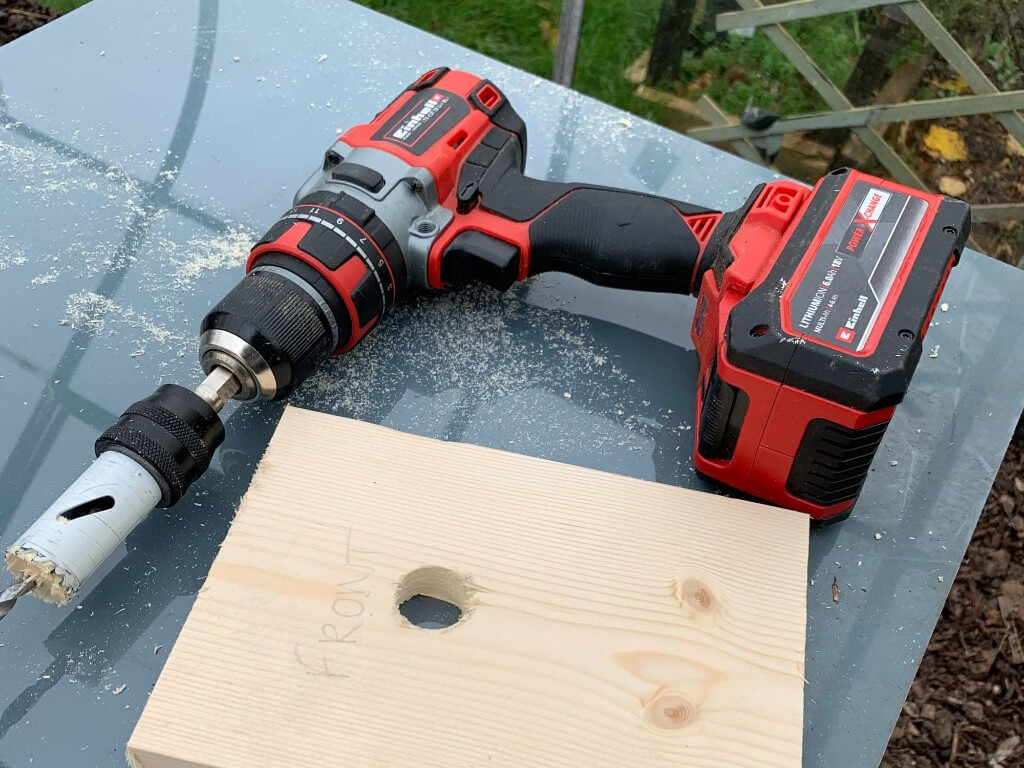
Step Six:
To make a hole in the front panel, measure 125mm up from the base and mark this point. Find the centre of the board so your hole is positioned equally. You can make the hole easily with a holesaw or if you don’t have one, you can use a jigsaw.
Step Seven:
If using a jigsaw, start by drilling a hole on your marked point with a 10mm drill bit. This will be enough room for your jigsaw blade. Using a bottle cap or something similar to 25/32mm draw your circle and cut out with the jigsaw. Take it slow.
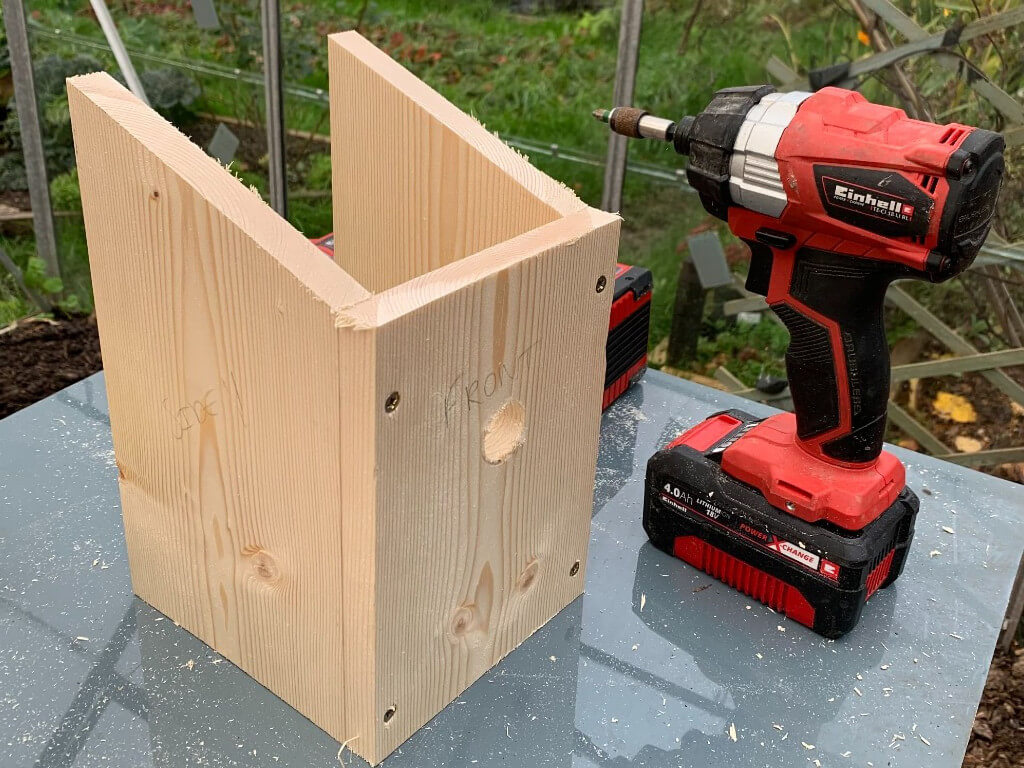
Step Eight:
Now you have a hole for your birds to fly through, it’s time to build your bird box. The wood for this project is 18mm thick so we want to be exact with our screws to prevent the wood splitting. Take your front panel and measure in 9mm from the edge and mark on two screw holes on each side. This will be plenty to secure your box together. Using a 5mm drill bit, drill through on those points you have just marked. This creates your pilot hole and will stop the wood splitting and expanding in the wet weather.
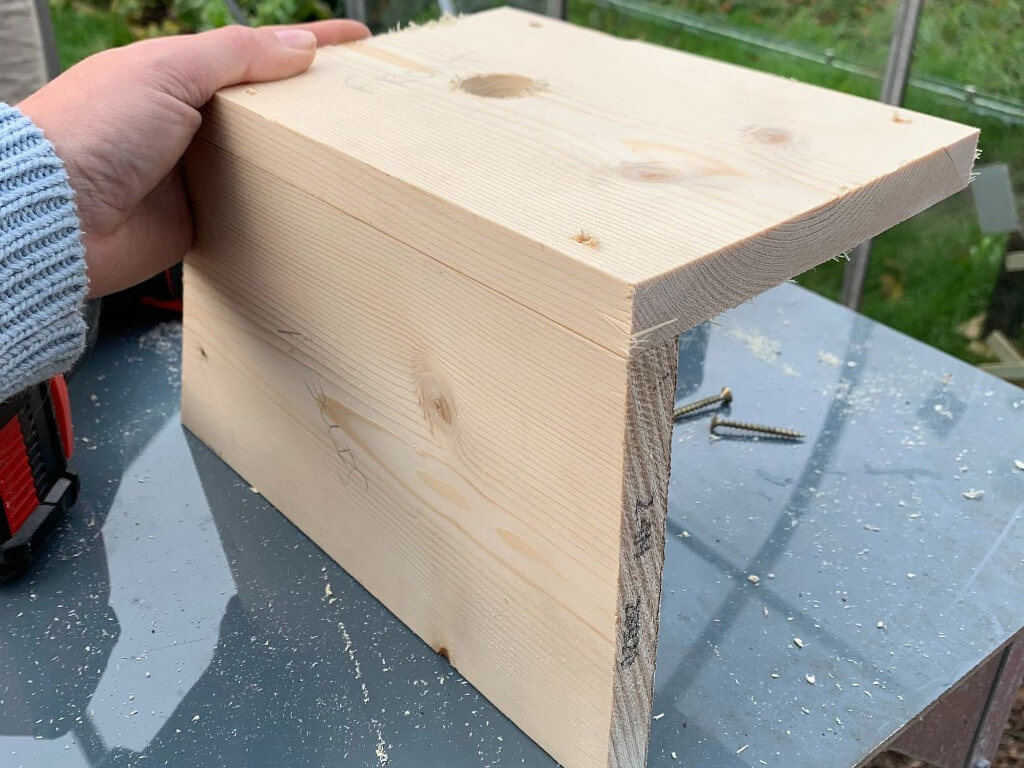
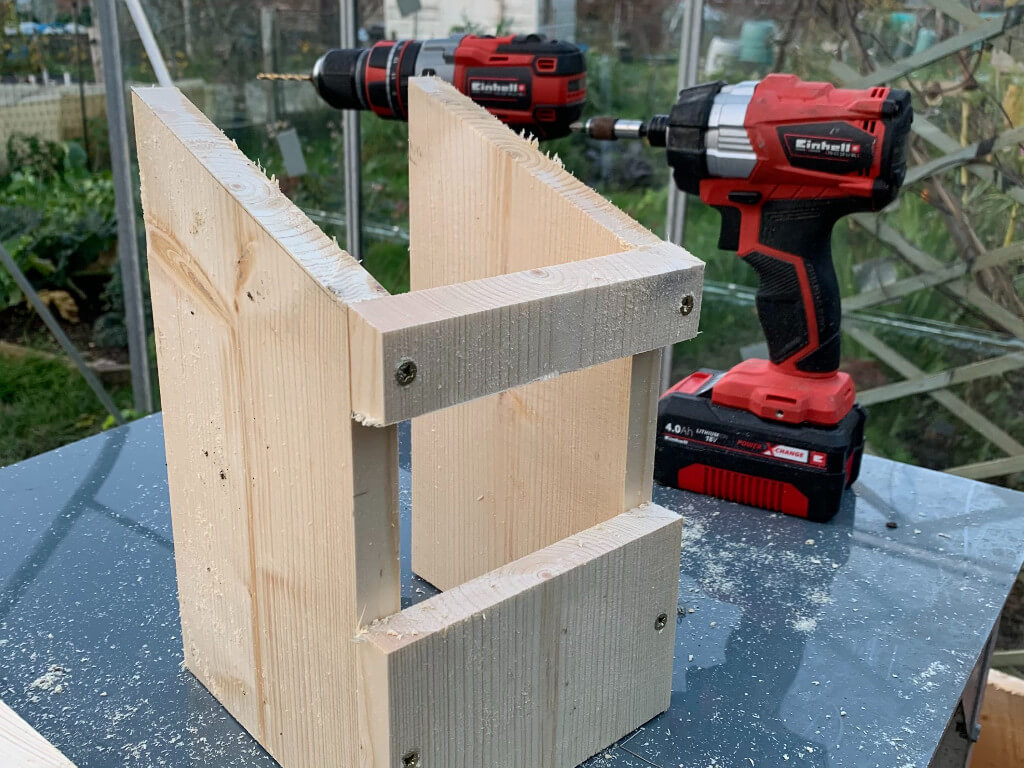
Step Nine:
Position your side panels underneath the front panel so it is supported on either side. Take your screws and screw the front panel to the side panels using the pilot holes, making sure everything is lined up and flush.
Step Ten:
Now you have three sides of your bird boxes, it’s time to attach the back. Measure 50mm up from the bottom on the back panel and mark this point on the sides of the wood. This will be a guide to position the three sided box to. Repeat the steps of marking 9mm in and drilling four pilot holes, two on each side where the sides are below. Screw together.
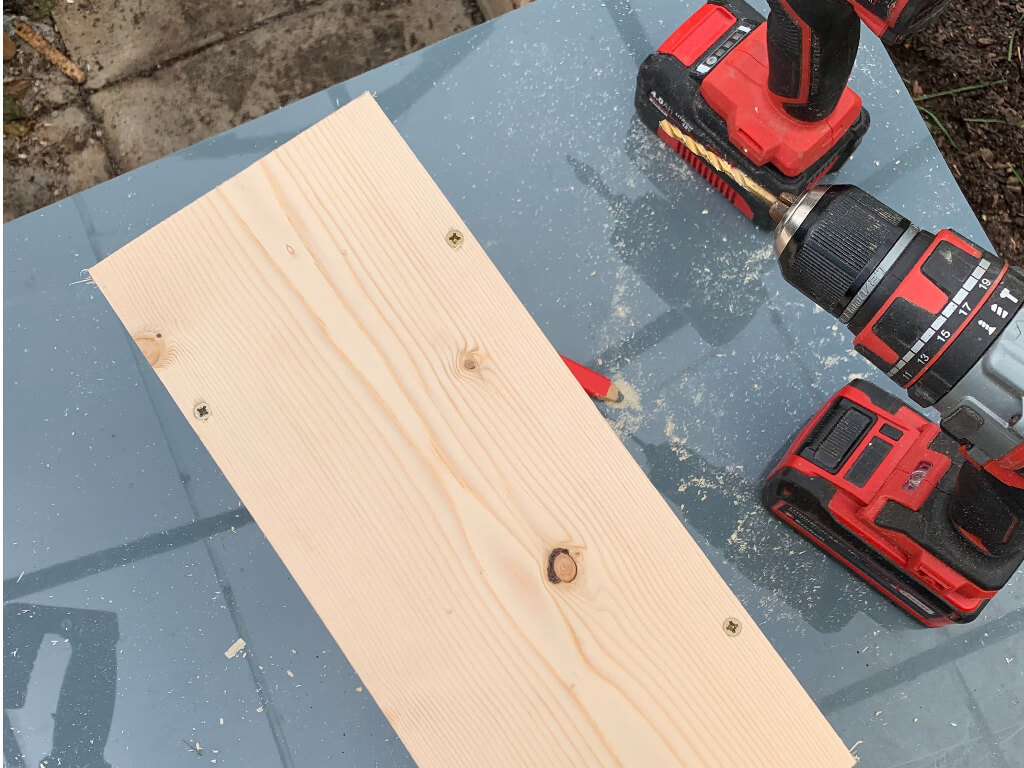
Step Eleven:
Now it’s time to add your base. The easiest way to measure this is by placing your remaining wood up against the back panel and draw a line on the wood where the edge of the front panel is. Cut with your mitre saw and then screw in place using the pilot holes 9mm in from the edge. If you are worried about your box not being water tight, you can add 5 small drainage holes into the base of the bird box with your 5mm drill bit.
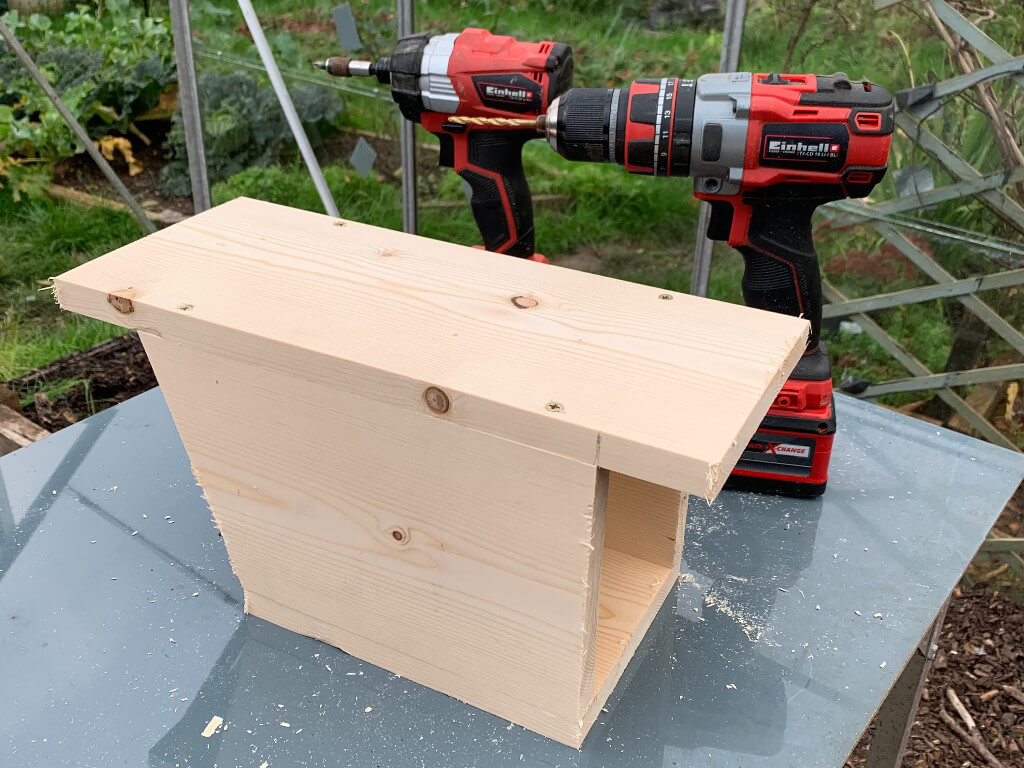
Step Twelve:
The final step is to attach the roof. If you’re using a rubber inner tube or similar as a water seal, secure your roof using the same method as before with the 9mm in pilot hole and four screws. If you want to get a tight fit, you can use your mitre saw to cut the end at the correct angle.
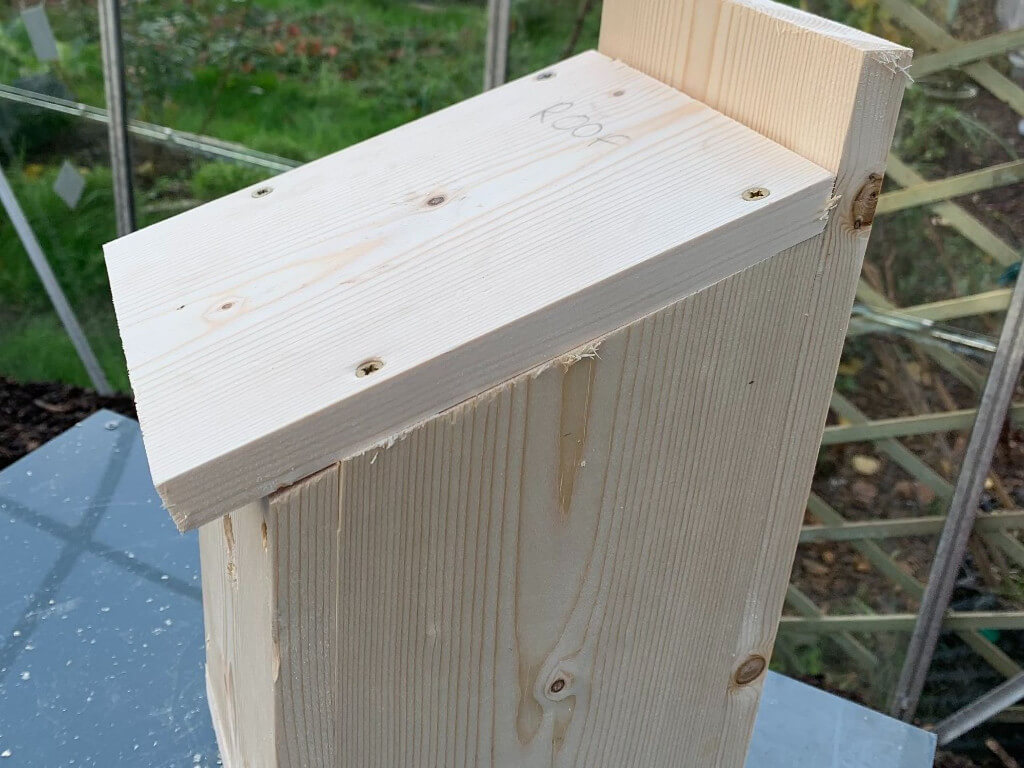
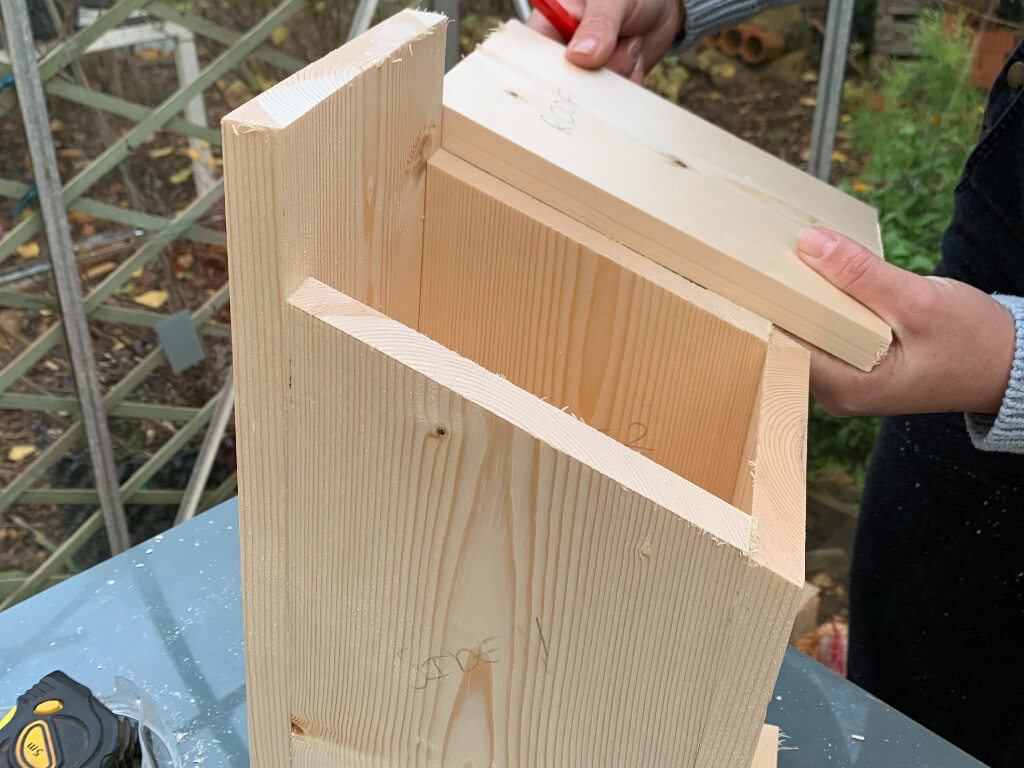
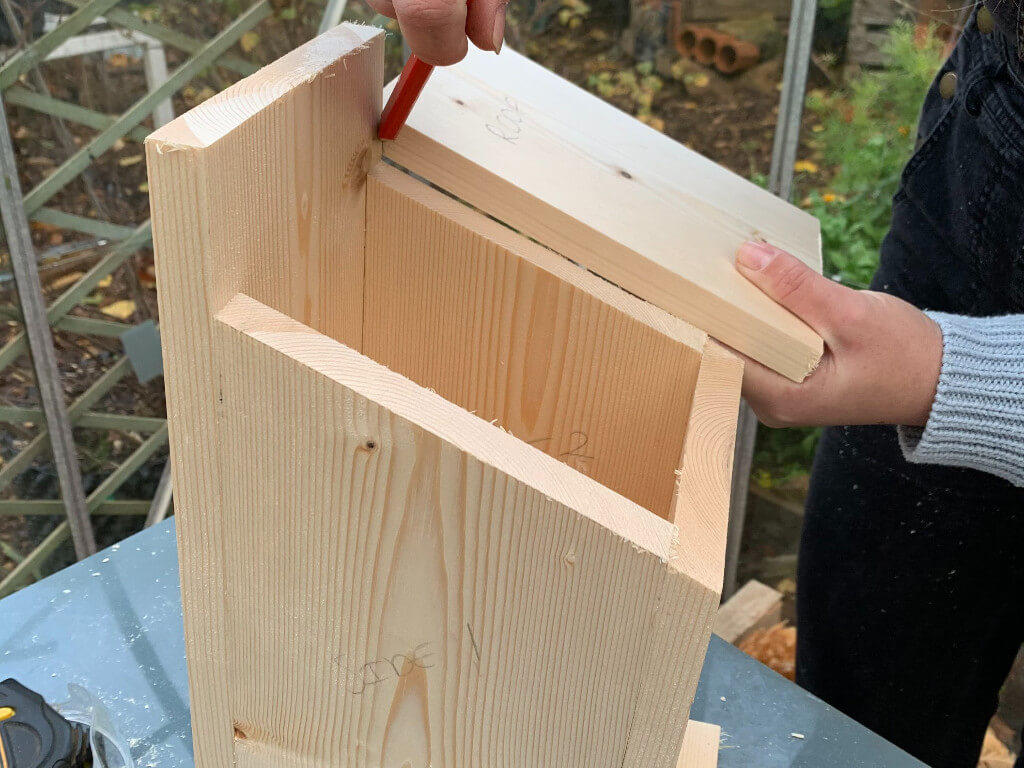
Step Thirteen:
To find the angle, take your roof section and hold it up to the edge of the nesting box so it overlaps the back panel. Once it is at the correct angle, draw a line where the roof section meets the back panel. Take your wood to the mitre saw and turn on the laser beam. Line up the edge of the wood with the saw blade. Loosen the knob at the back of the mitre saw which will release the blade, allowing you to adjust it to the left. Once the laser beam lines up with the point you marked on the wood, tighten the knob and cut. Then repeat the steps of screwing the roof to the side panels.
Step Fourteen:
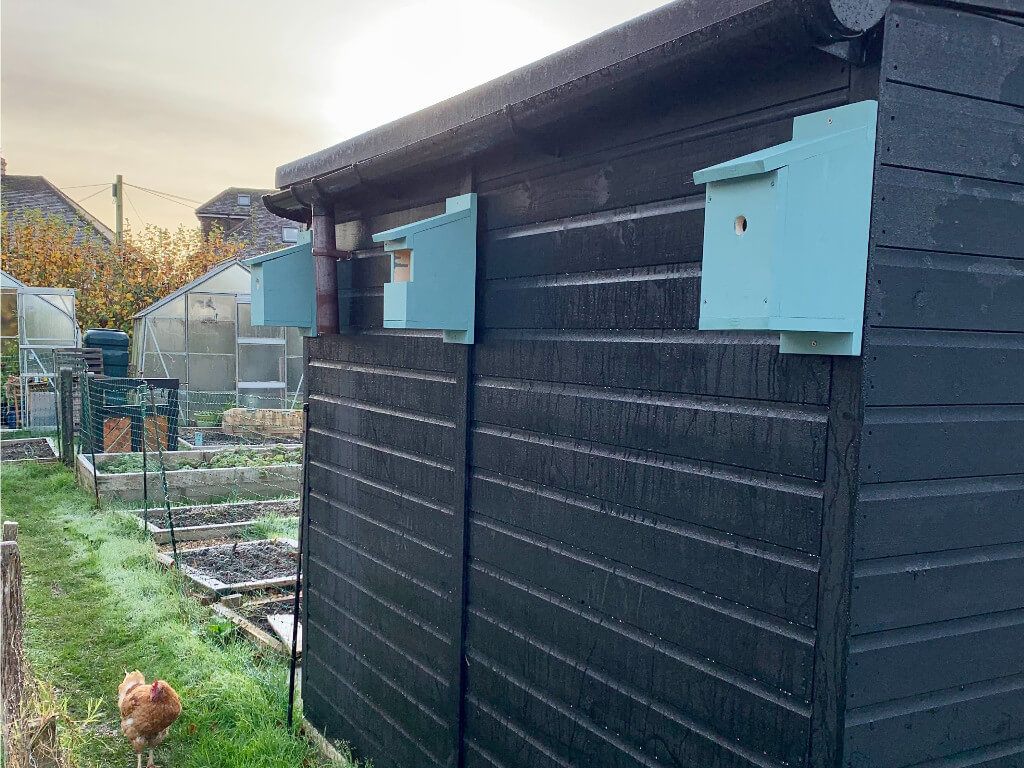
You should paint the outside of your bird box with a garden paint to protect it from the elements. Once dry, screw through the back panel at the top and bottom to fix it to its final position. You can make various bird boxes to suit different species, either by using different sized hole saws or cutting a whole section out of the front panel to attract robins like below.
Things to remember when choosing a location for the box:
- It needs to be out of cats and foxes reach, 2-4 meters above the ground.
- Position your bird box so it faces north east which will protect it from the winds, rain and midday sunlight.
- Choose a position that has easy flight access.