How to make a Coldframe
Cold frames are perfect for use in winter and spring, giving your tender plants somewhere to shelter. You can also use the frame to raise seedlings like edible alliums and spring flowers. This design is super simple to make and can be altered to fit any existing windows you have.
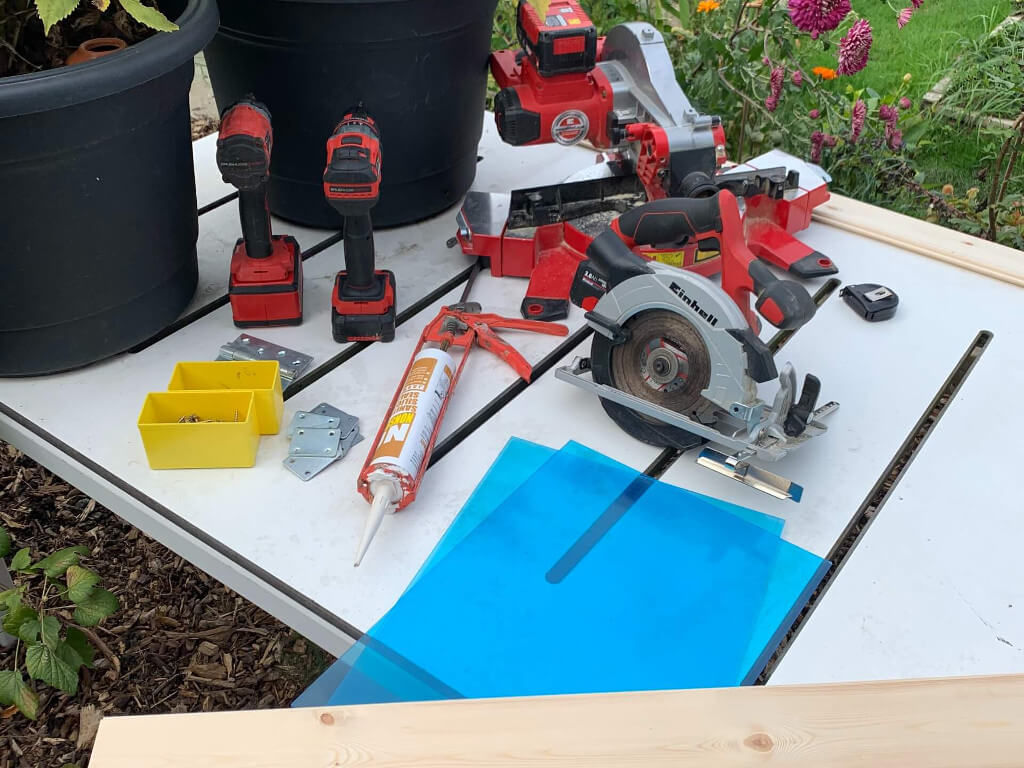
Here’s the materials and the equipment that you will need:
| Material | Tools |
|---|---|
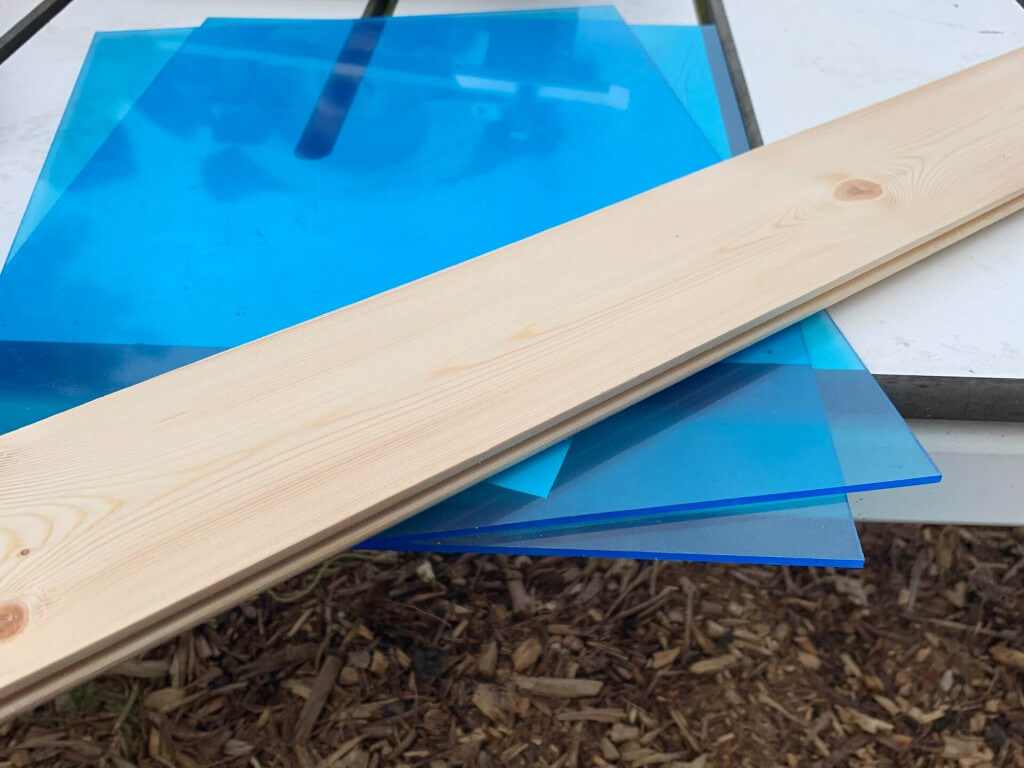
| 19x94mm x 2.4m external tongue and groove boards X 2 | Power X-Change TE-MS 18/210 Li - Cordless Mitre Saw |
| 1 length of chunky wood for the corner posts | Power X-Change TE-CI 18 Li BL solo - Cordless Brushless Impact driver |
| 1 pallet deconstructed | Power X-Change TE-CS 18/165 Li-Solo - Cordless Circular Saw |
| 2 x A3 3mm Perspex | Power X-Change TE-CD 18 Li-i BL solo - Cordless Brushless Combi Drill |
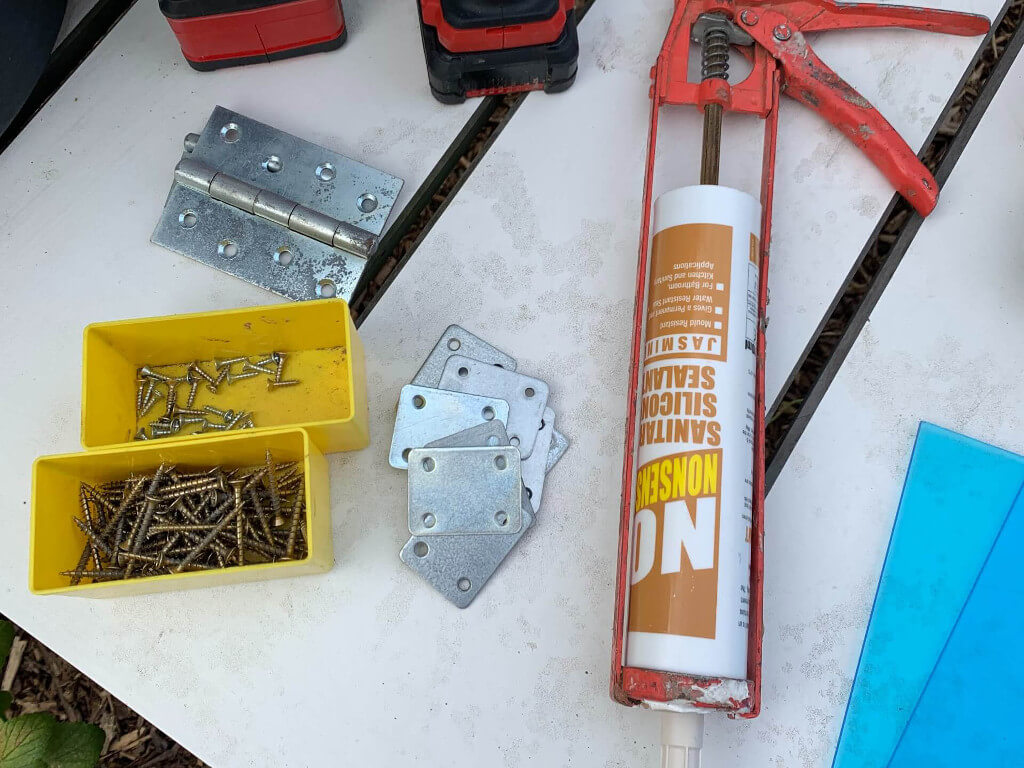
| Multipurpose silicon | 18V 4-6 Ah Multi-Ah PXC Plus battery |
| 2 hinges | Tape measure |
| 8 square brackets | |
| Various length screws | |
| 2 x Handles |
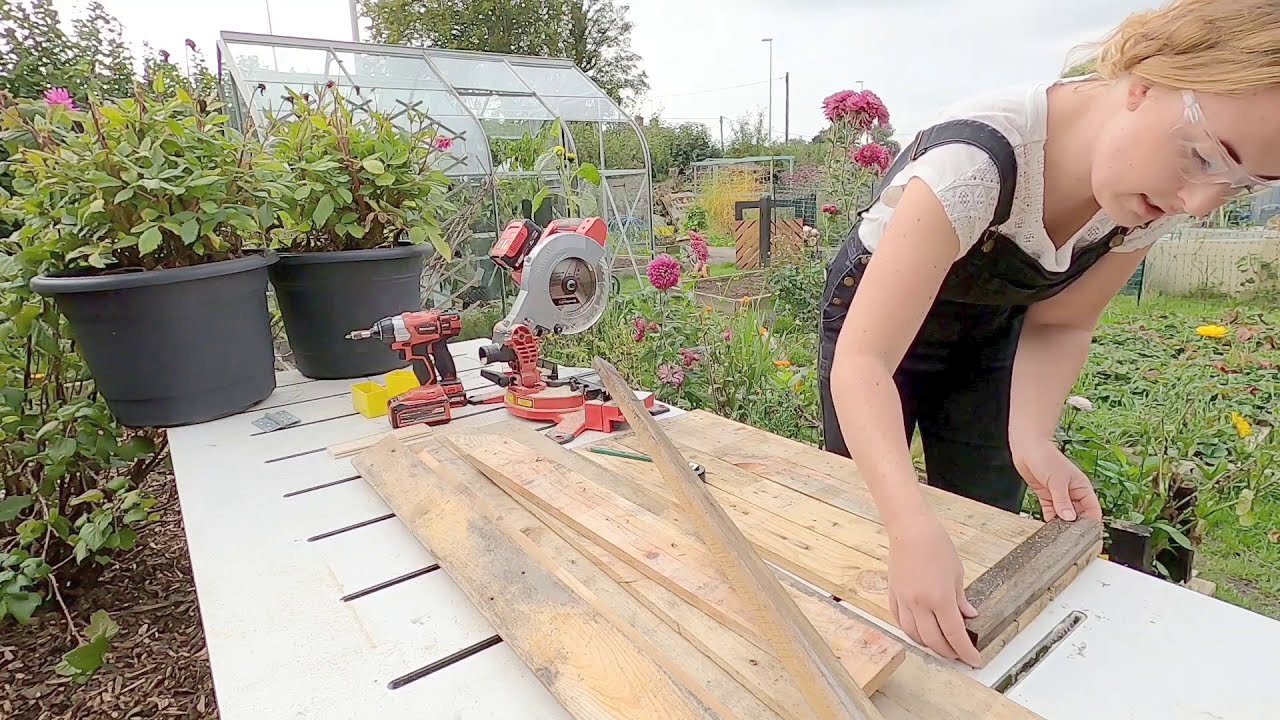
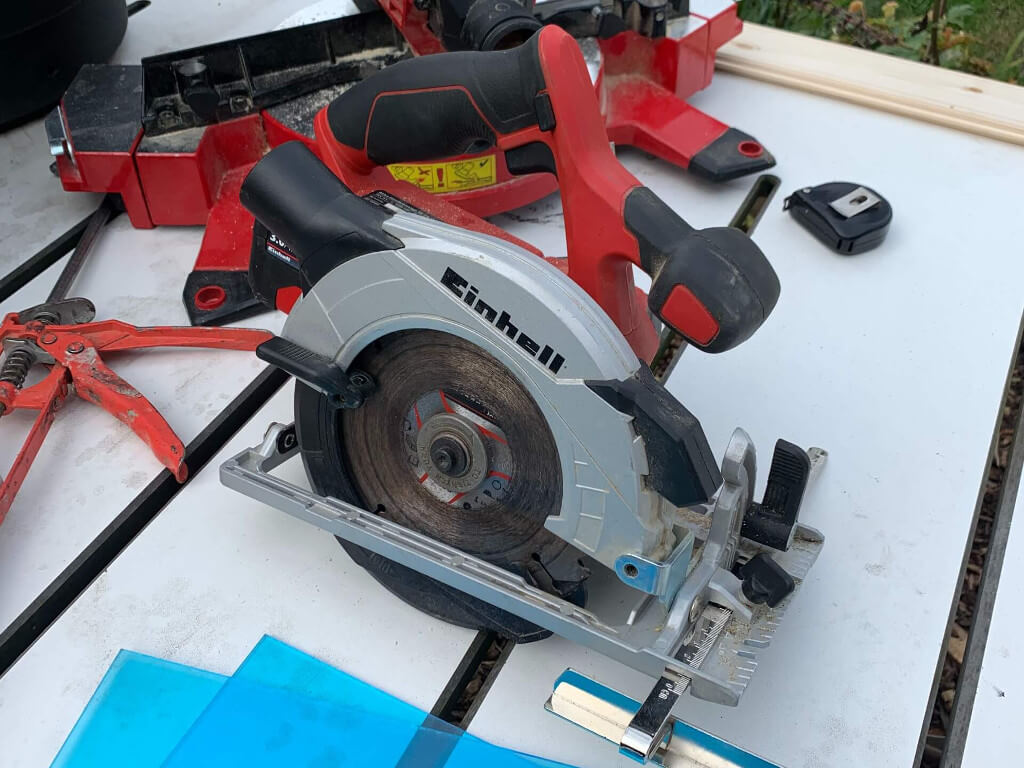
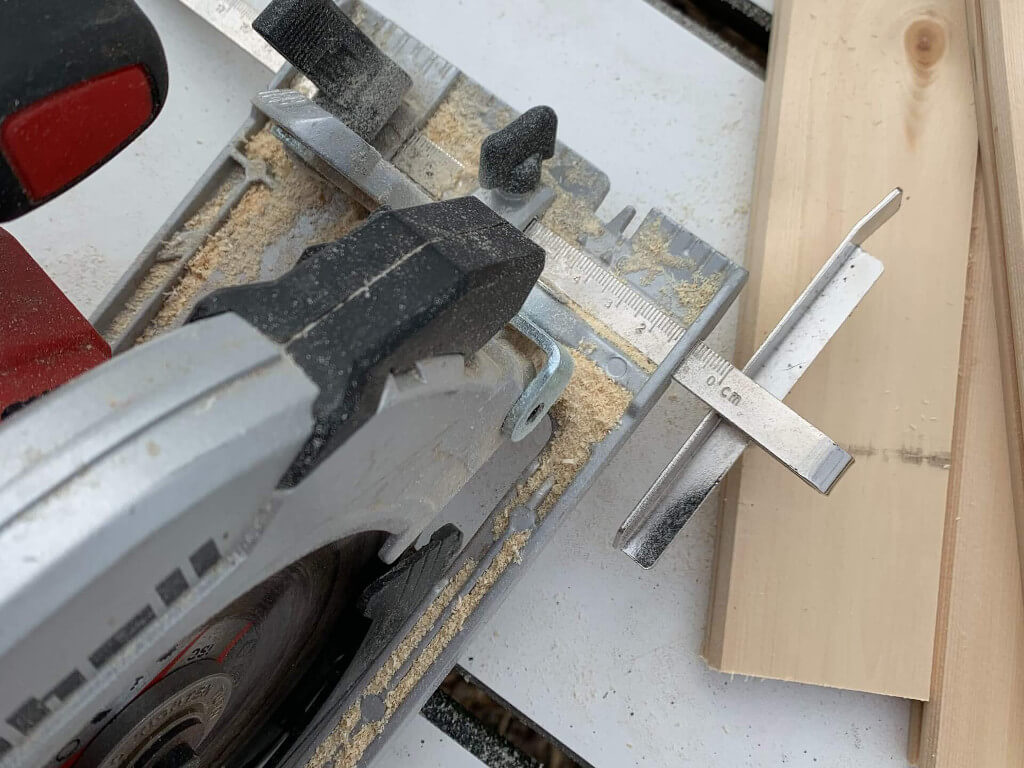
Step One:
First we need to rip down our tongue and groove boards to 60mm. Make sure you cut off the tongue side, leaving the groove which our 3mm Perspex will slot into. The easiest way to do this is set up your circular saw with its guide set to 60mm.
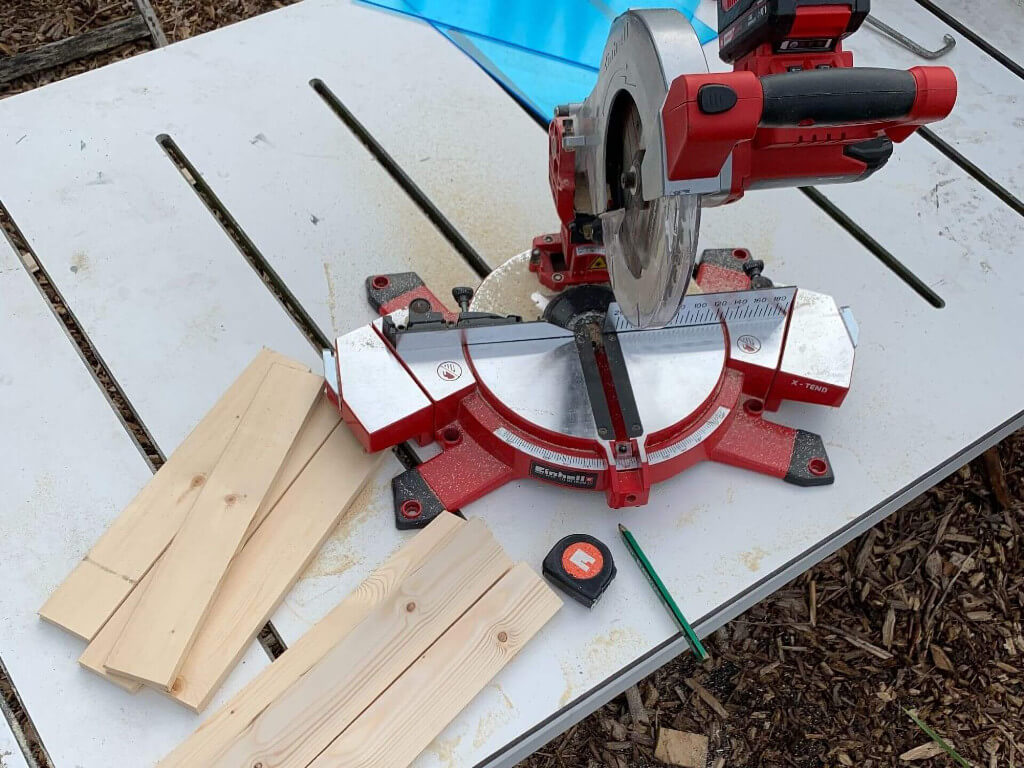
Step Two:
When you have your two lengths of ripped down boards, we need to cut them to length. Using your mitre saw to give you a perfect square cut, cut 4 boards at 410mm and 4 at 398mm. This will give you pieces for the window frame.
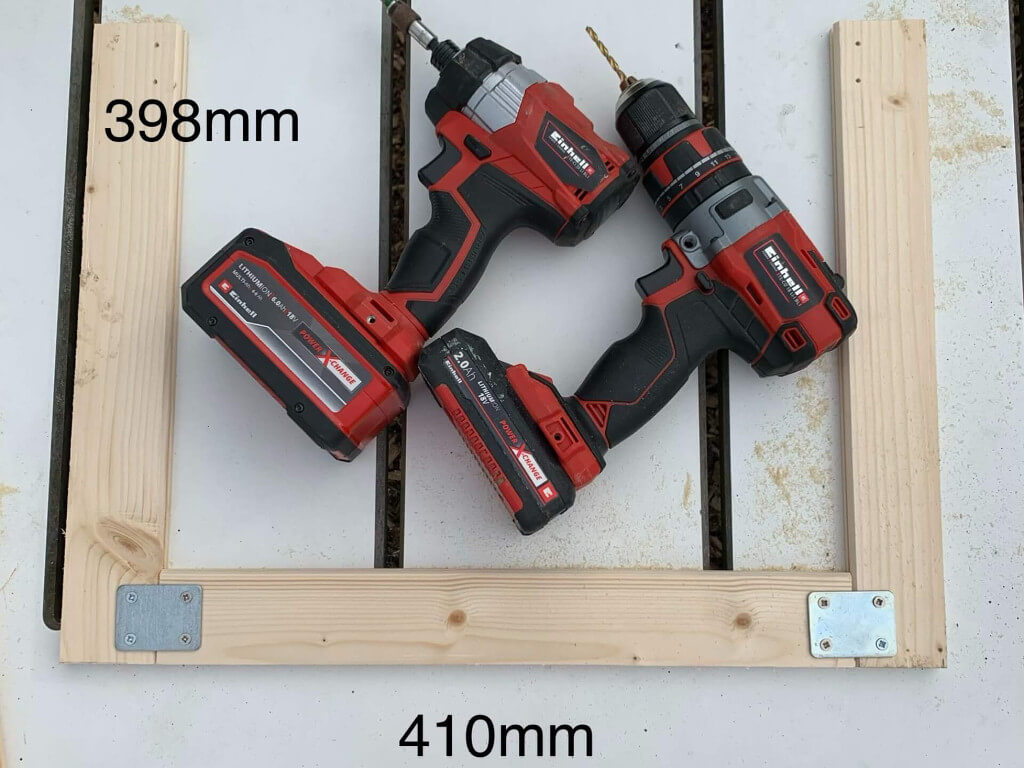
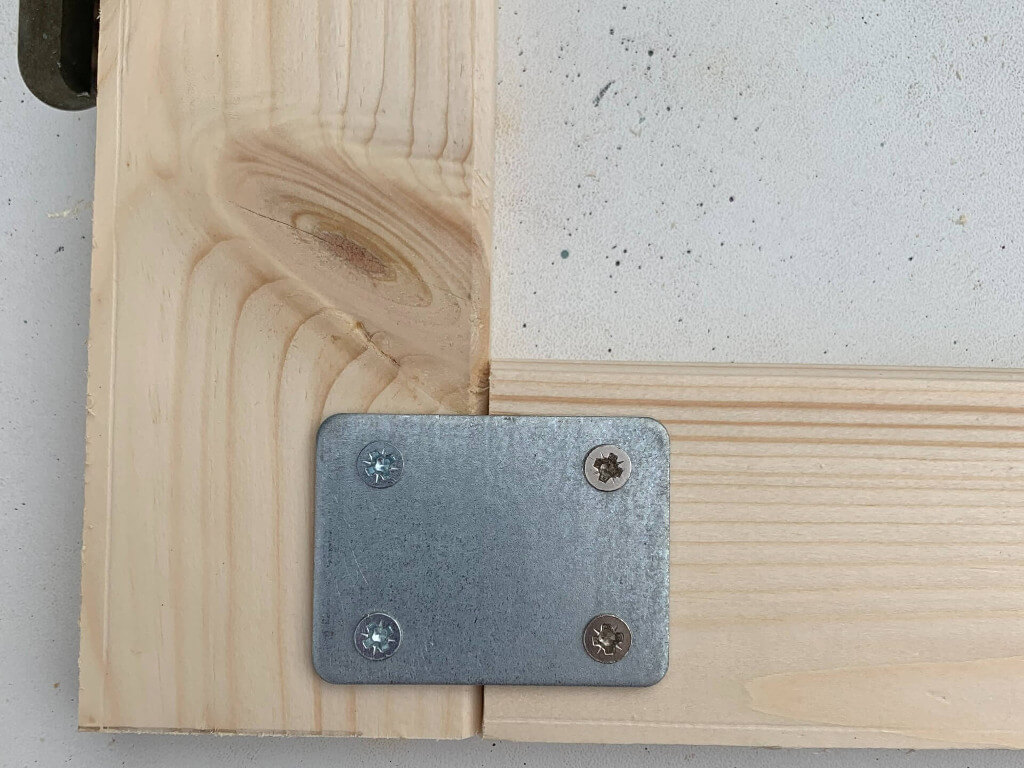
Step Three:
To start screwing these together, take one of each size and make a right angle with them like the picture below. Take your brackets and place one in the corner, overlapping both panels. Using a small pilot drill, make a pilot hole in each corner of the bracket. Using small screws that are shorter than the tongue and groove boards. Screw the bracket in place so all the panels are nice and square.
Step Four:
Repeat on the other end to make a three sided frame.
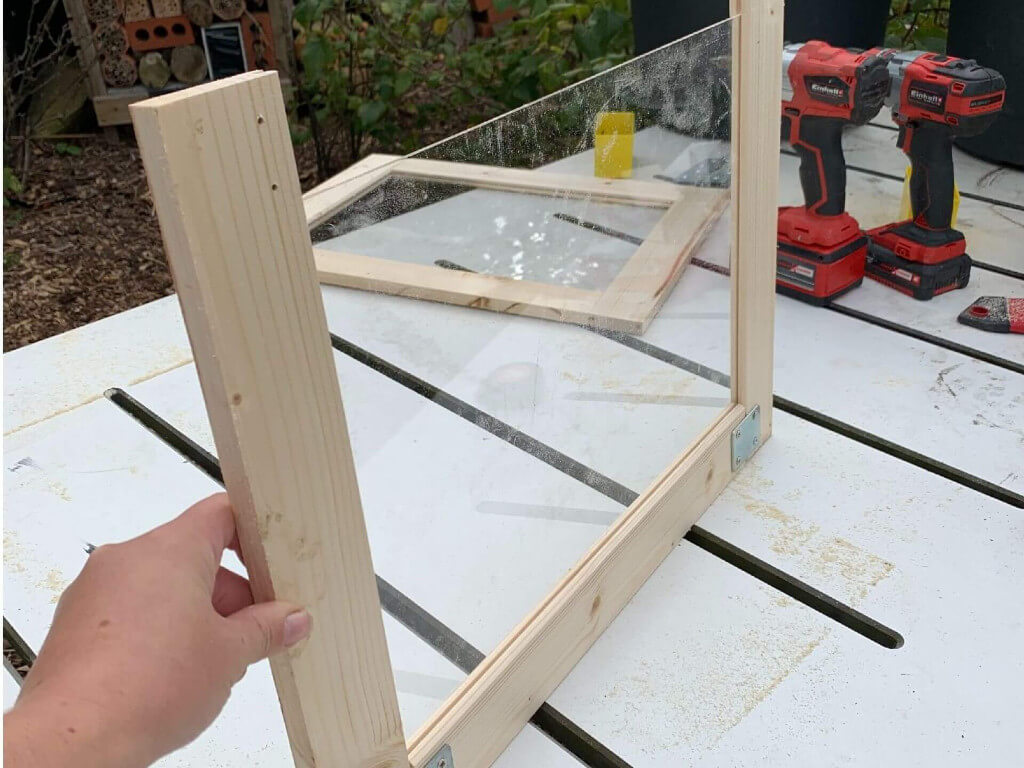
Step Five:
Now take your Perspex and slide the panel into the three sided frame. Take the last tongue and groove and close the frame, securing the Perspex in the grooves. To fix in place, use the last bracket as in step 3.

Step Six:
Repeat steps 3-5 to make a second window.
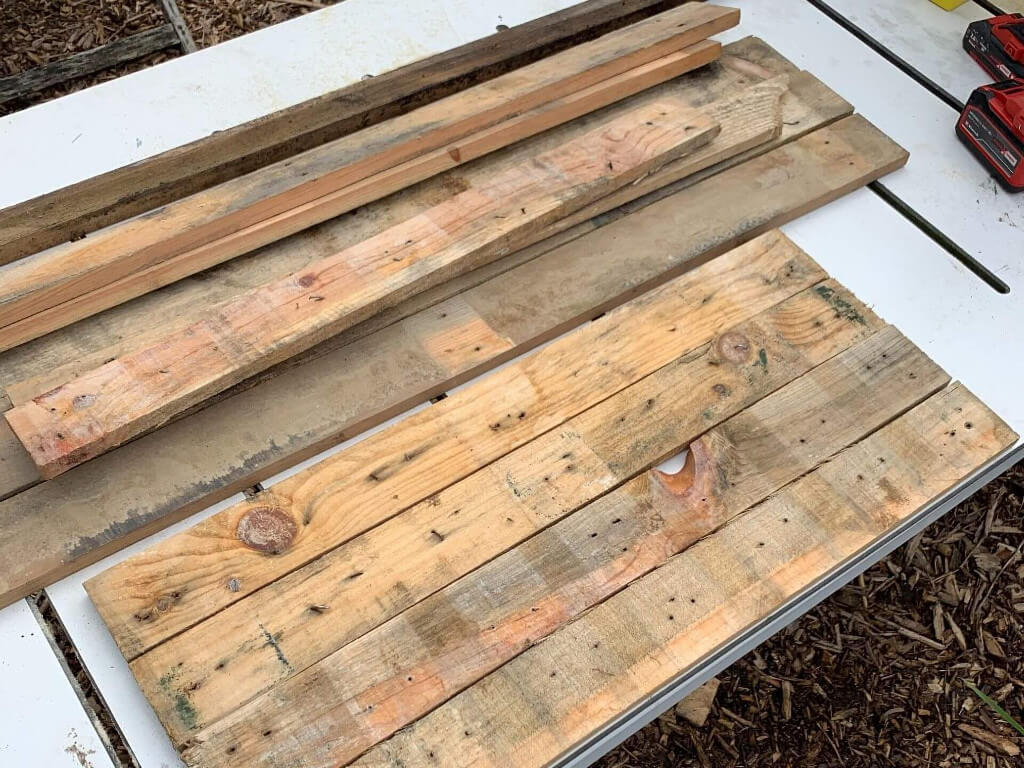
Step Seven:
Now you have your two windows, we need to make a frame for them to sit on. This frame will be slanted to let in maximum light and to ensure water runs off the surface. Start by cutting 7 panels at 795mm from your pallets. Use your mitre saw to give you square cuts.

Step Eight:
Take 4 of the slats and place them on a flat surface, butt up to each other. Measure the distance from top to bottom, this will give you the measurement for cutting your corner post to. Take the chunky piece of wood you have and cut this to size. You will need two, one for each corner.
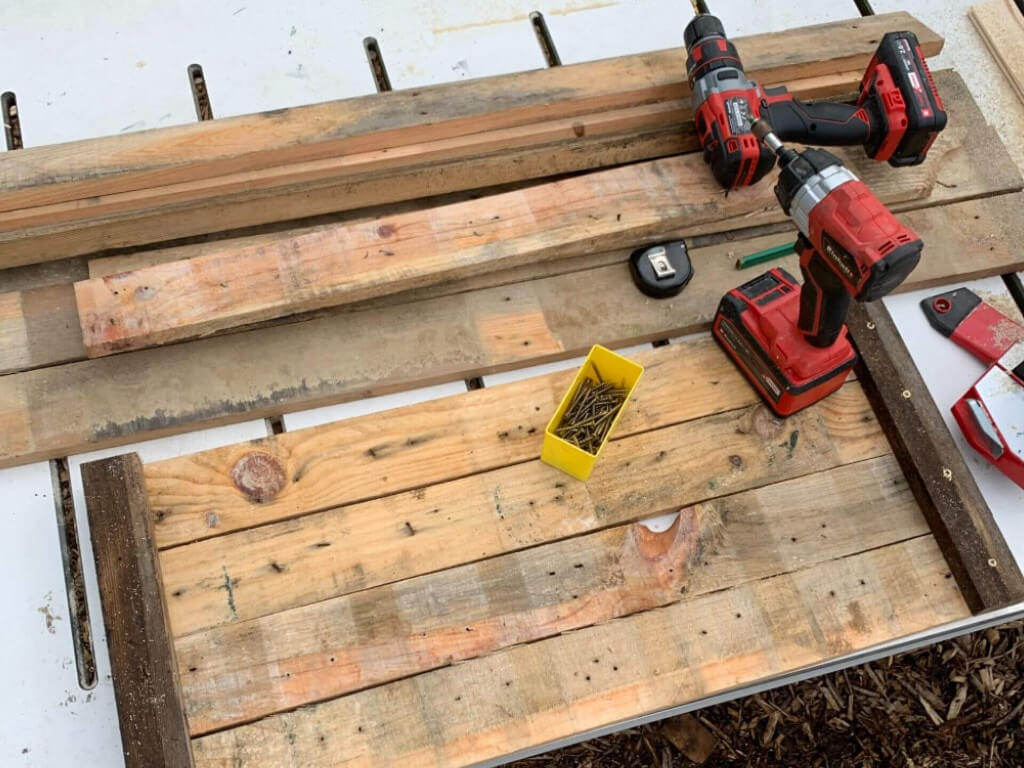
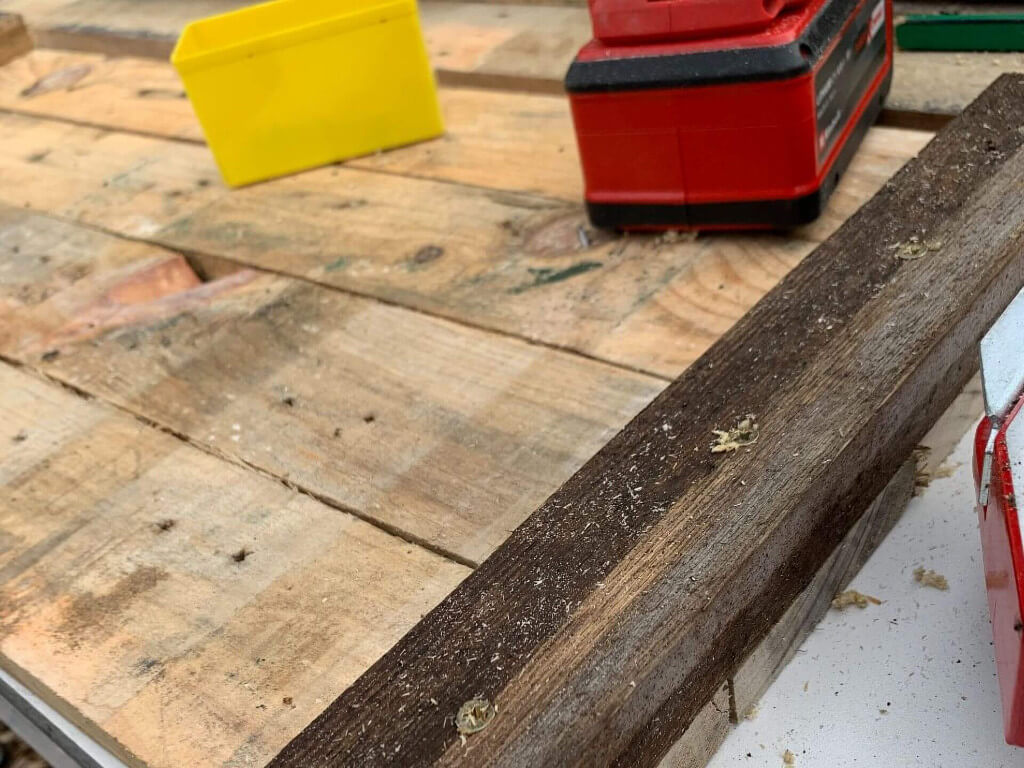
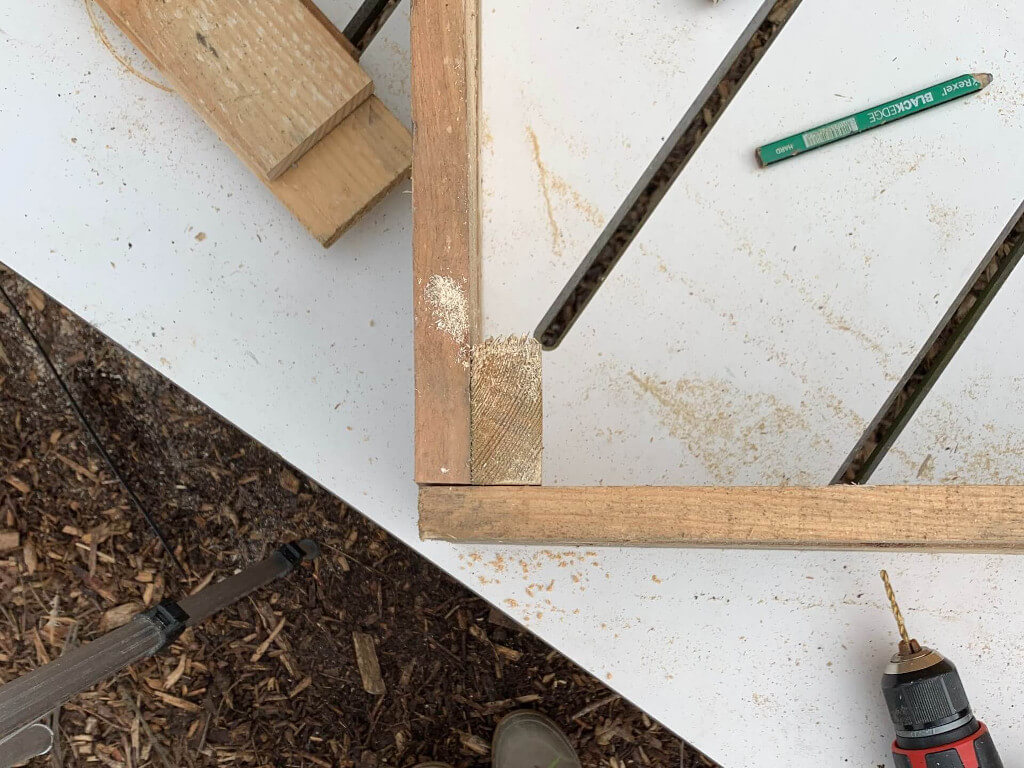
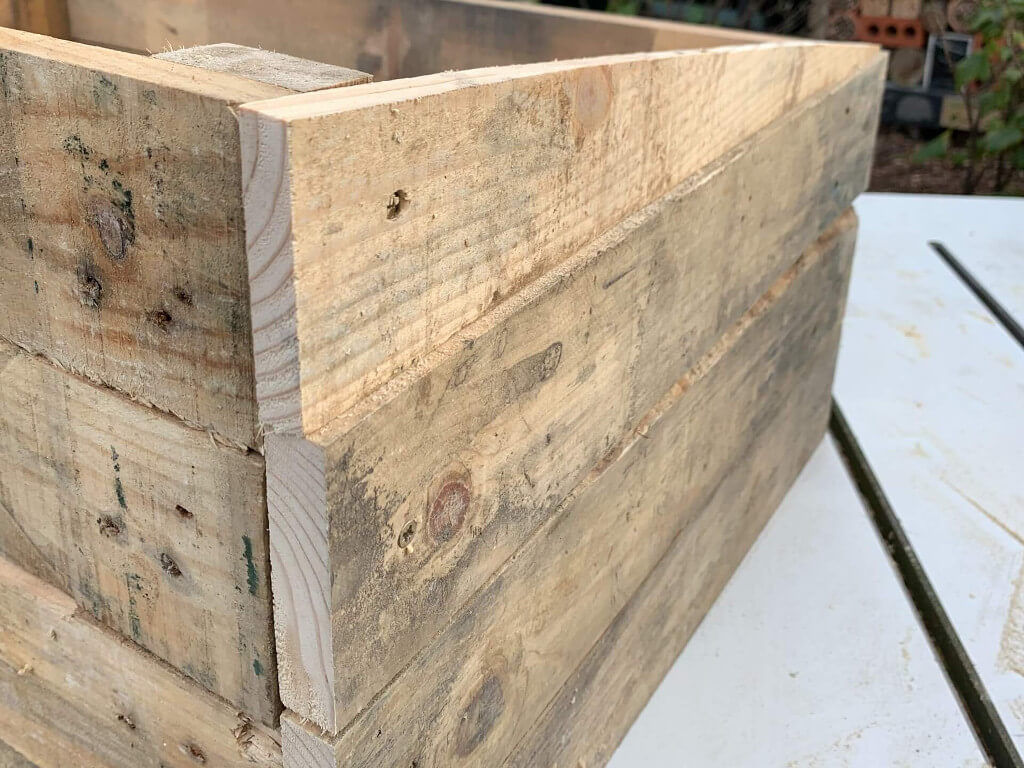
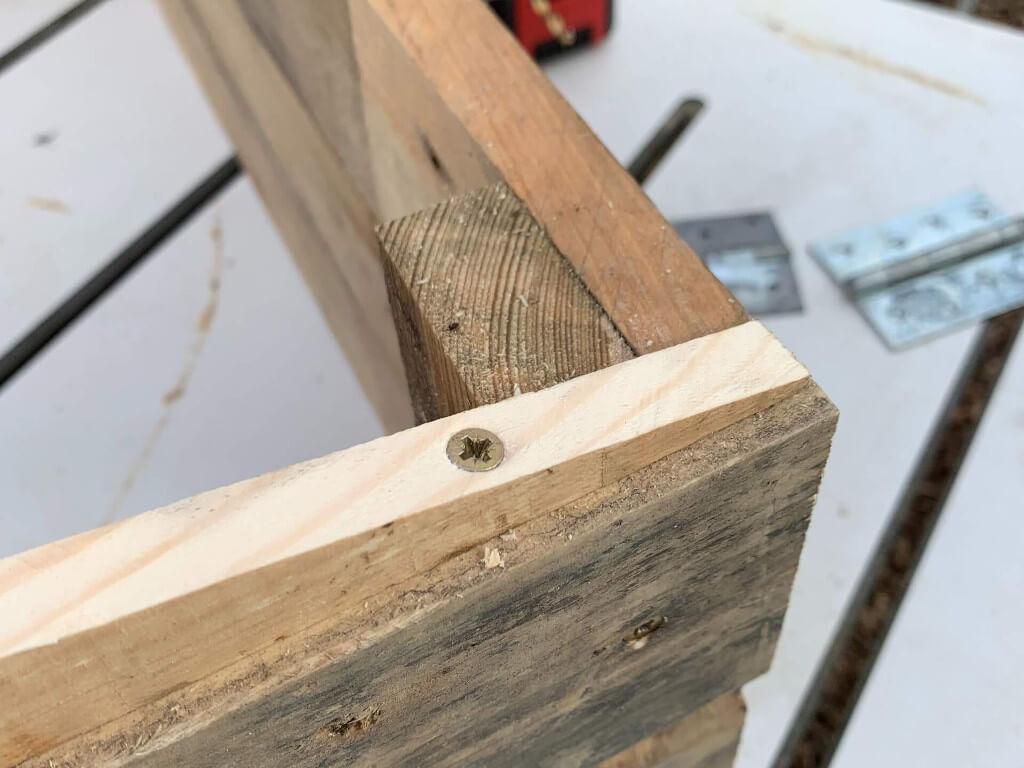
Step Nine:
Take those corner posts and position them so they line up with the edge of the slats. Using a pilot drill and impact driver, screw the corner post to each of the slats. One screw will be enough as the frame isn’t being used to retain any weight.
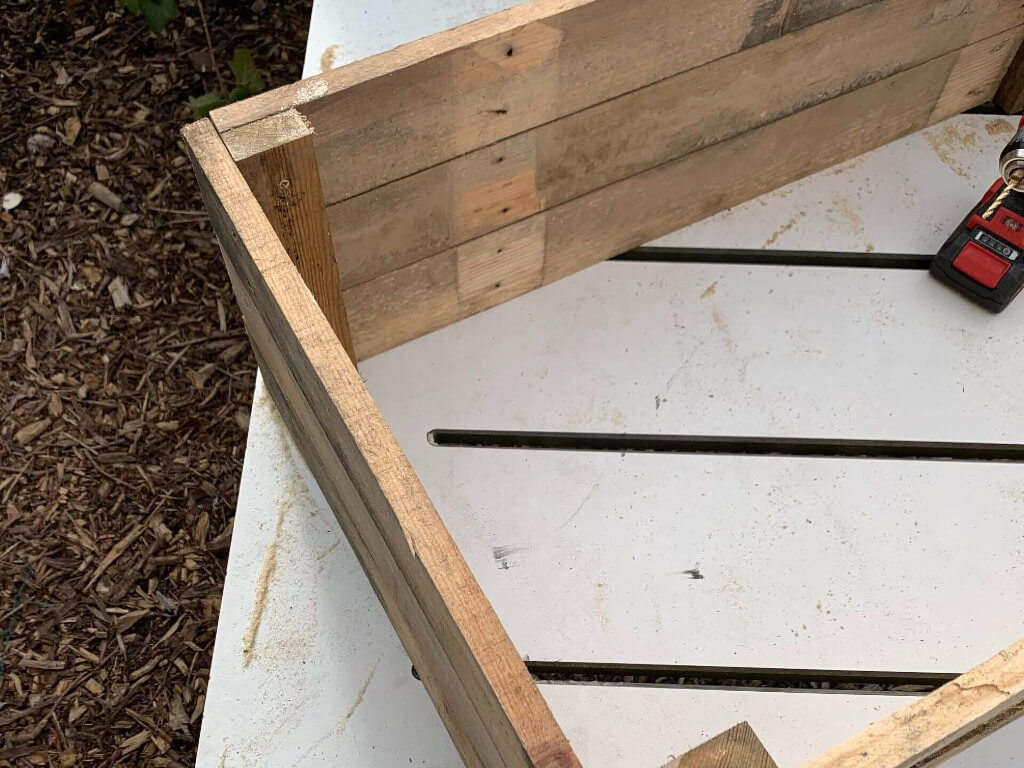
Step Ten:
Repeat step 8 and 9 with the remaining three slats. This will give you your two sides of the coldframe box.
Step Eleven:
Once you have your two sides, it’s time to cut the final panels to join the two sides together. Cut six lengths at 520mm with the mitre saw.
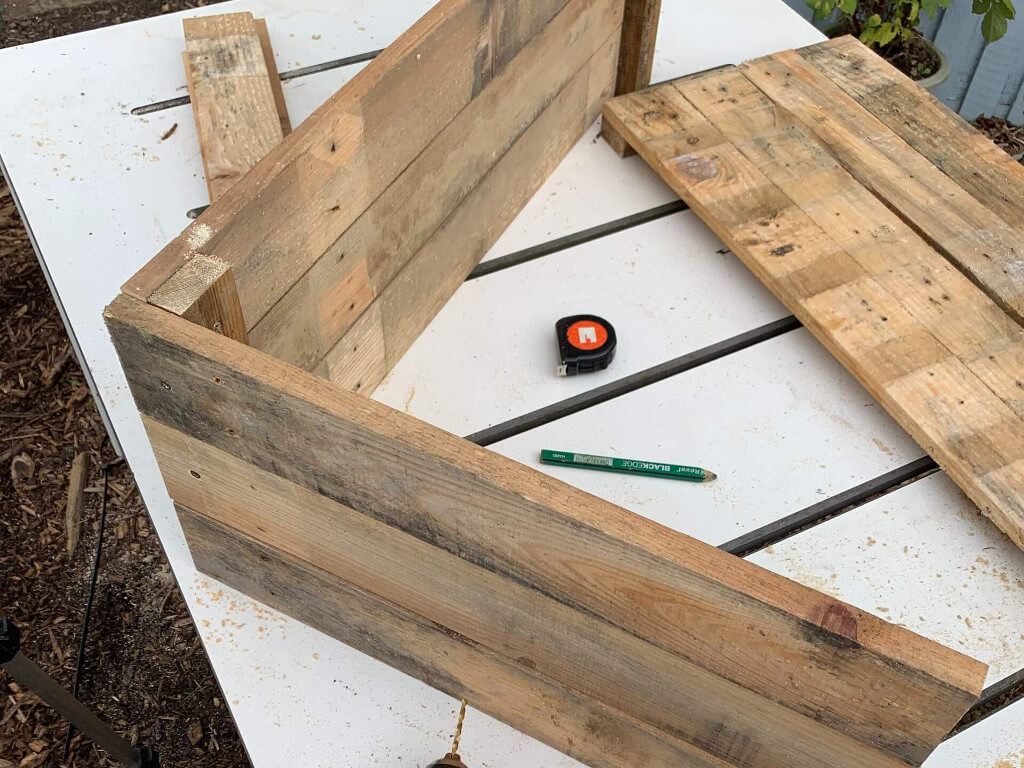
Step Twelve:
Stand one of your panels upright and fix one of the 520mm slats to create a right angle. This should be fixed using a pilot hole and screw into the corner post, not the end of the slat. Keep adding panels until you reach three high.
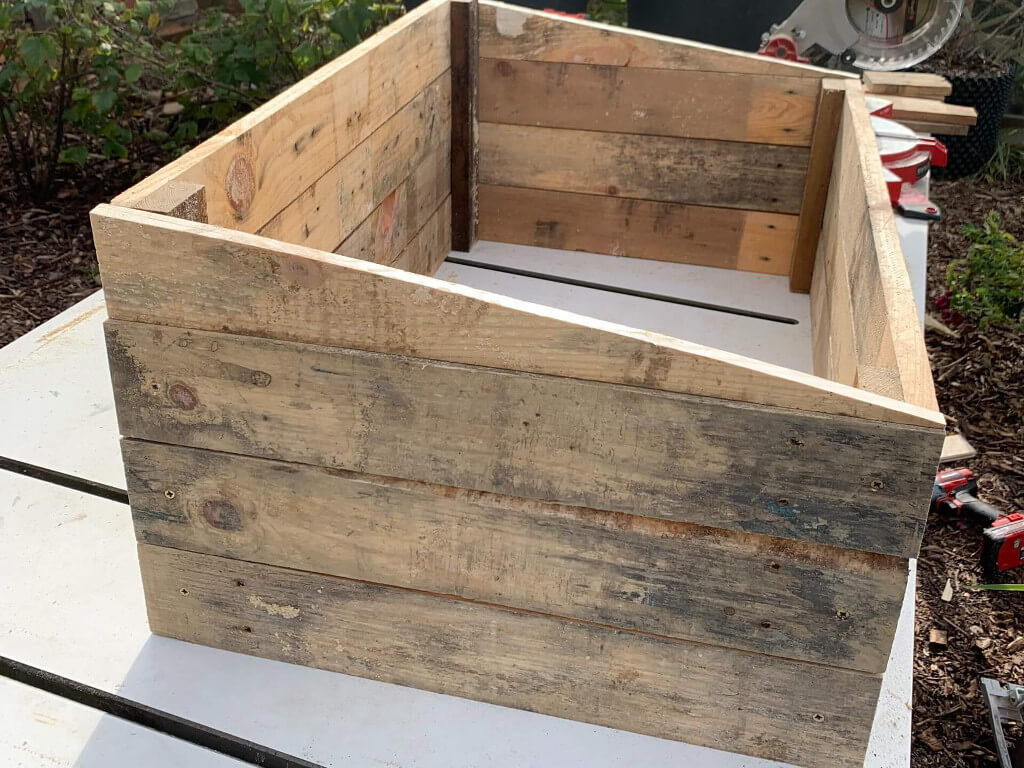
Step Thirteen:
Next screw the end of the 520mm slats into the other side panel. This will create ¾ of a box. Repeat the steps on the other end of the box with your remaining 3 slats.
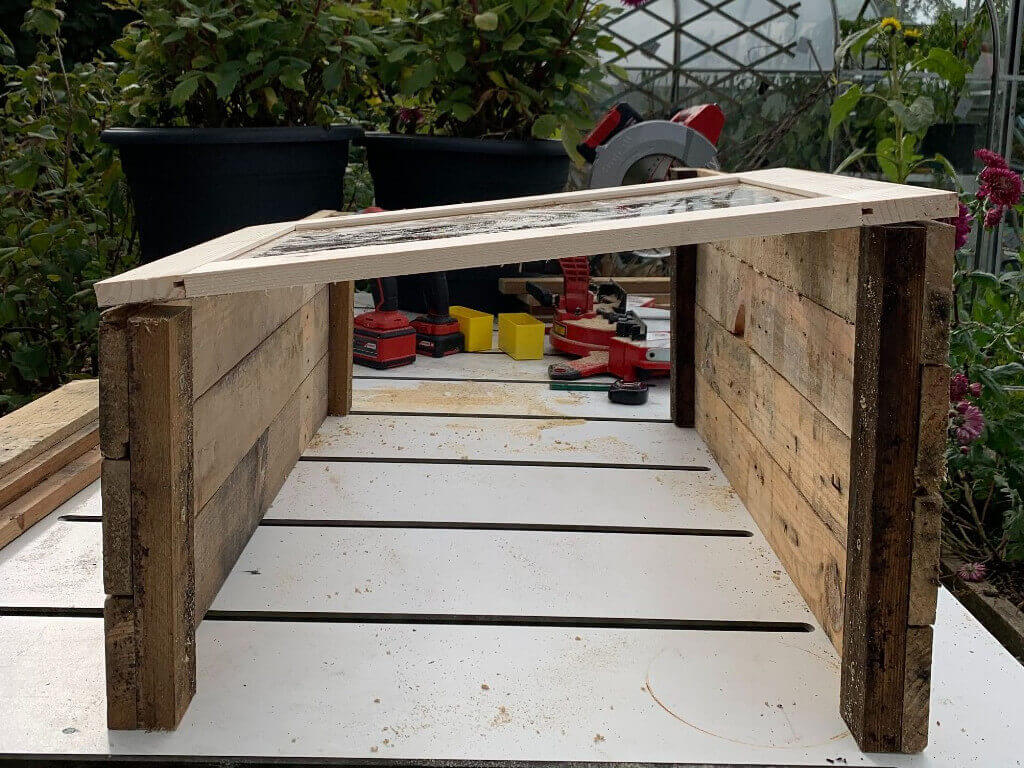
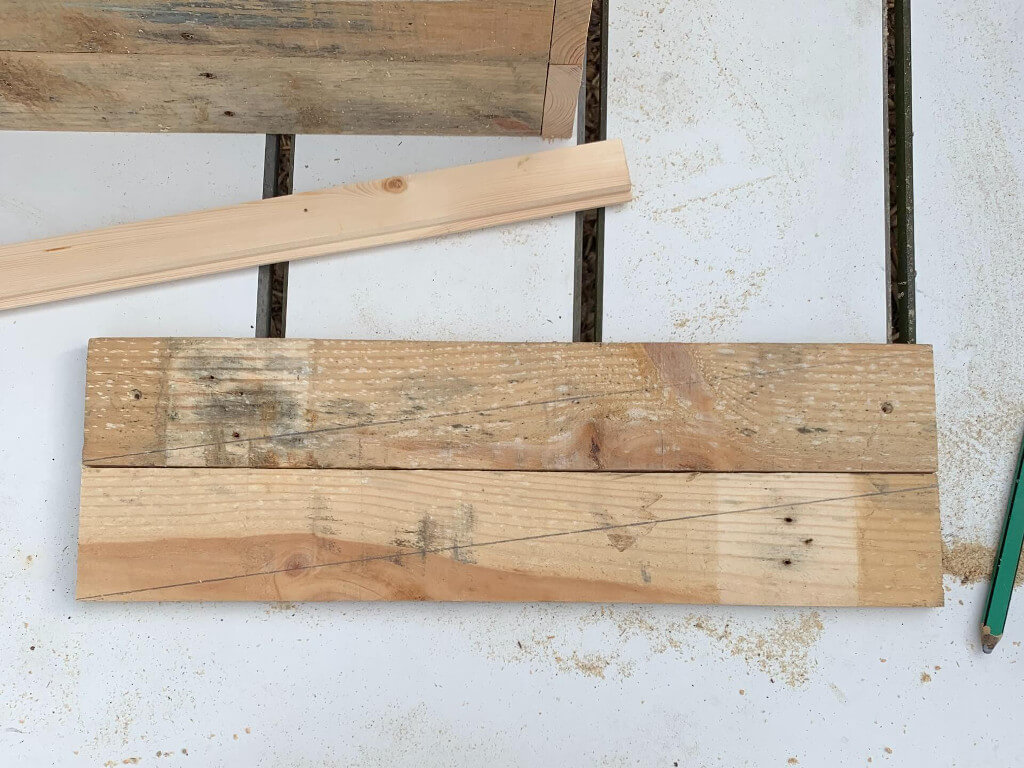
Step Fourteen:
Now you have your box, it needs finishing with a triangle cut for the slant. Cut another two panels at 520mm. Take a tape measure and measure the side which is taller than the other, to determine what height the triangle needs to be cut to. When you have the measurement, draw the line on your wood and cut to size with a circular saw or jigsaw.

Step Fifteen:
Repeat on the other side and fix into place. One end will not have the corner post to attach to so you will need to make a vertical pilot hole in the centre of the slat and then screw into the slat below. Be sure to make a pilot hole otherwise you will split the wood.
Step Sixteen:
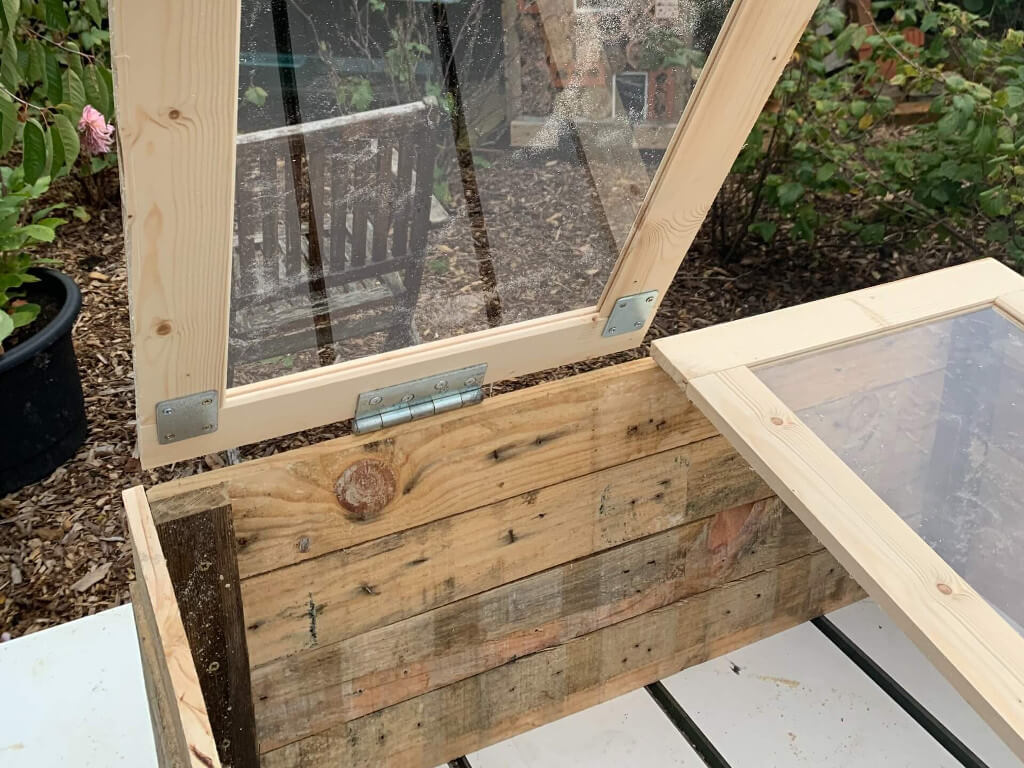
Now you can add your hinges to your windows. I used one hinge but for extra stability you could use two hinges per window. If using one hinge, find the centre line of the window and screw the hinge in the middle. If using two hinges, space them evenly.
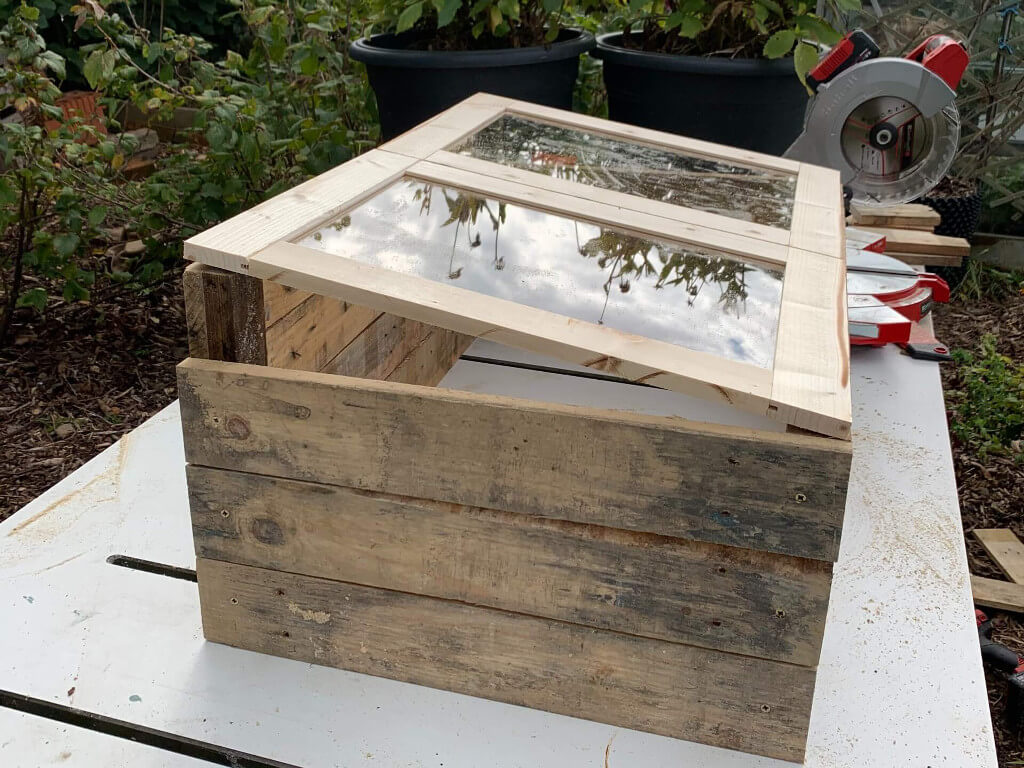
Step Seventeen:
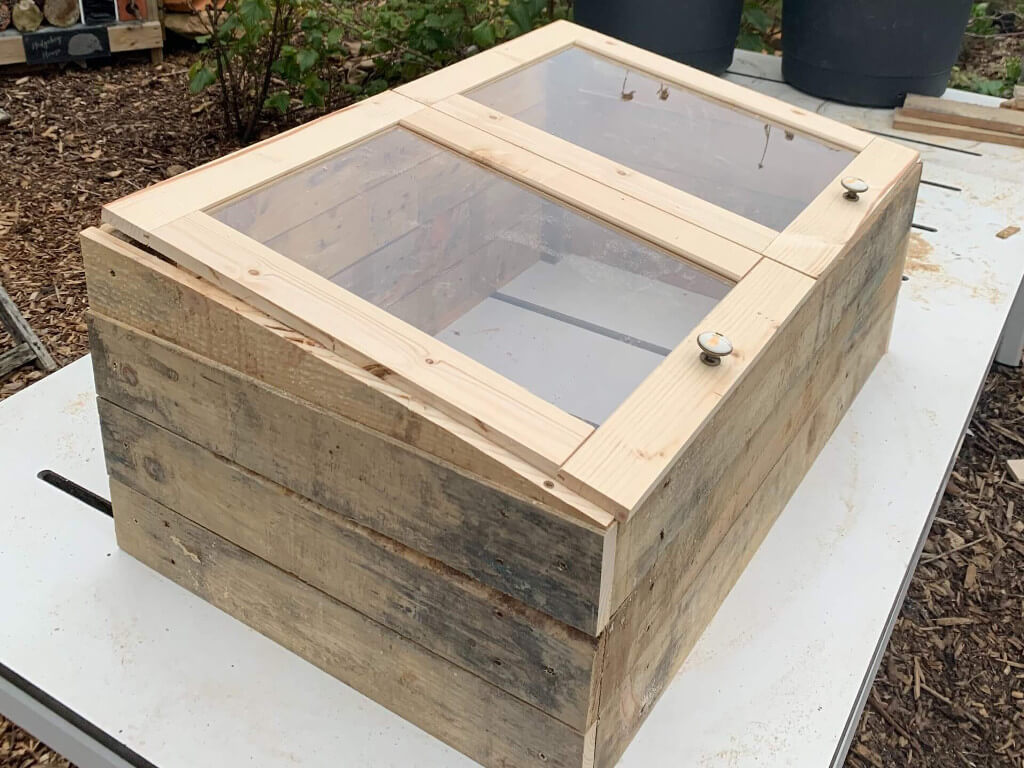
Position your windows on top of the cold frame, leave a few millimetres in between the windows. Once aligned, screw the hinges into the back panel.


Step Eighteen:
Finally you can add handles and a prop inside to hold the windows ajar. The tongue and groove boards are for external use however I painted mine with an outdoor paint.