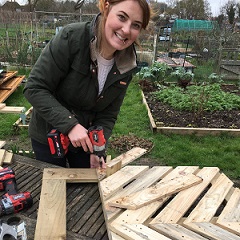
How to make a trug on wheels from one pallet
Carrying tool and your harvests around can be heavy work, but with this trug on wheels, it’s easy to move it around as you work or harvest. Then at the end of the day you can simply wheel it home!
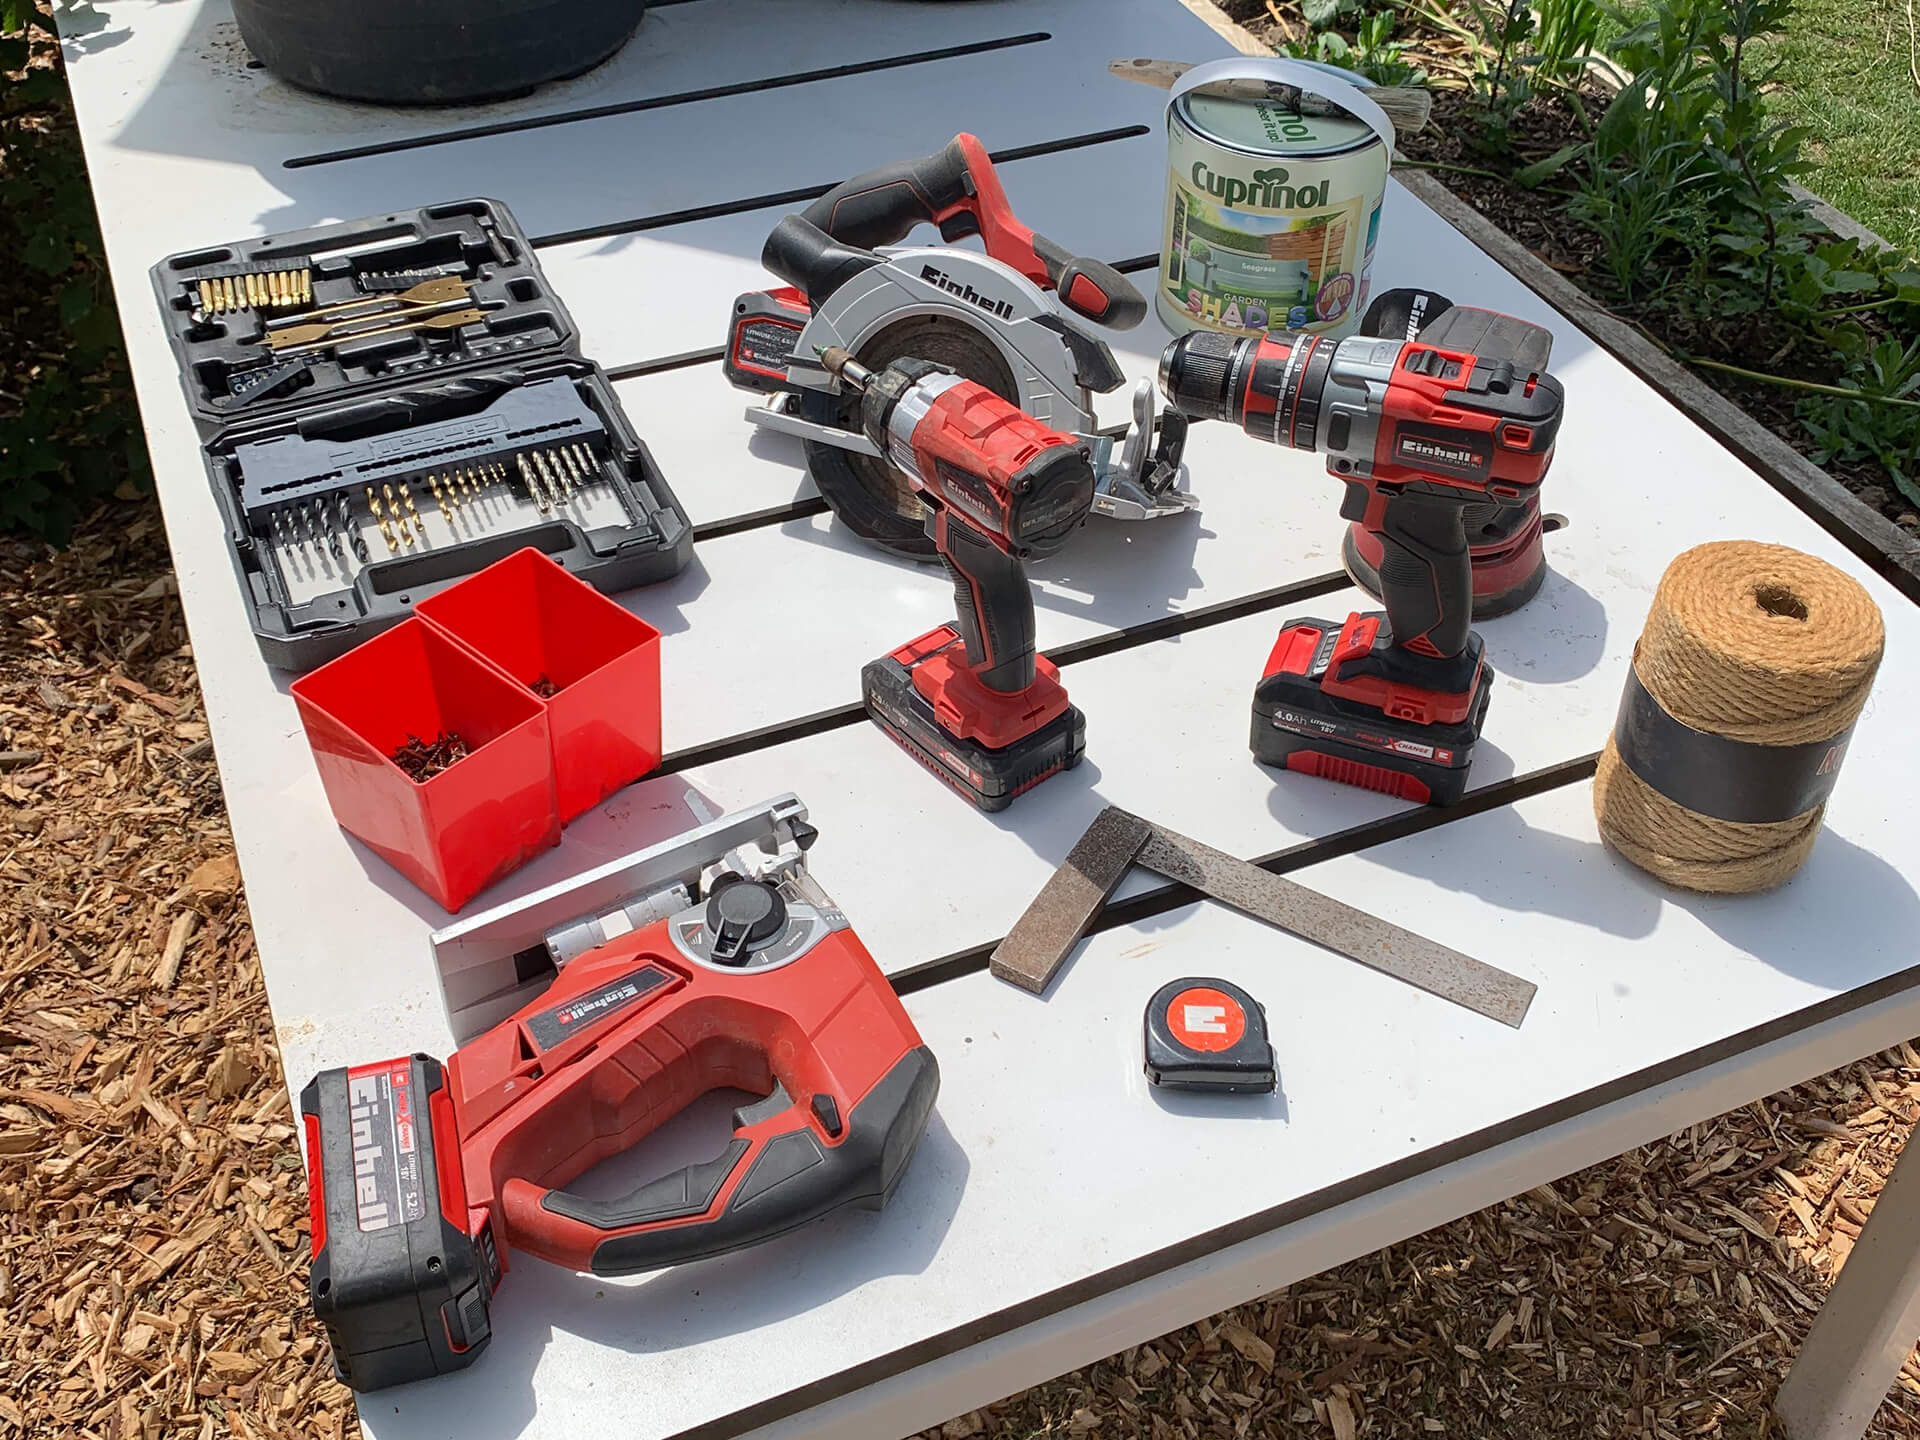
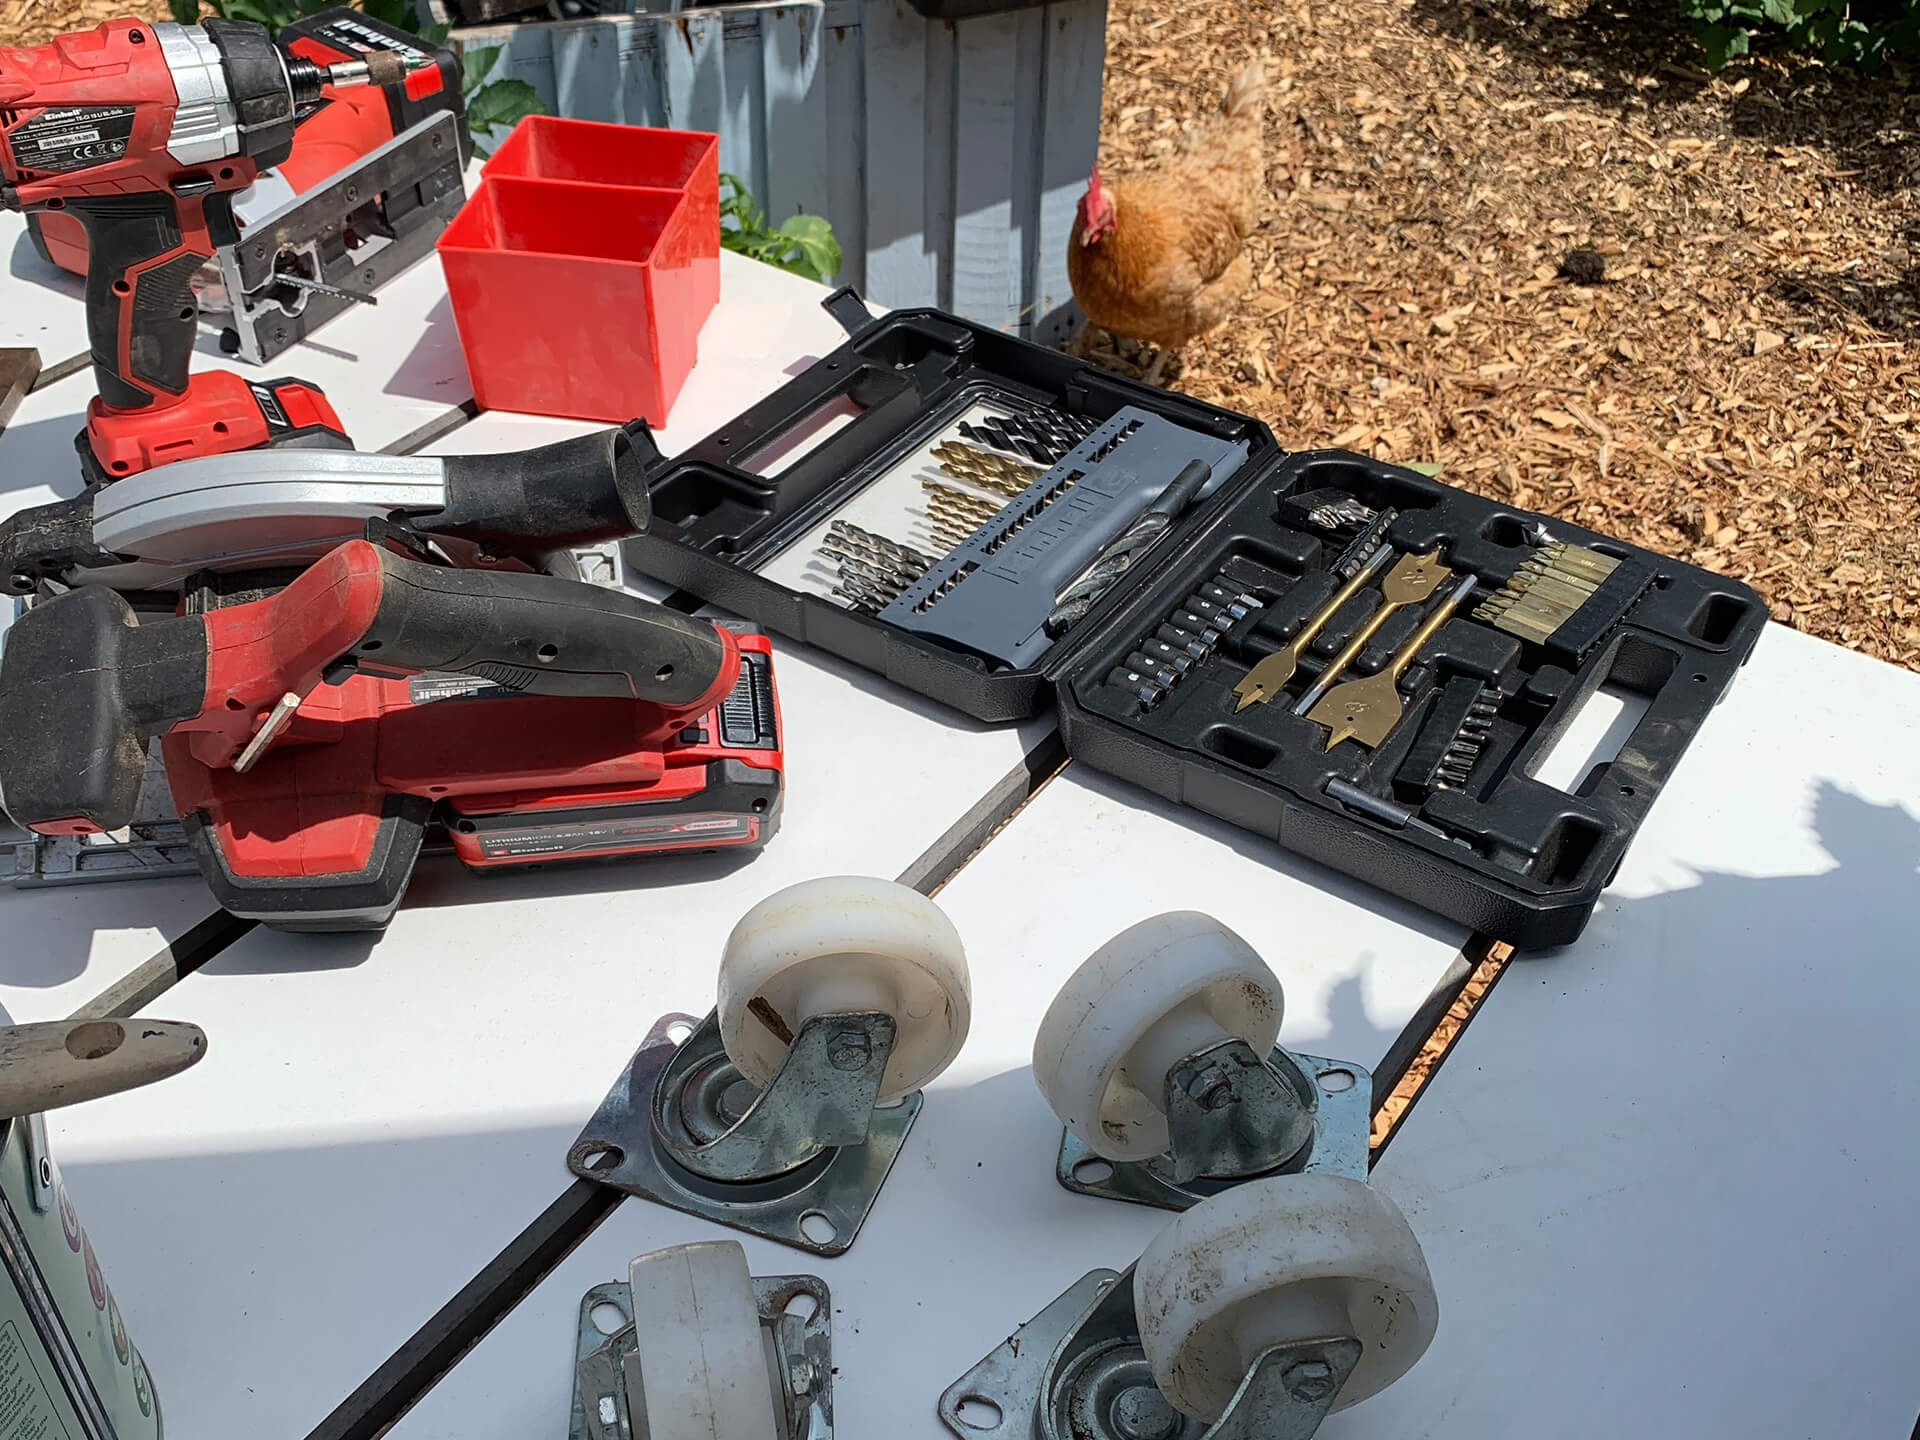
Here’s the materials and the equipment that you will need:
| Material | Tools |
|---|---|
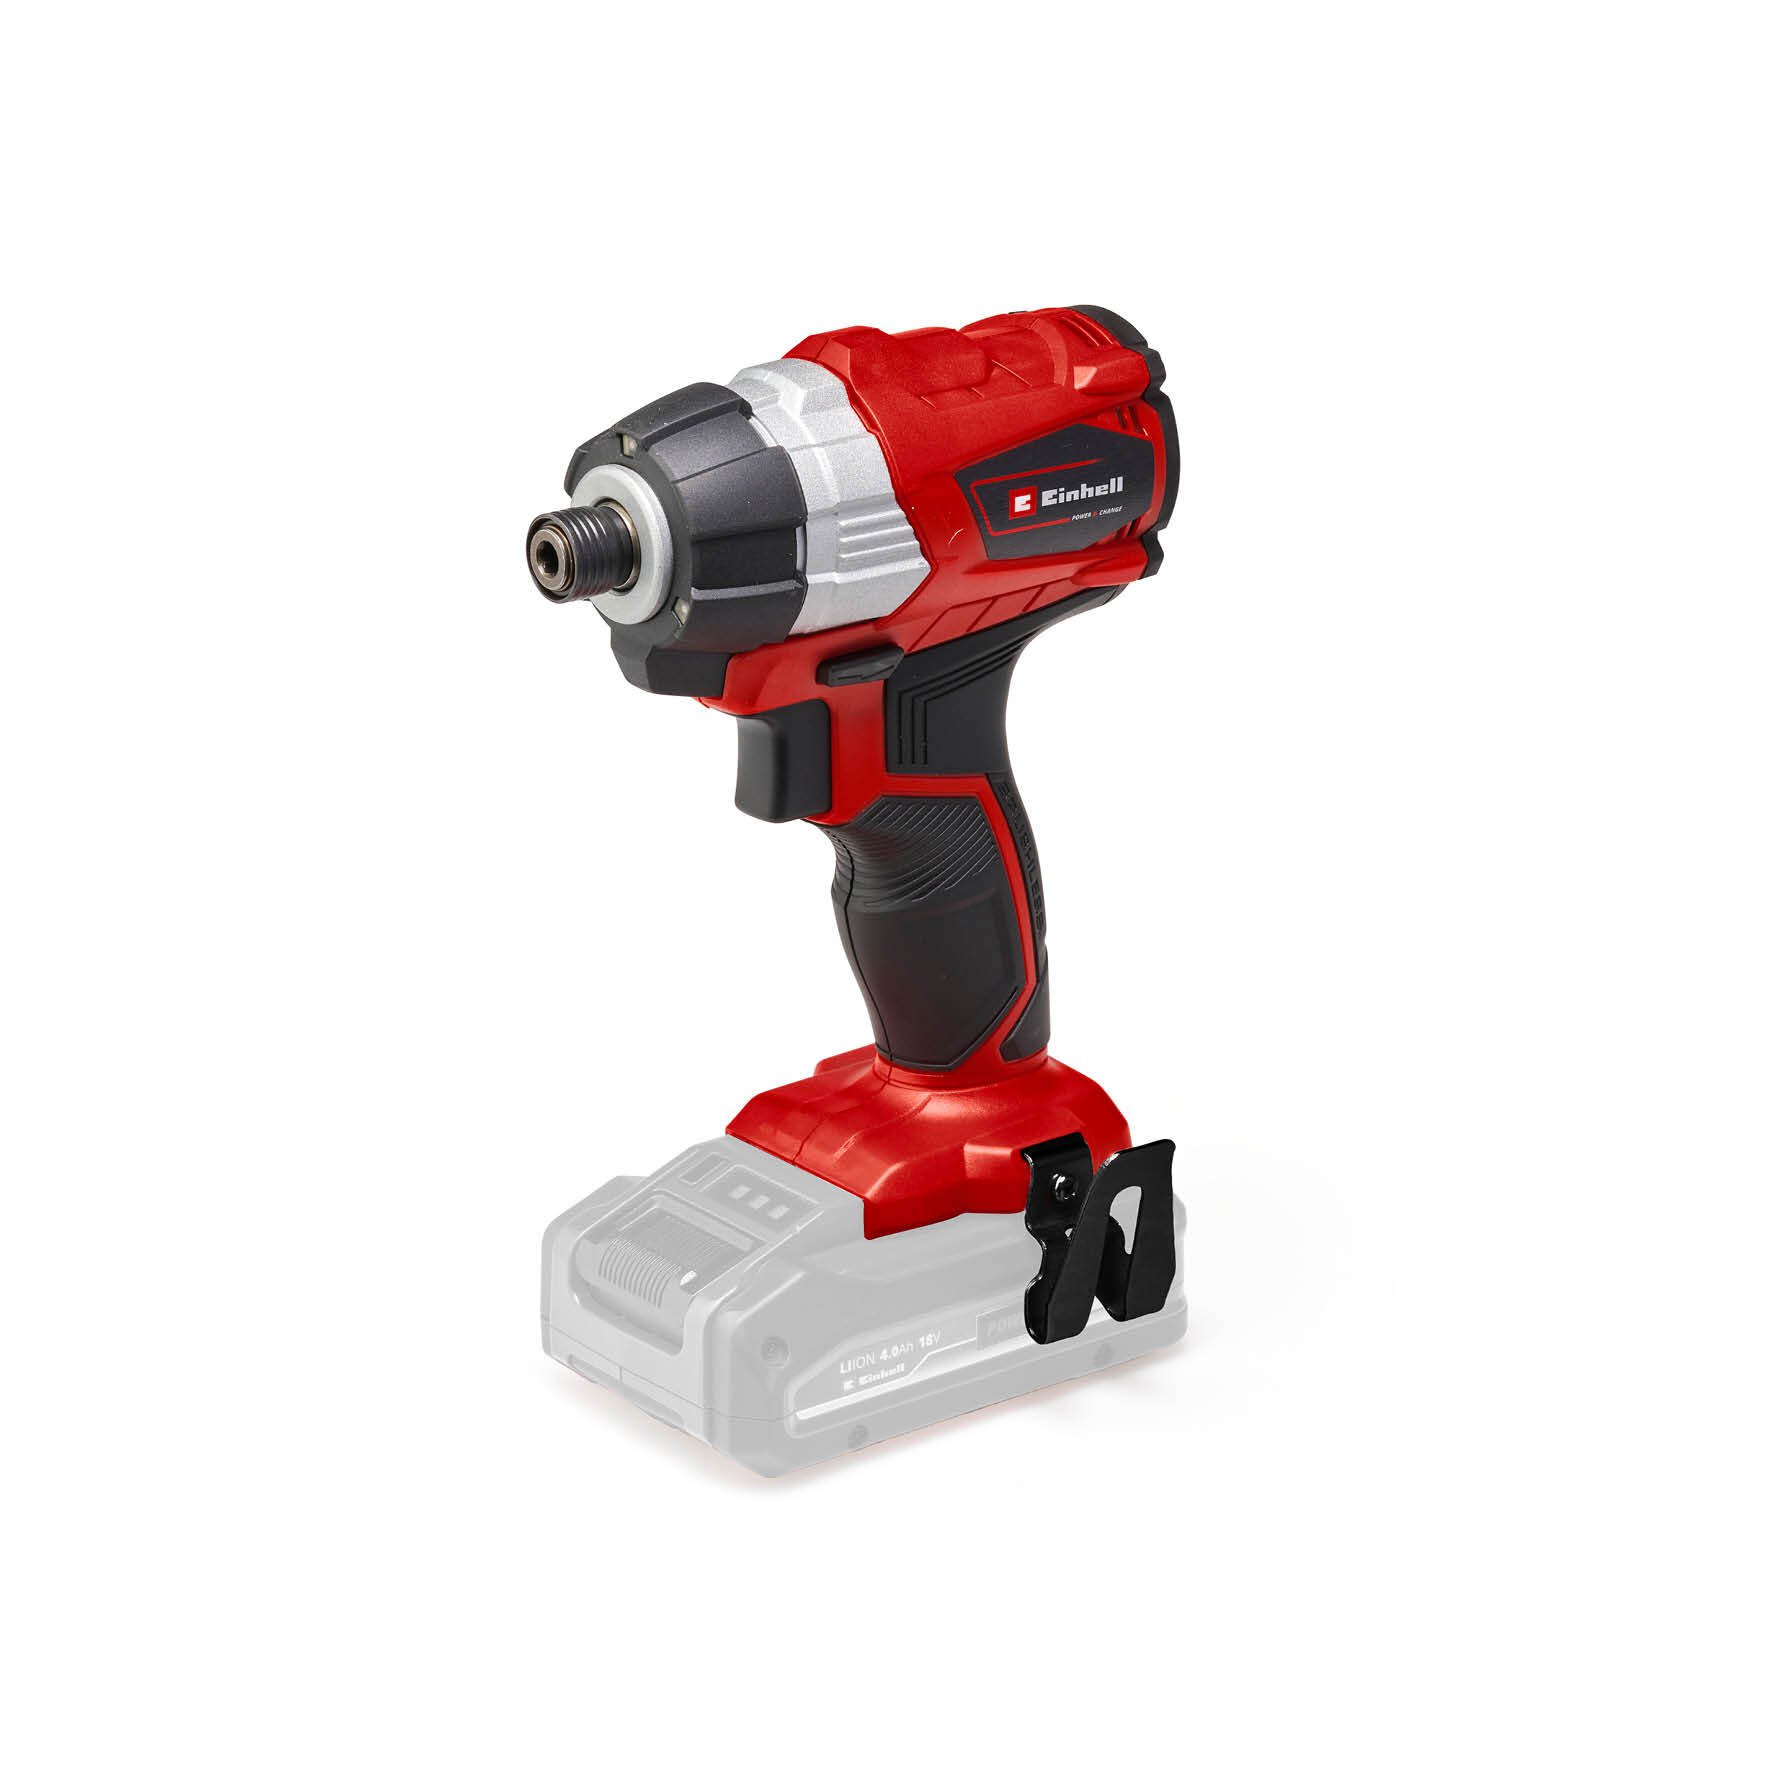
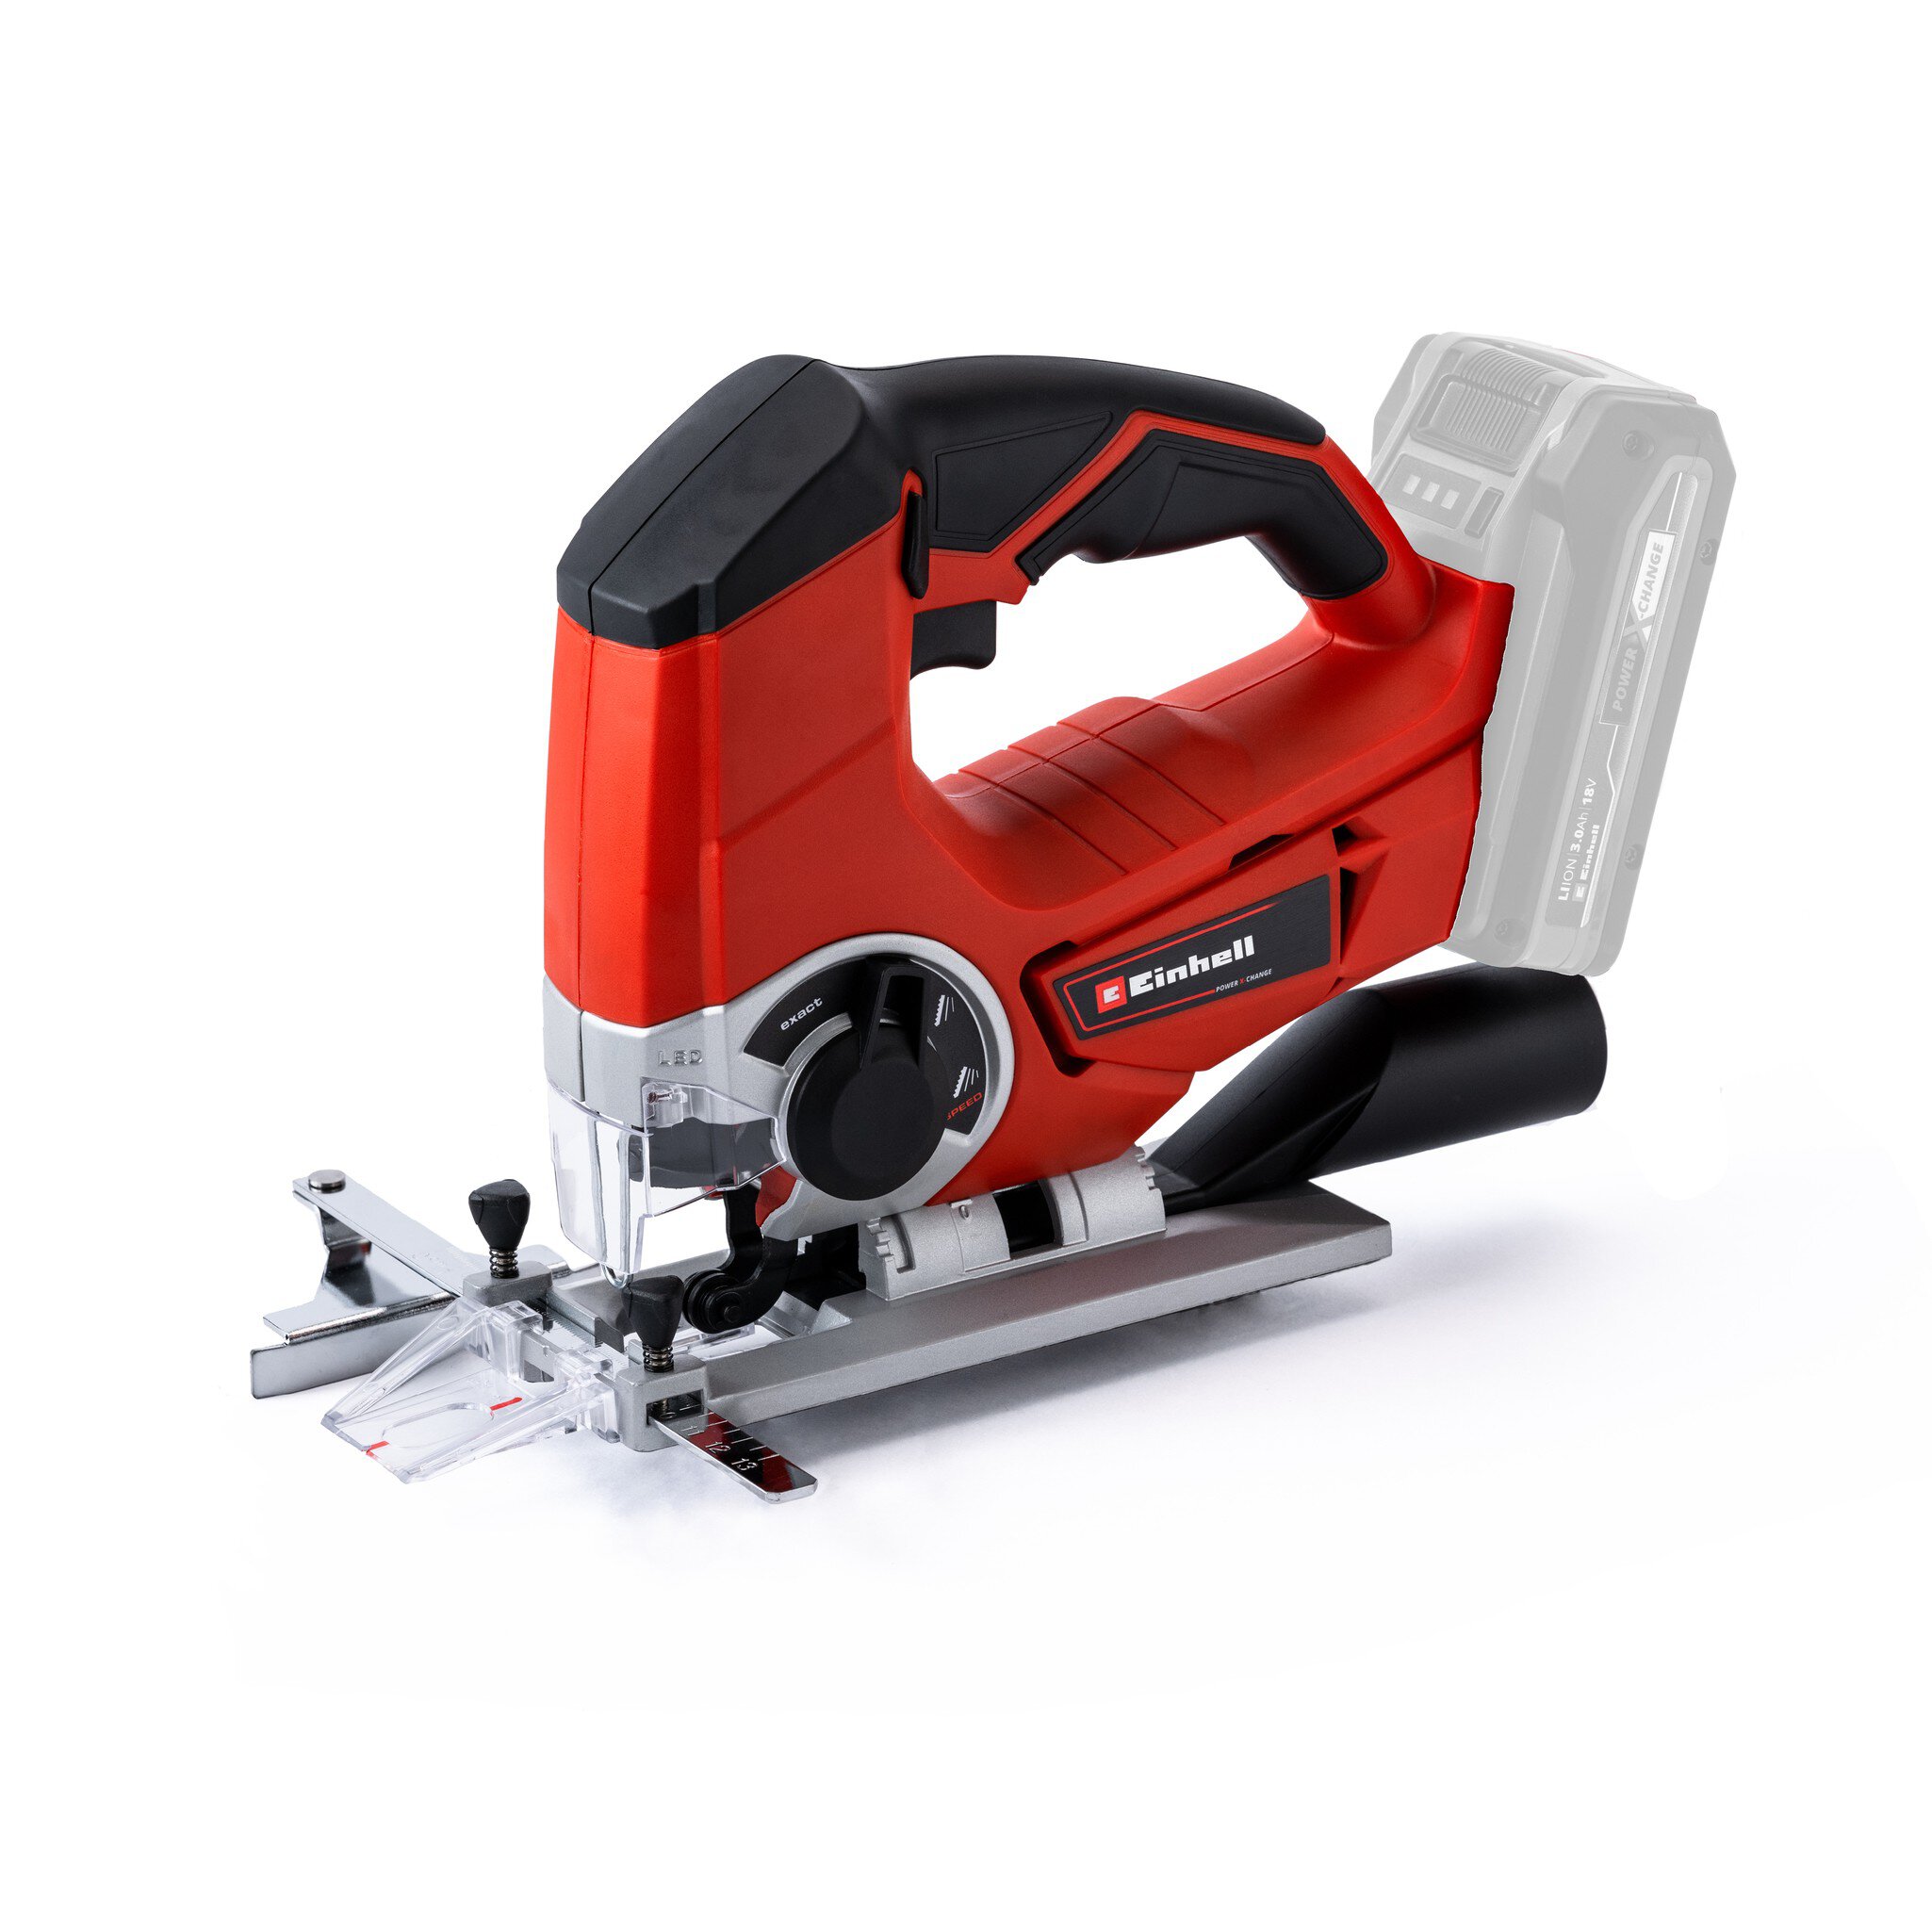
| 1 standard size pallet | Power X-Change Cordless Jig Saw TE-JS 18 Li-Solo – 4321200 |
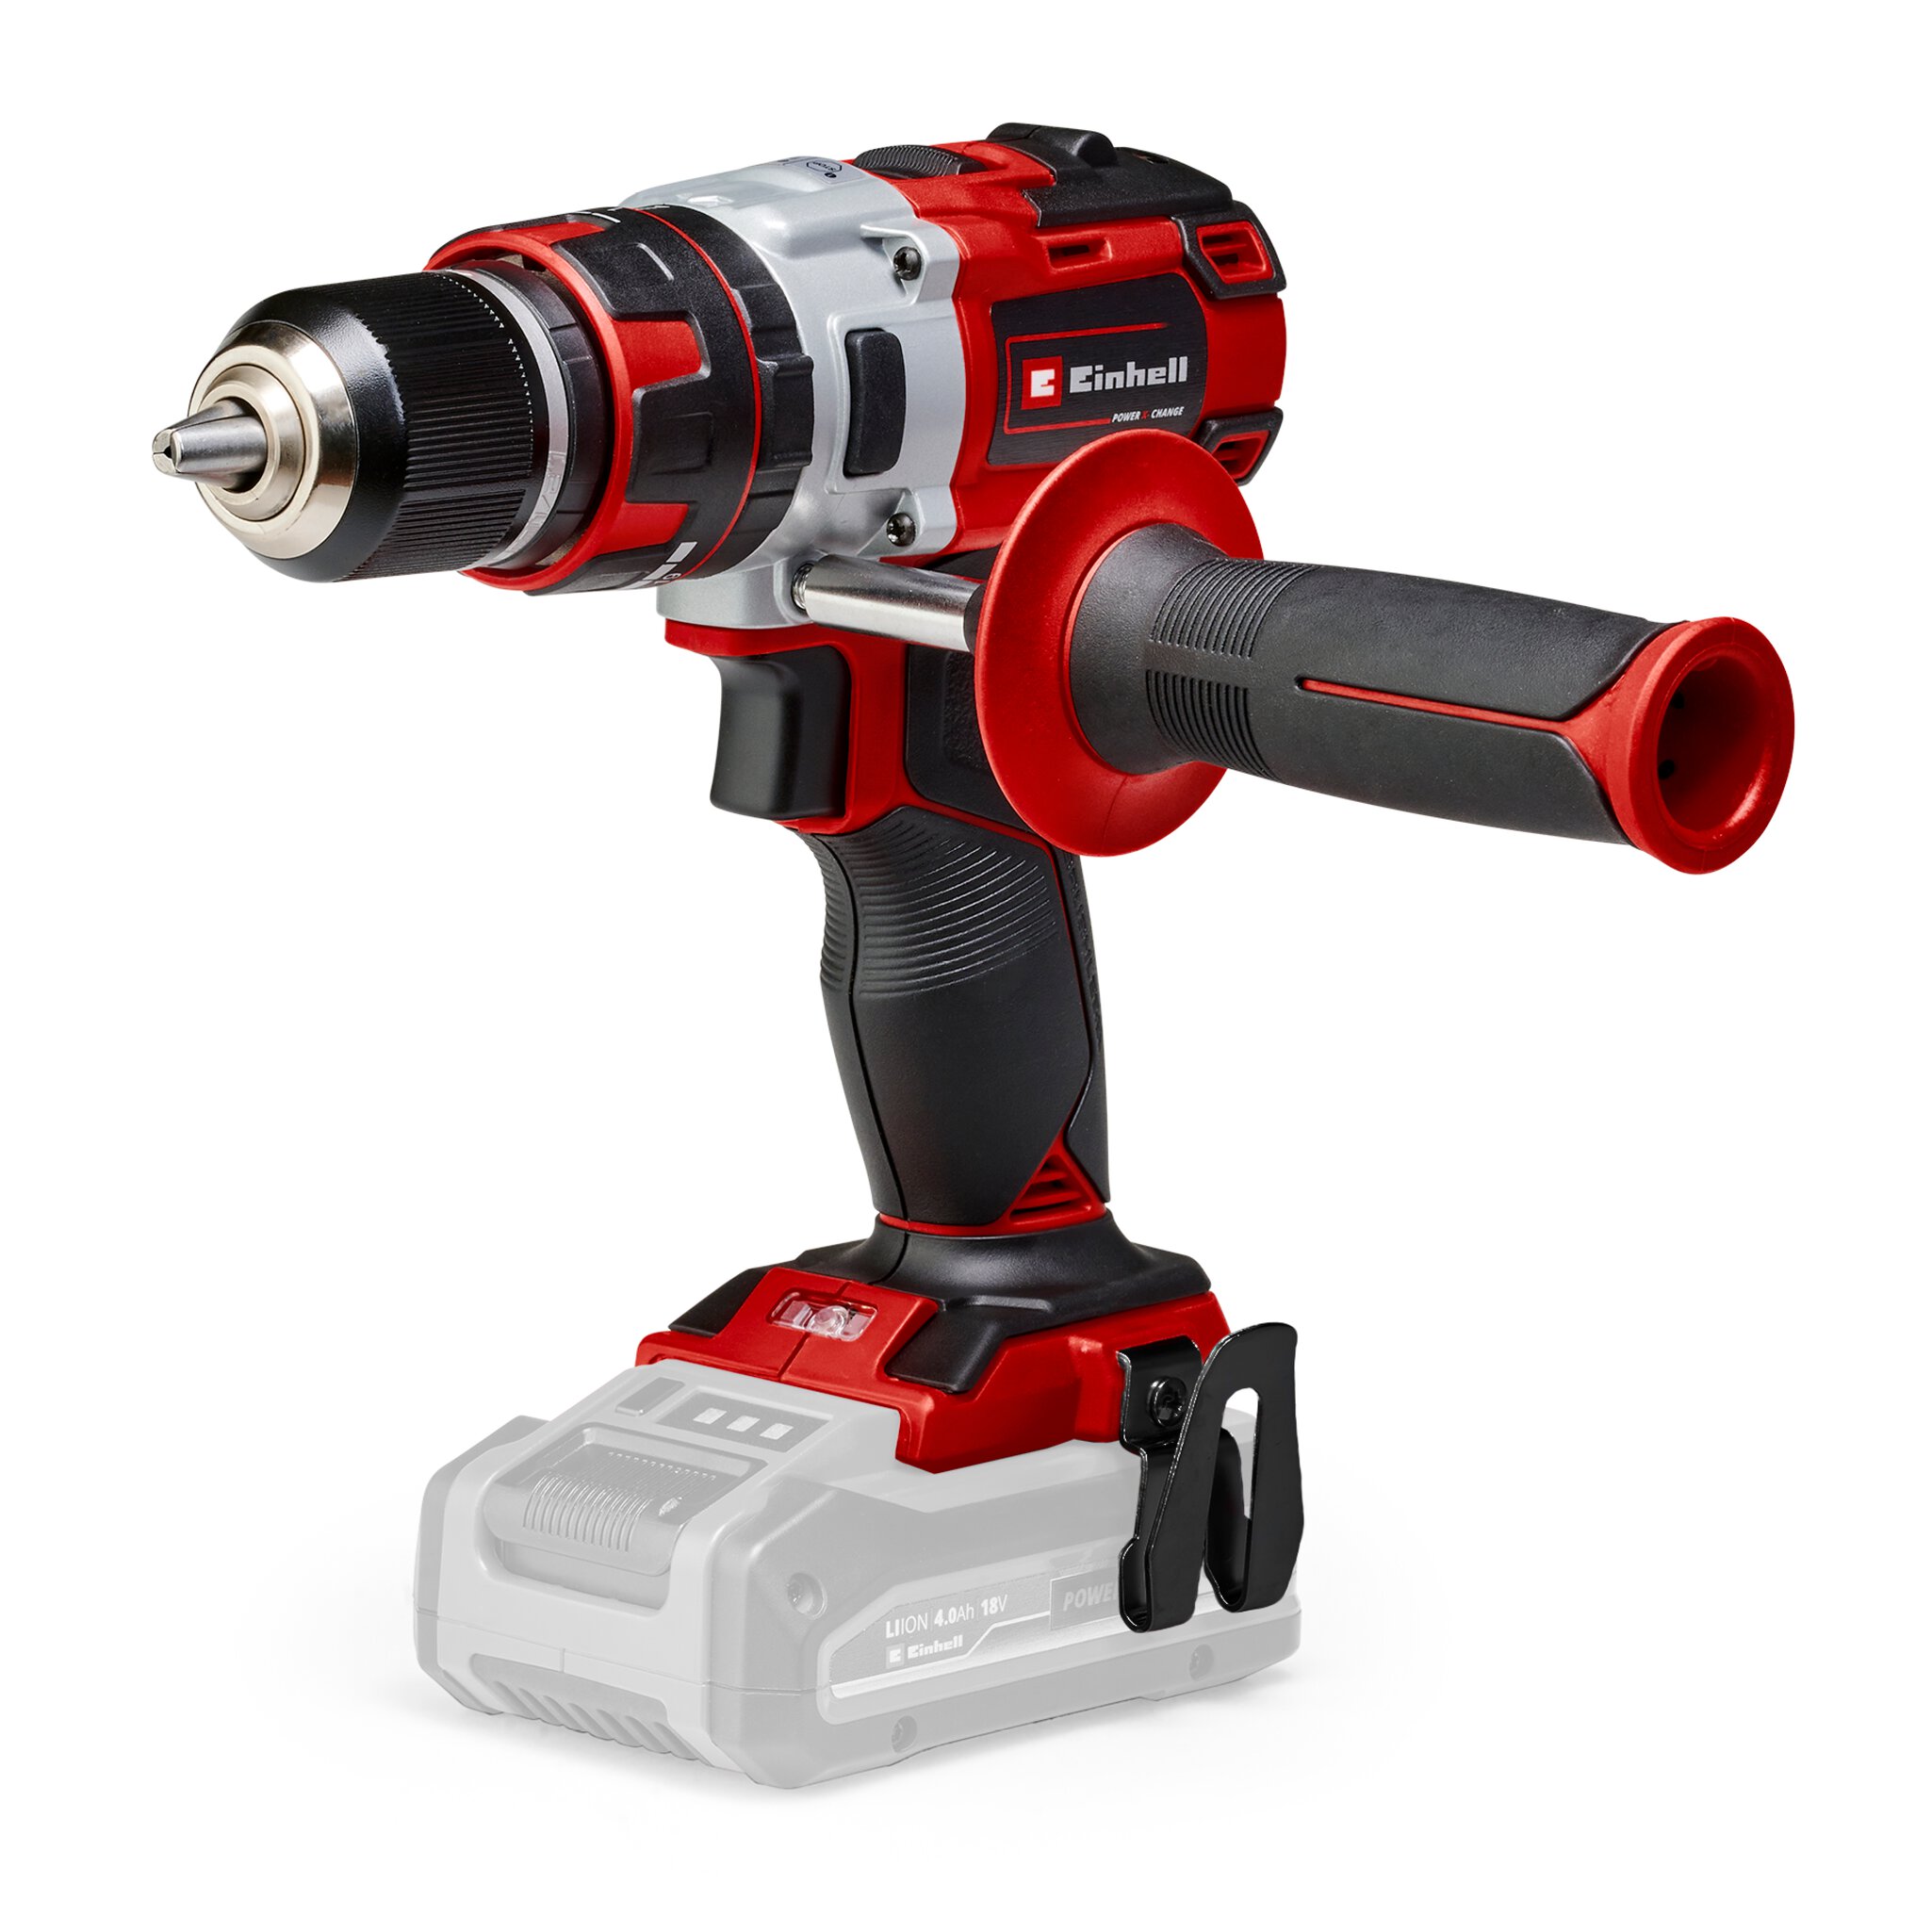
| Thick twine or rope | Power X-Change Cordless TE-CD 18 Li-i Brushless-Solo Impact Drill |
| 60mm screws | Power X-Change Cordless TE-CI 18 Li Brushless-Solo Impact driver |
| 15mm screws | Power X-Change Cordless TE-CS 18/165 Li-Solo Circular Saw |
| 4 heavy duty castors | 18V 4-6 Ah Multi-Ah PXC Plus – 4511502 |
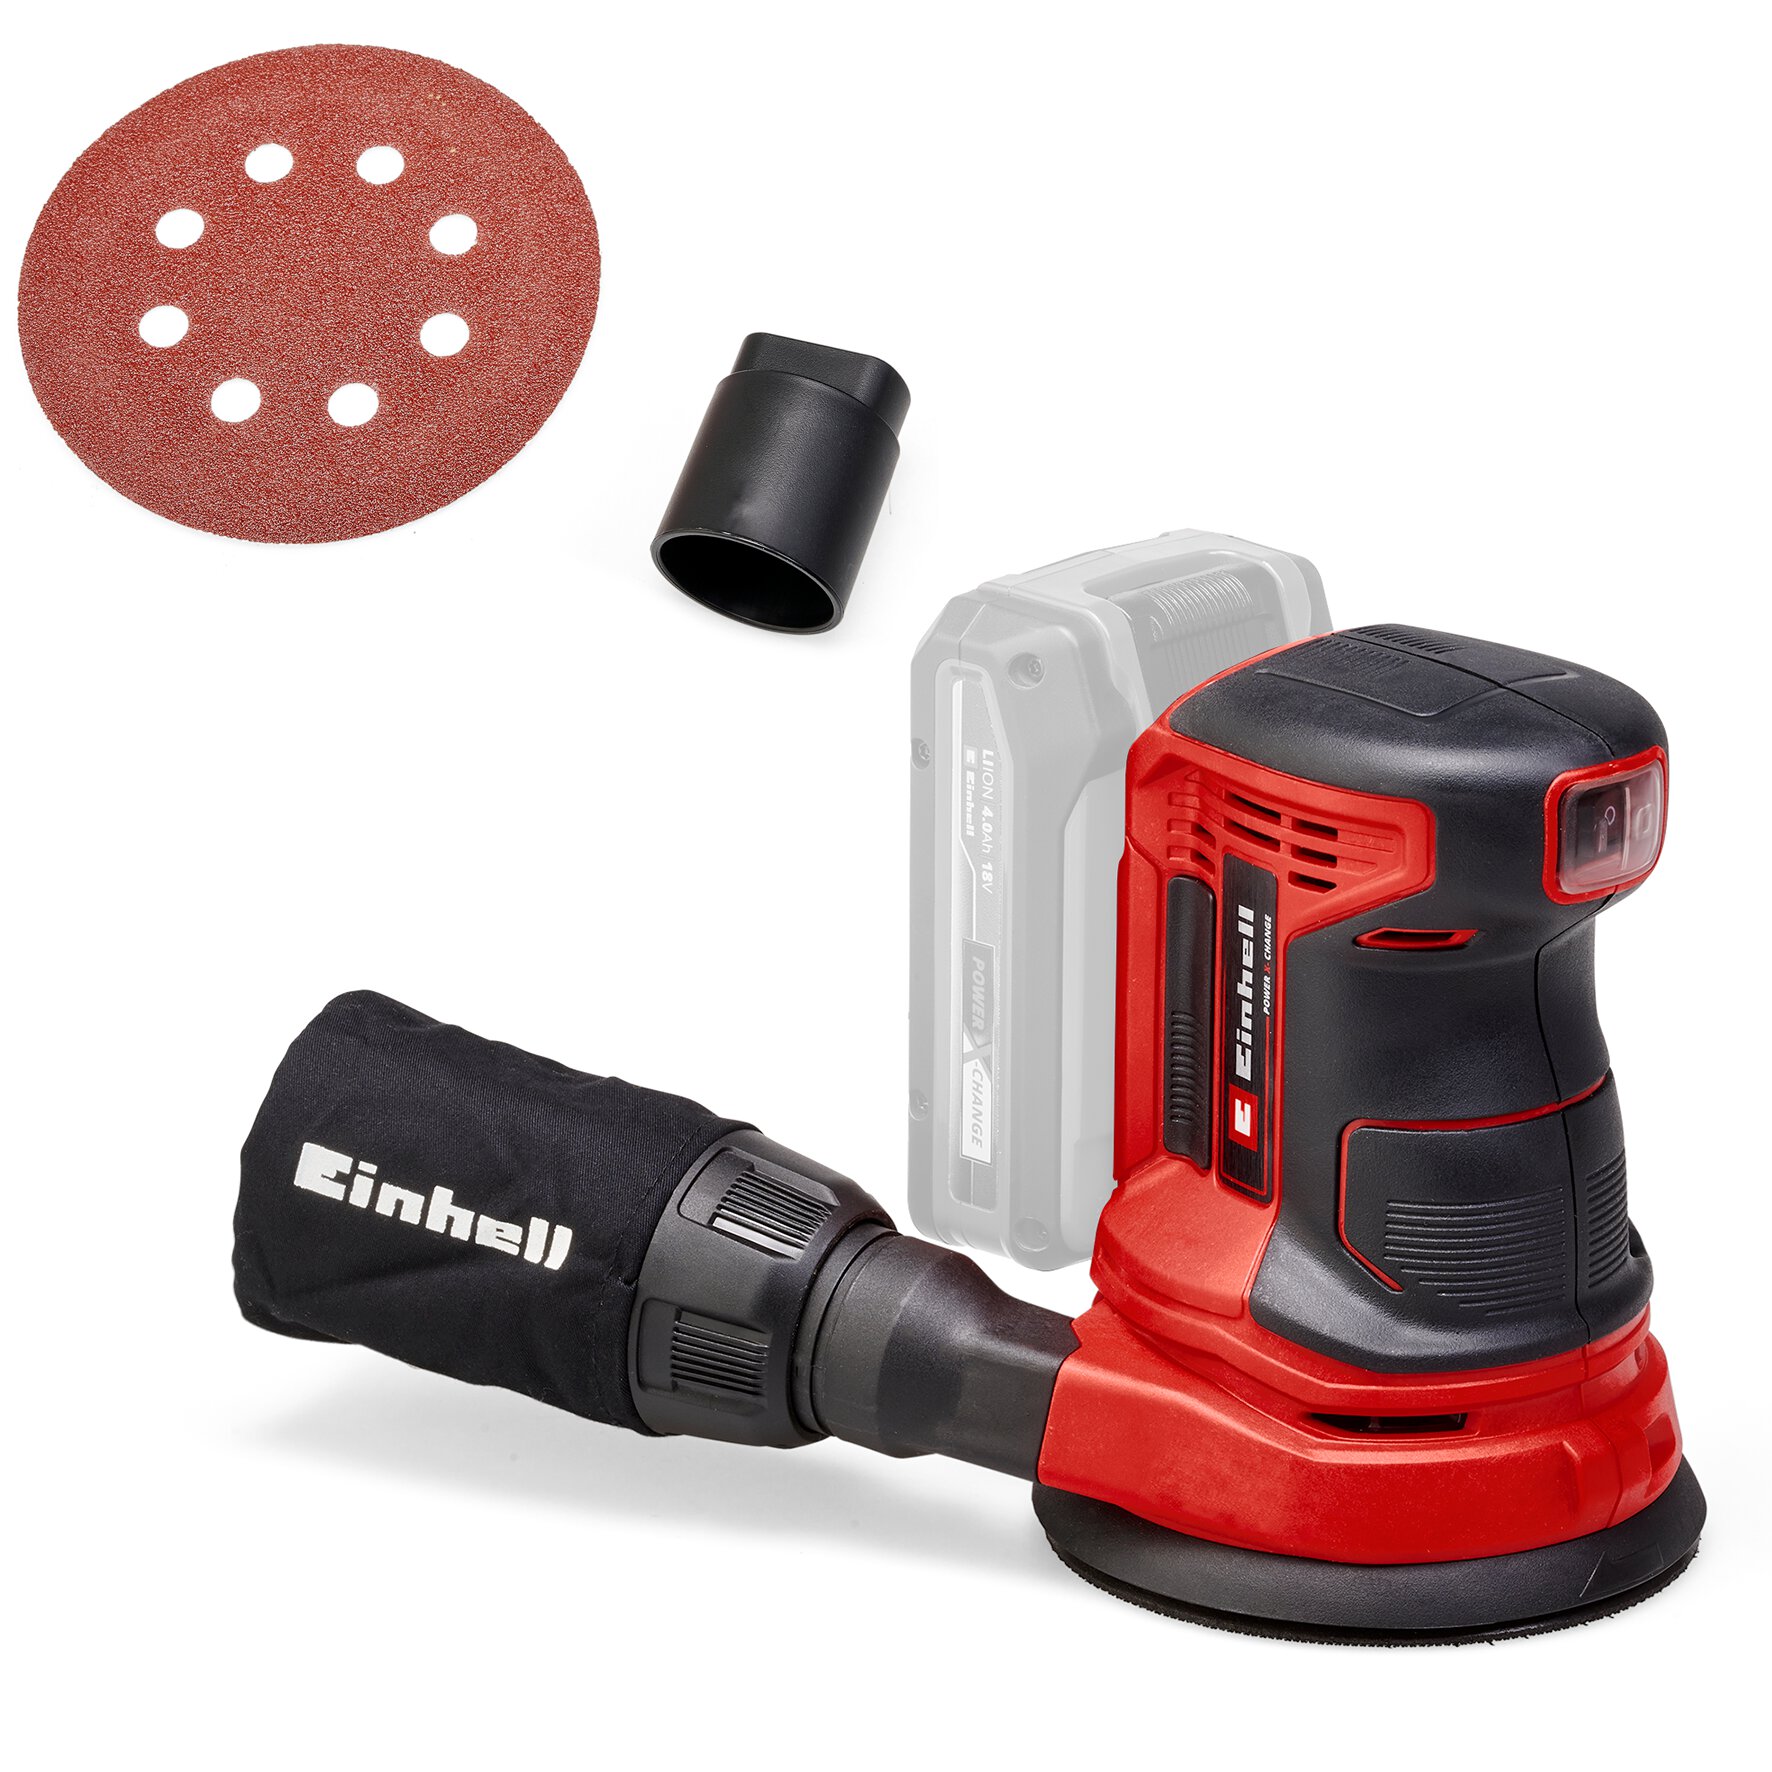
| Outdoor Paint | Power X-Change Cordless TE-RS 18 Li-Solo Sander |
| Hammer | |
| Crow bar to take pallets apart | |
| 6mm drill bit | |
| 10mm drill bit | |
| Square | |
| Tape Measure | |
| Straight edge |
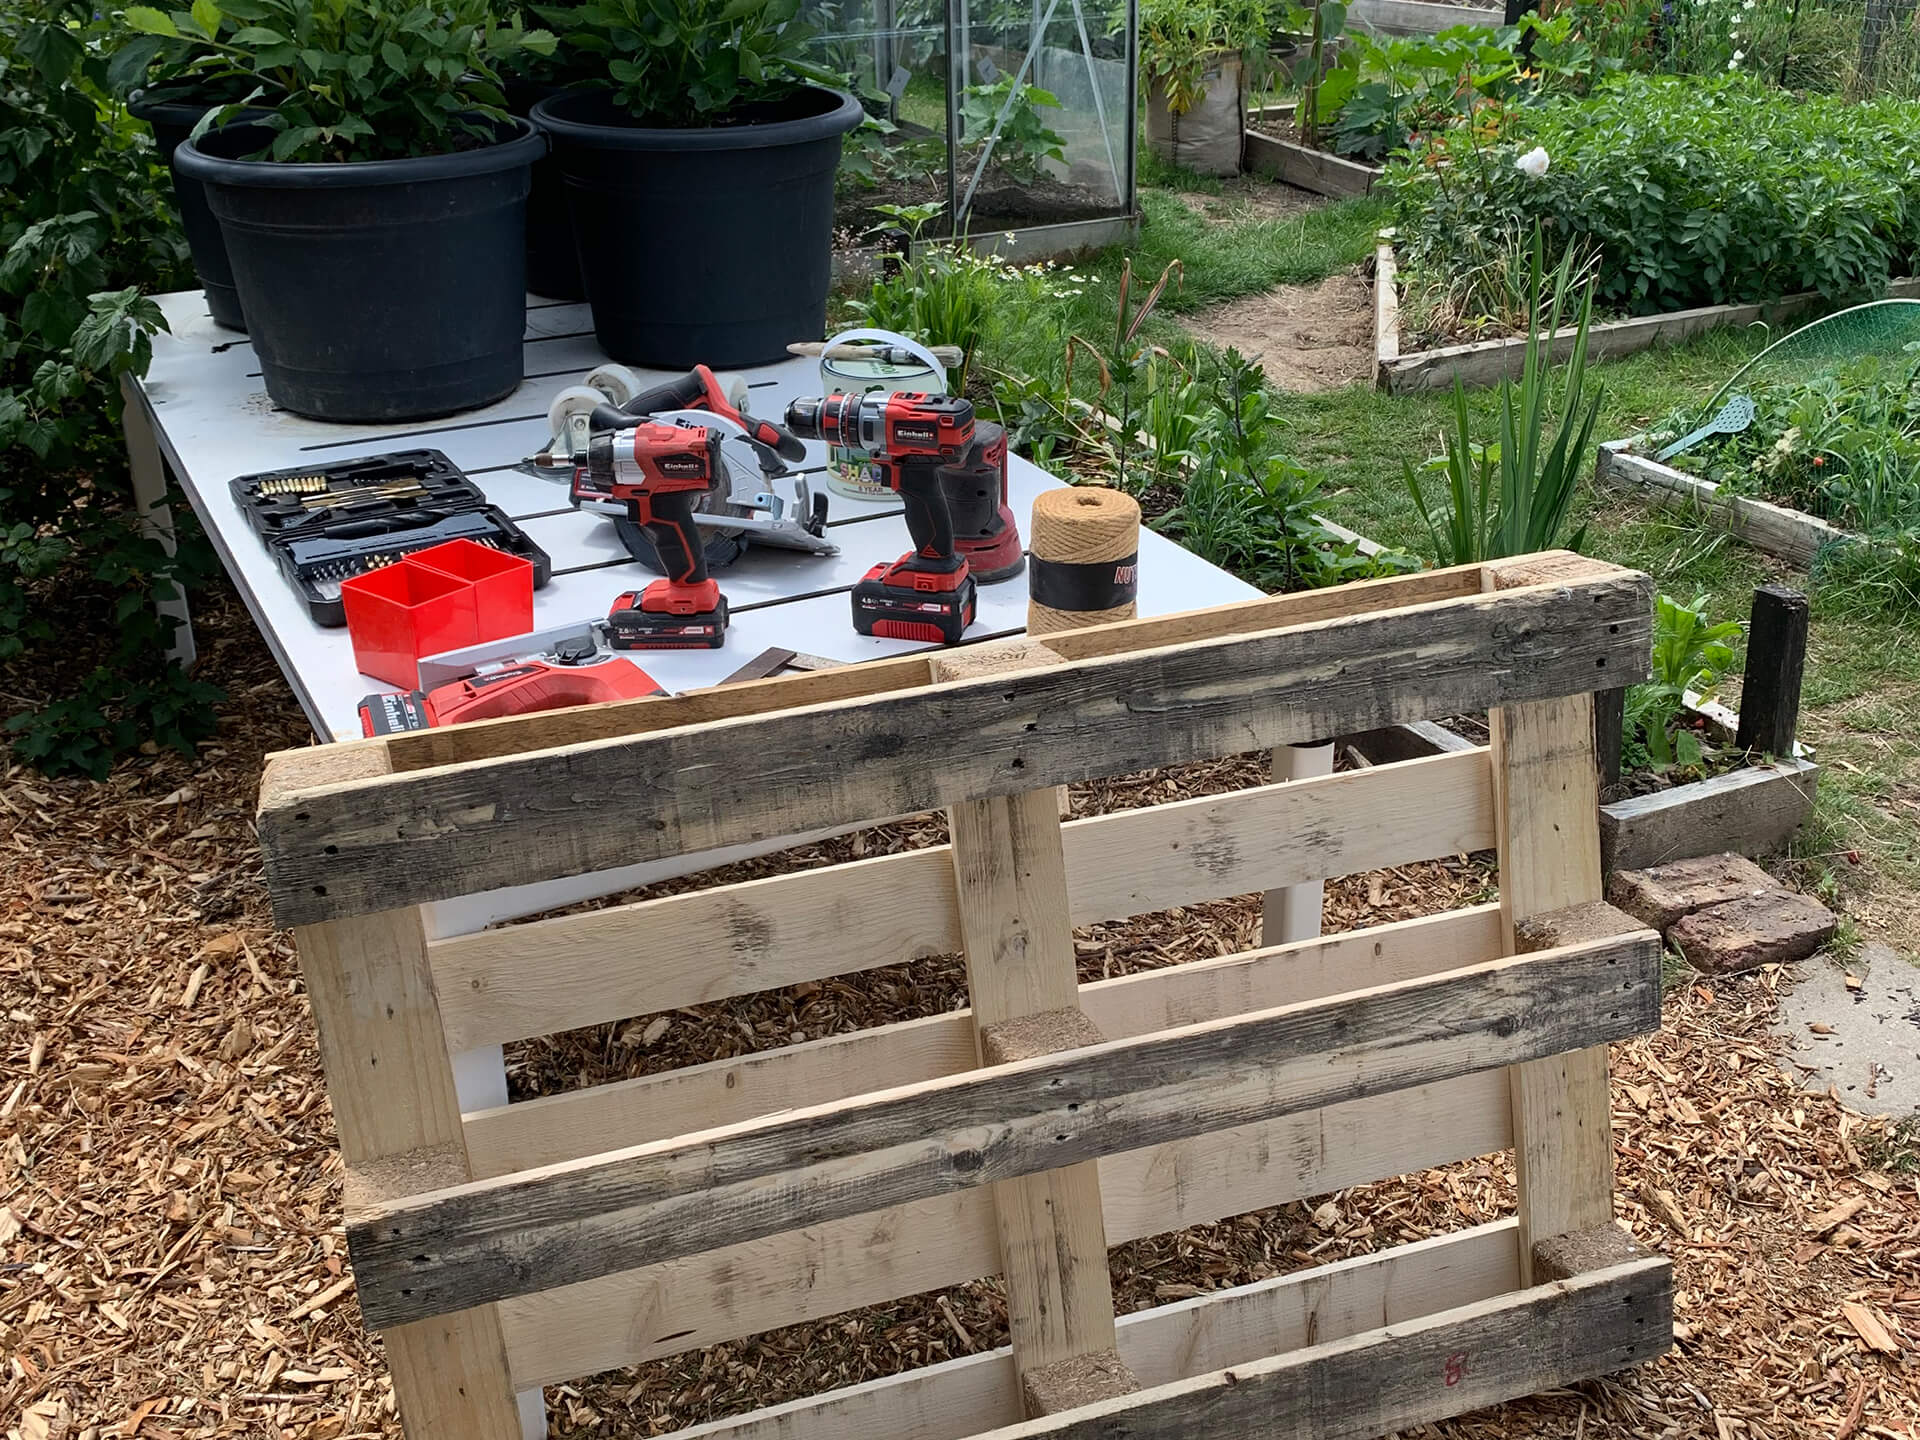
Step One:
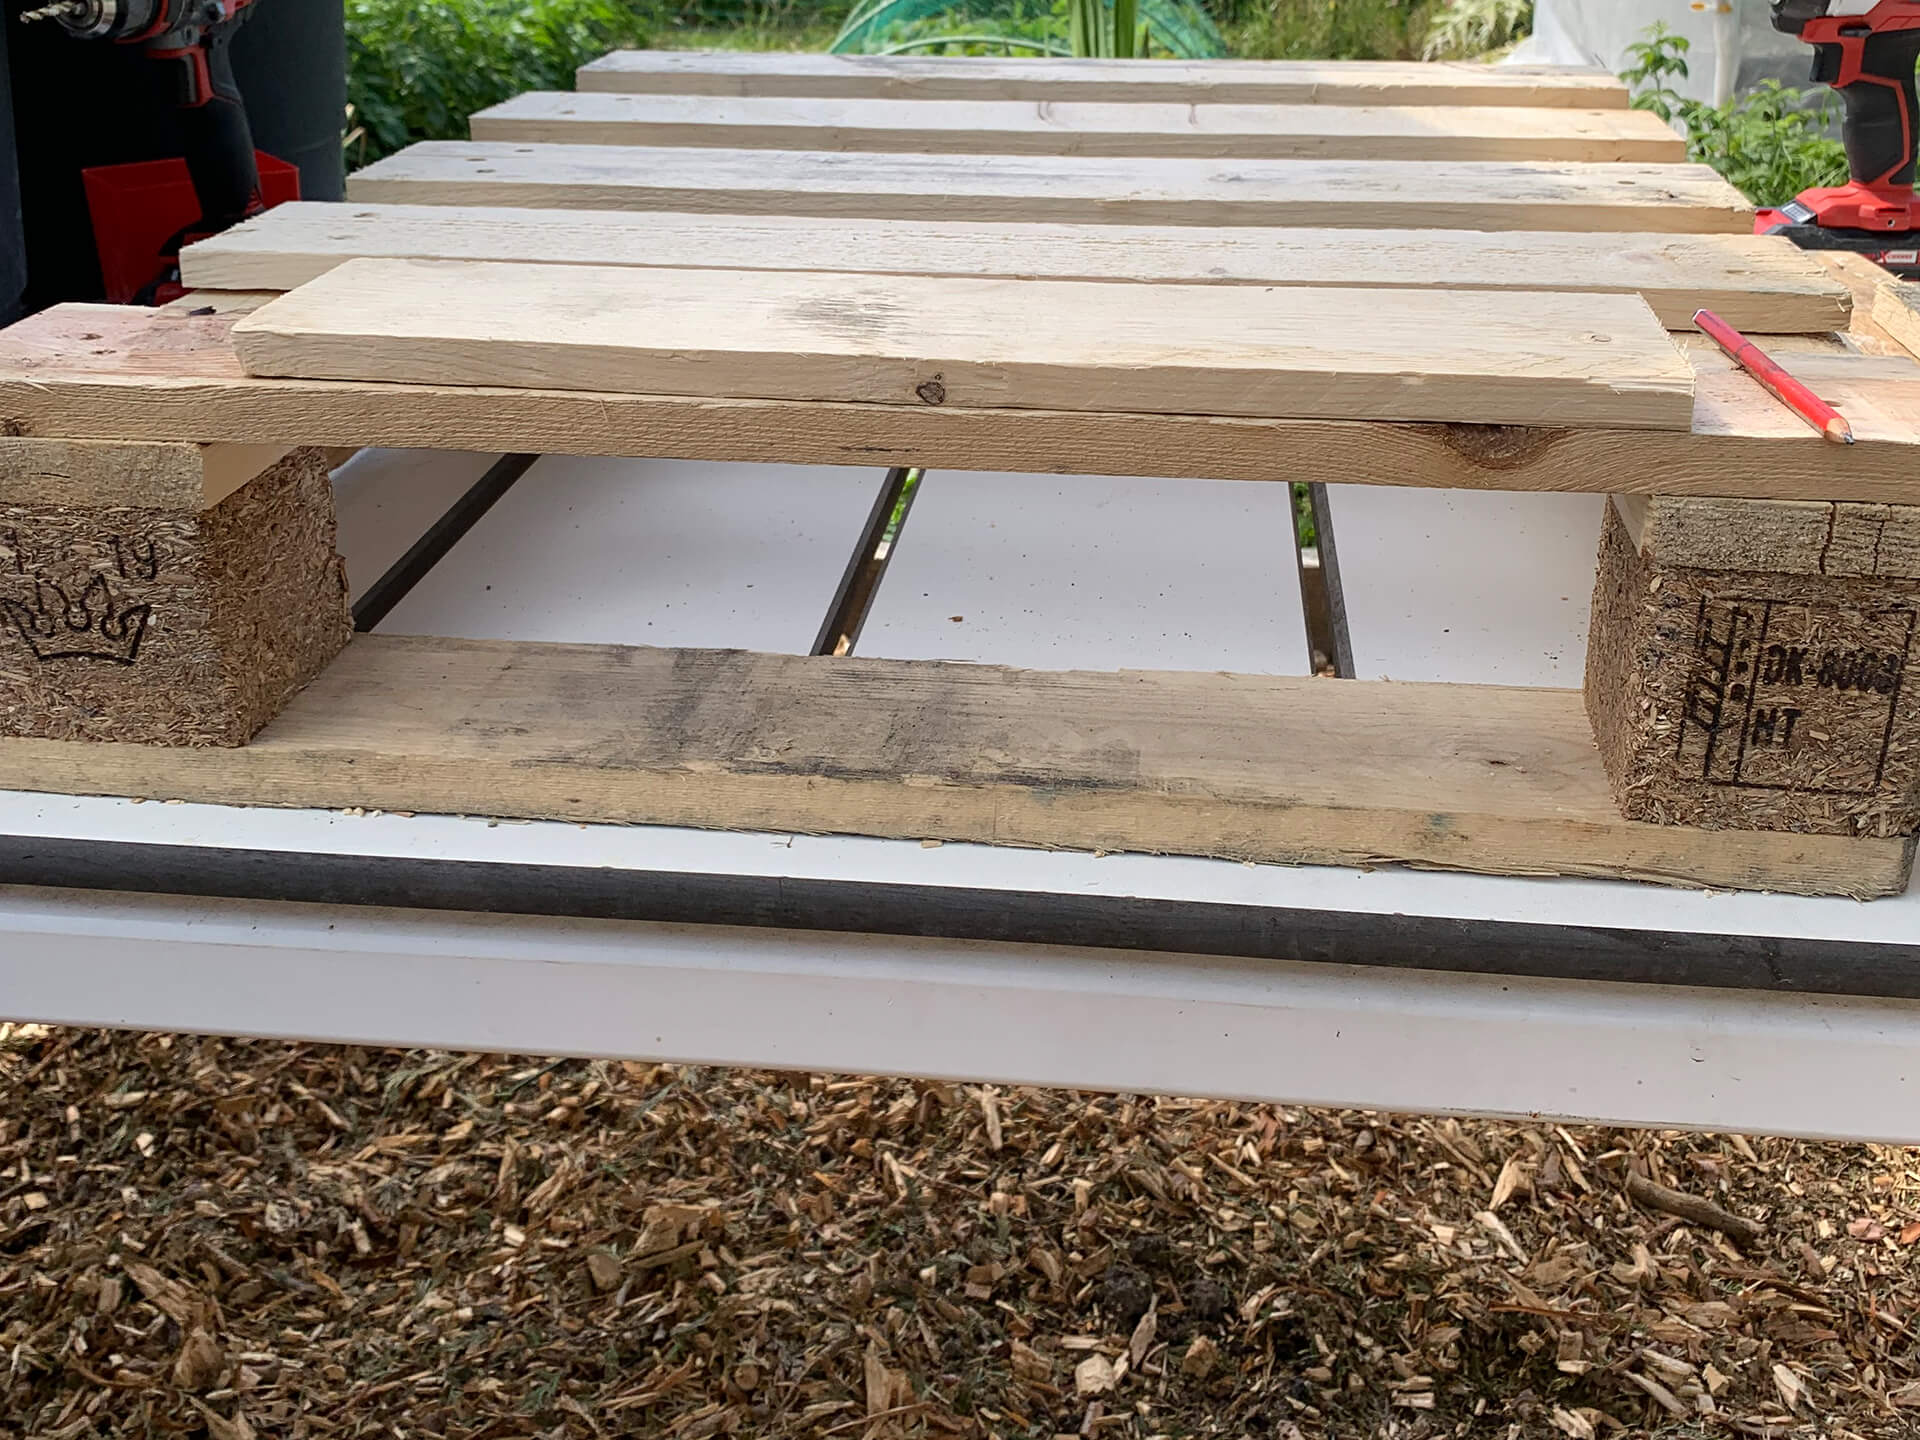
First you need to decide how big you want your trug to be. This can either be half of your pallet size, or a quarter. I decided to go with a half pallet size. Lay your pallet down with the slats facing up. Take your level or straight edge and draw a line over the slats, to one side of the central post.
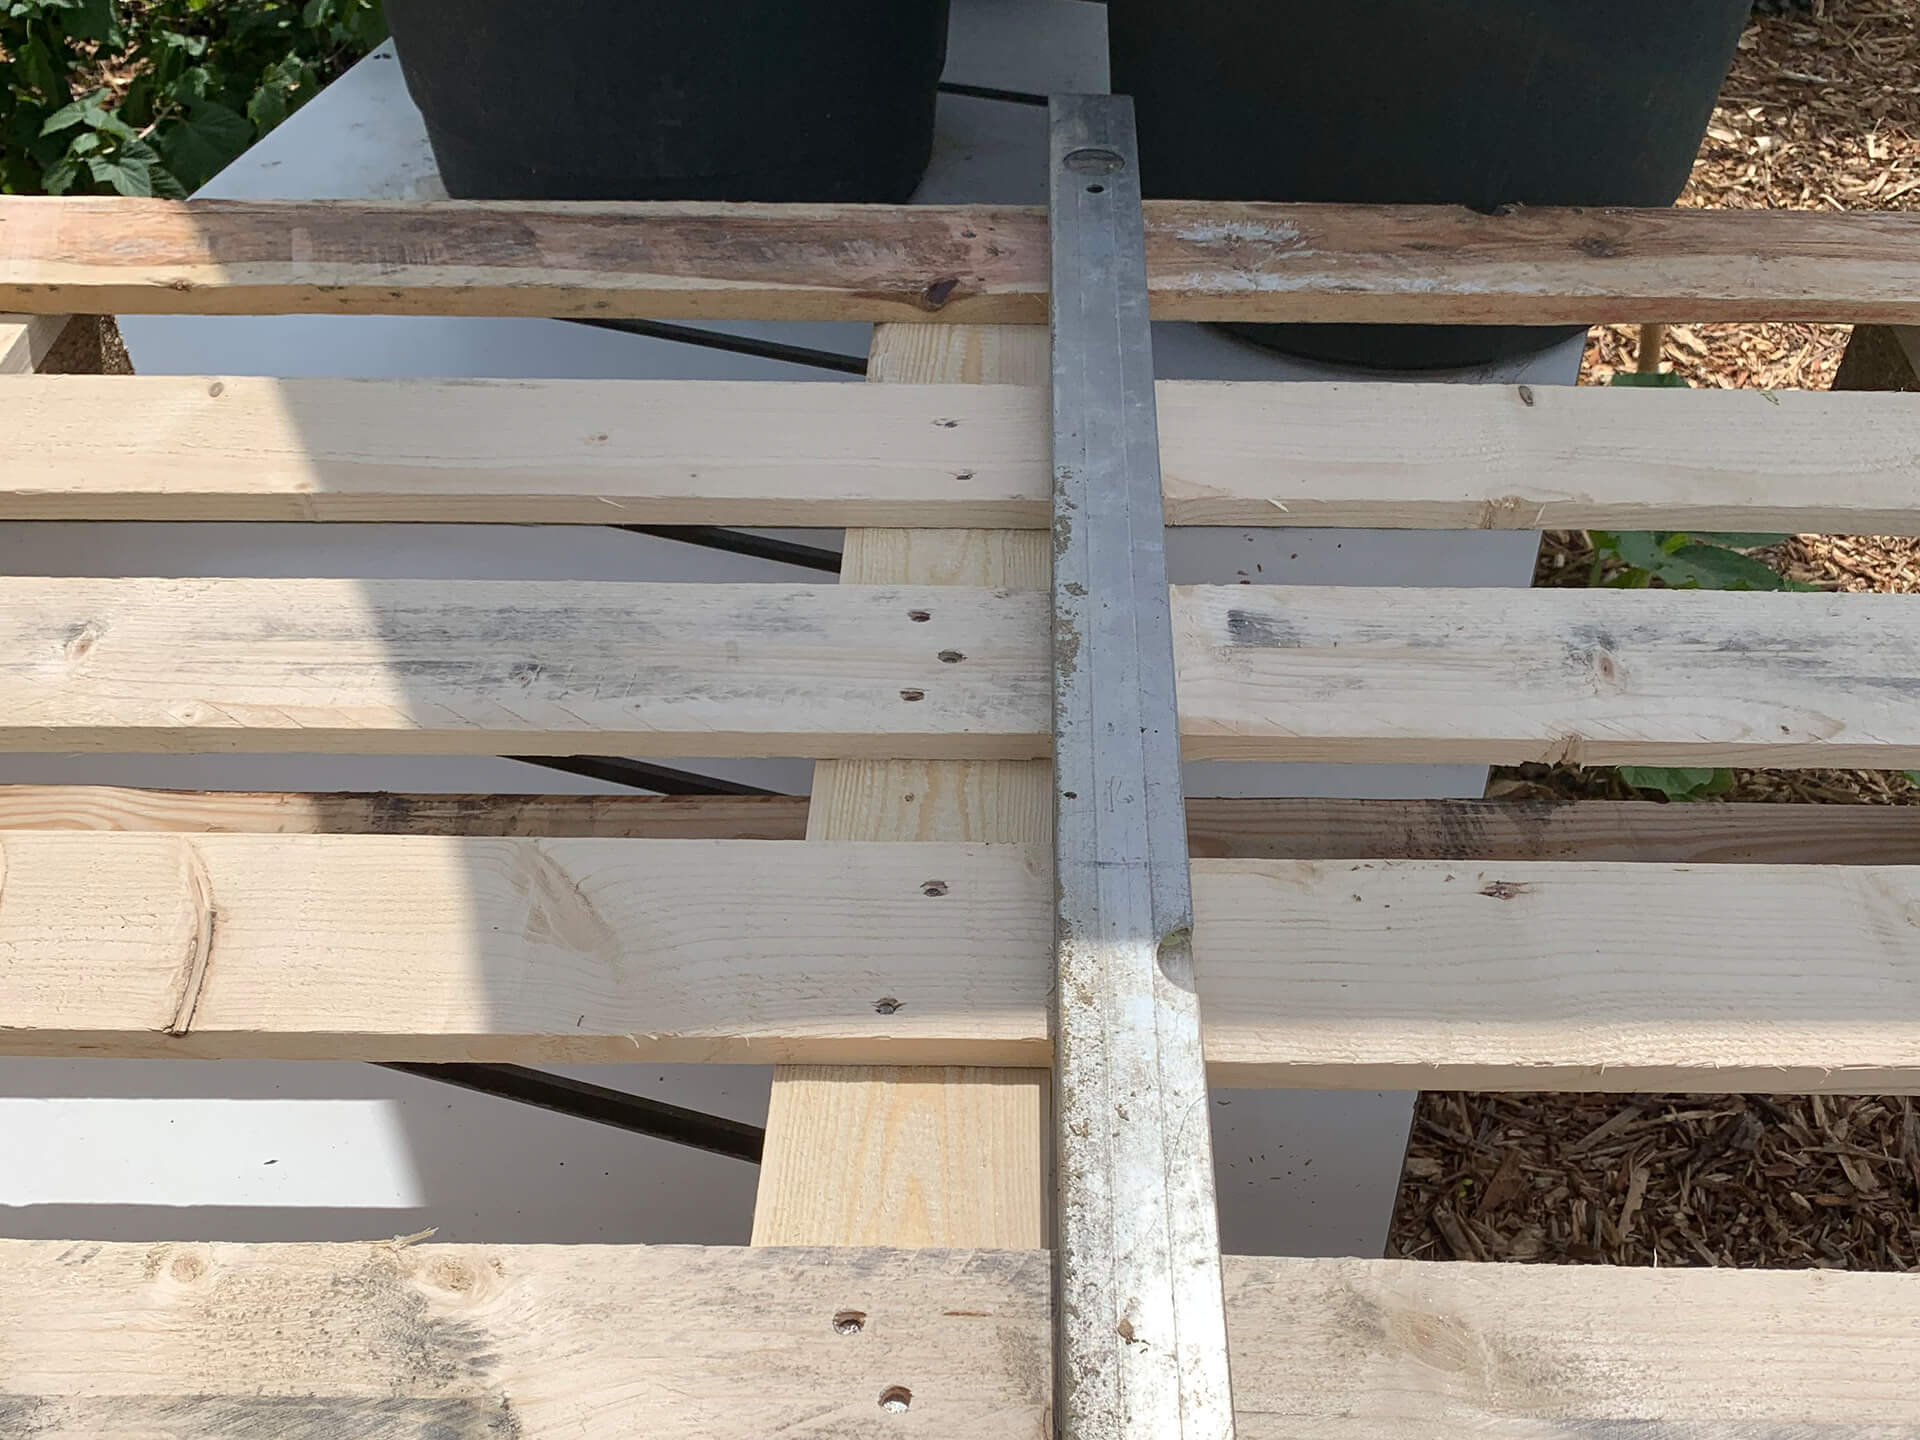
Step Two:
Take your circular saw and cut through all the slats, following the line you just marked.
Step Three:
Flip your pallet over carefully and draw a line on the top and bottom slat after the central post. Cut these with your circular saw but make sure you leave the middle intact.
Step Four:
Move your pallet onto the floor. Using your crowbar and hammer, pull away the middle slat which should be the only thing holding the two halves of the pallet together.
Step Five:
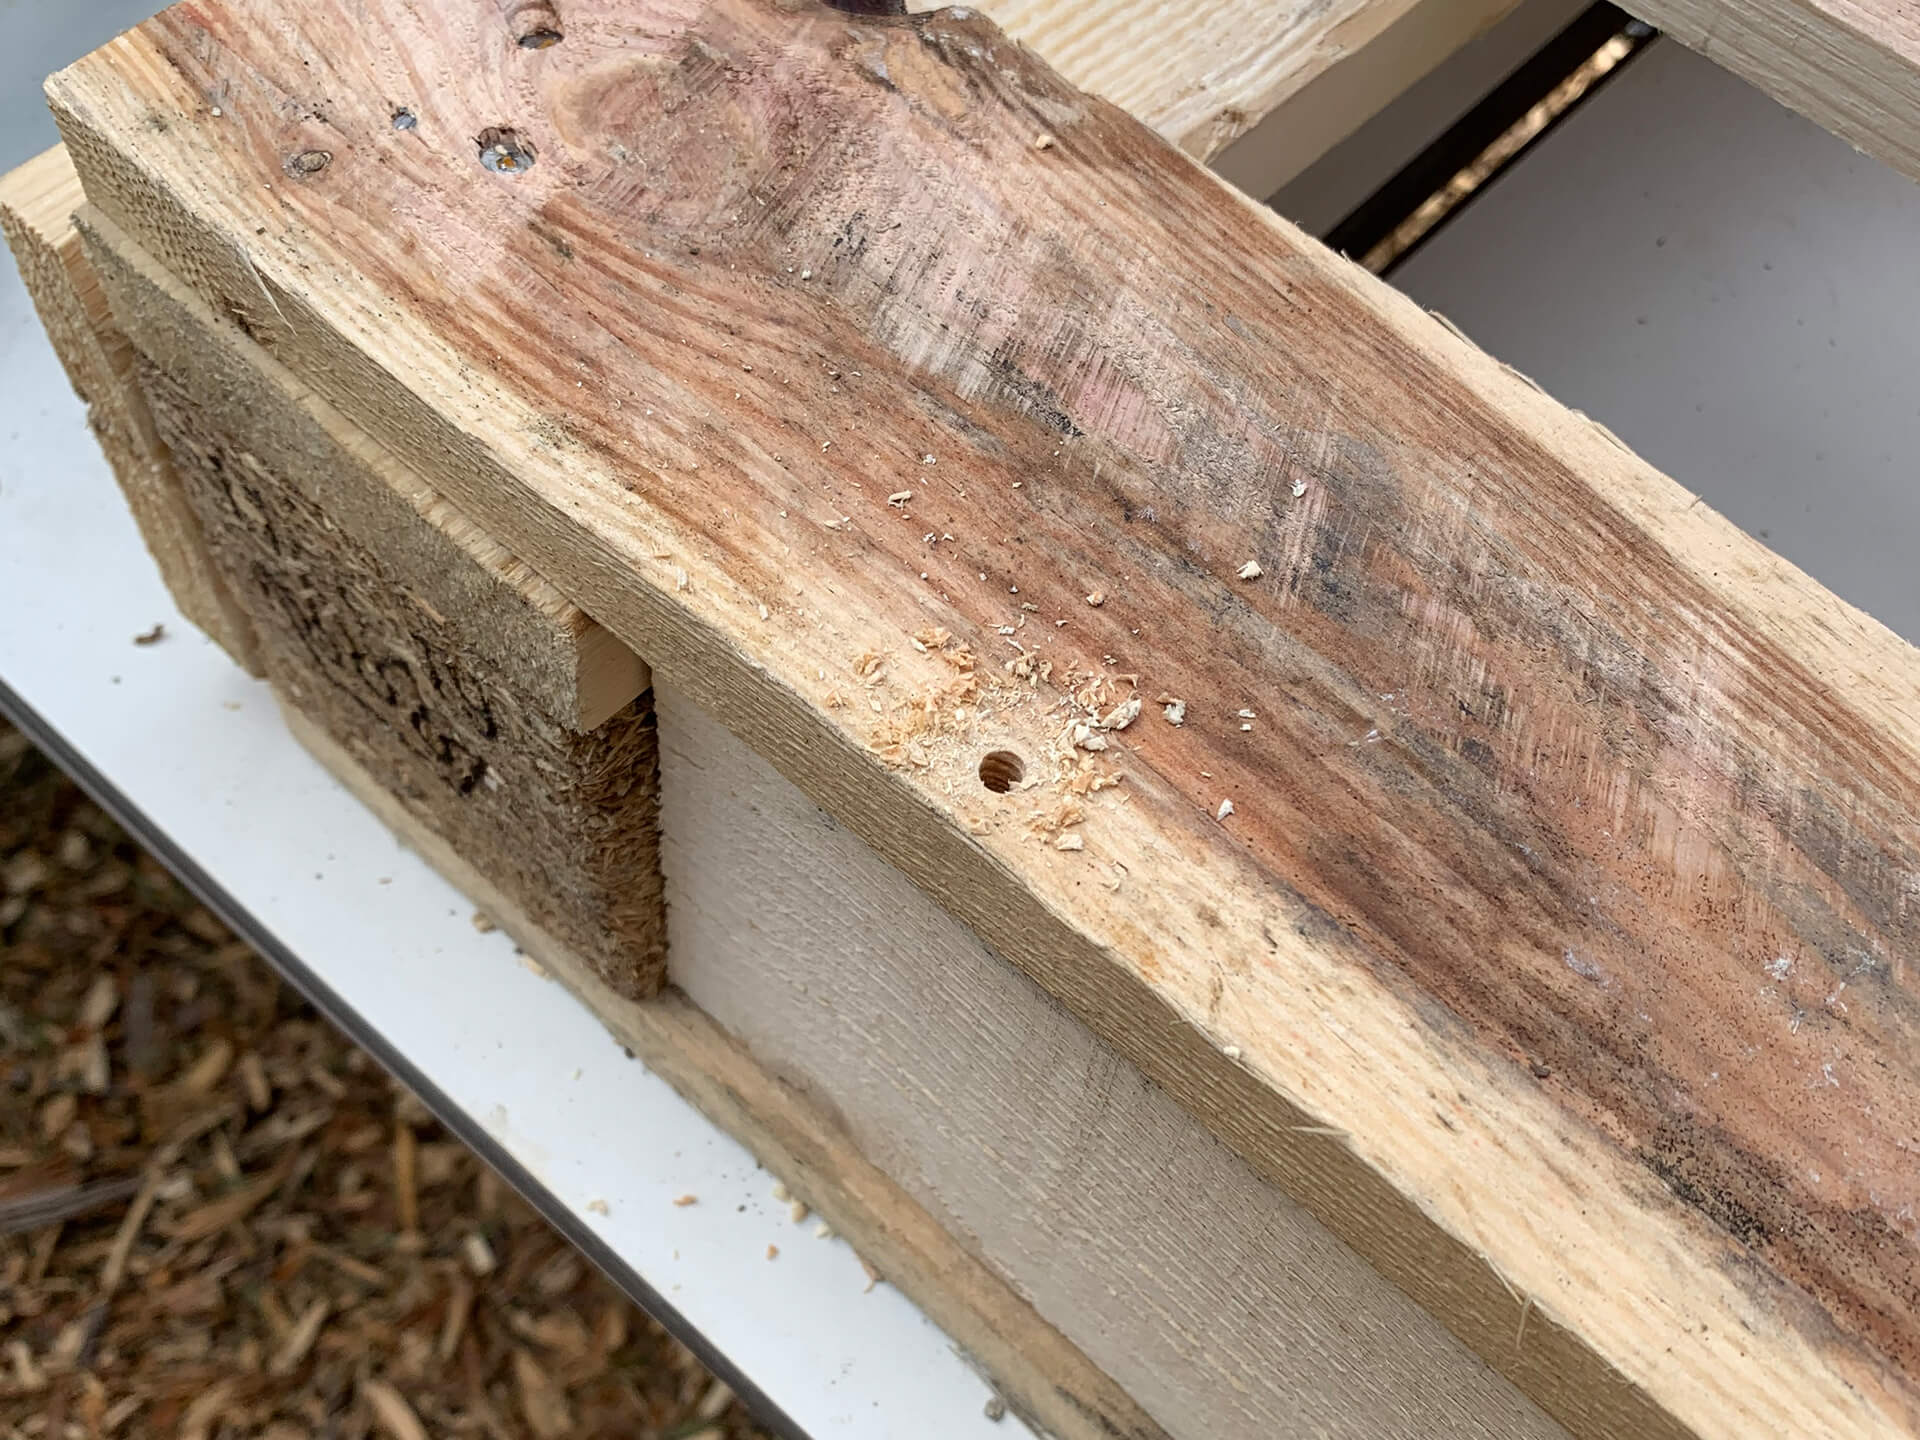
Keep the larger of the two halves and fully dismantle the rest of the pallet. Also remove the two wooden blocks that are left in the centre of your pallet trug. These will most likely be nailed on through the slats on the other side. You’ll want to keep these nails holding the slats together, so take off the block of wood to expose the nails. Using your hammer, tap the nails flat to one side, then tap them all the way to the opposite side. At this point the nails will snap off.

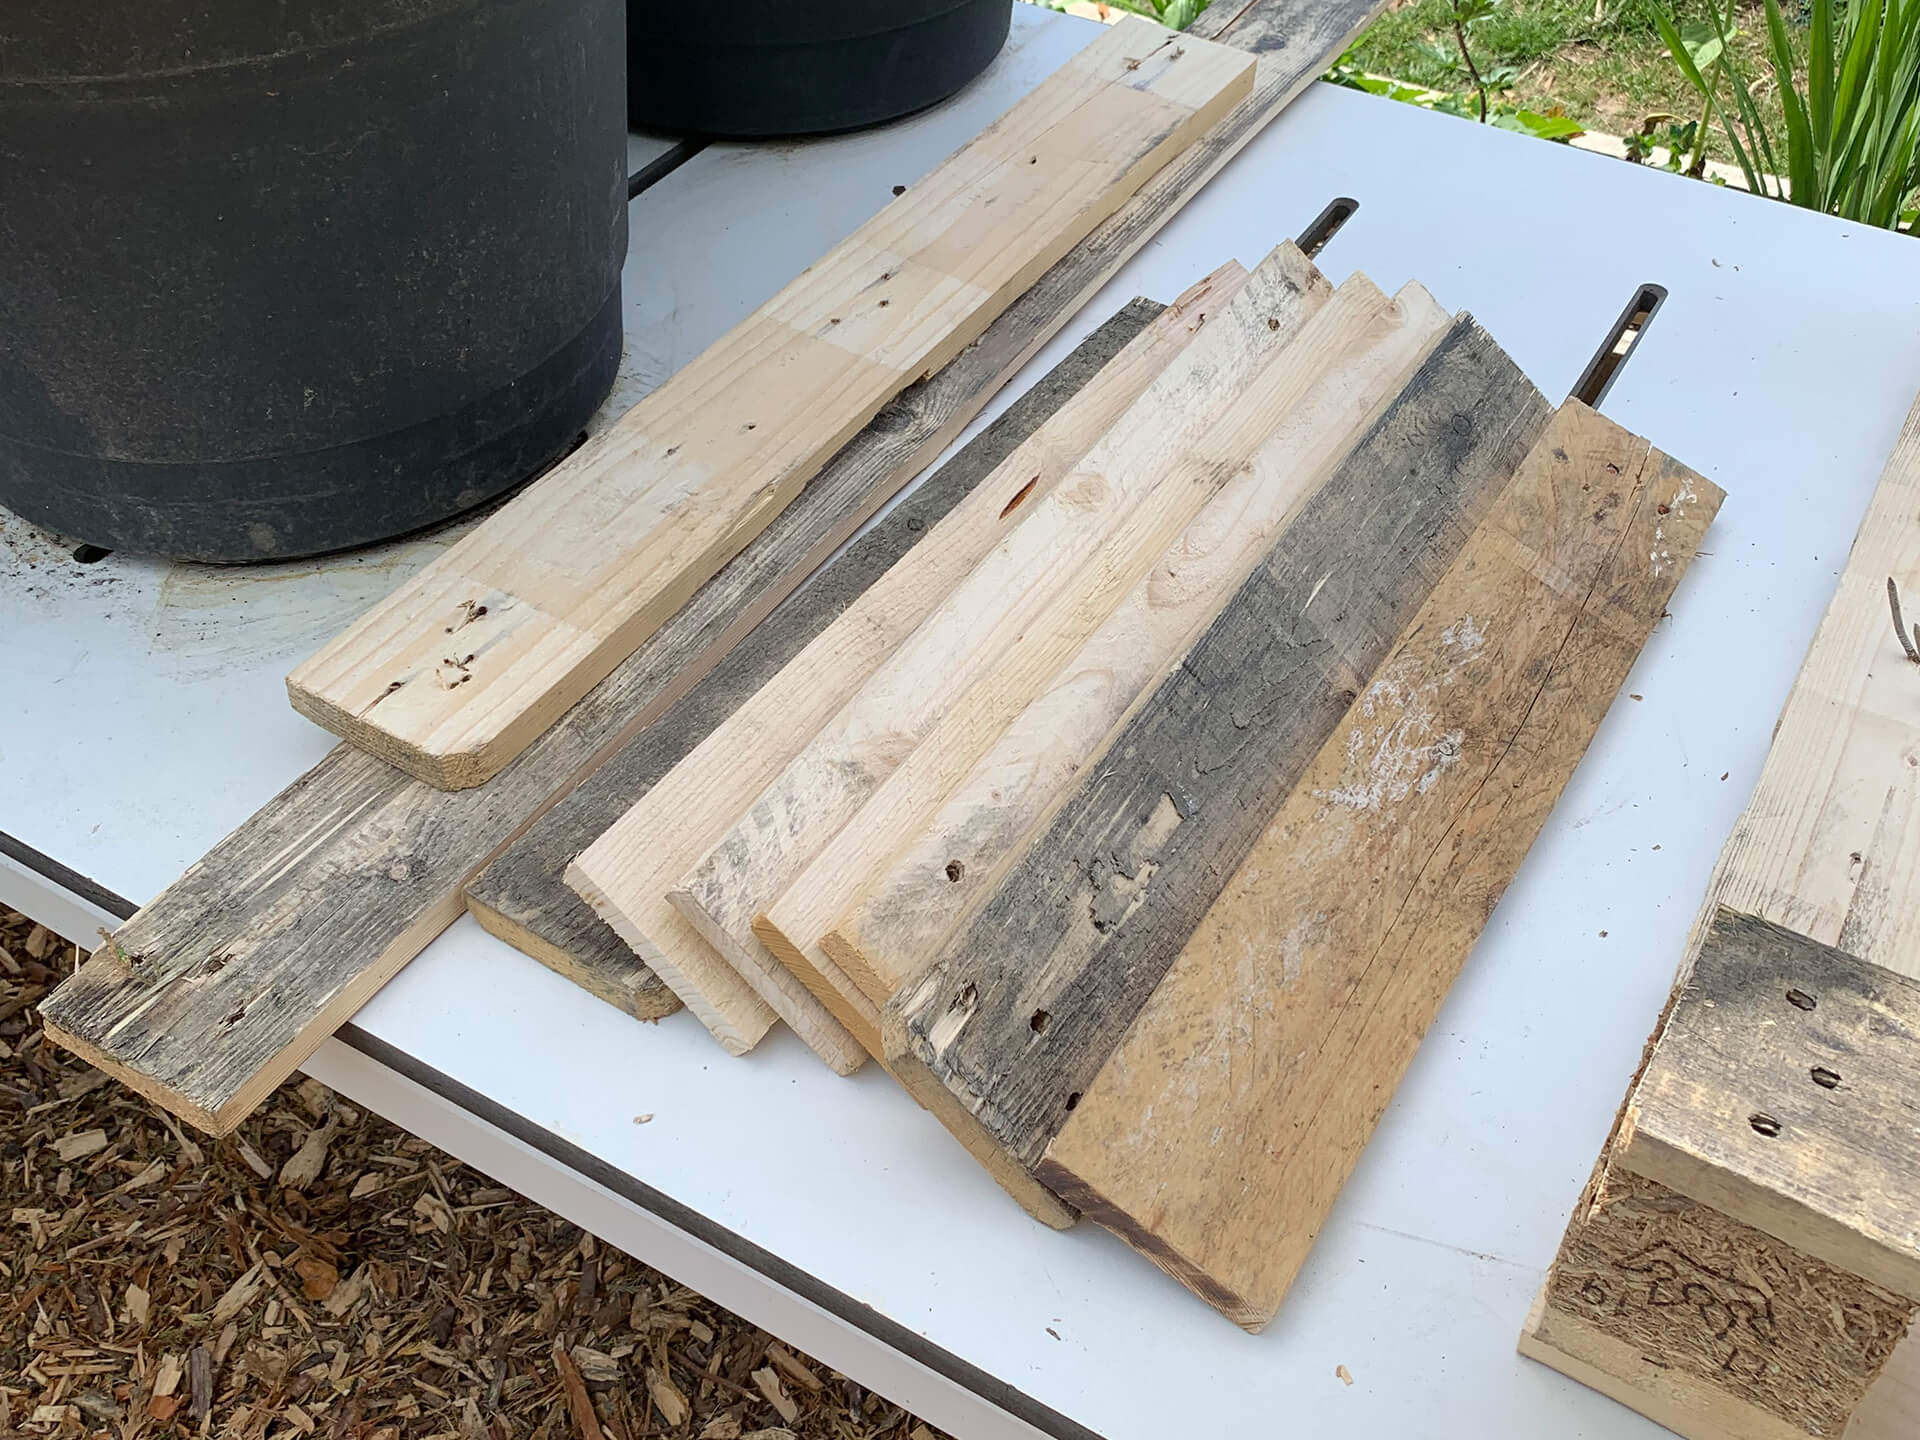
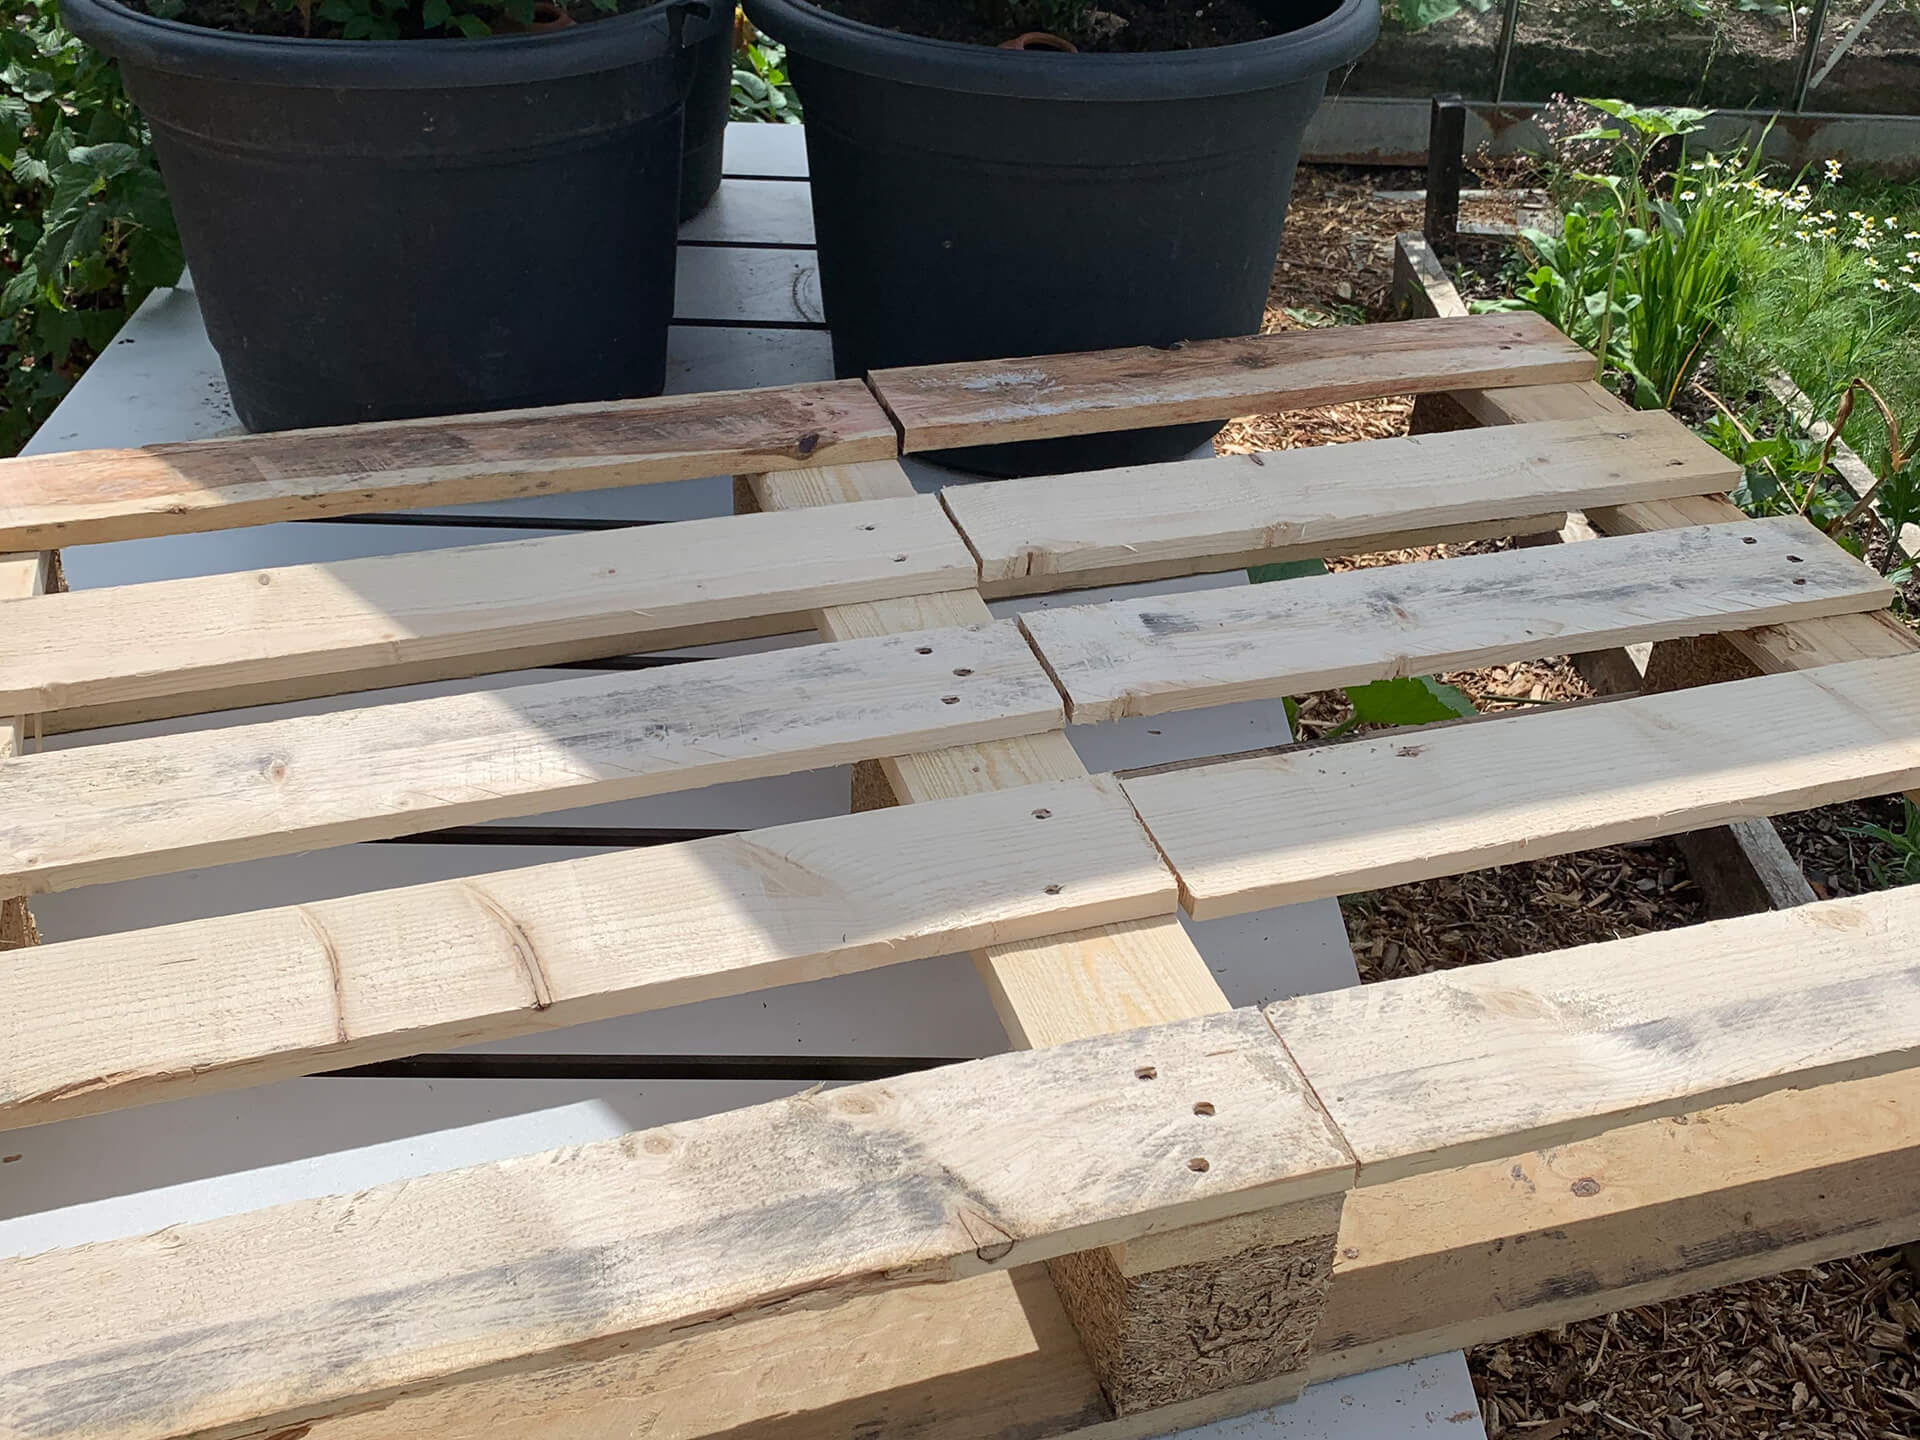
Step Six:
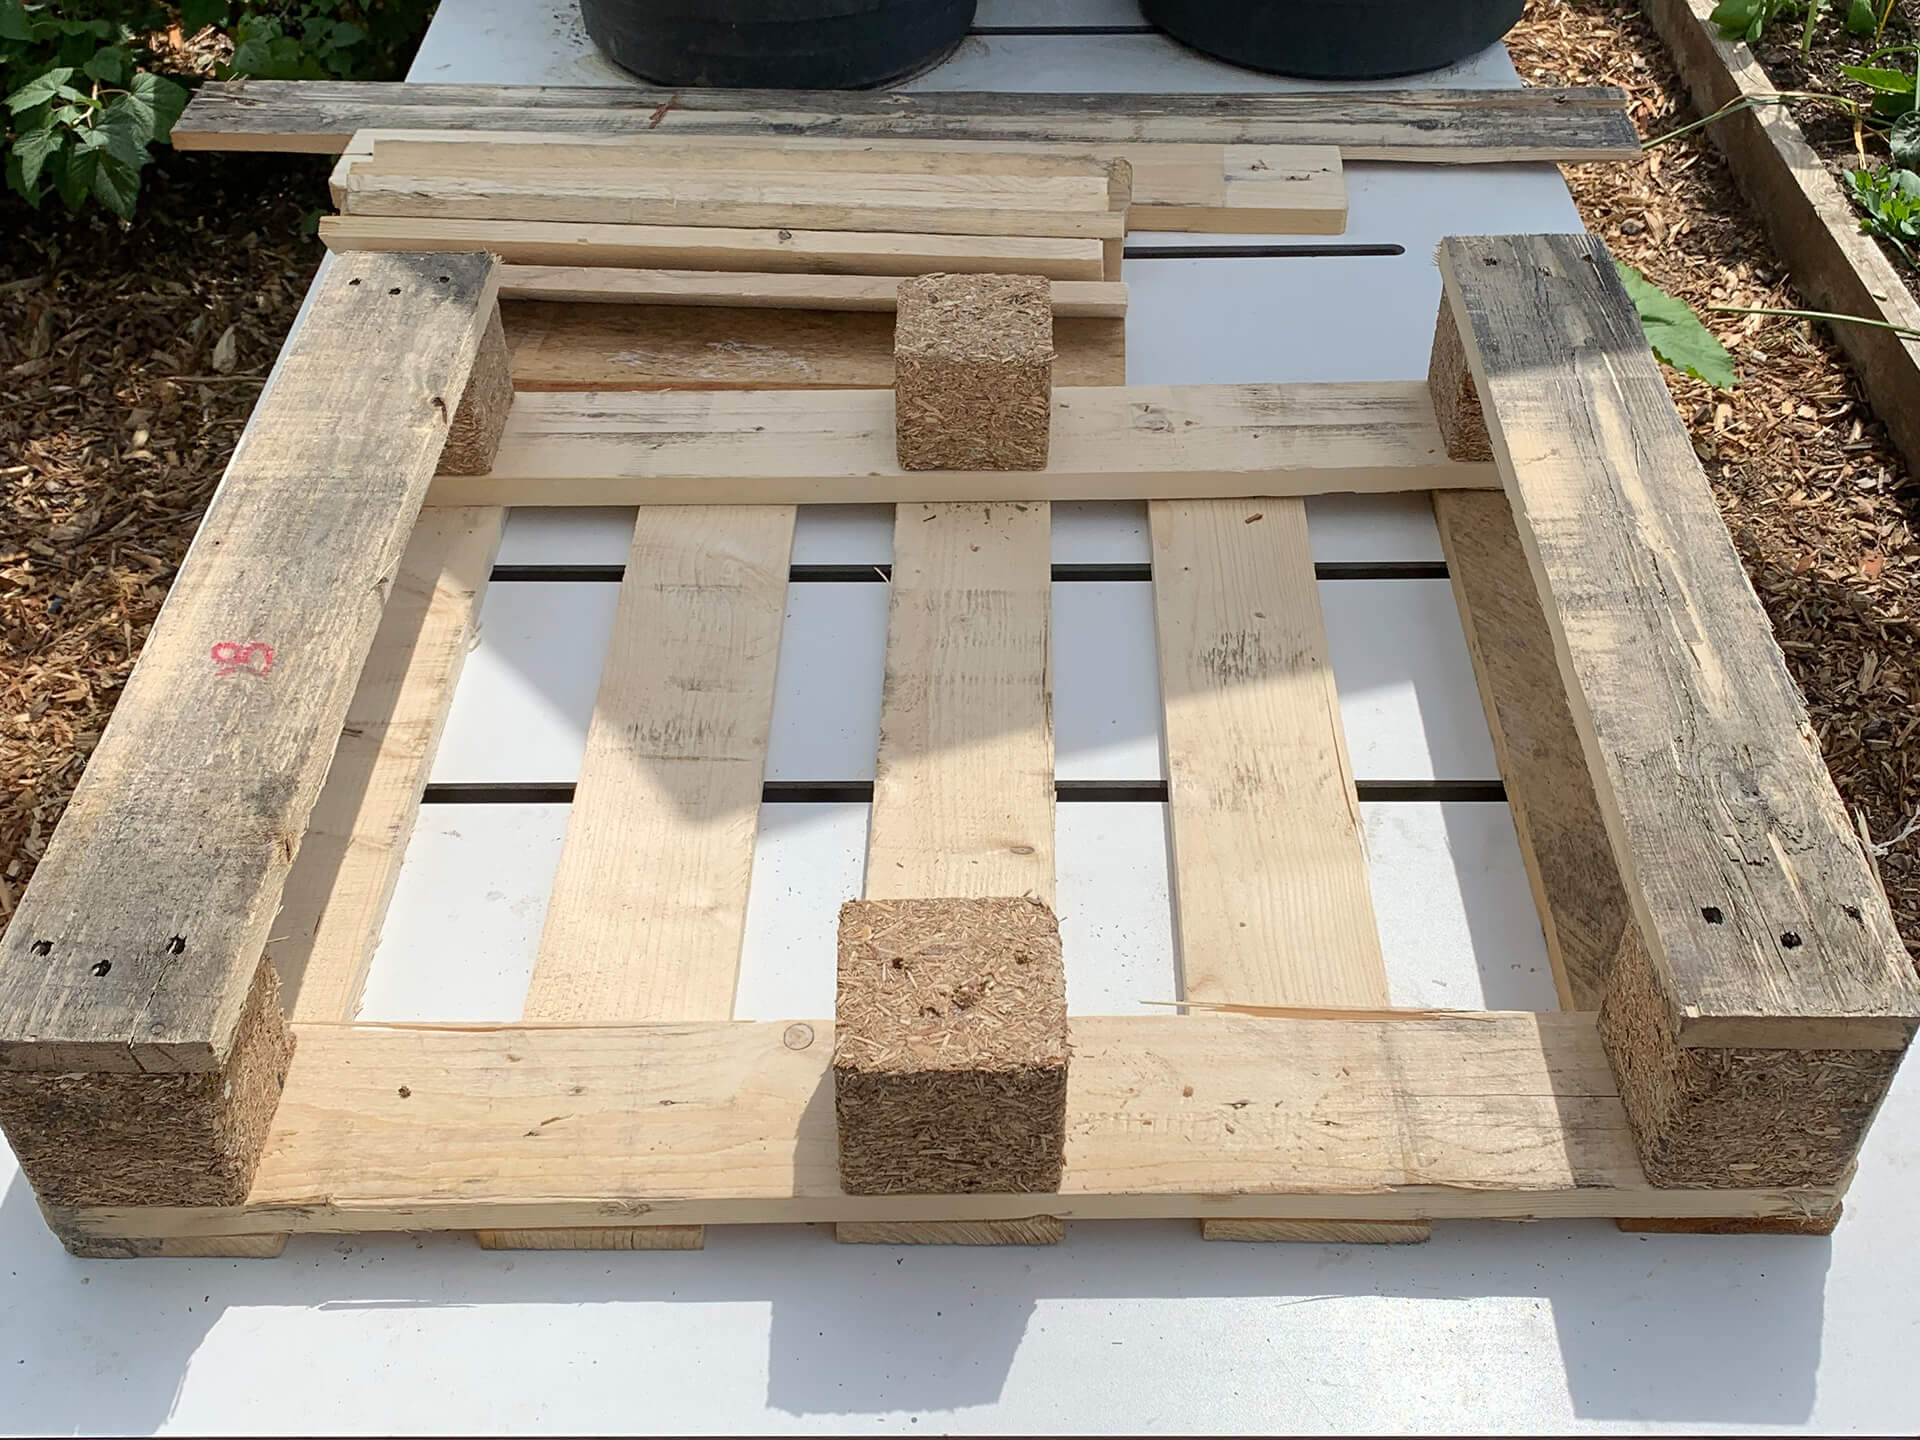
From the deconstructed pallet half, you will have two longer pieces. These will be used to close the long sides of your pallets. The rest of the slats will be for the two short ends and in between the existing slats.
Step Seven:
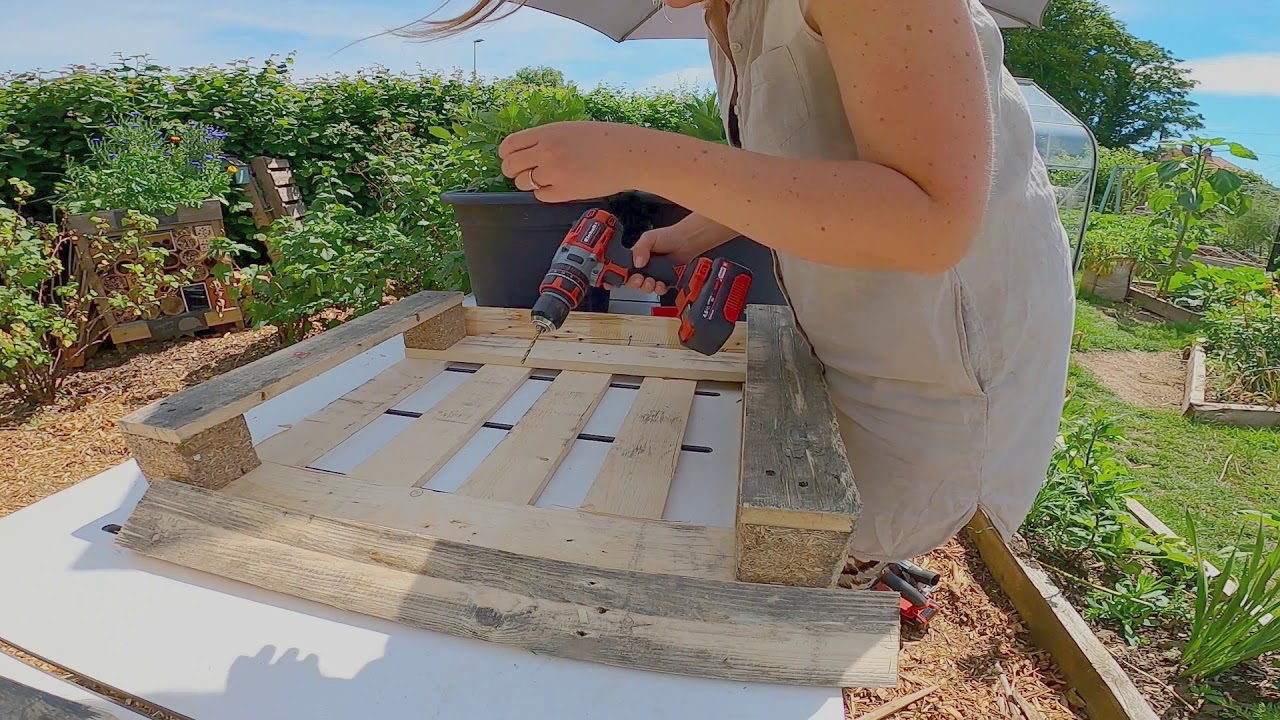
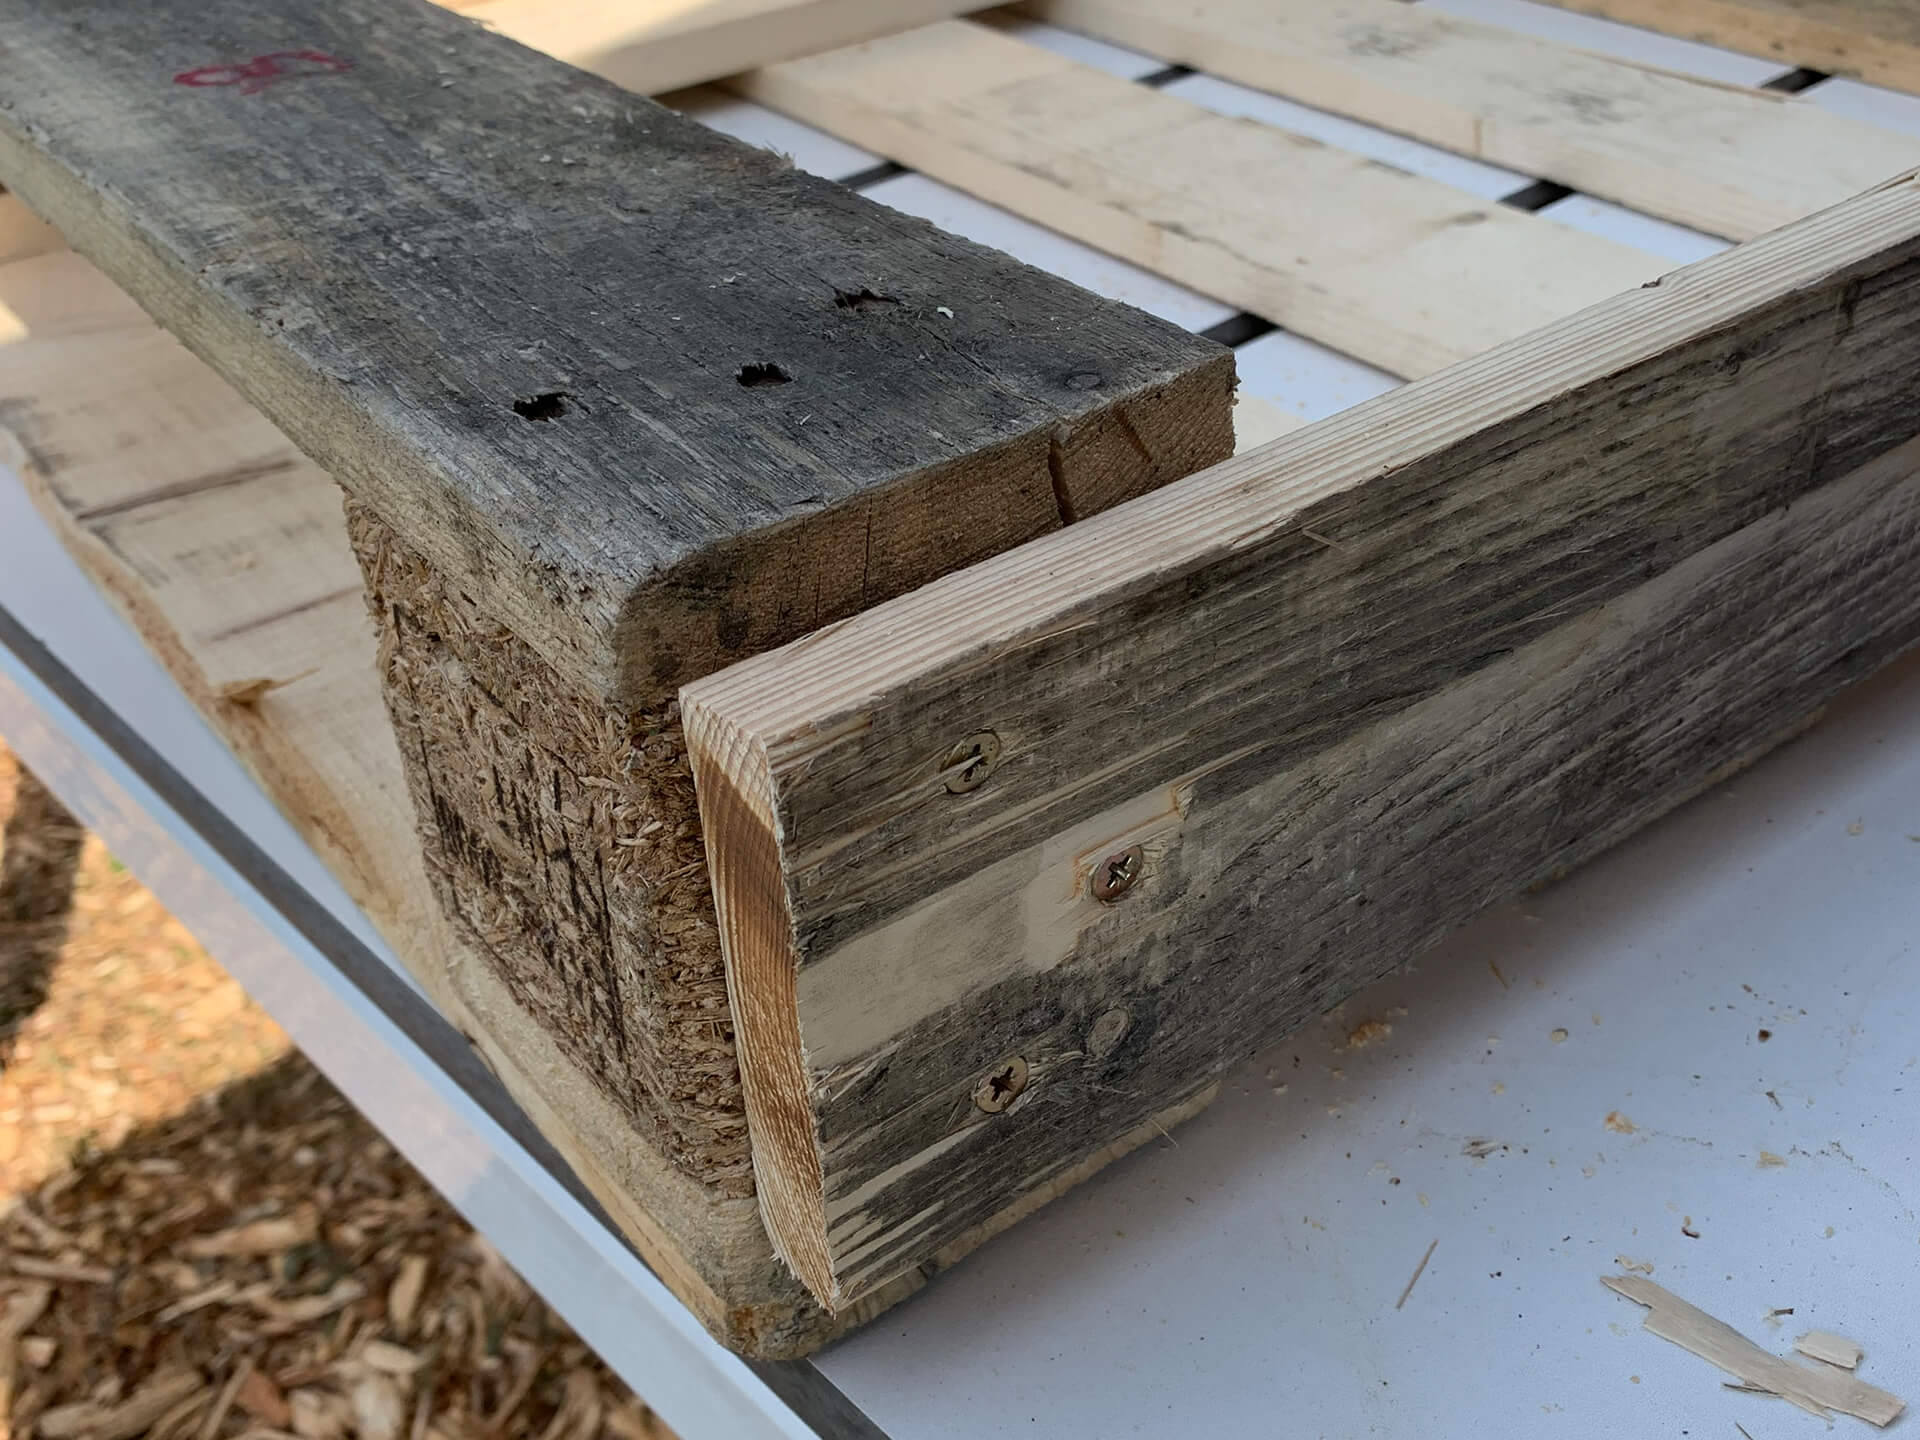
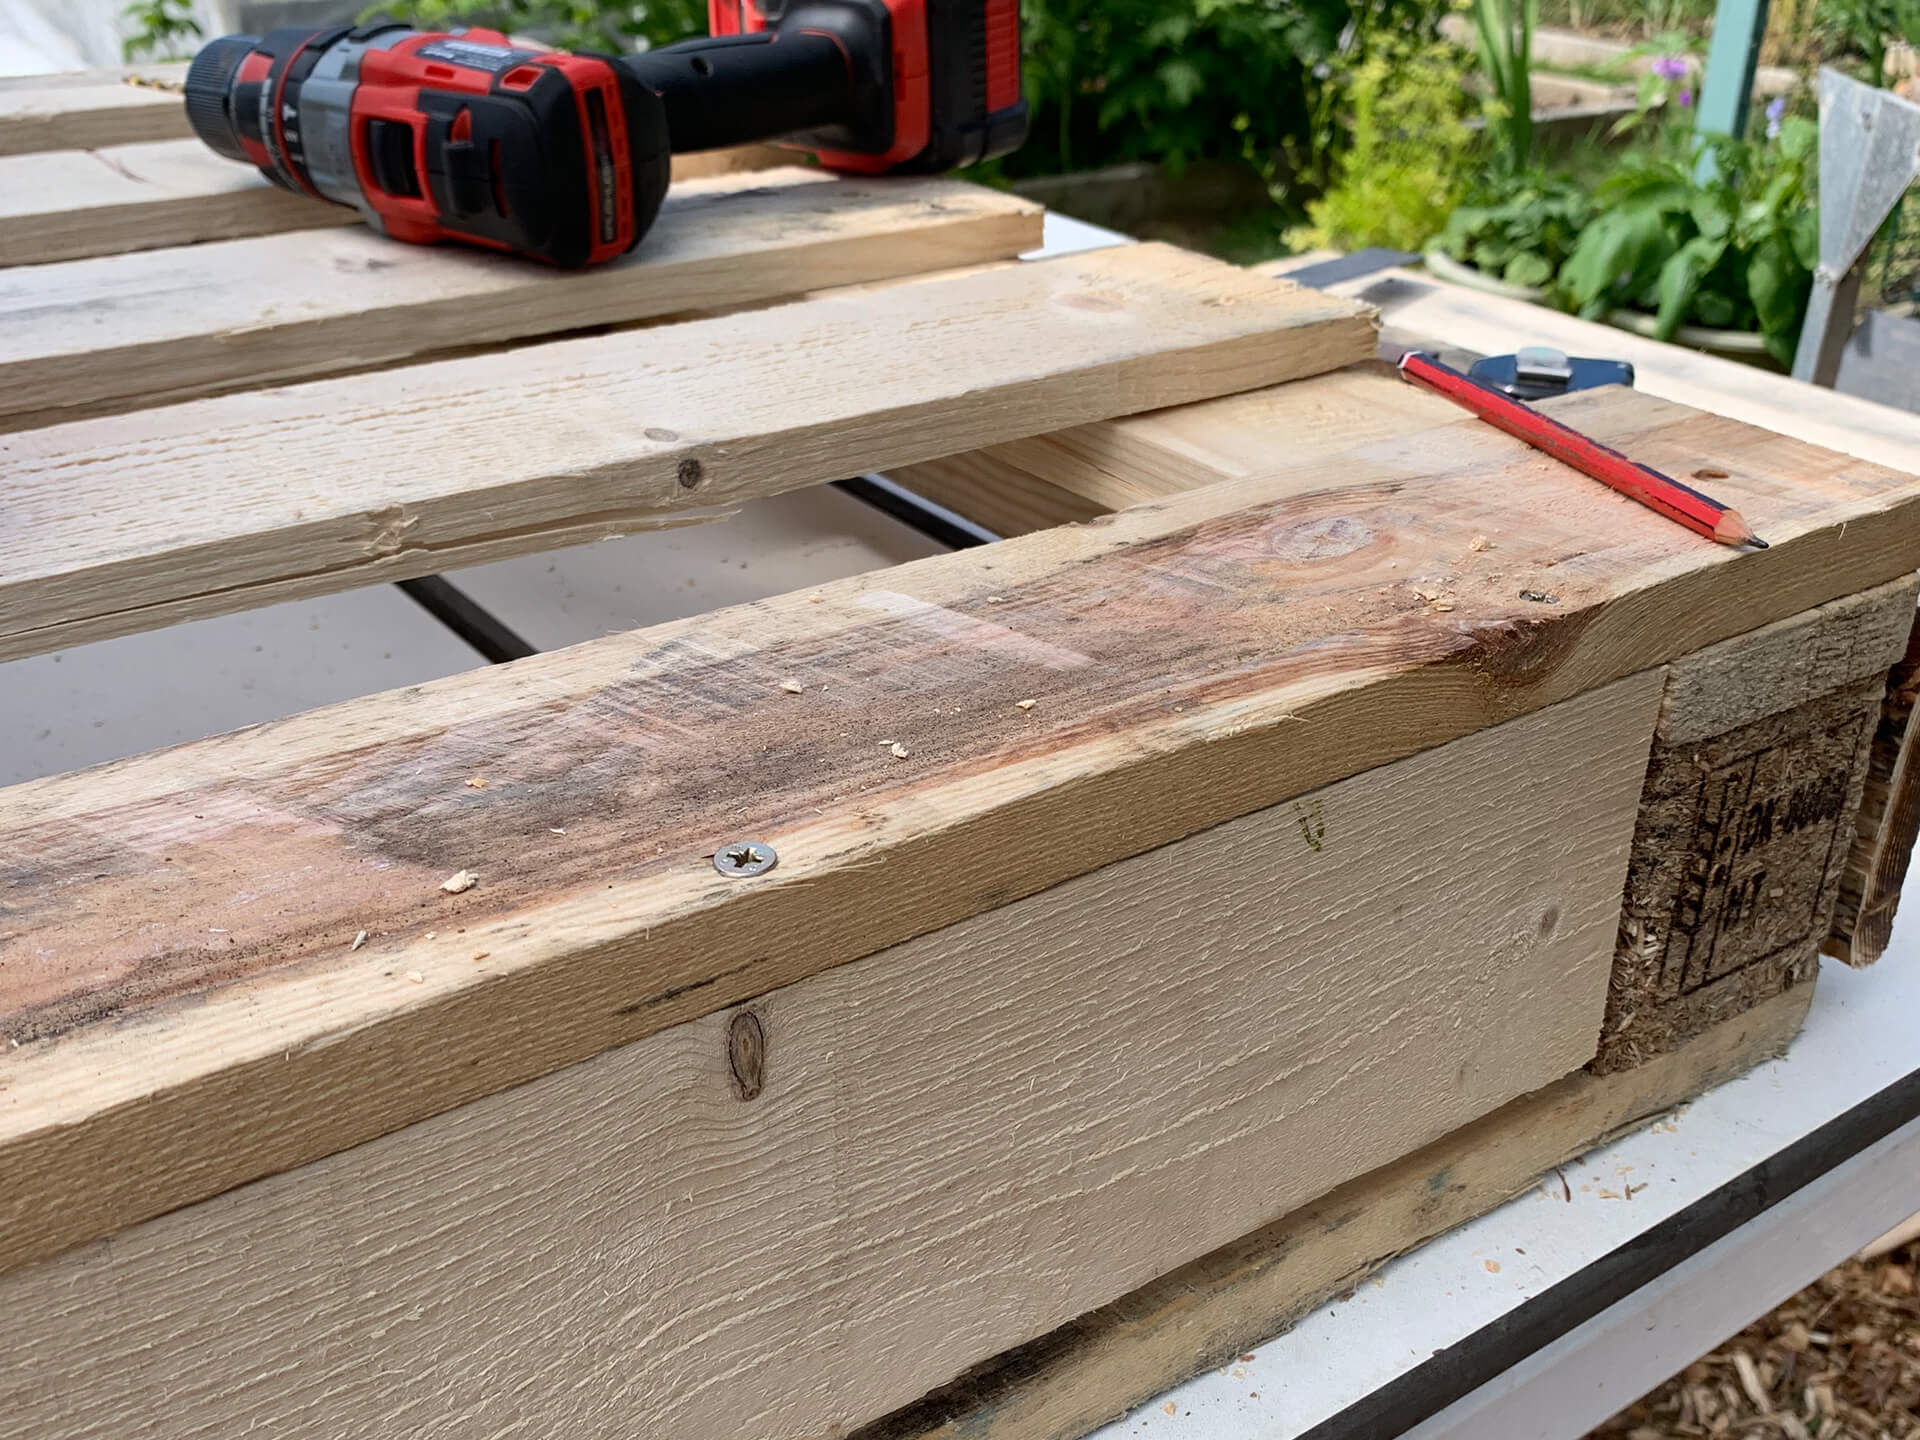
Measure the two longest sides of your pallet and cut your wood accordingly. Place your wood up to the side so it closes off all gaps. It will be easiest to pack your wood up in place whilst drilling. Make three pilot holes in each end. Use your impact driver and 60mm screws to fix the panel in place. Repeat on the other side.
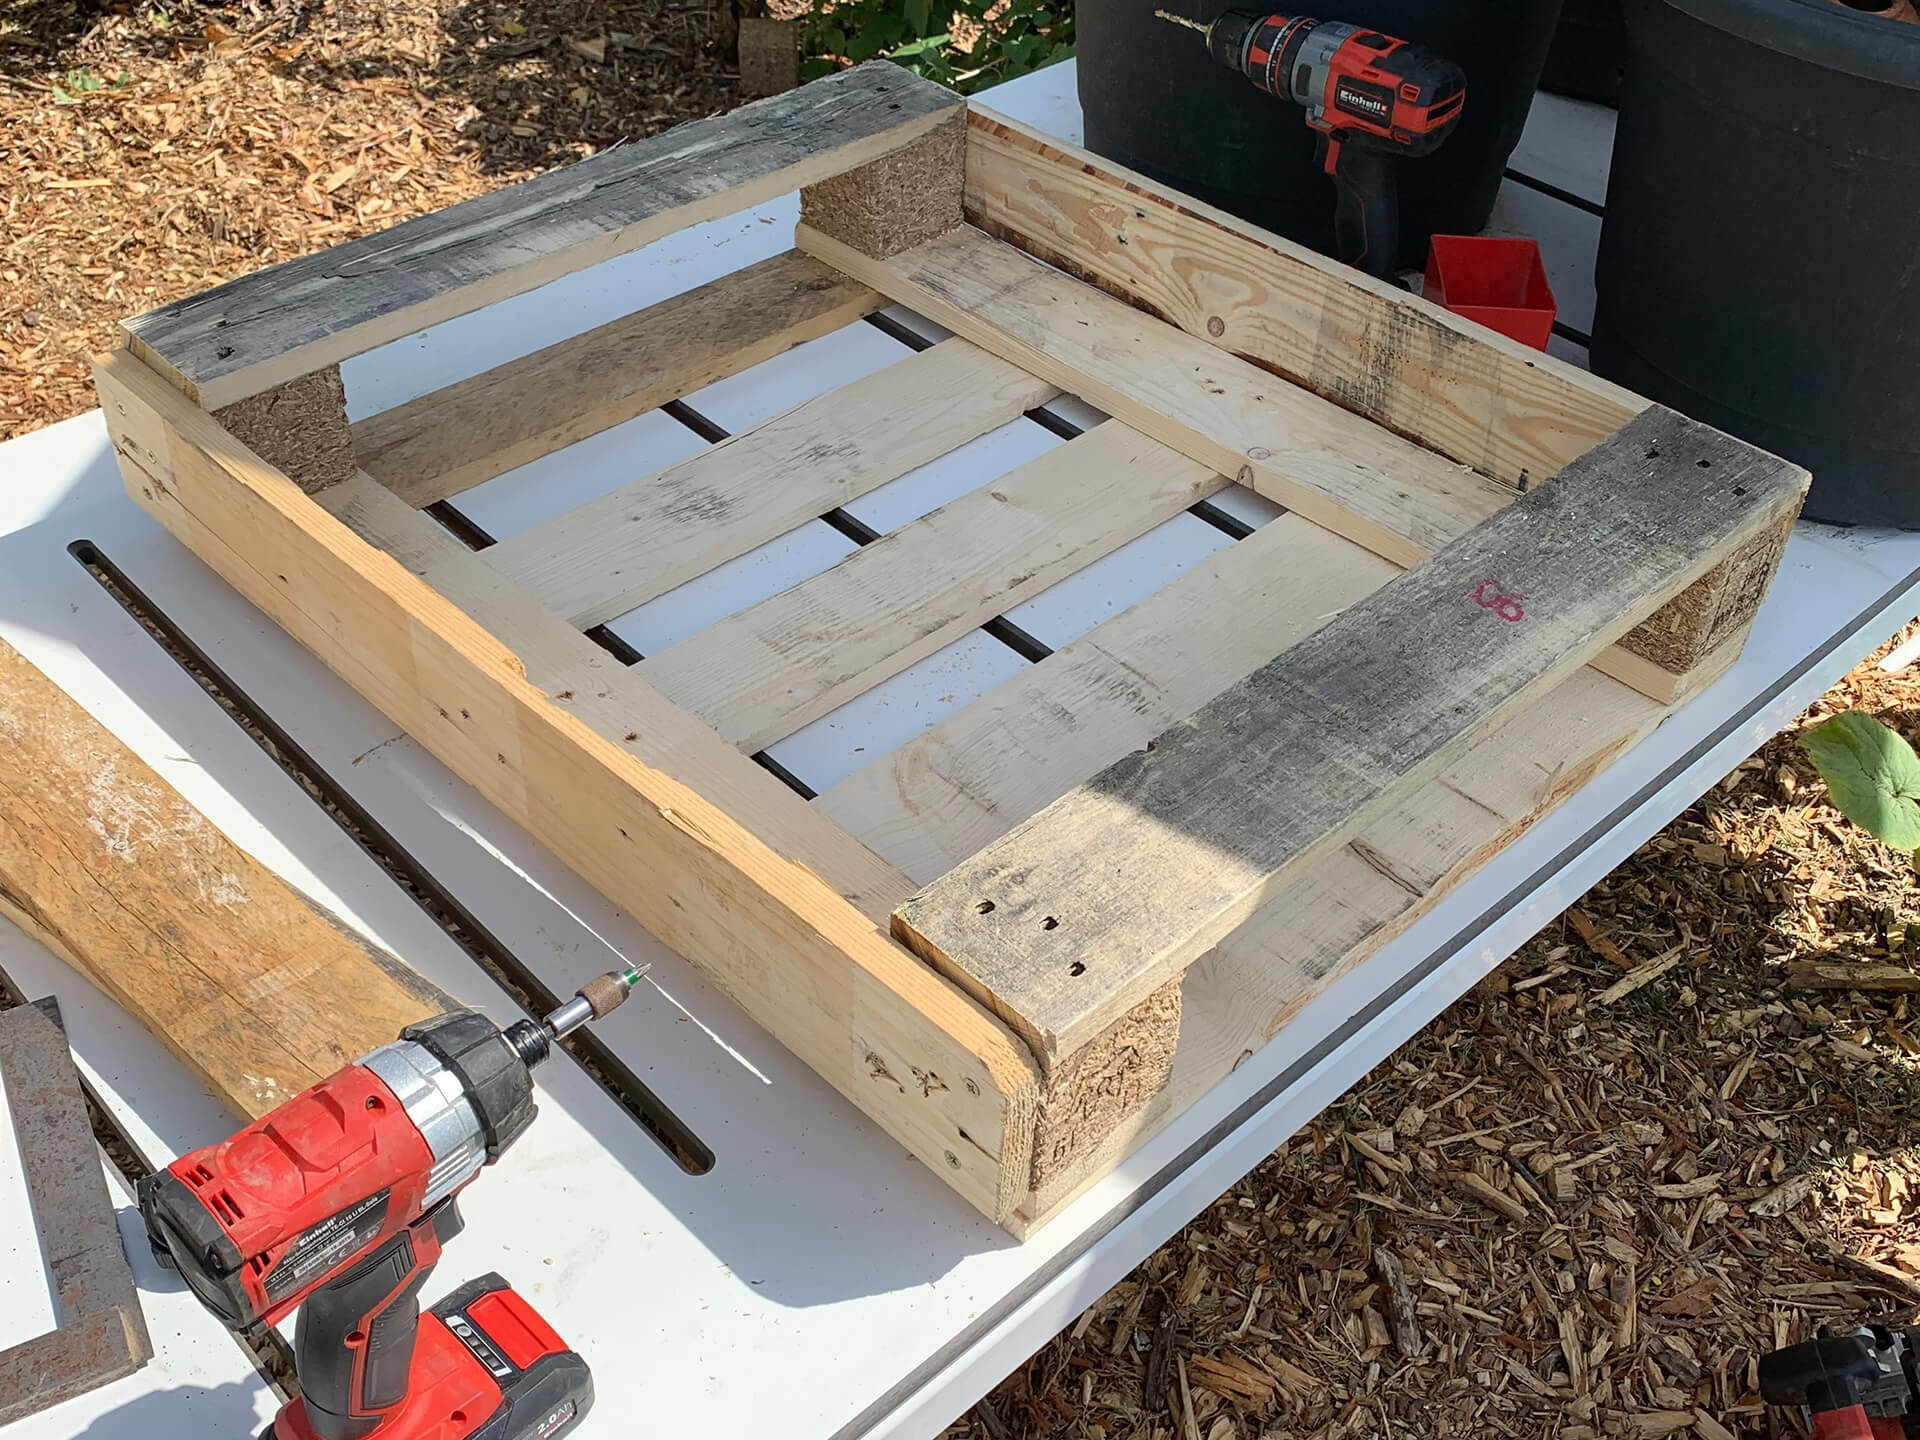
Step Eight:
Now your two long sides are in place, its time to concentrate on the shorter ends. Turn your pallet over so the slats are facing up towards you. Measure in between the two corner posts and cut your two slats to size. If you get your measurements right, the slate will wedge into place, which will make it easier to screw together. Wedge your piece of wood in and use a packer to hold it in place as there will be a gap underneath. Using your pilot drill, make three holes along the edge of the trug for your screws to go into the slat you have just cut below.
Step Nine:
Repeat on the other side. This will give you an enclosed box on all the sides.
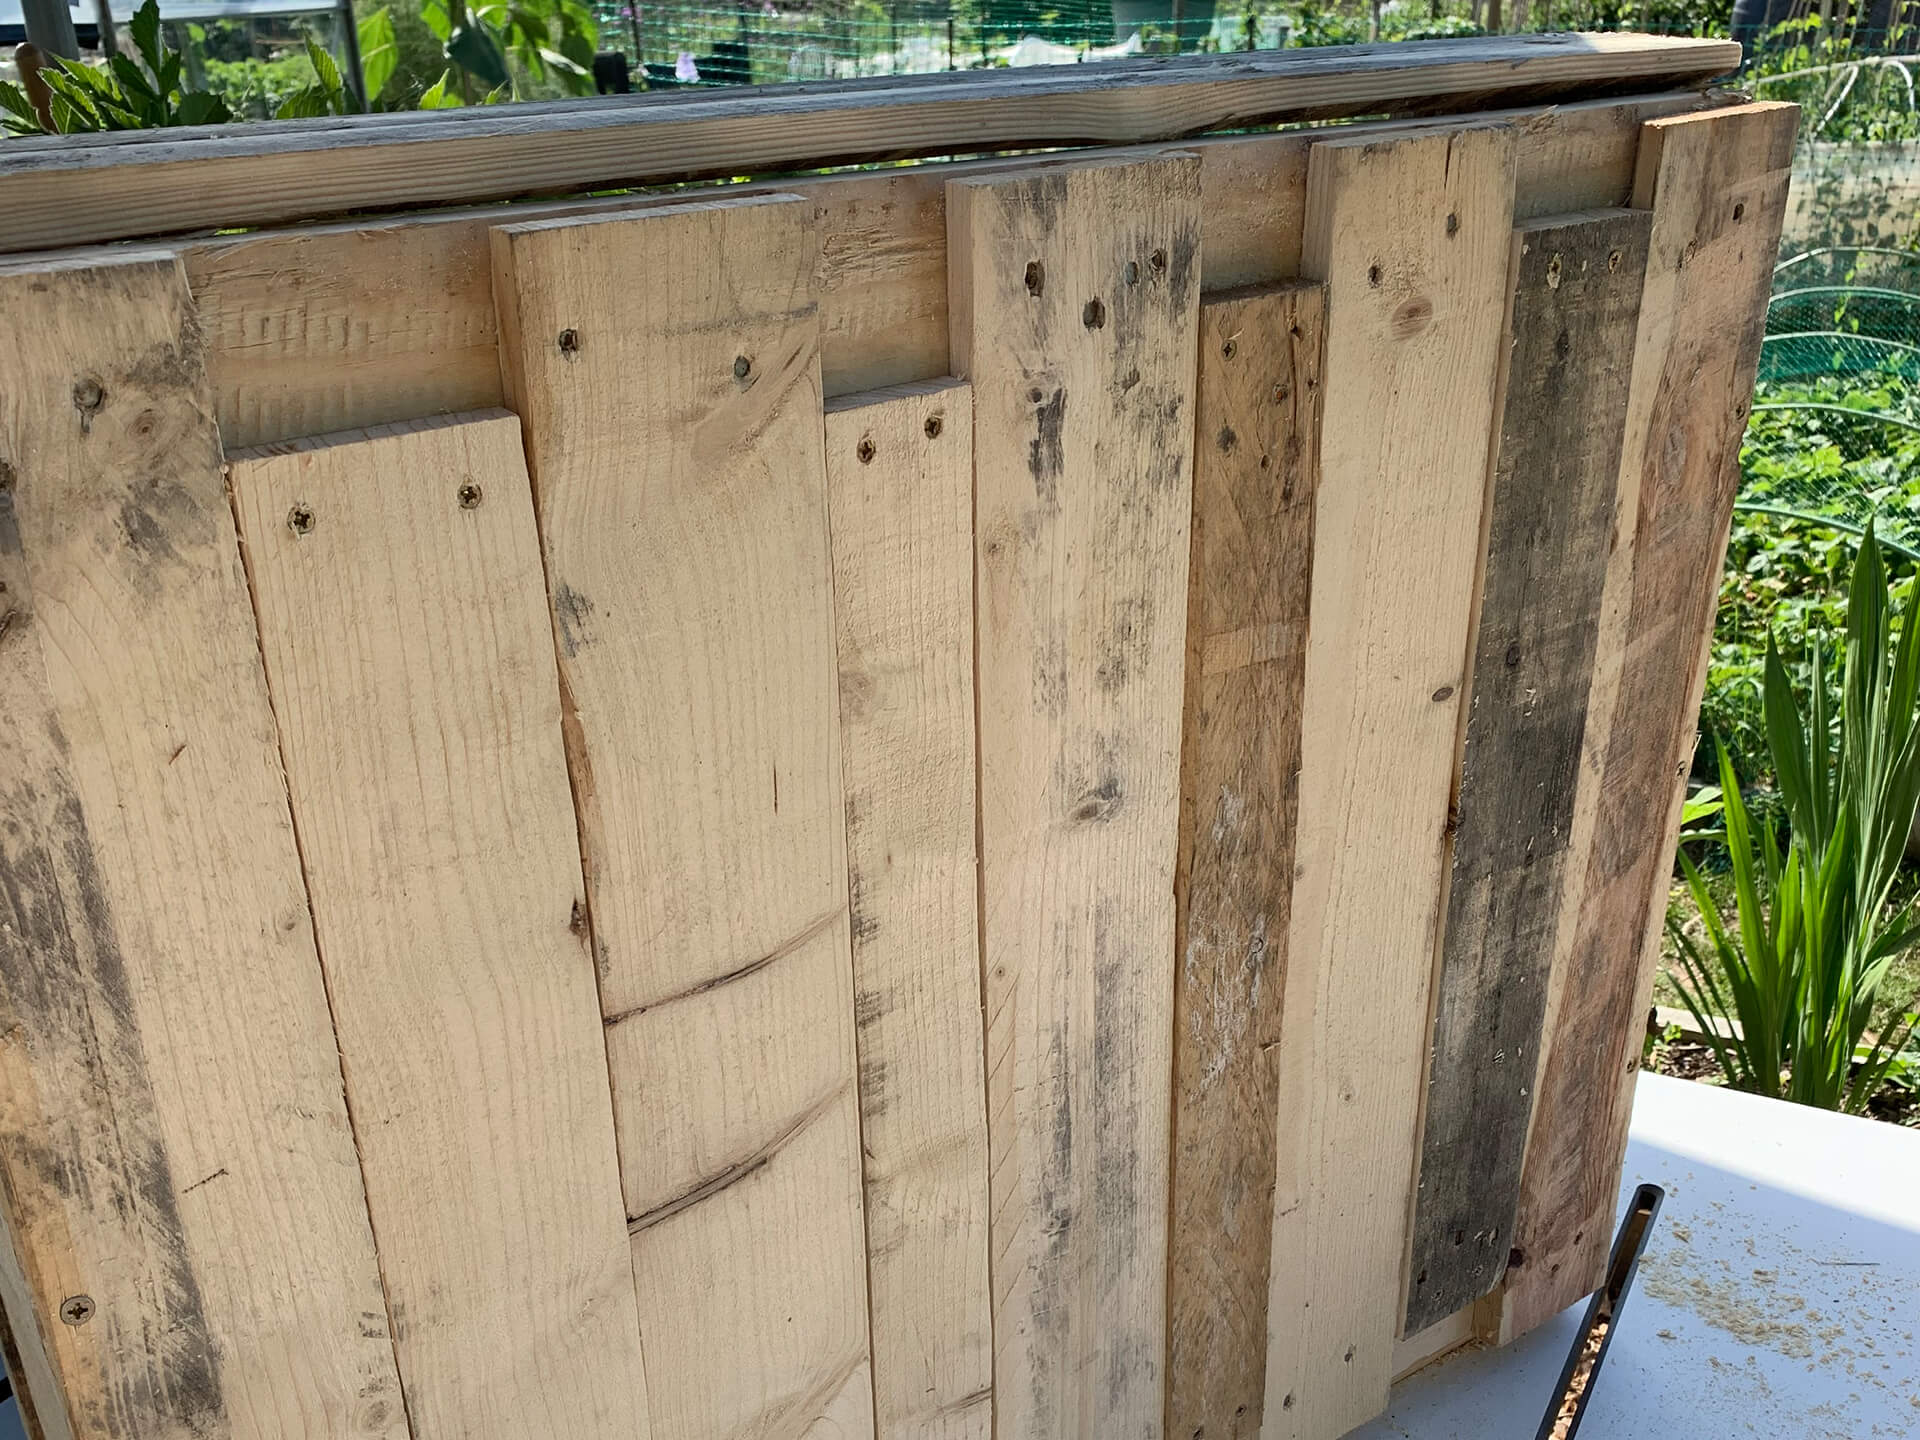
Step Ten:
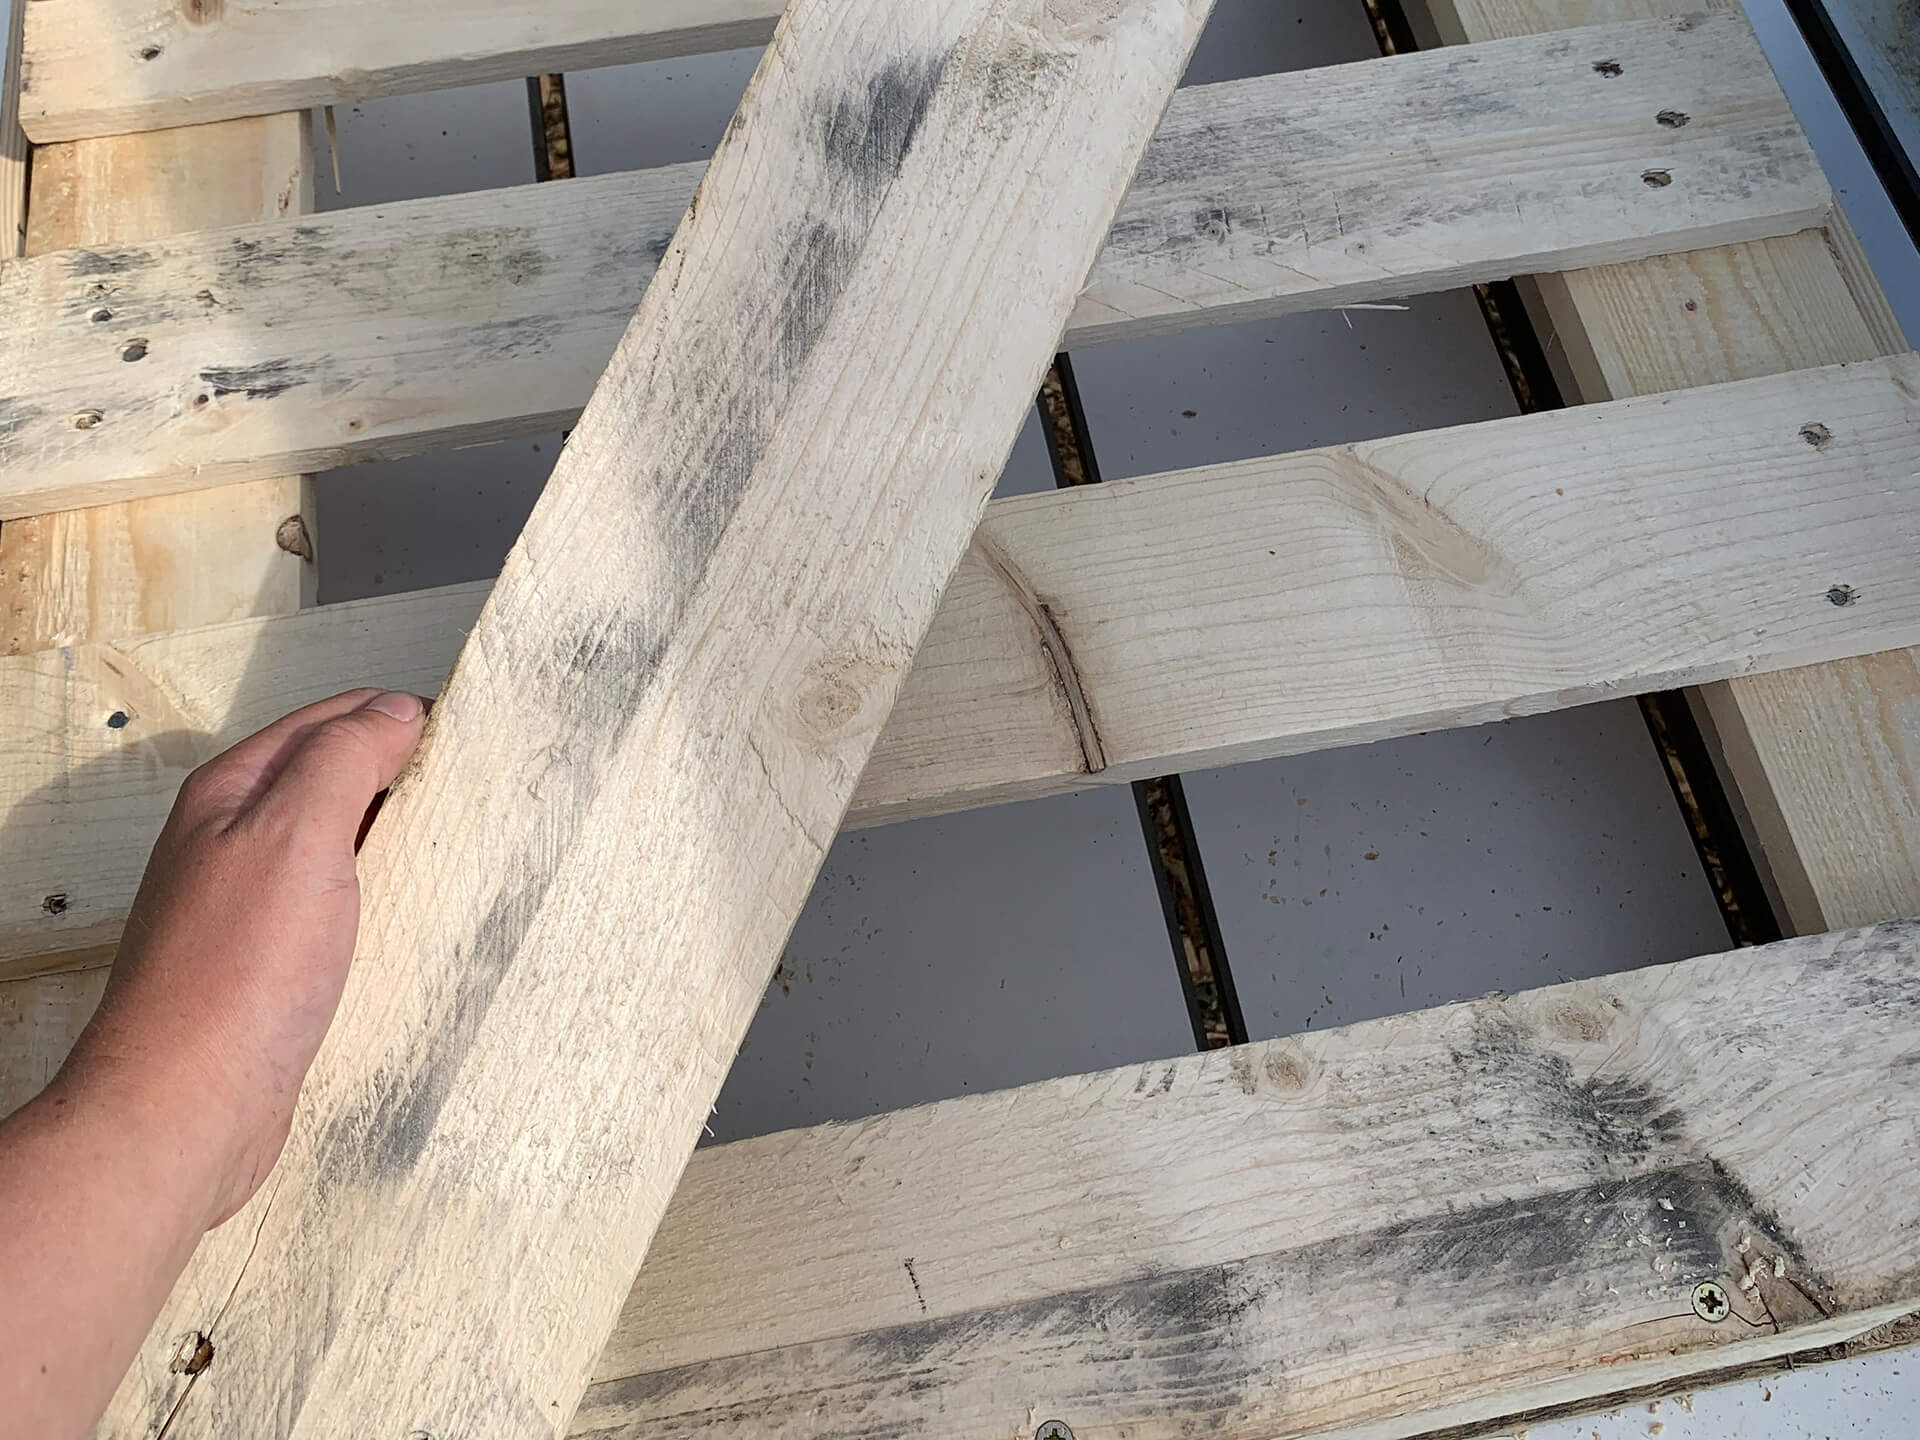
Now your frame is complete, you’ll need to fill in the gaps between the slats, otherwise all your harvest or tools will fall through. The spacing between the slats are normally different, so measure each one and mark it on your wood. Its actually better to have these smaller than you need, as the slats aren’t normally straight and you don’t need a snug fit.
Step Eleven:
Once these are all marked out you can use a skill saw, jigsaw or hand saw to cut them down. I used a jigsaw and would recommend clamping the wood to a table which will give you both hands to control the equipment and keep your precious fingers out of the cutting area.
Step Twelve:
Once all pieces are cut, position them so they are central, with an even overhang on the vertical slats below. Drill two pilot holes in each end and screw it to the trug with 15mm screws.
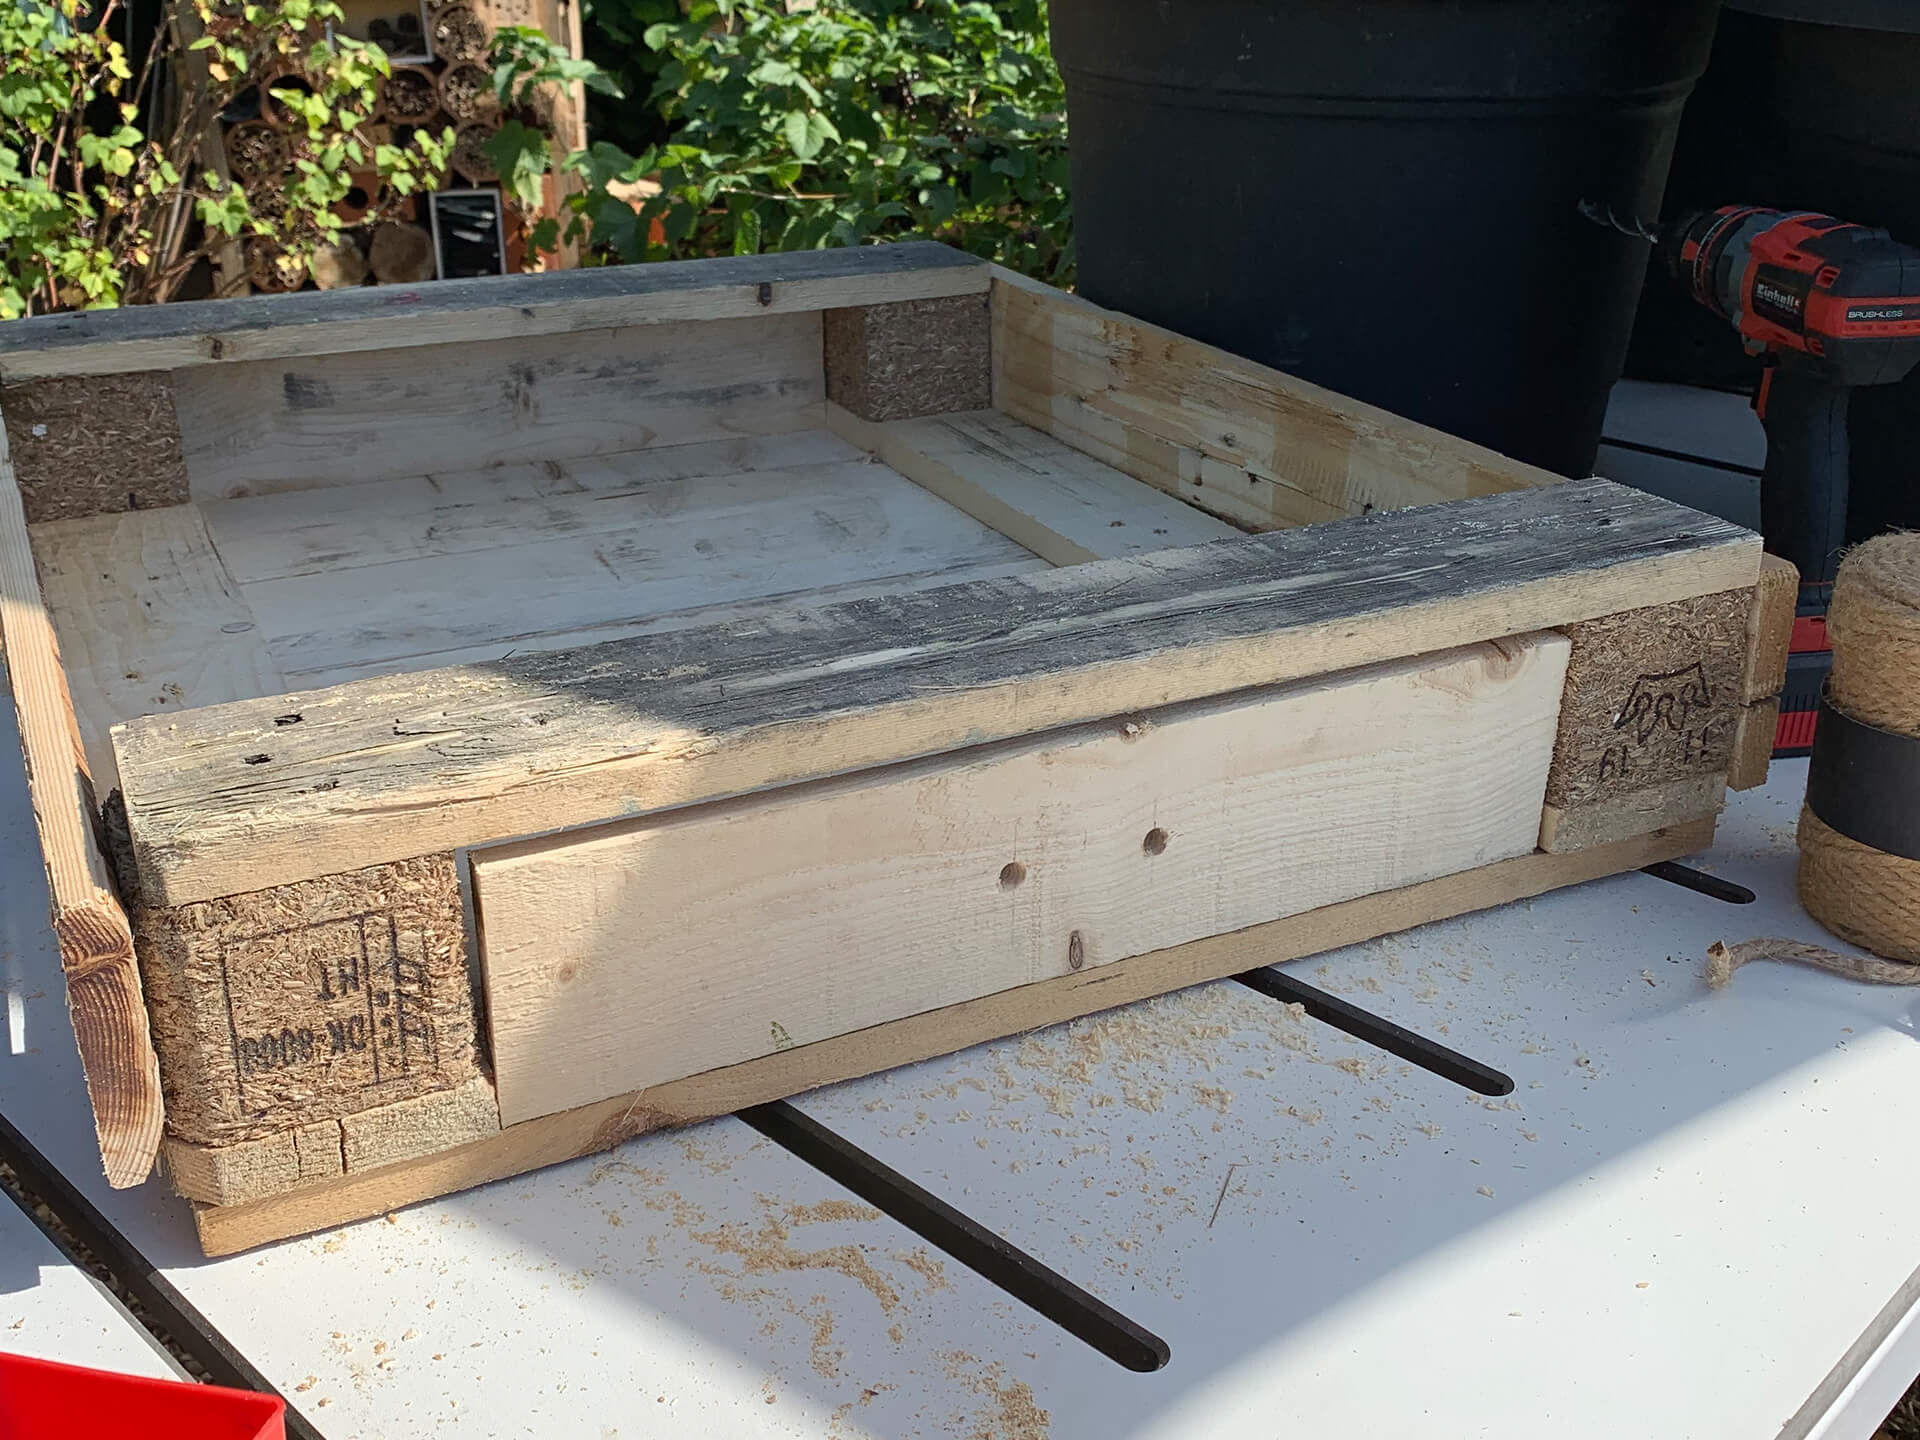
Step Thirteen:
Now you need to add a couple of holes for your twine to thread through and create a handle. On one of your ends, make two marks in the centre, 60mm apart. Using a drill bit that is slightly thicker than your twine, drill the two holes.
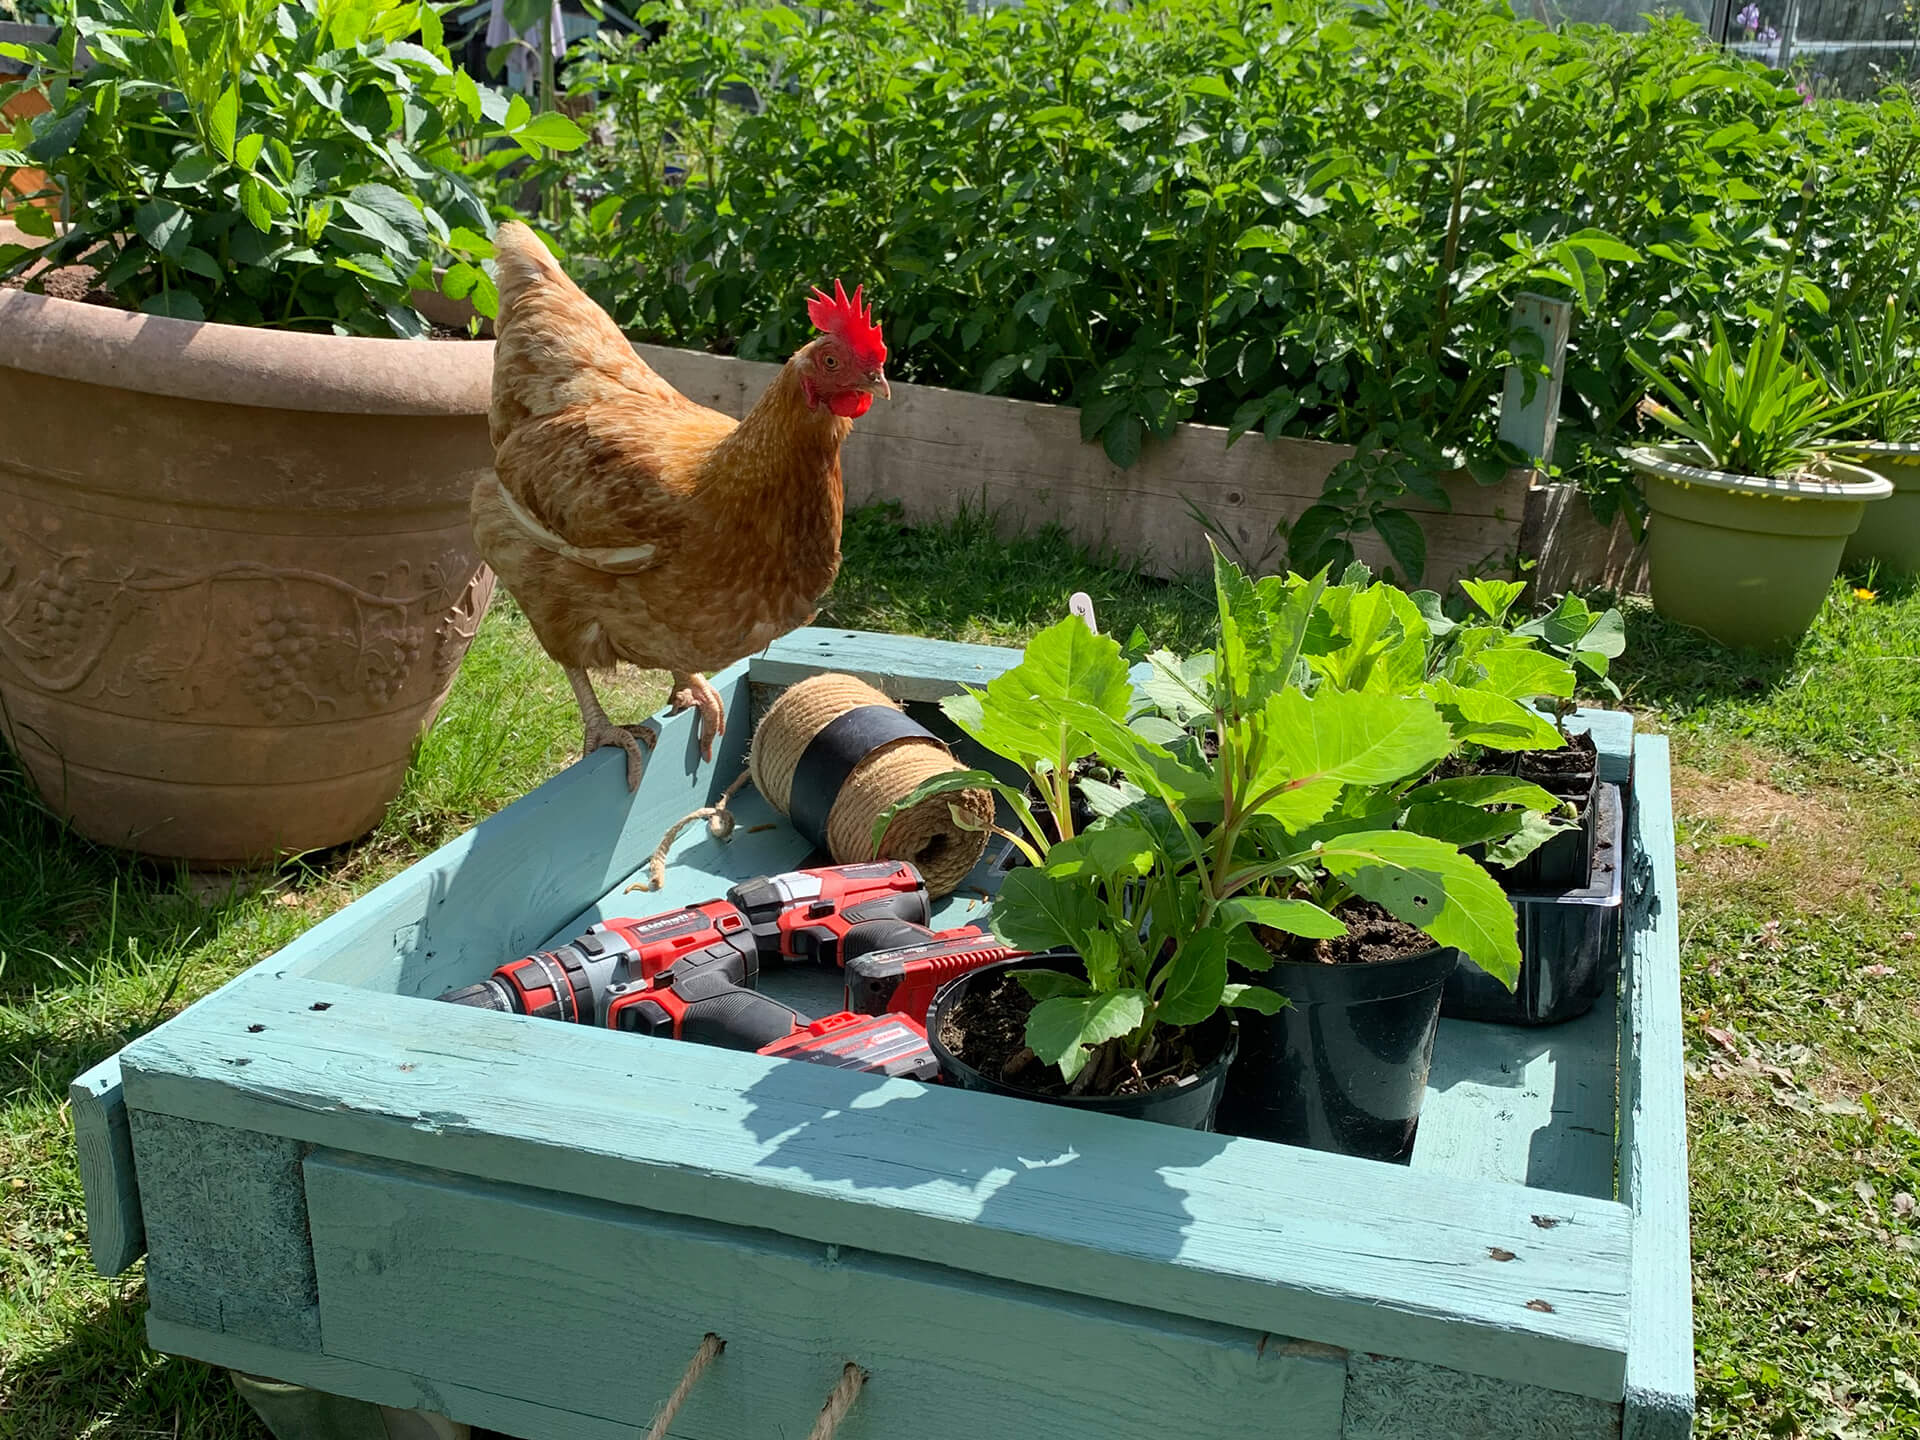
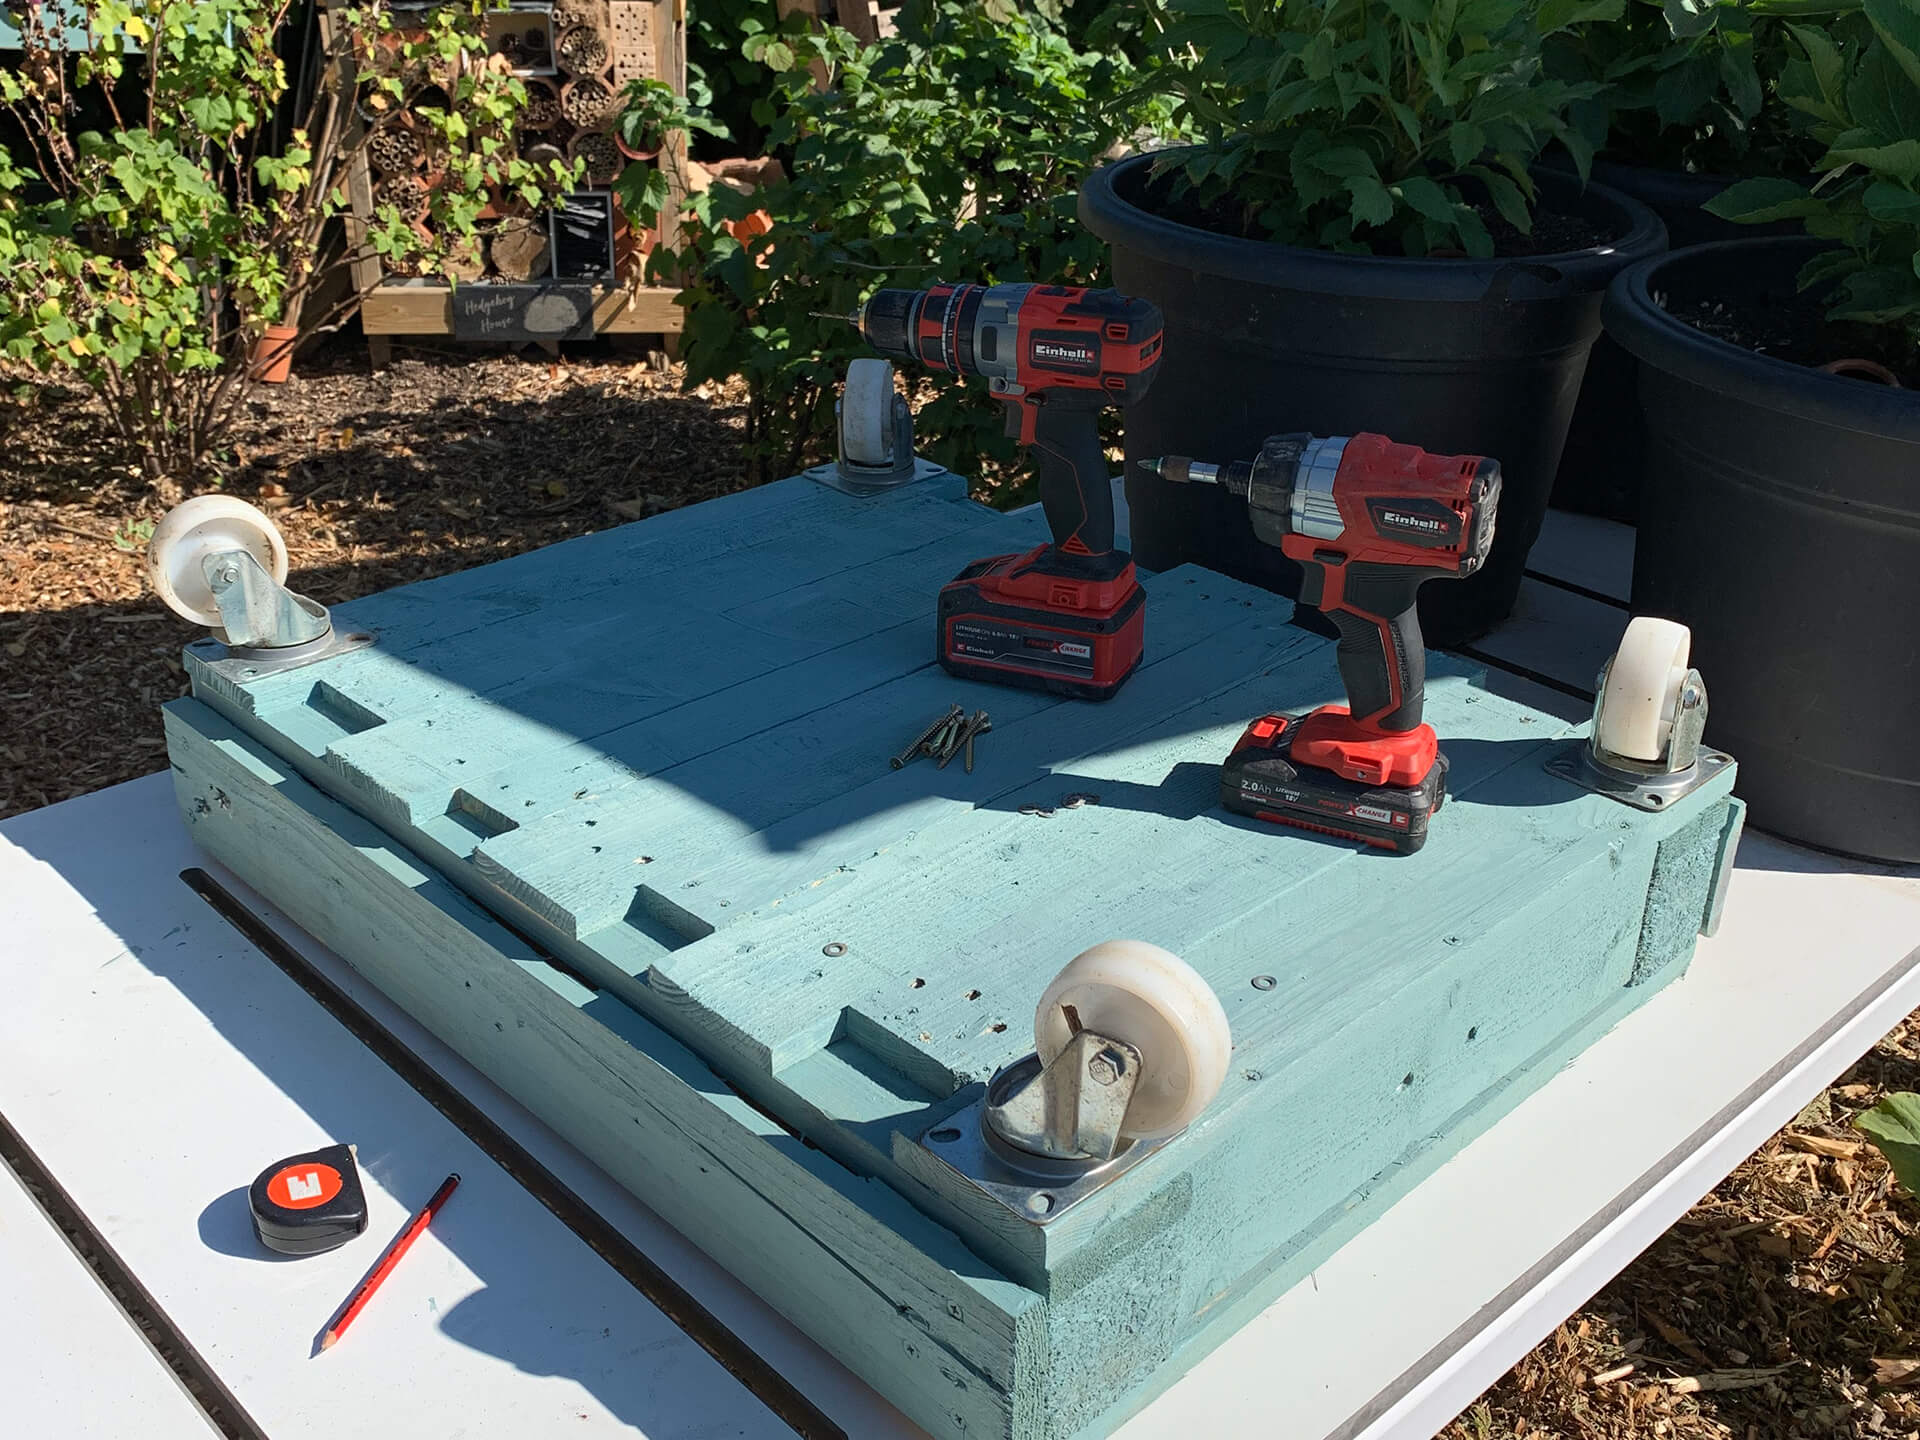
Step Fourteen:
Sand your trug to get rid of any sharp edges and paint with an outdoor paint. This will ensure it can be kept outside all year round if you are short of space. Once painted, thread your twine through and tie off the ends.
Step Fifteen:
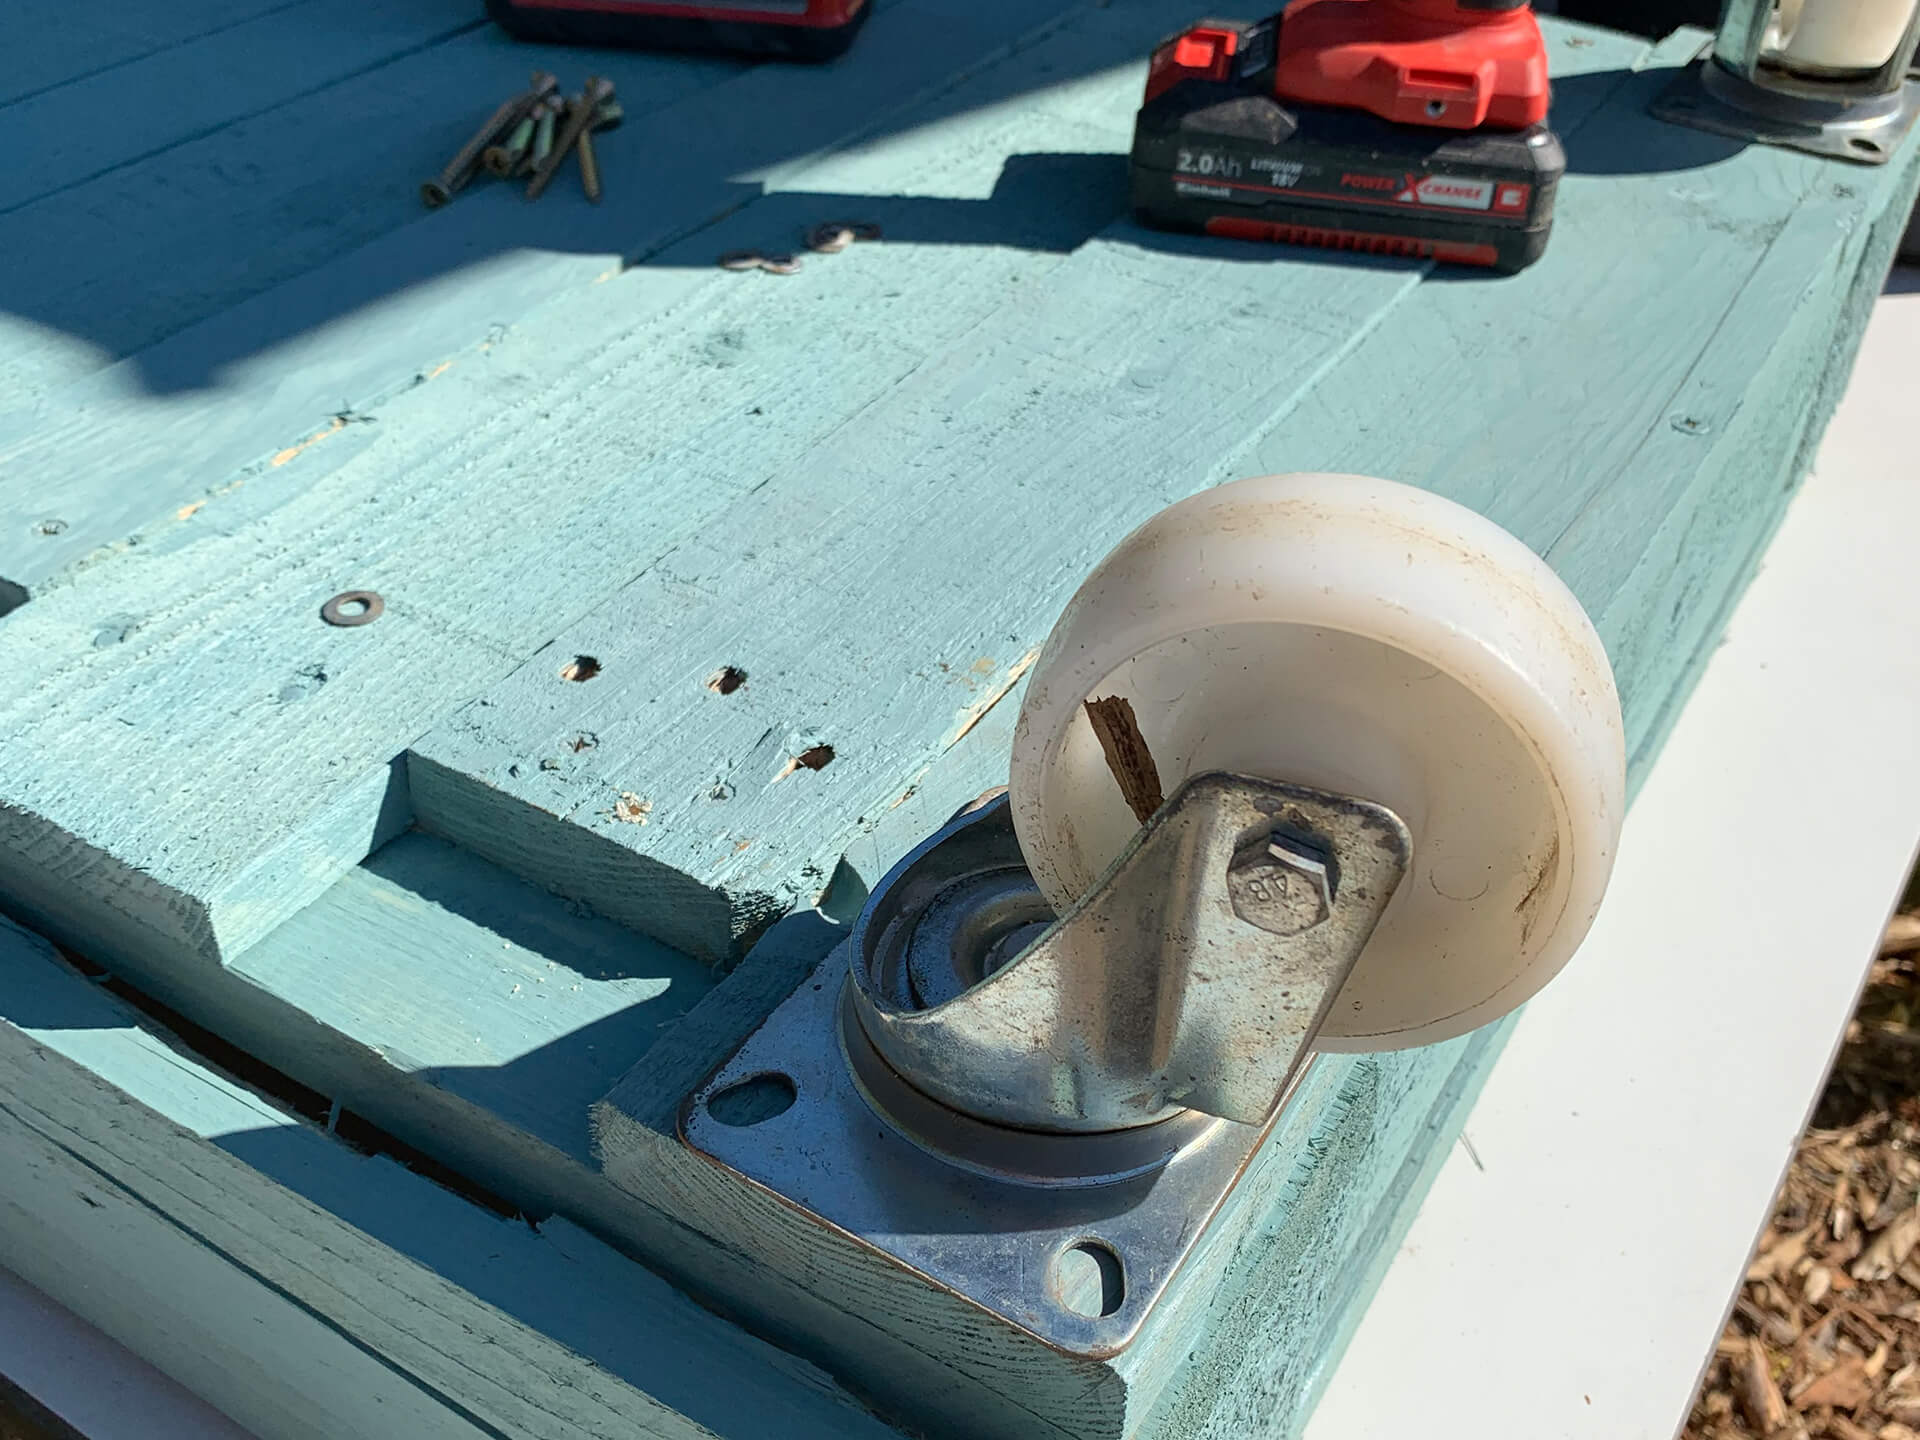
Finally, you need to attach your castors. Position these in each corner so the screw holes are positioned above the blocks in each corner. You will need metal washers to stop the screws going through the premade holes in the castor. You will need two screws in each but make sure they are diagonal to each other, so the pressure is distributed evenly.
Make a pilot hole with your drill and use 60mm screws to screw the castors to your pallet, insuring you have a washer between the screw head and the castor.
And your finished! This is perfect to help carry around all those heavy items and can be stored on its side easily in winter.