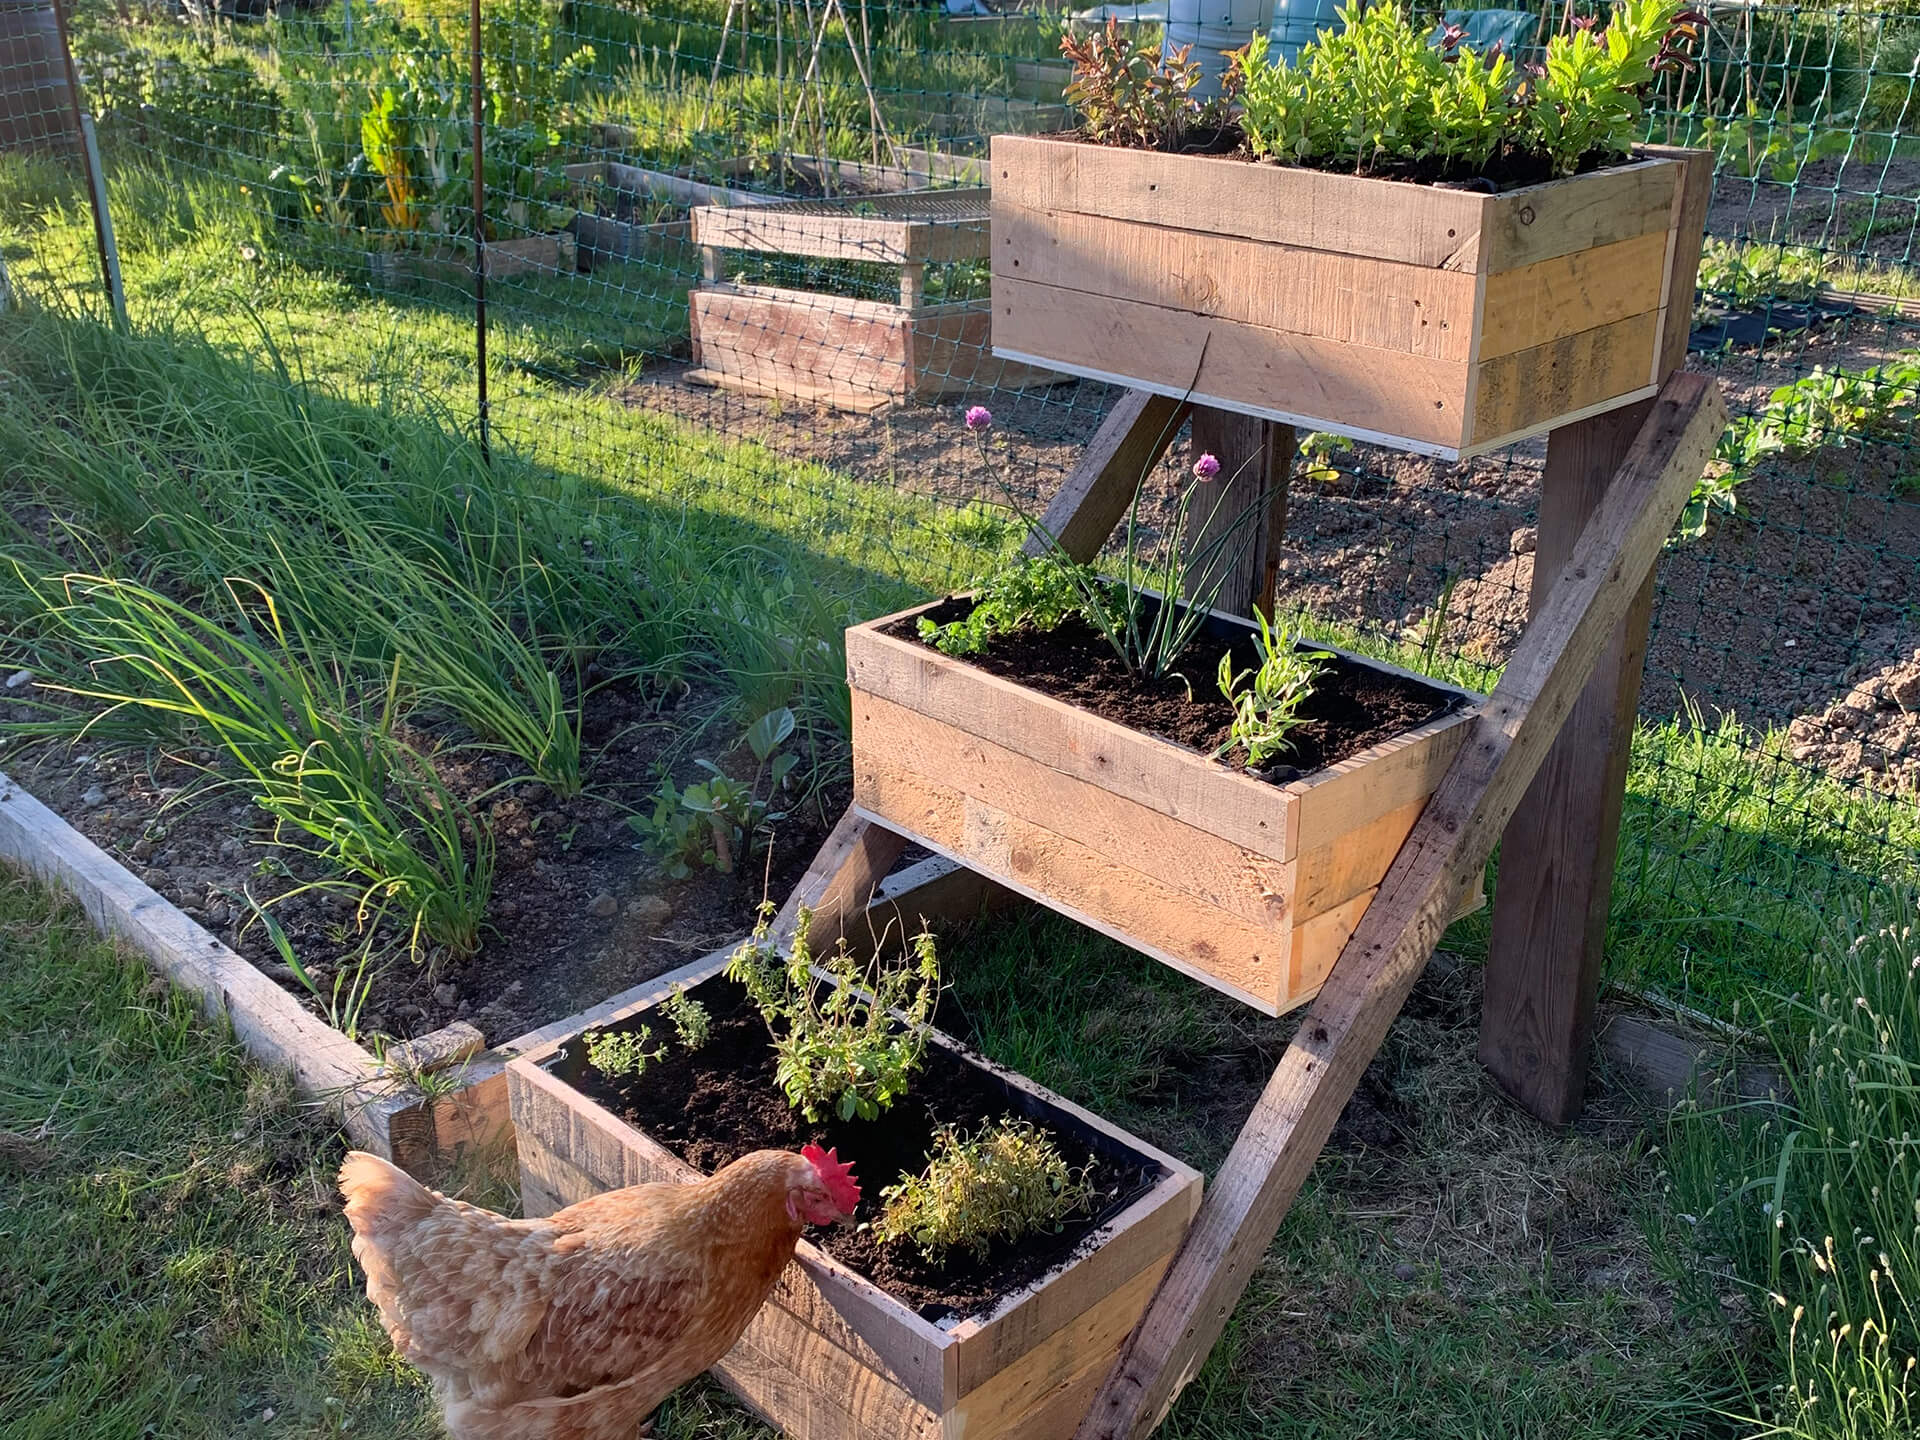
How to make a vertical herb planter
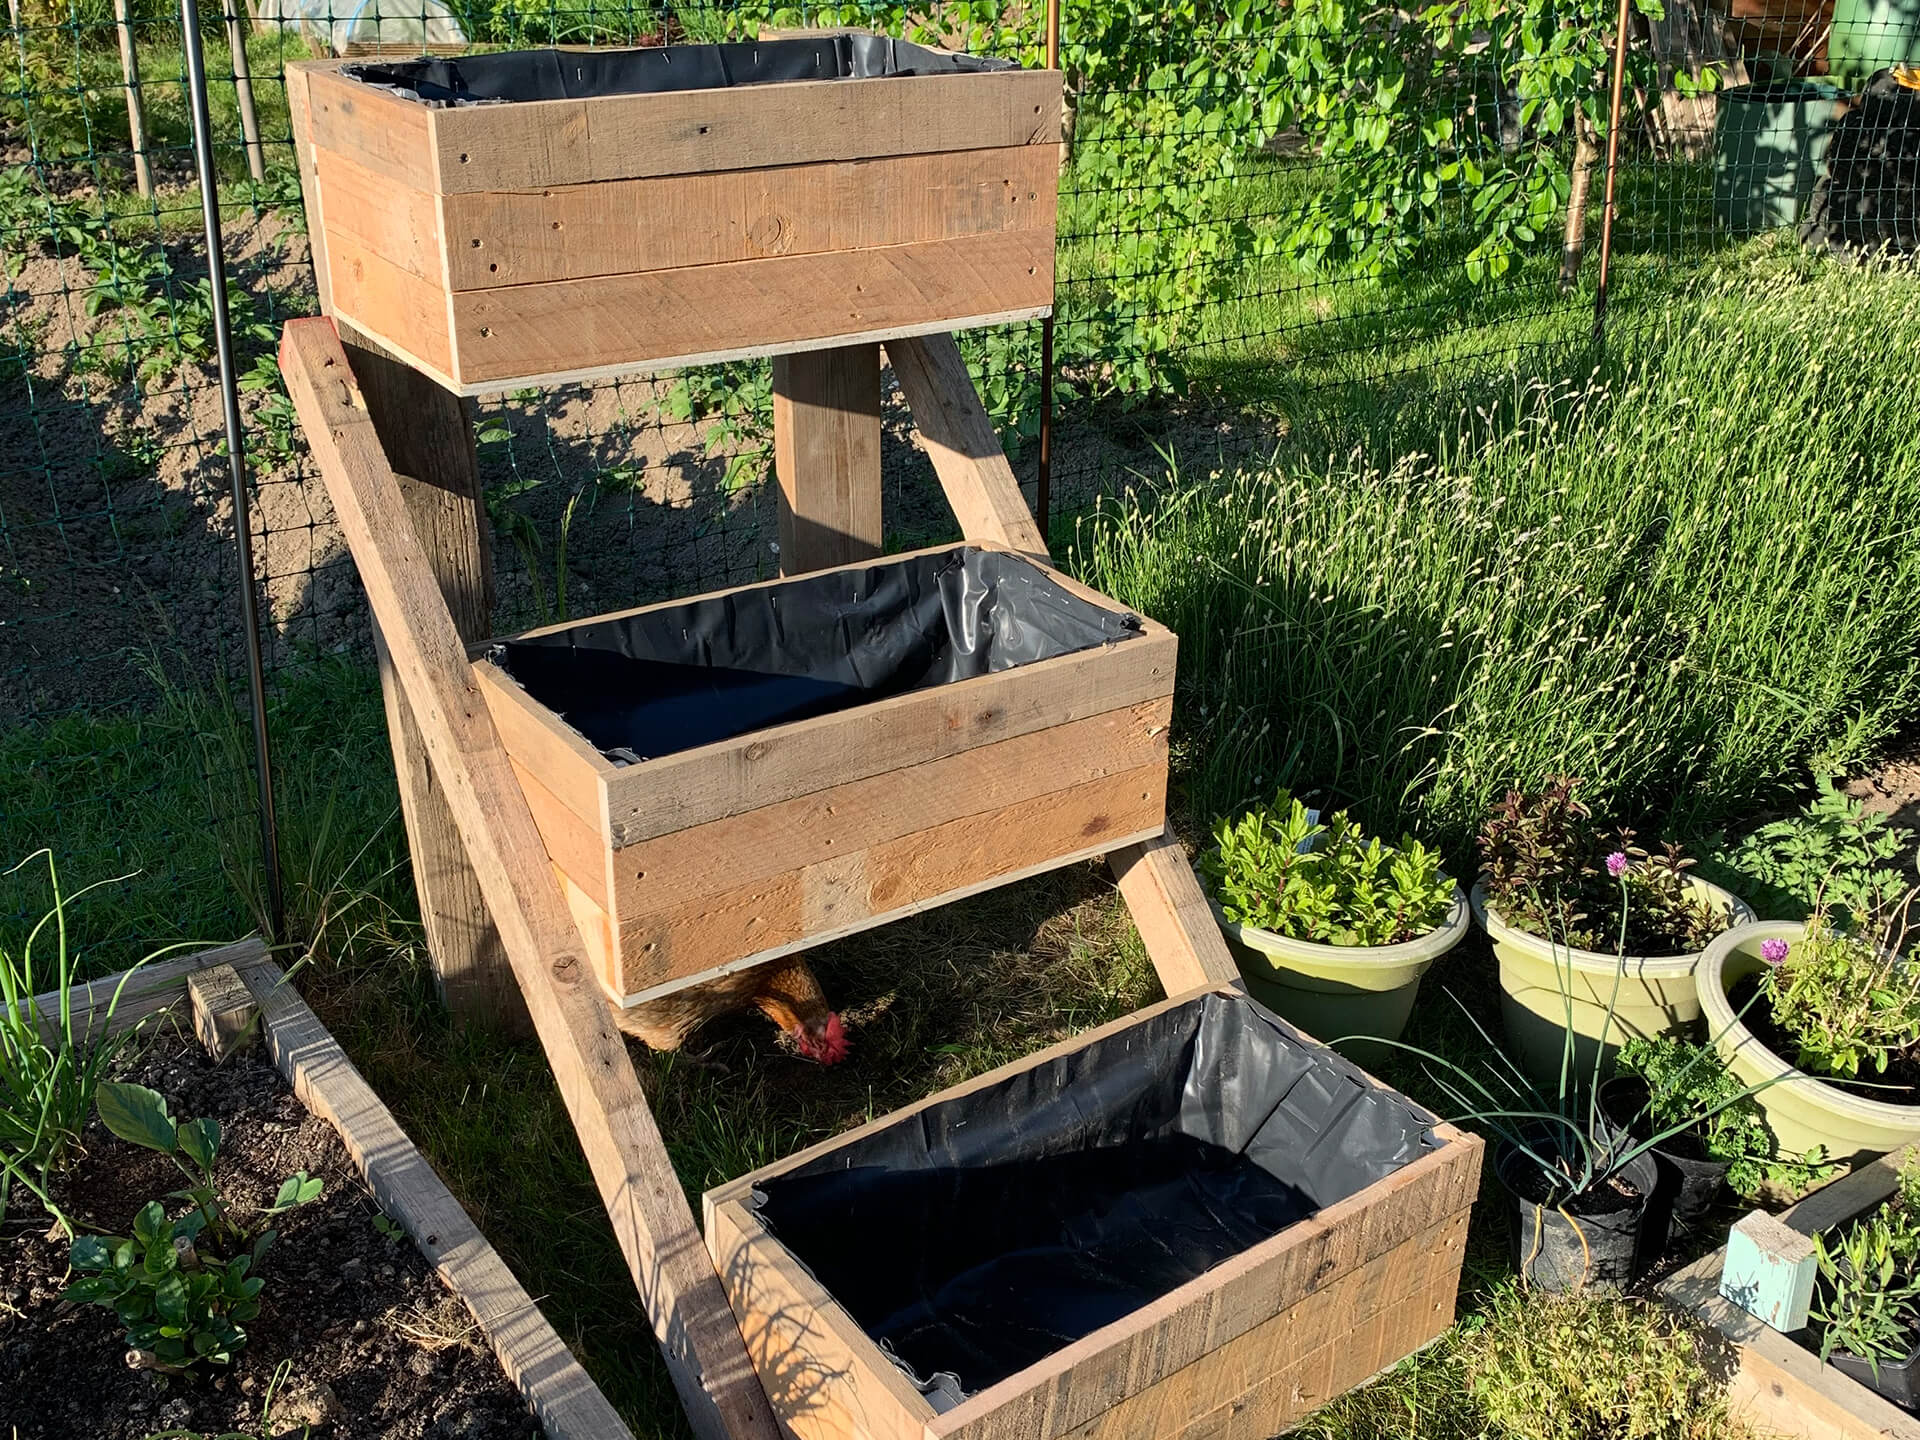
This project is perfect for anyone that wants to save space. By growing vertically on different tiers, you are increasing the amount of growing space and giving the plants maximum sunshine. I made mine from pallets which can all vary in size, so double check your dimensions before you begin and change accordingly. Likewise, this planter can be made narrower to fit even smaller spaces. The dimensions in this blog will give you a planter than needs a floor space of 110x70cm and is just over a meter tall.
What materials and tools you will need:
| Material | Tools |
|---|---|
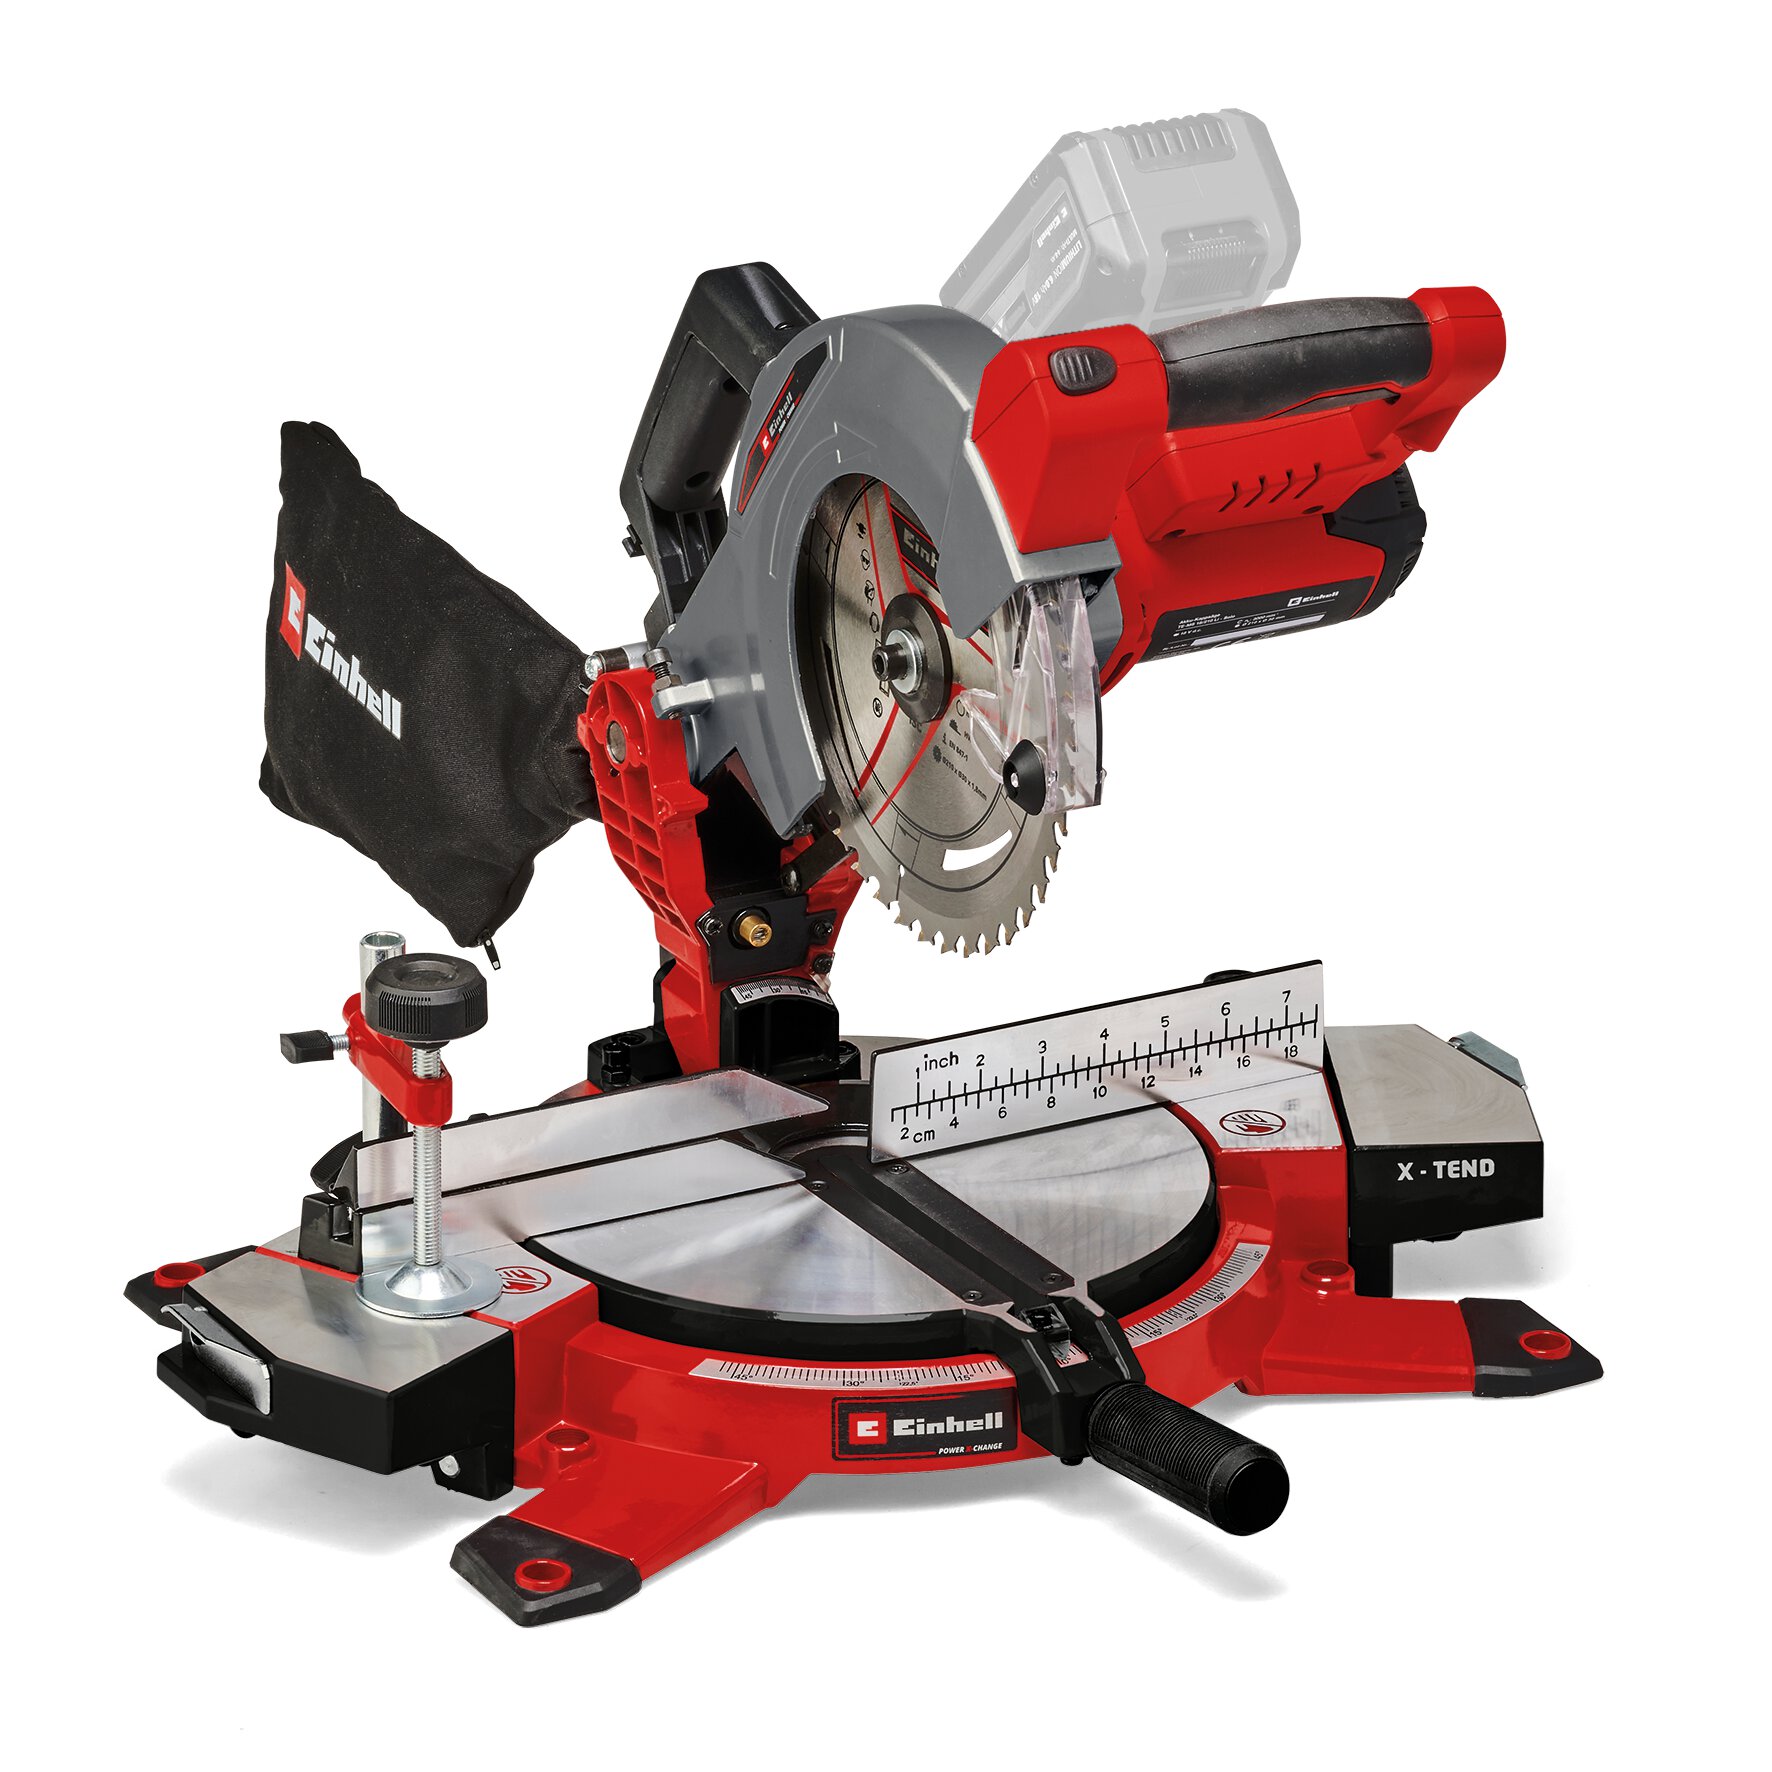
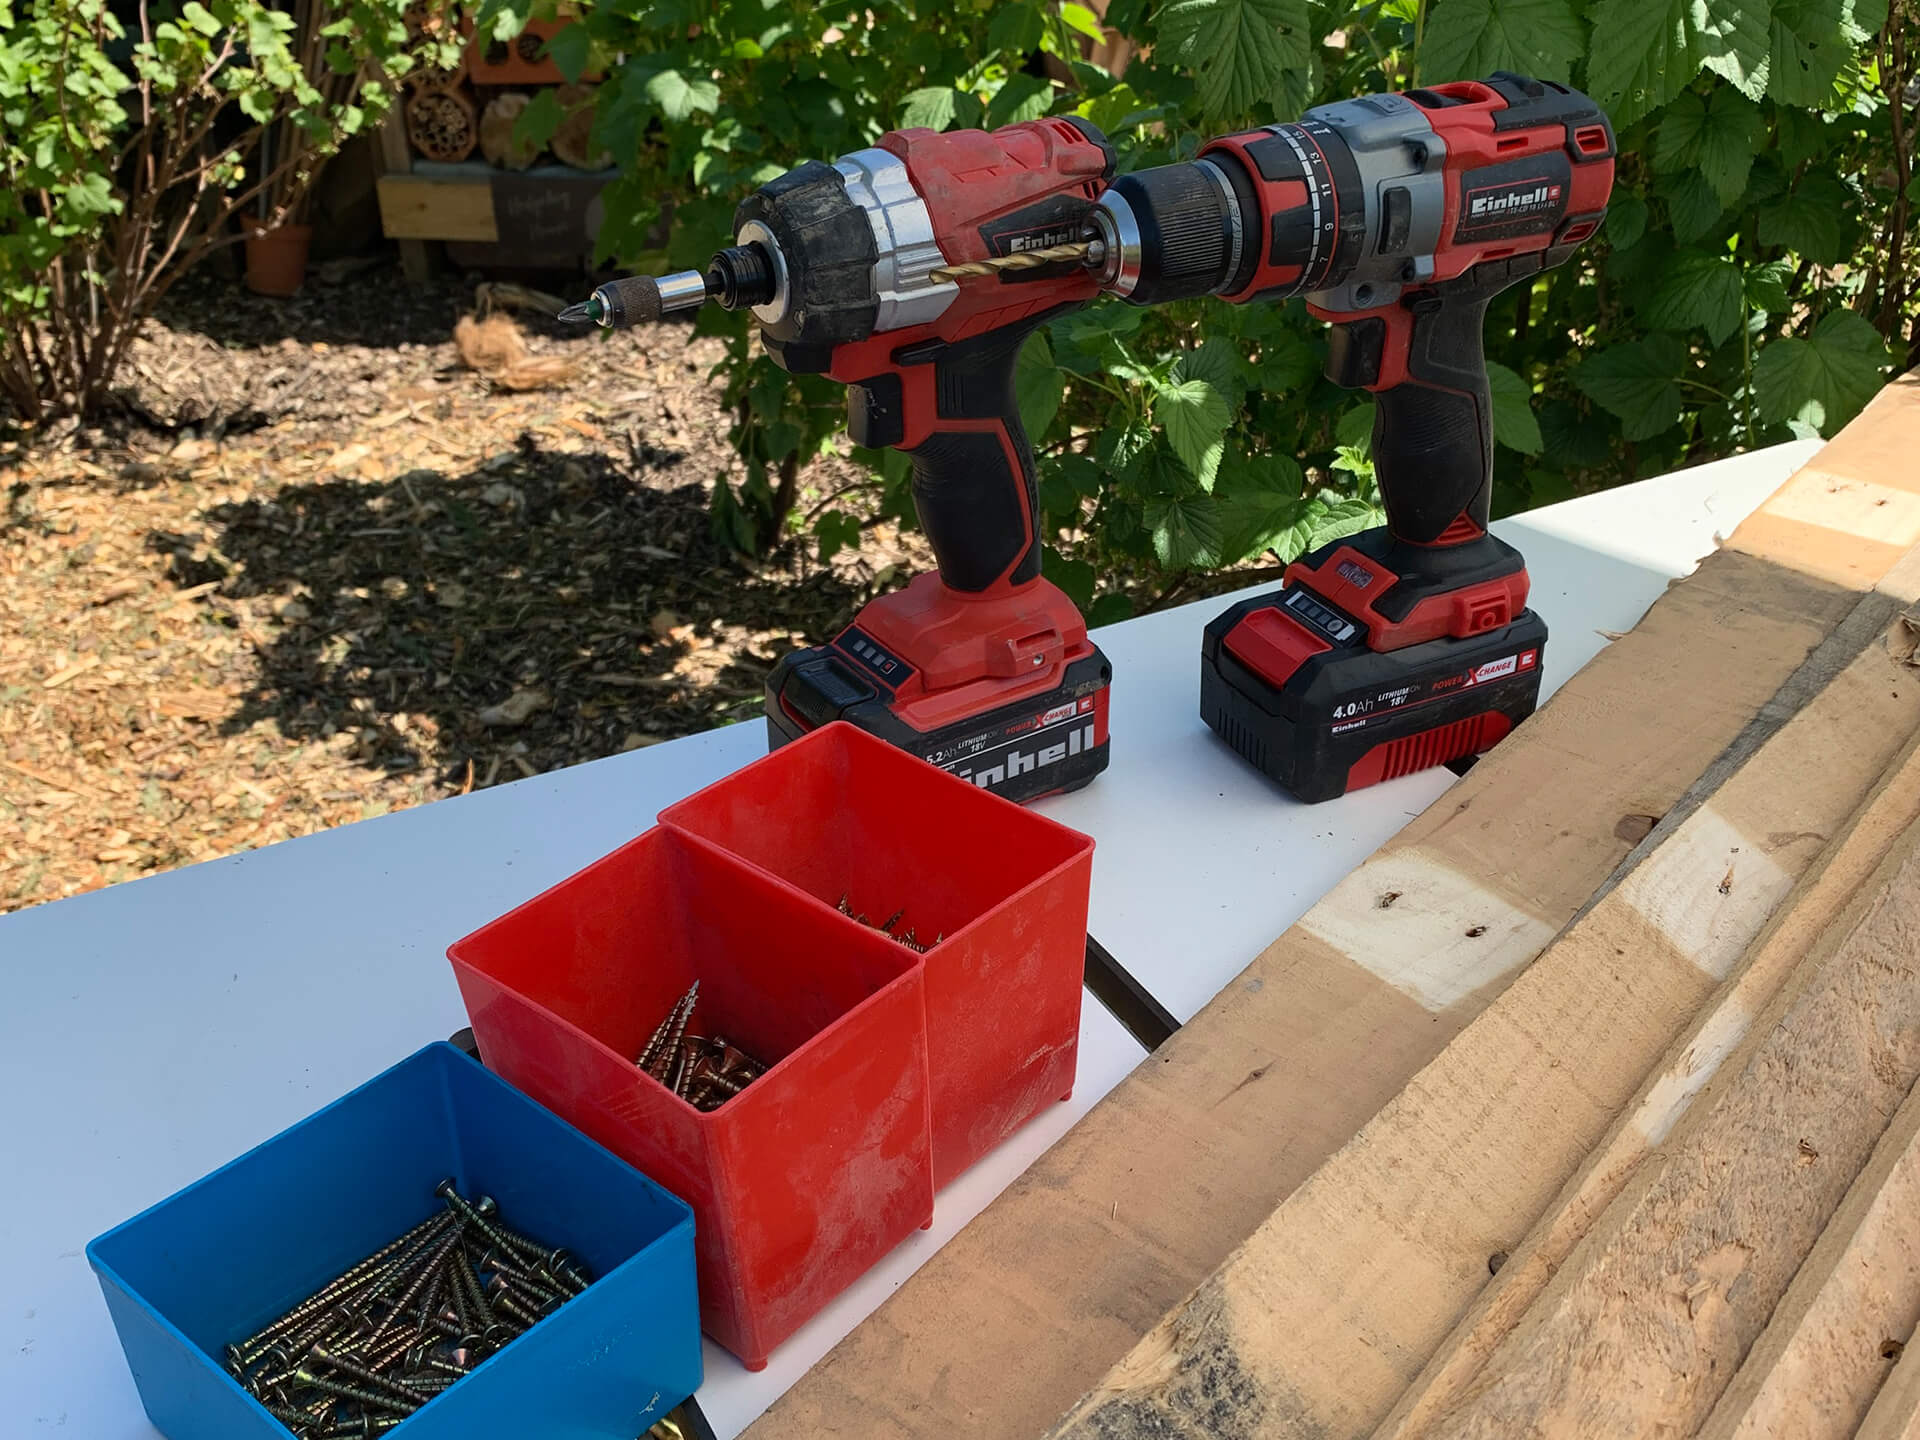
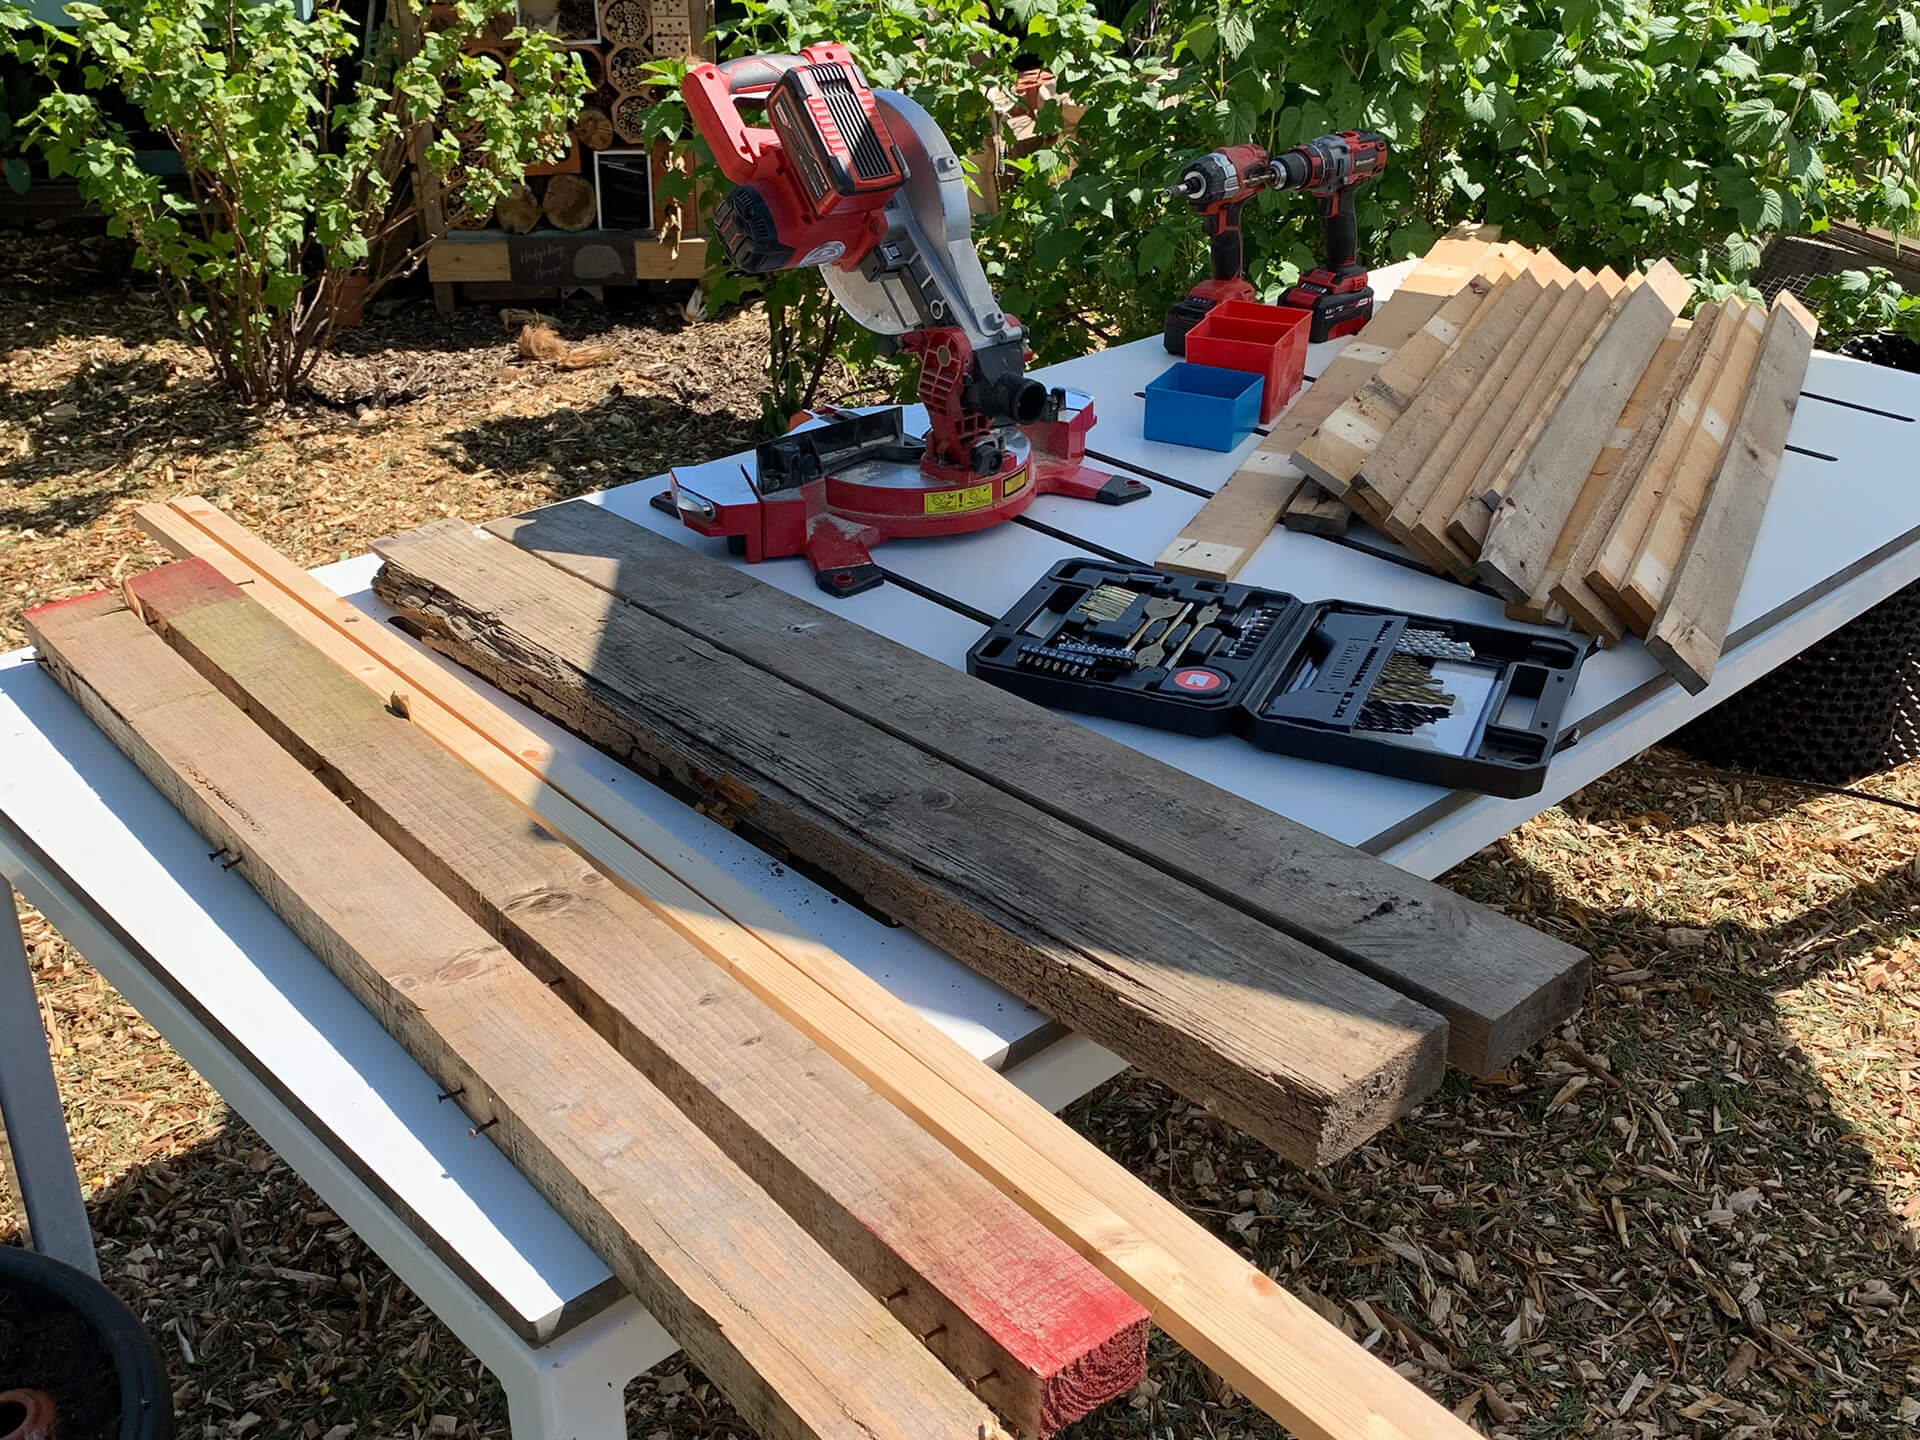
| 2 x Pallets | Power X-Change Cordless Mitre Saw – 4300890 |
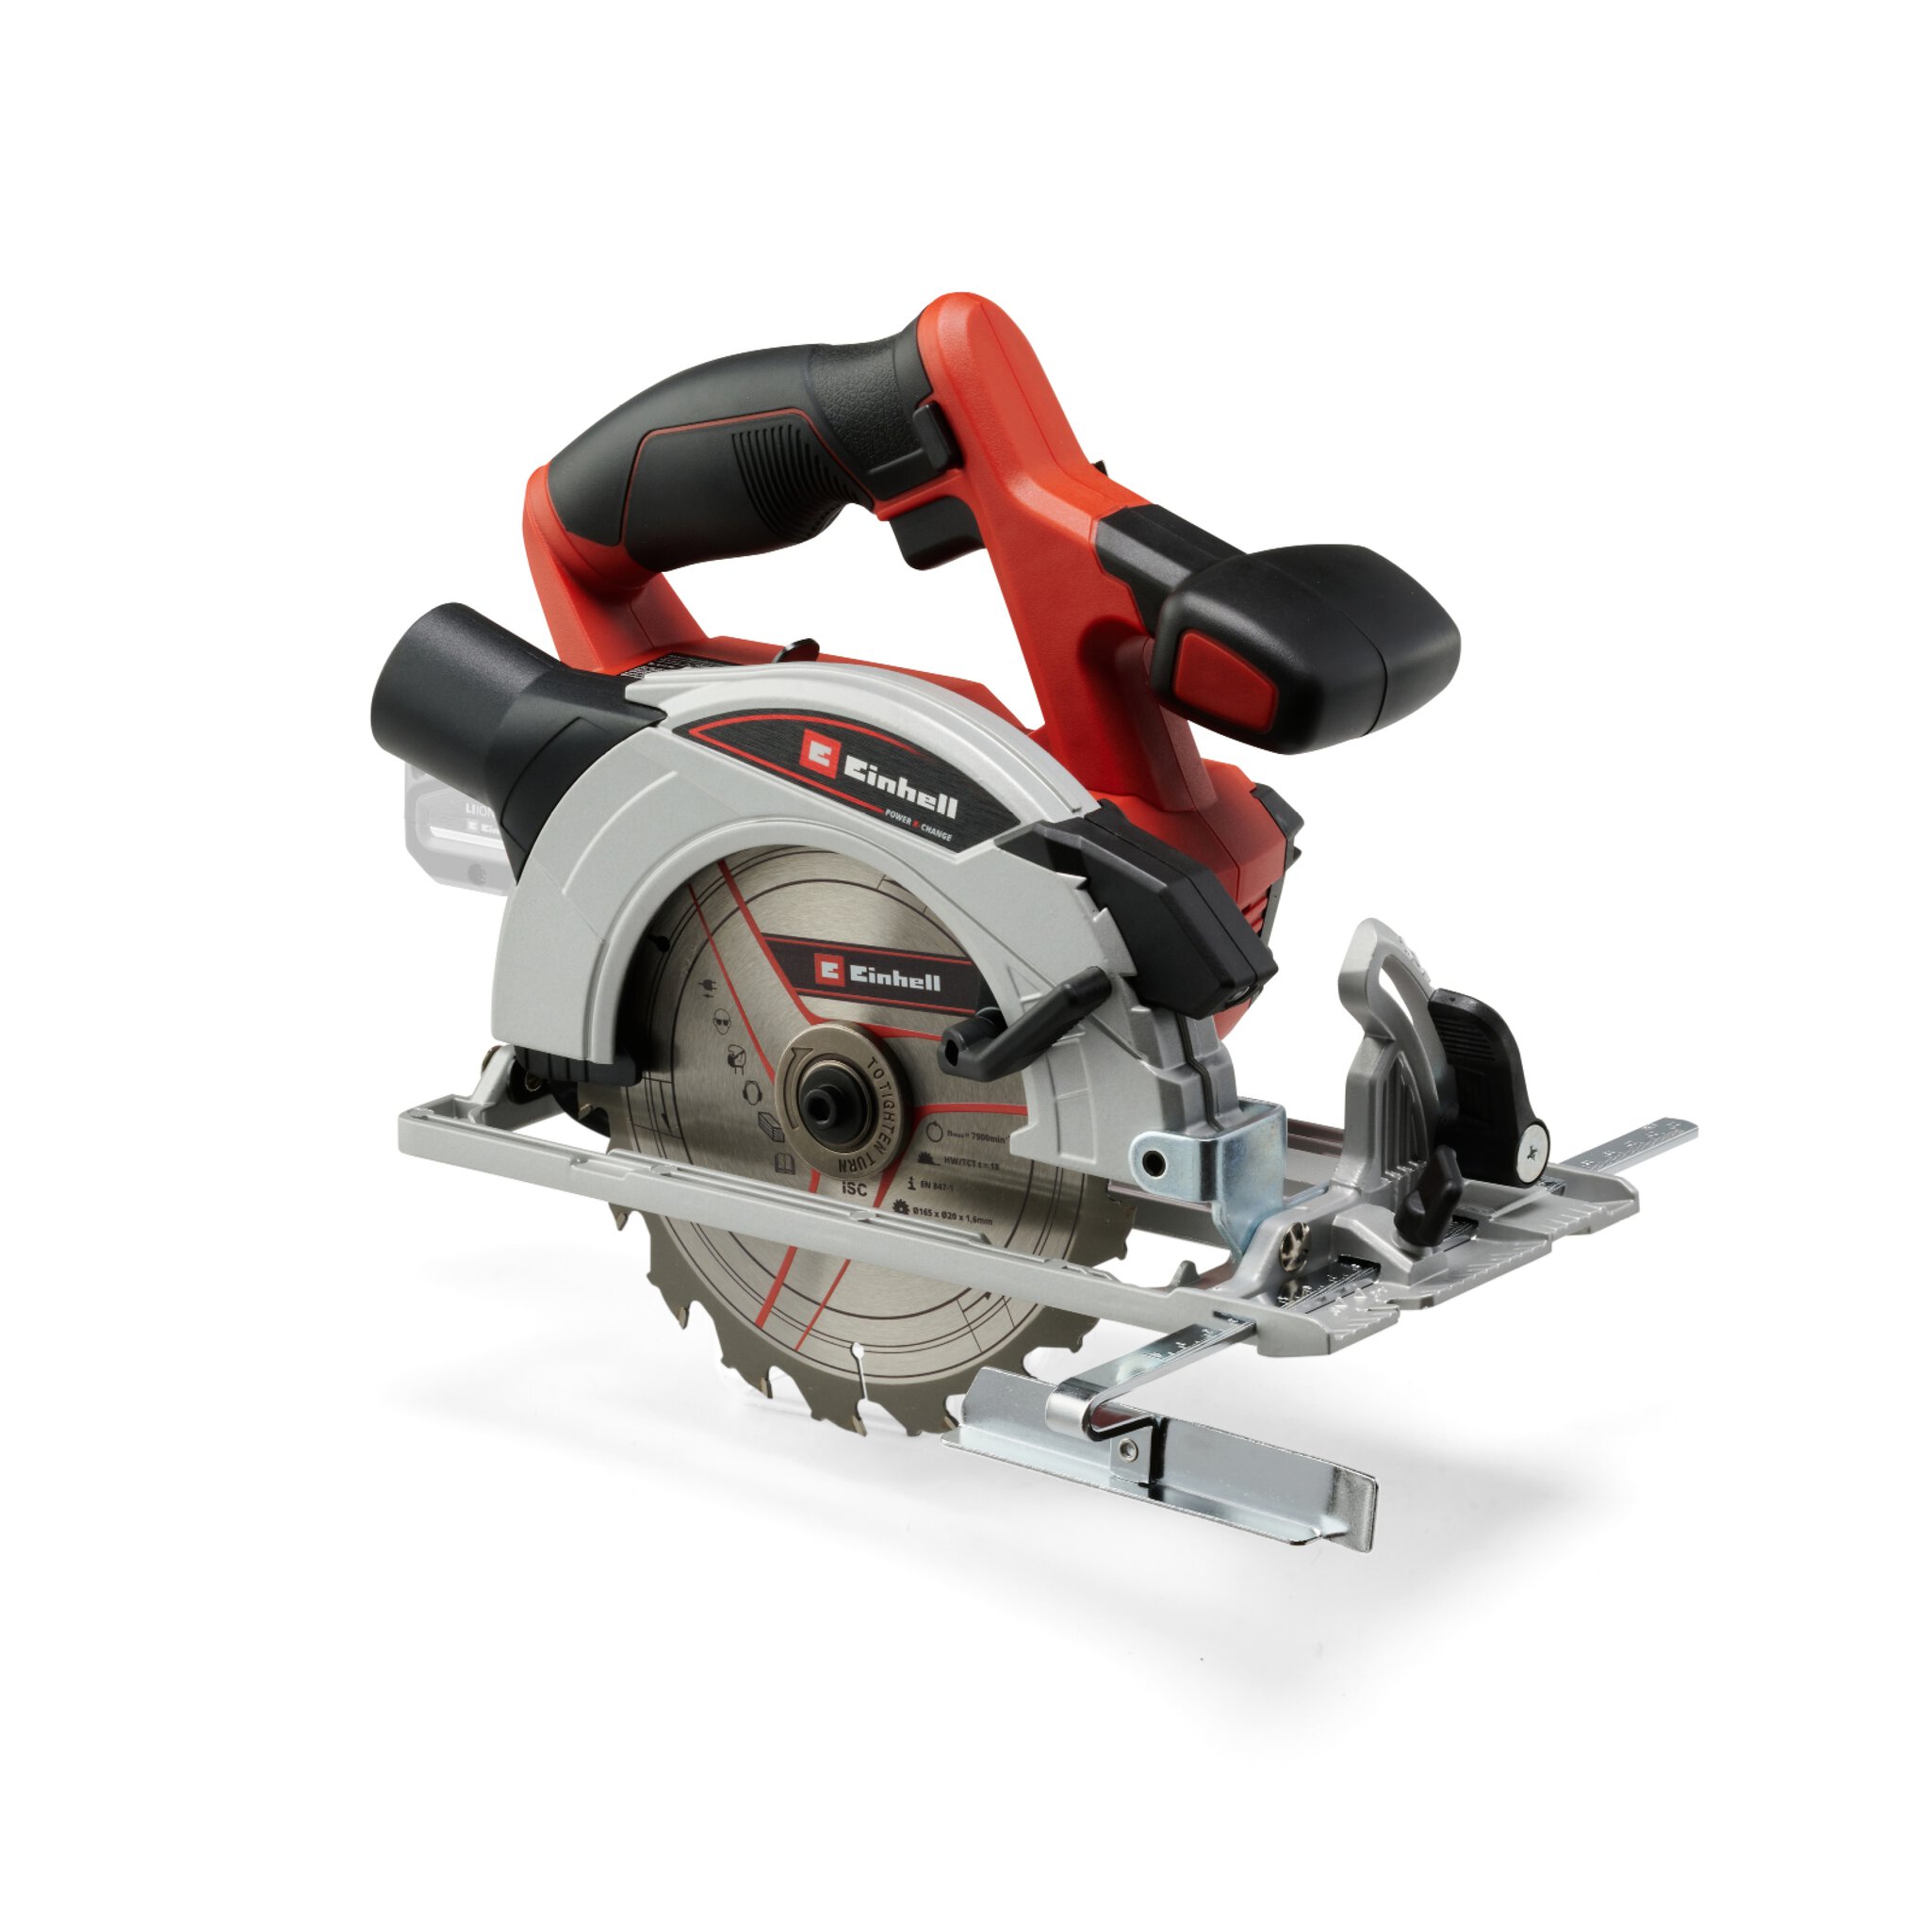
| 4 lengths of chunky timber at 1.2m long | Power X-Change cordless Circular Saw – 4331204 |
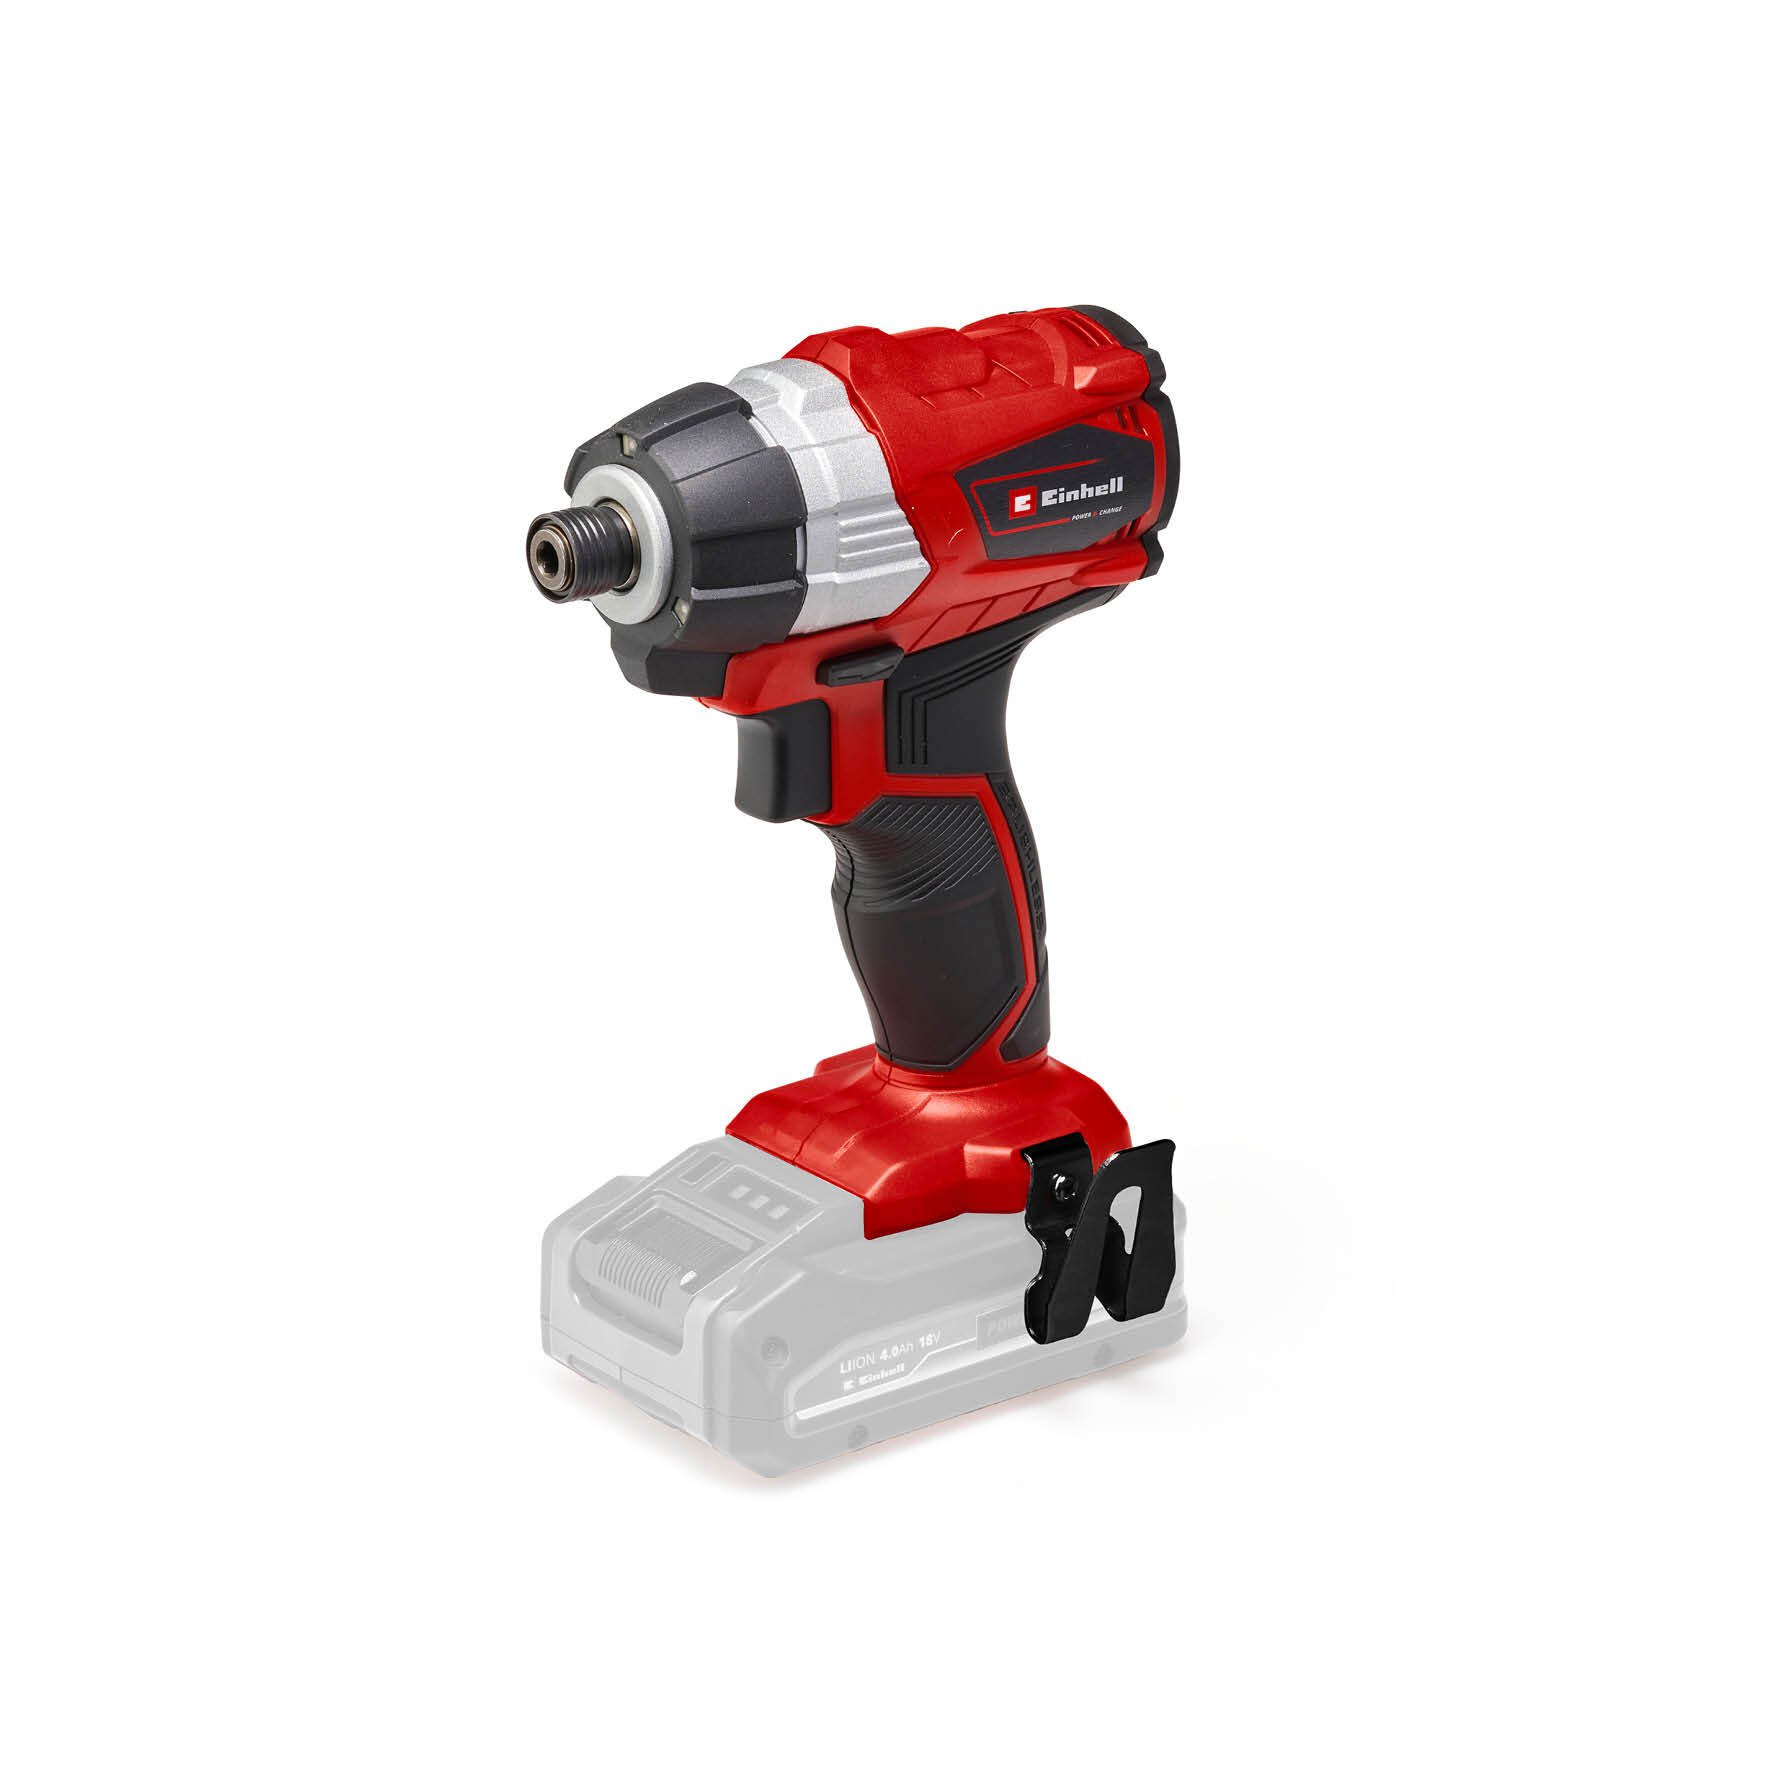
| 2.4m of baton (18x28mm) | Power X-Change Cordless Impact driver – 4510030 |
| 3 x 60x33cm of 12mm plywood or similar | Drill |
| Thick plastic sheeting to line the boxes | Tape measure |
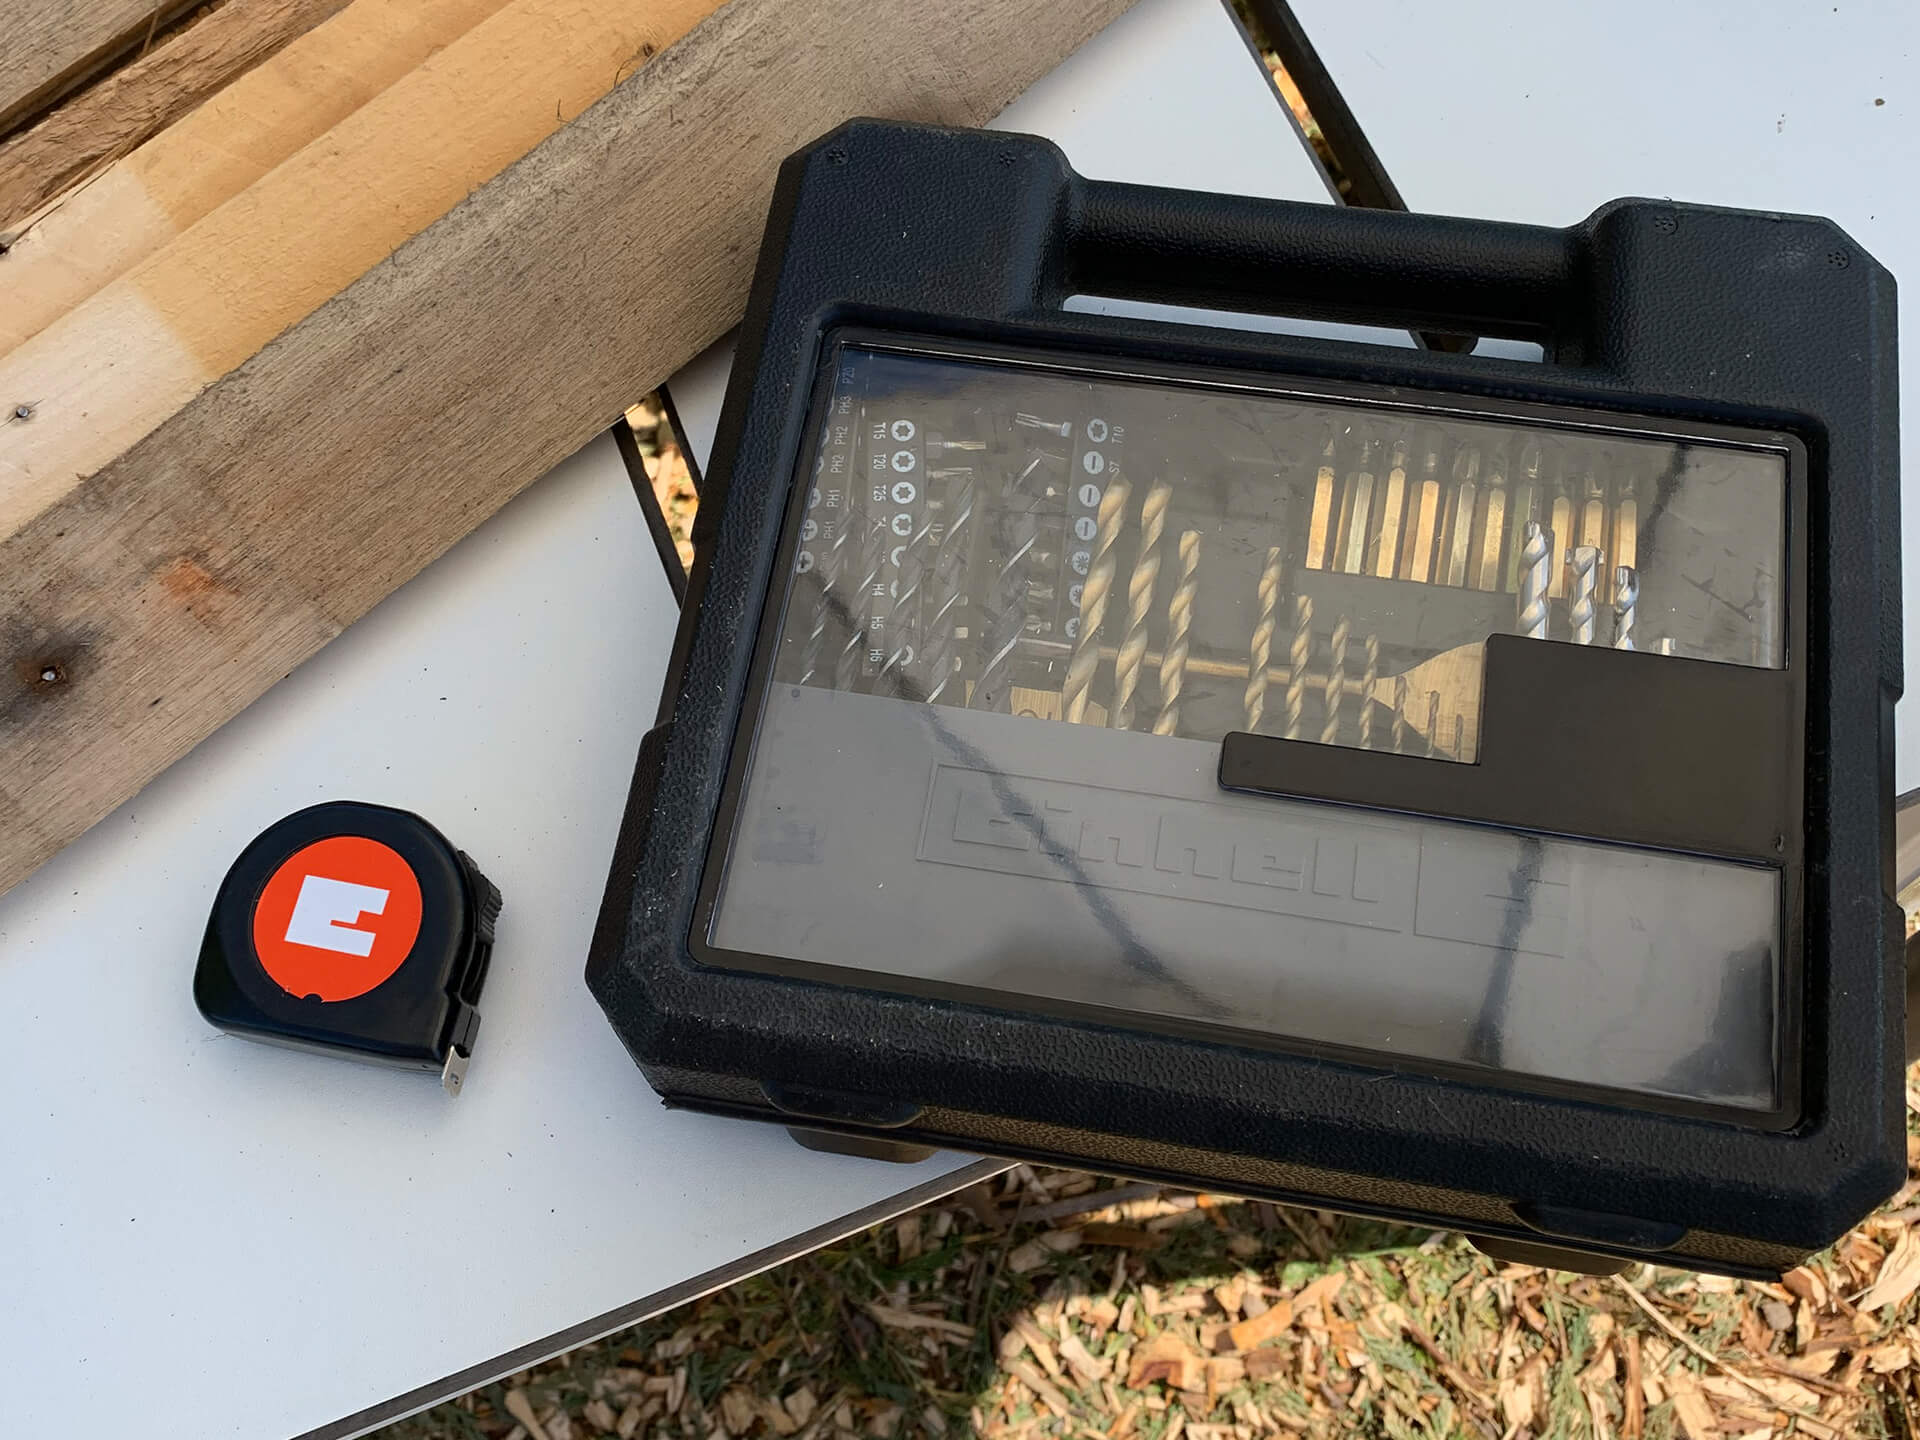
| Various screws depending on thickness of wood | 5mm drill bit |
| One bag of gravel | Scissors |
| Multipurpose compost | Stapler |
| Plants of your choice | G Clamp |
| Level | |
| Pencil | |
| Hammer/Crow bar to take apart pallets |
Step One:
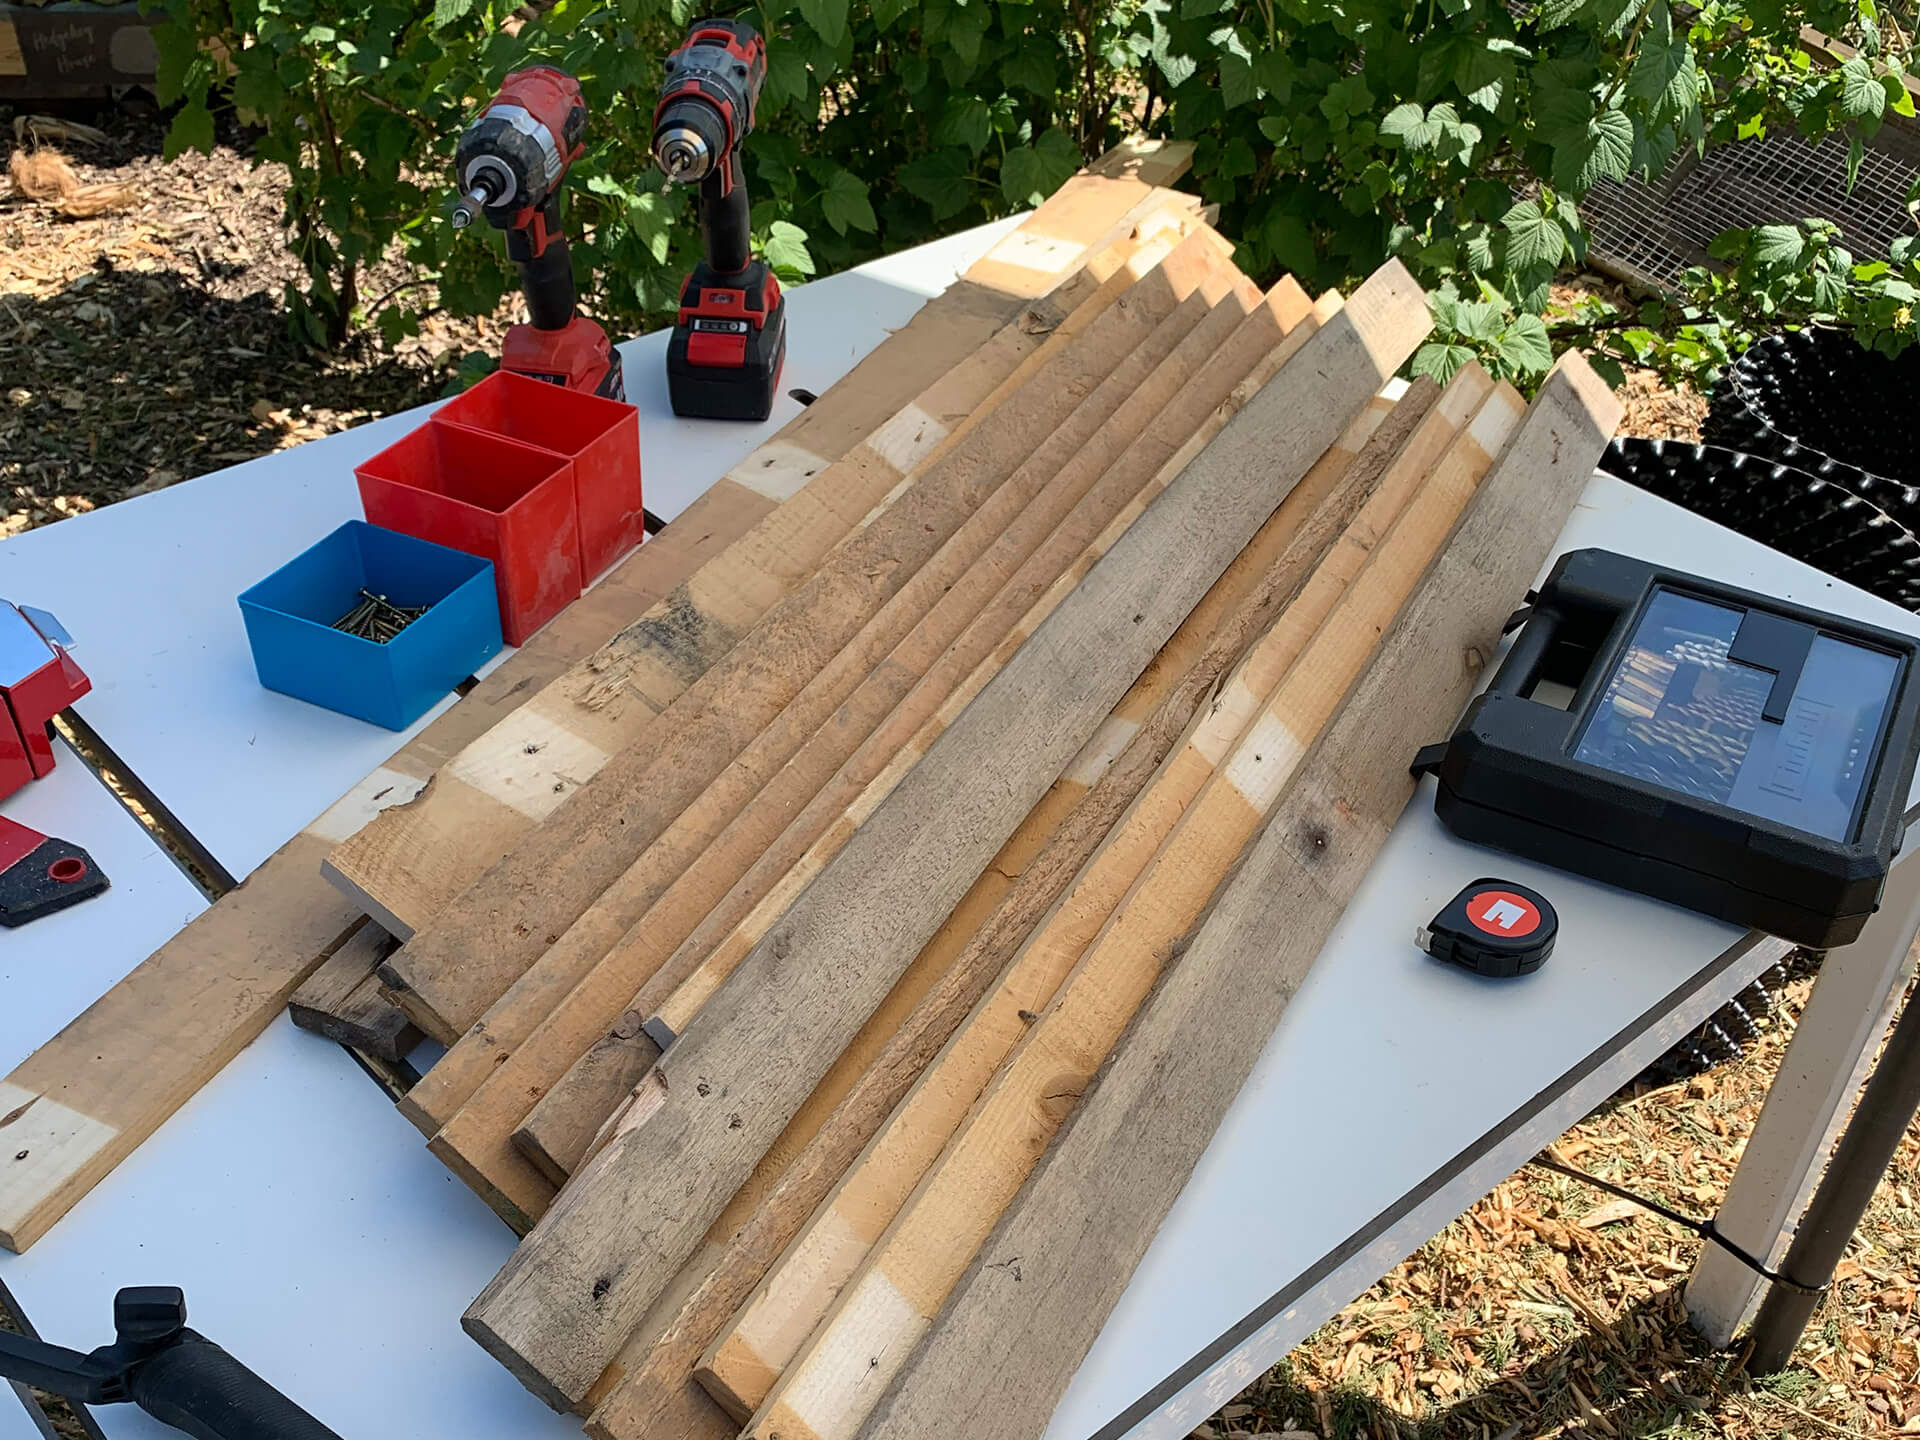
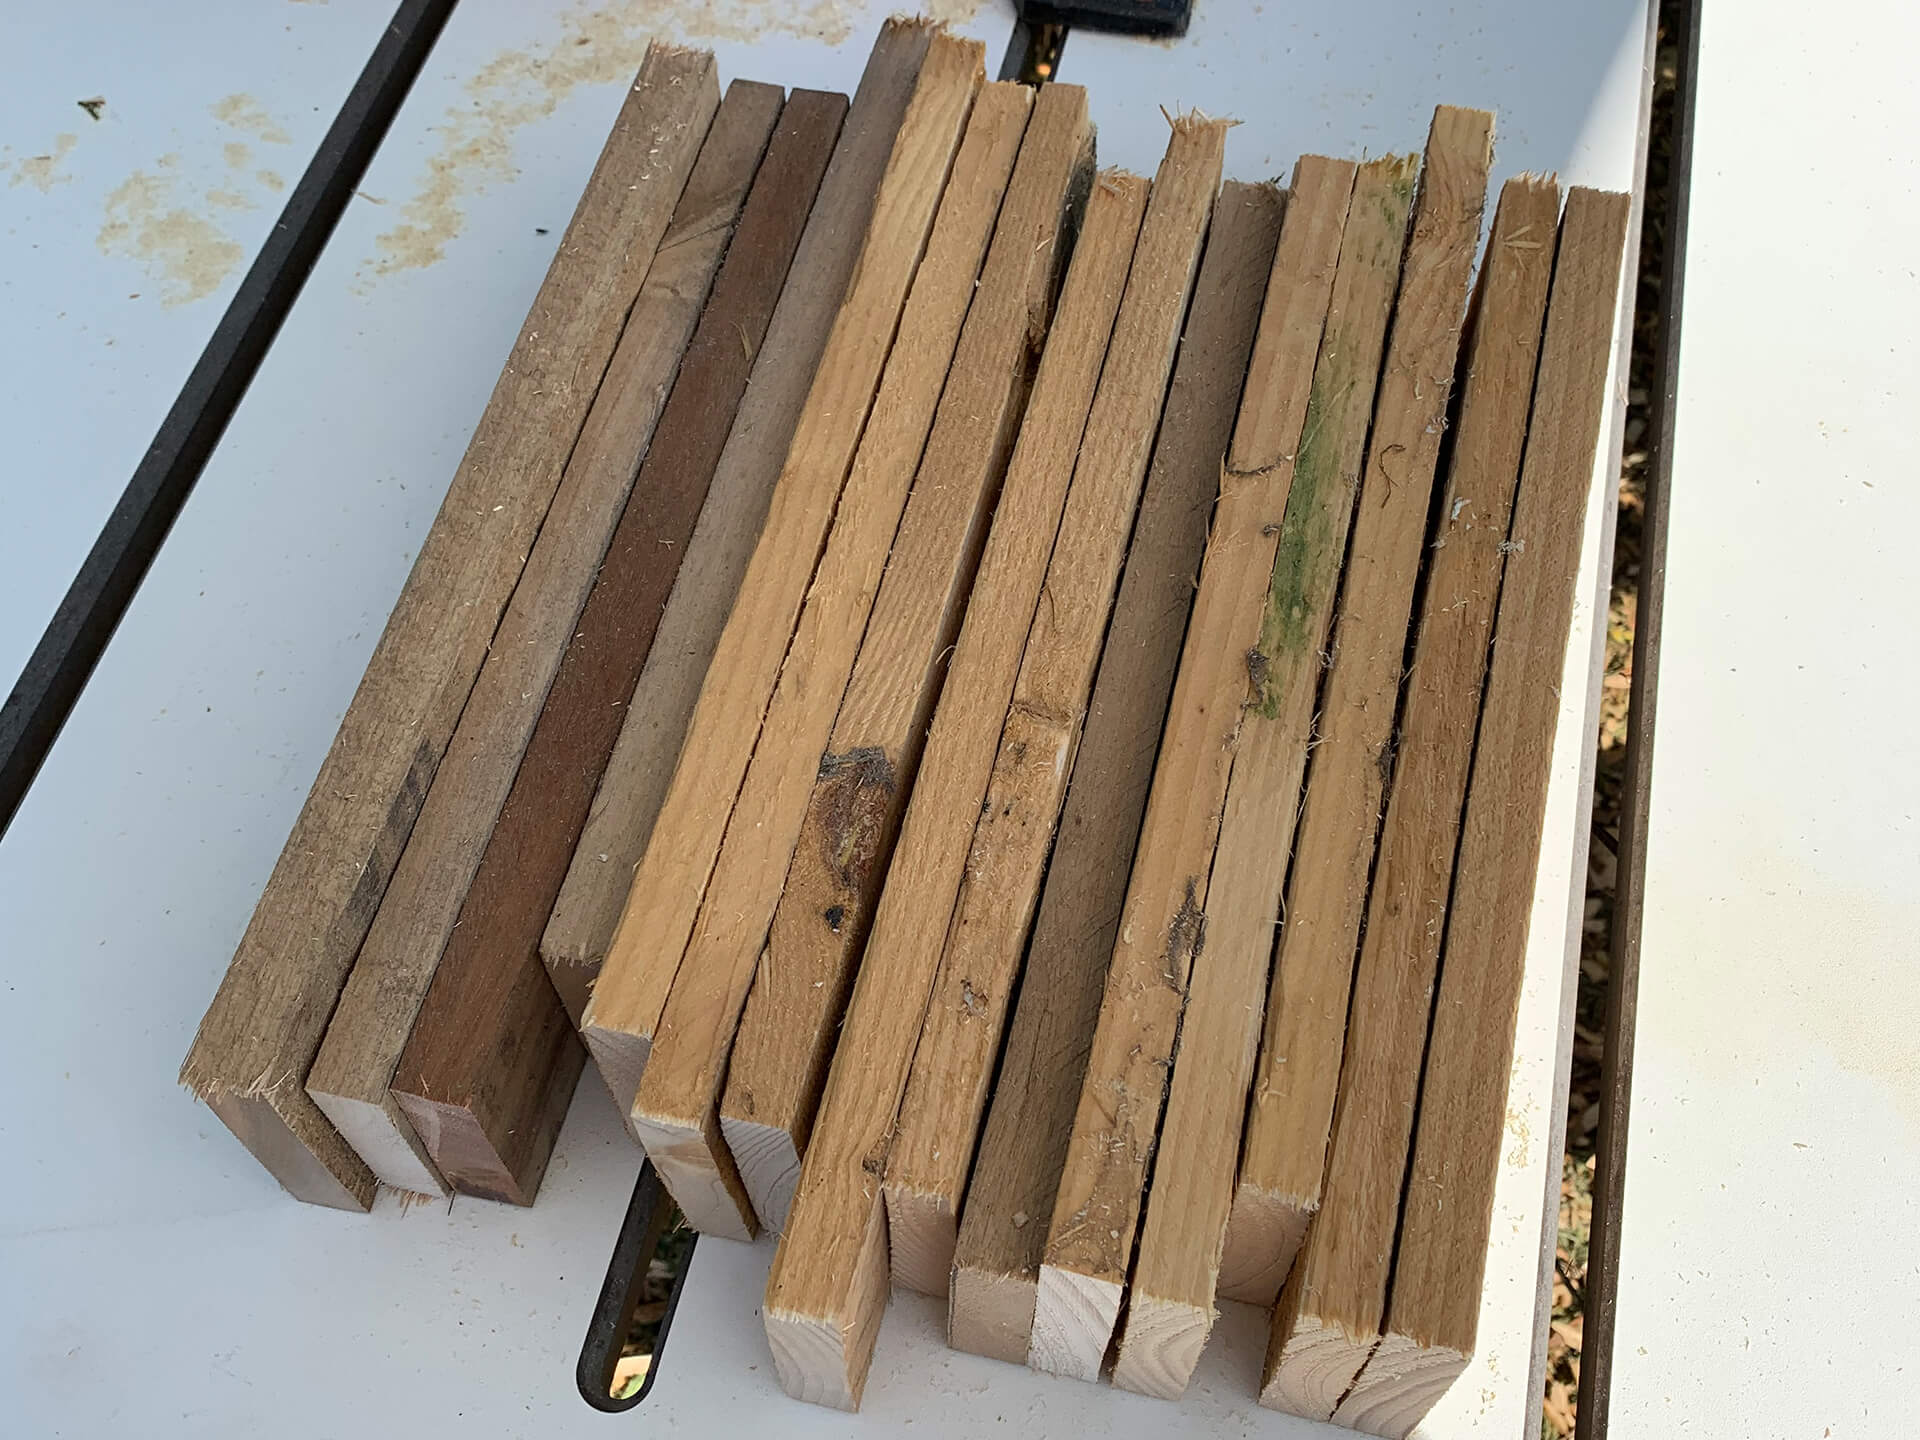
Begin by deconstructing your pallets, in total I needed 18 lengths. This will be used to create your three boxes for planting in. From one length you should be able to cut a 30cm piece and a 60cm piece. First square up one end of the wood with your mitre saw and then cut your 30 and 60cm sections. Repeat until you have 18 of each.
Step Two:
As all pallets vary in size, take three of your 30cm lengths and lay them flat next to each other. Measure the depth that the three slats make and cut 12 pieces from the baton at that length. Mine measured 21cm but I reduced mine to 20cm so the baton would be below the top of the planter.
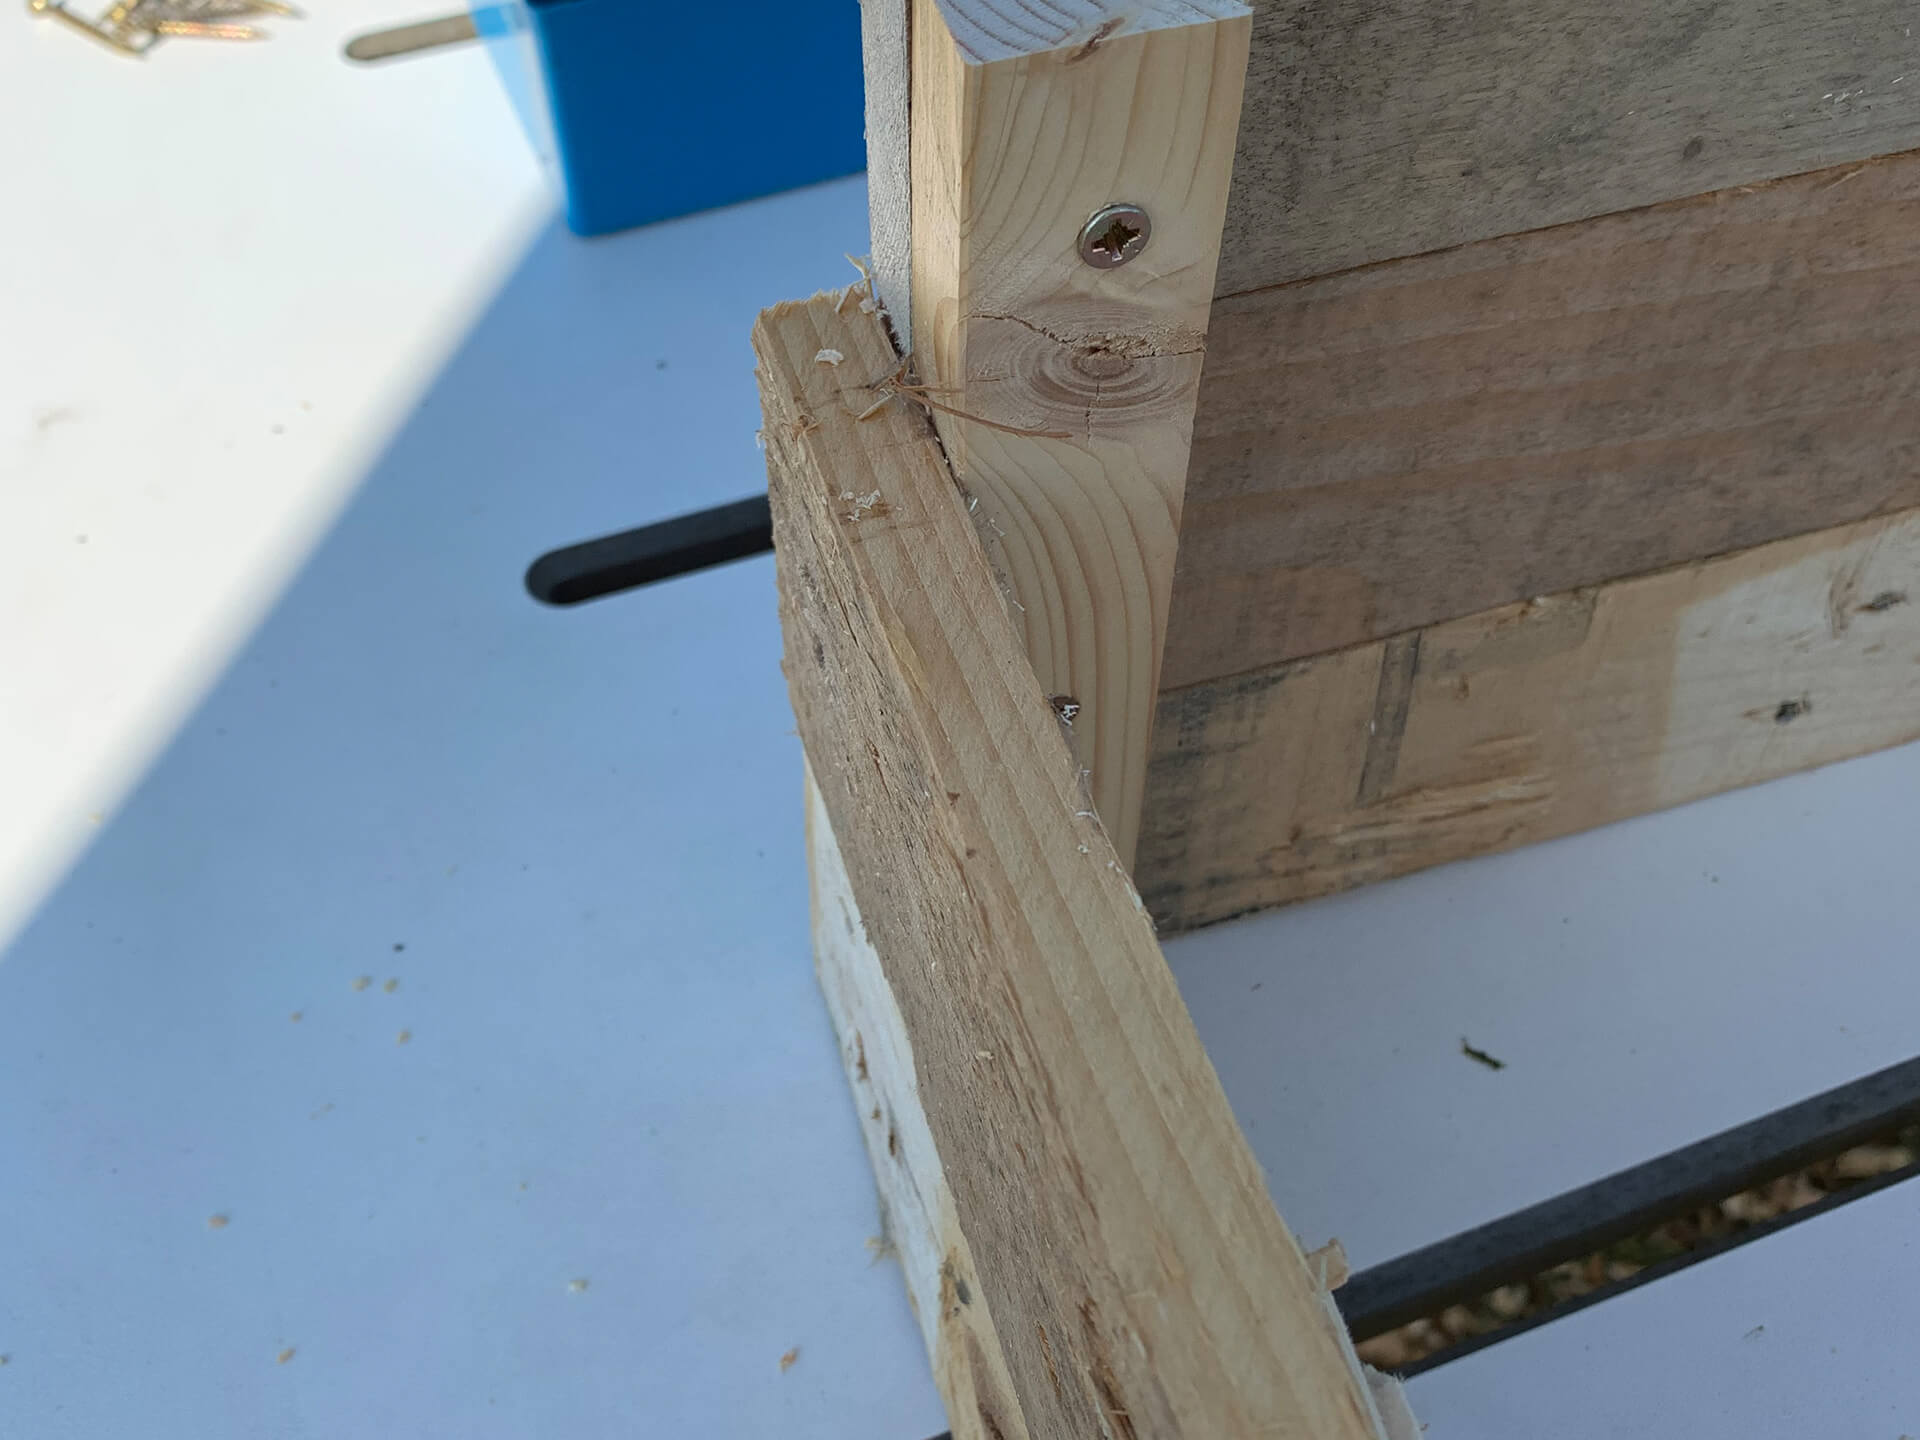
Step Three:
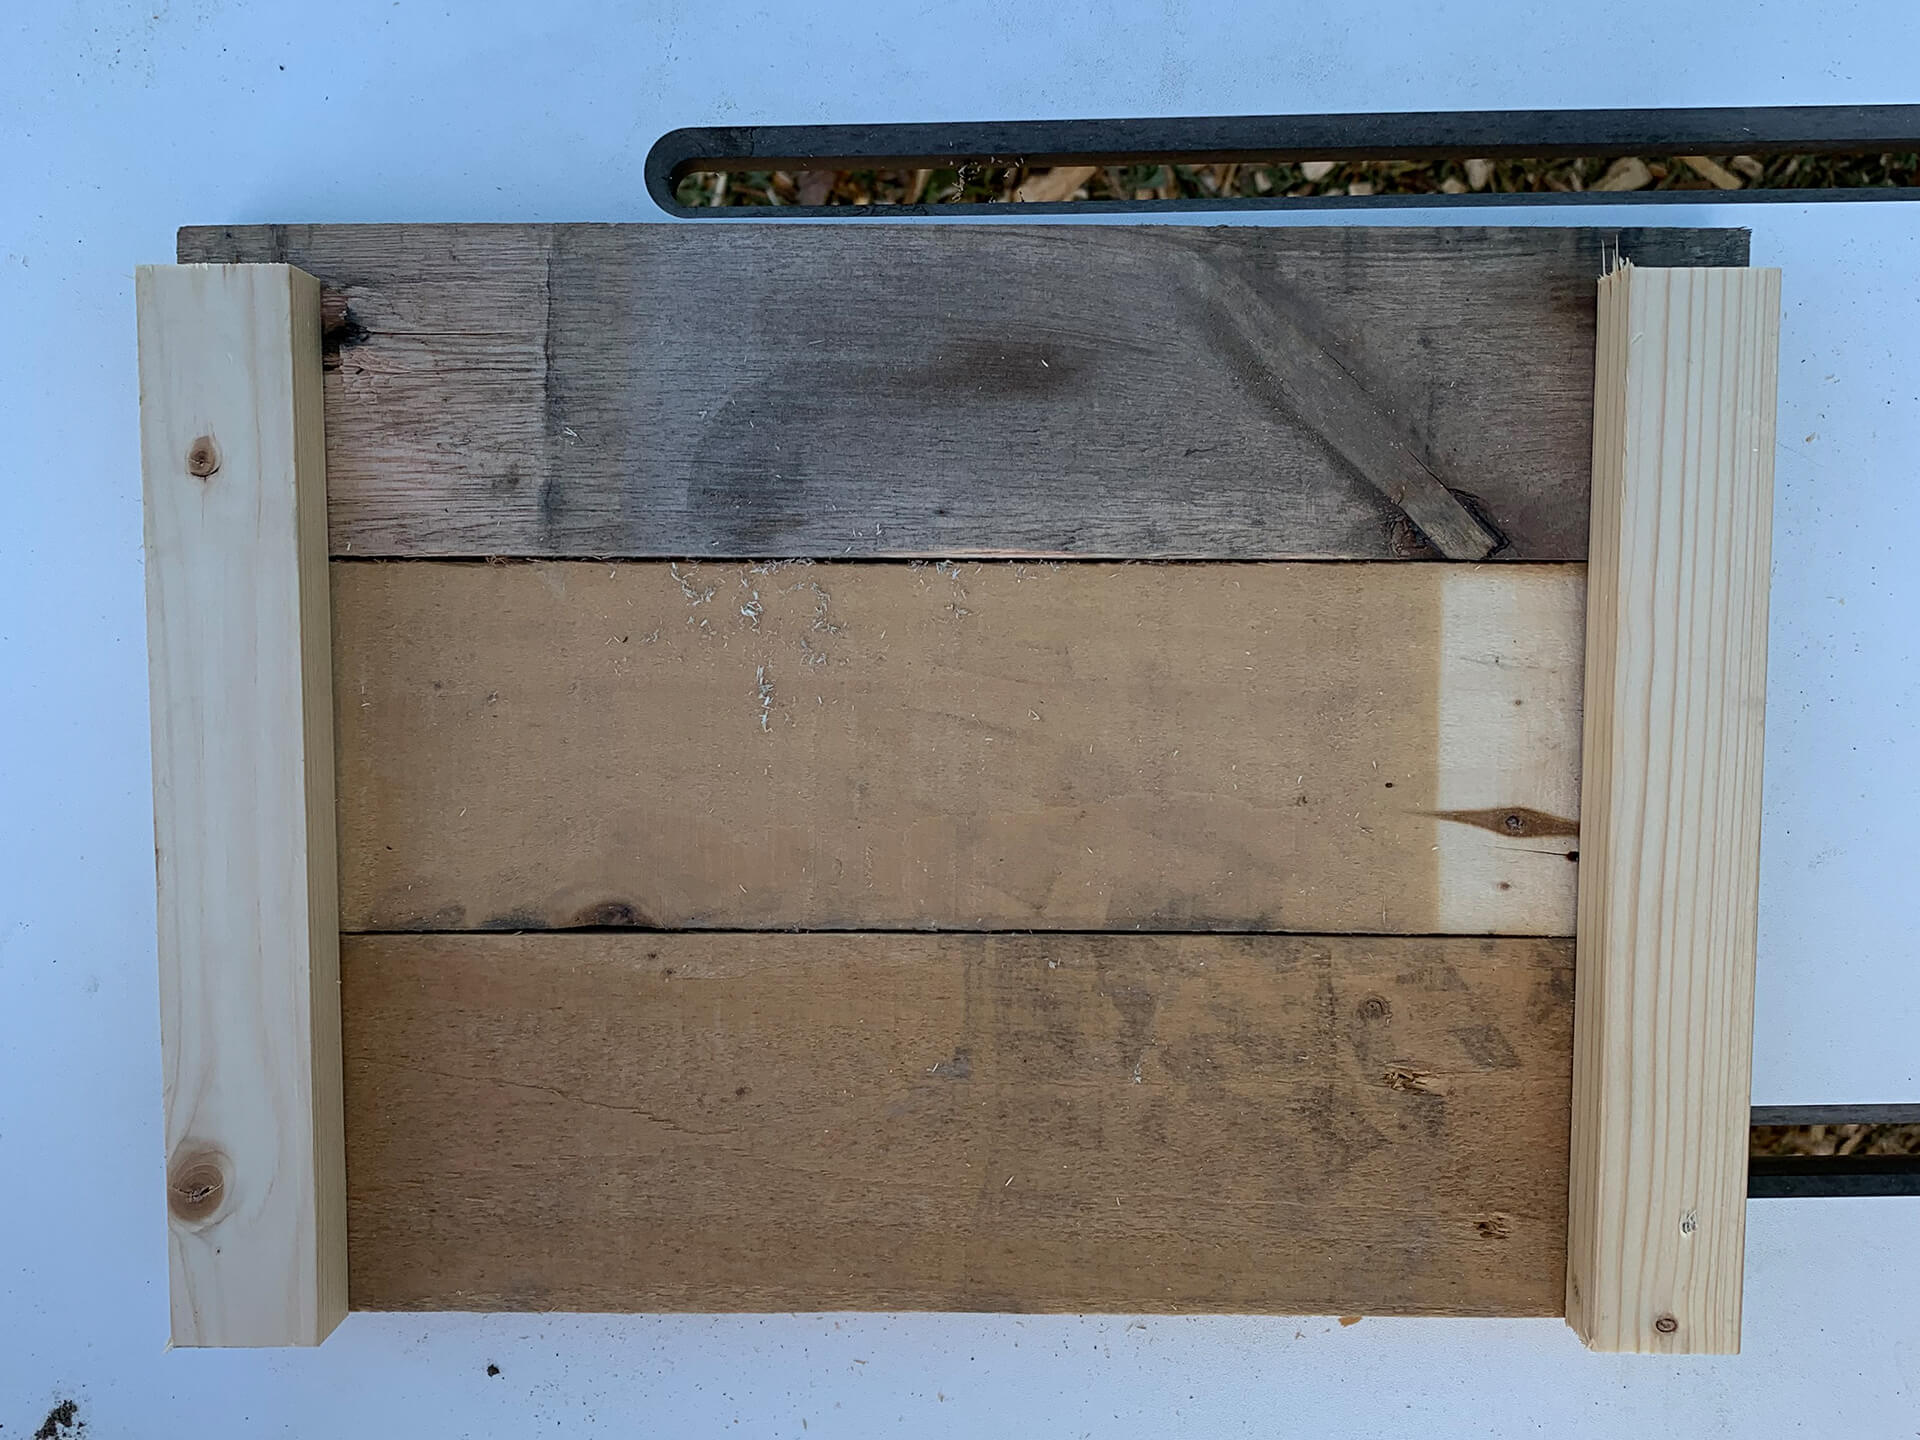
Now its time to start constructing your planters. Take the three 30cm lengths you just had and place one of the batons along the left side. Level these so the edge of the pallets is butt up together and meet the edge of the baton. Take your 5mm drill bit and make a pilot hole in the baton, one screw in each slat will be sufficient. Use a suitable screw length to fix the two together with your impact driver. Repeat this on the right side. Now your three lengths of pallets are secured together.
Step Four:
Repeat step three until you have made 6 individual sides.
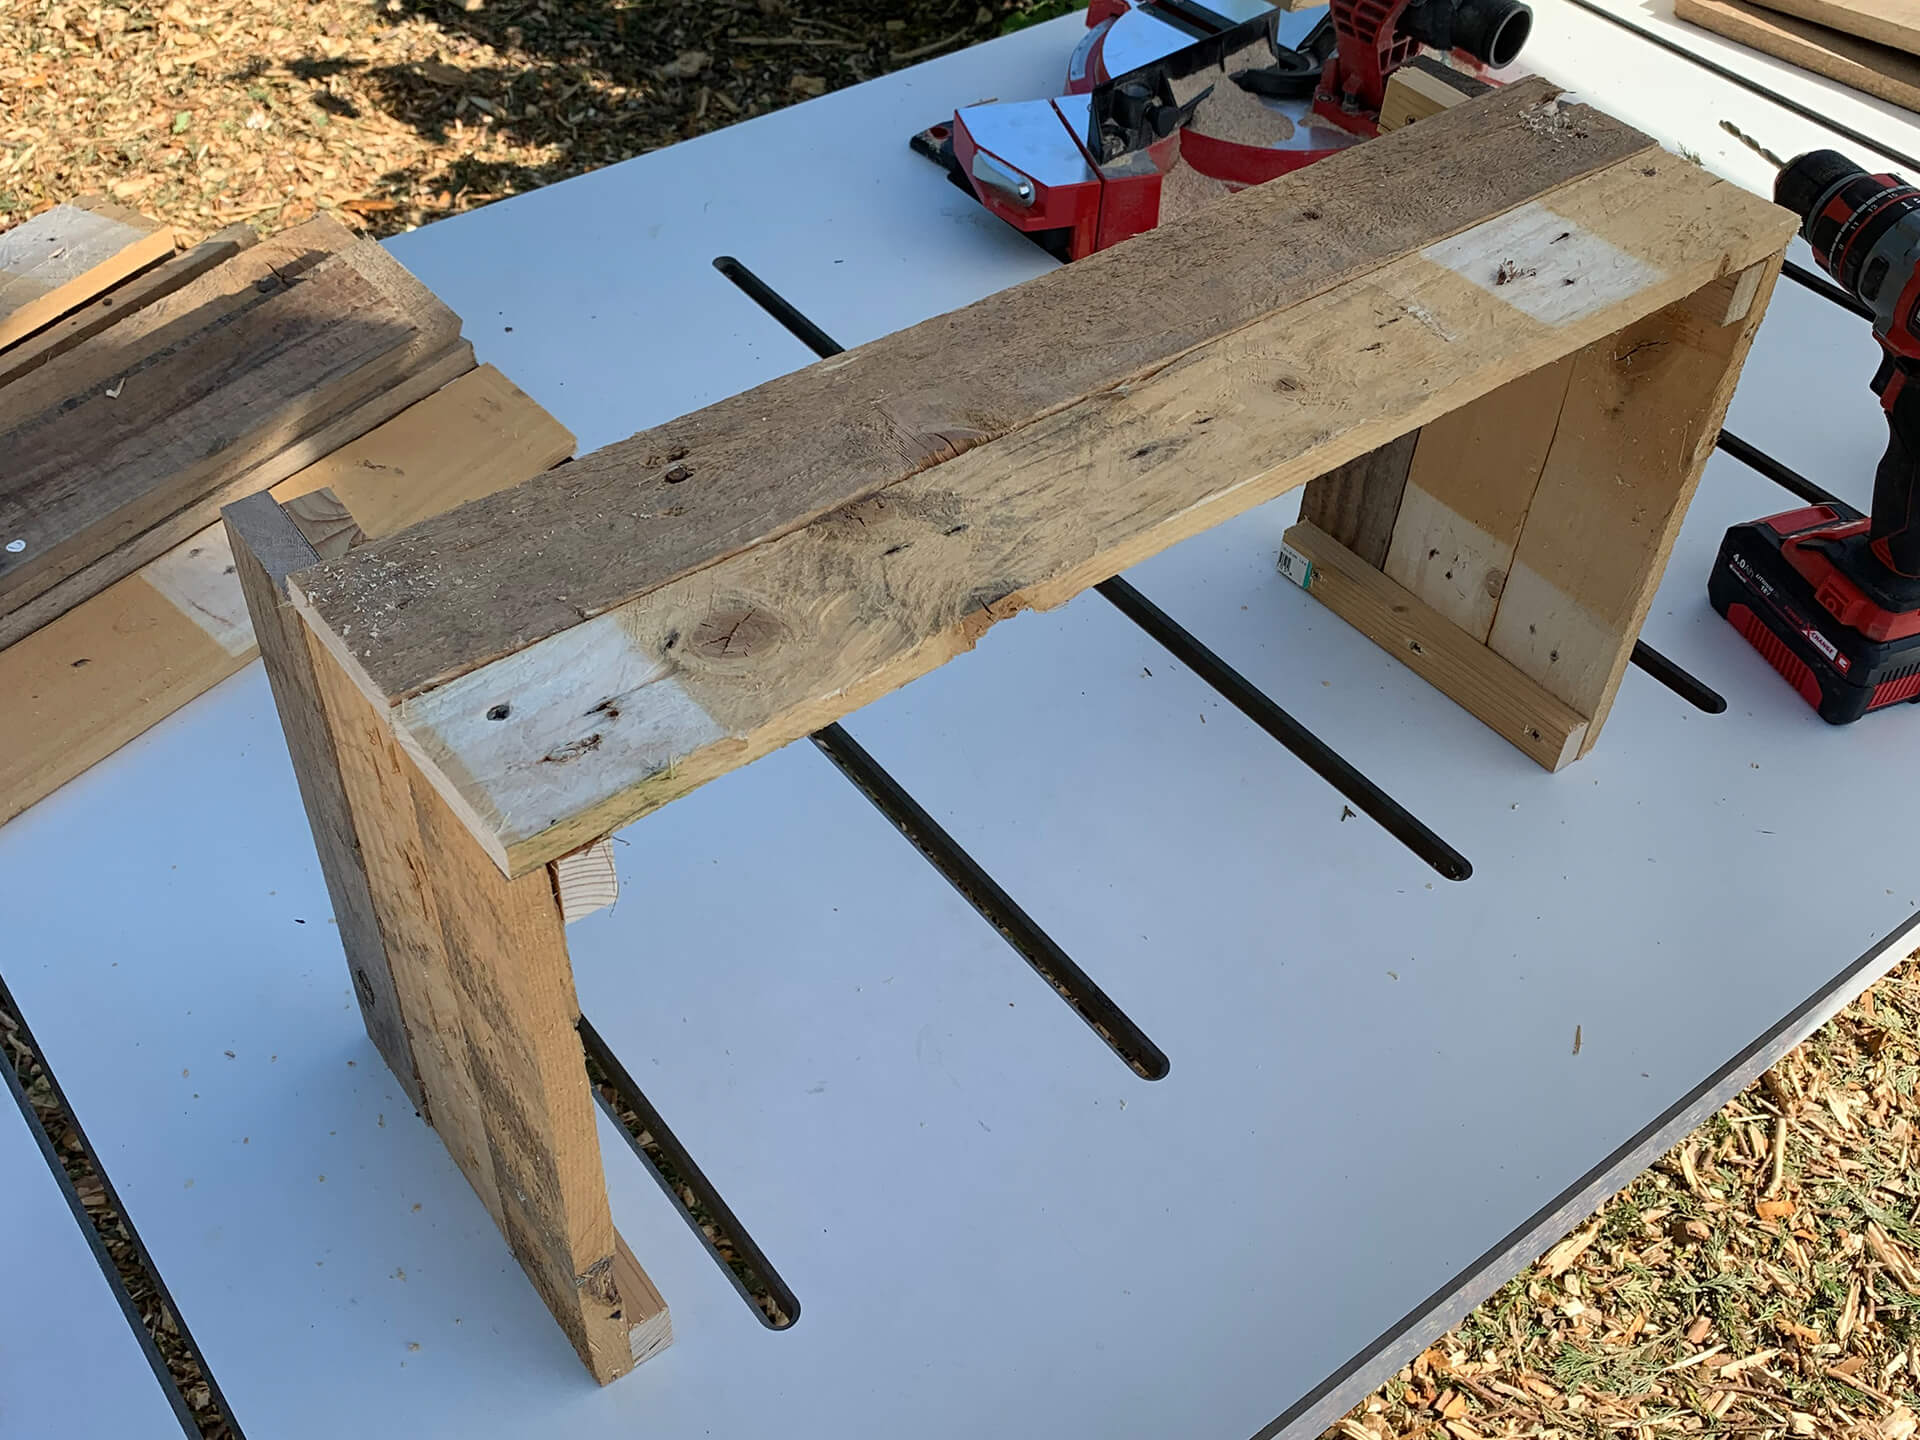
Step Five:
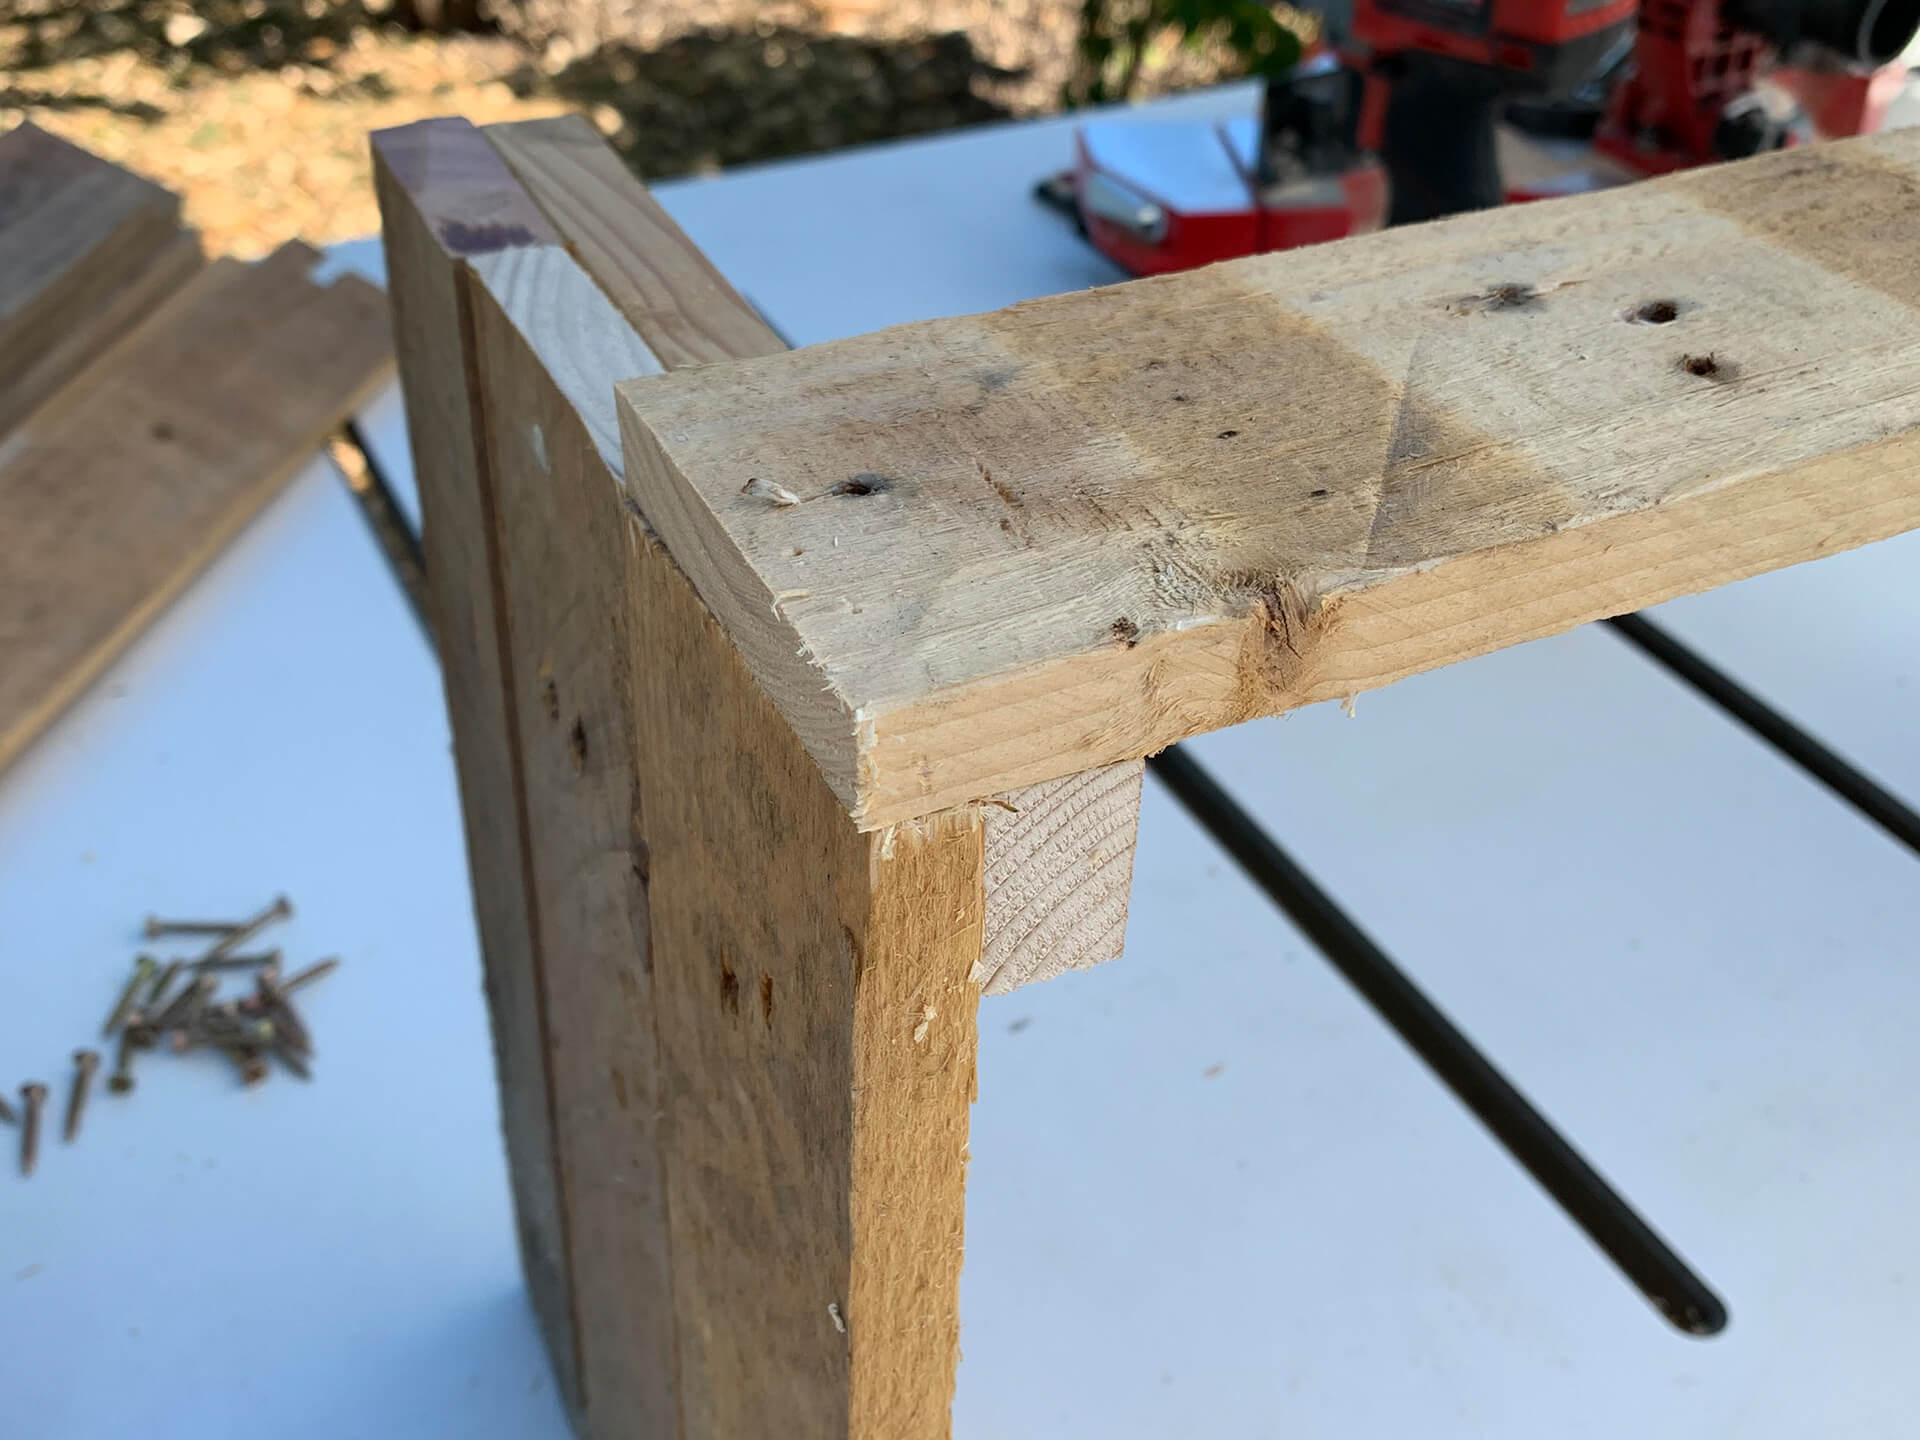
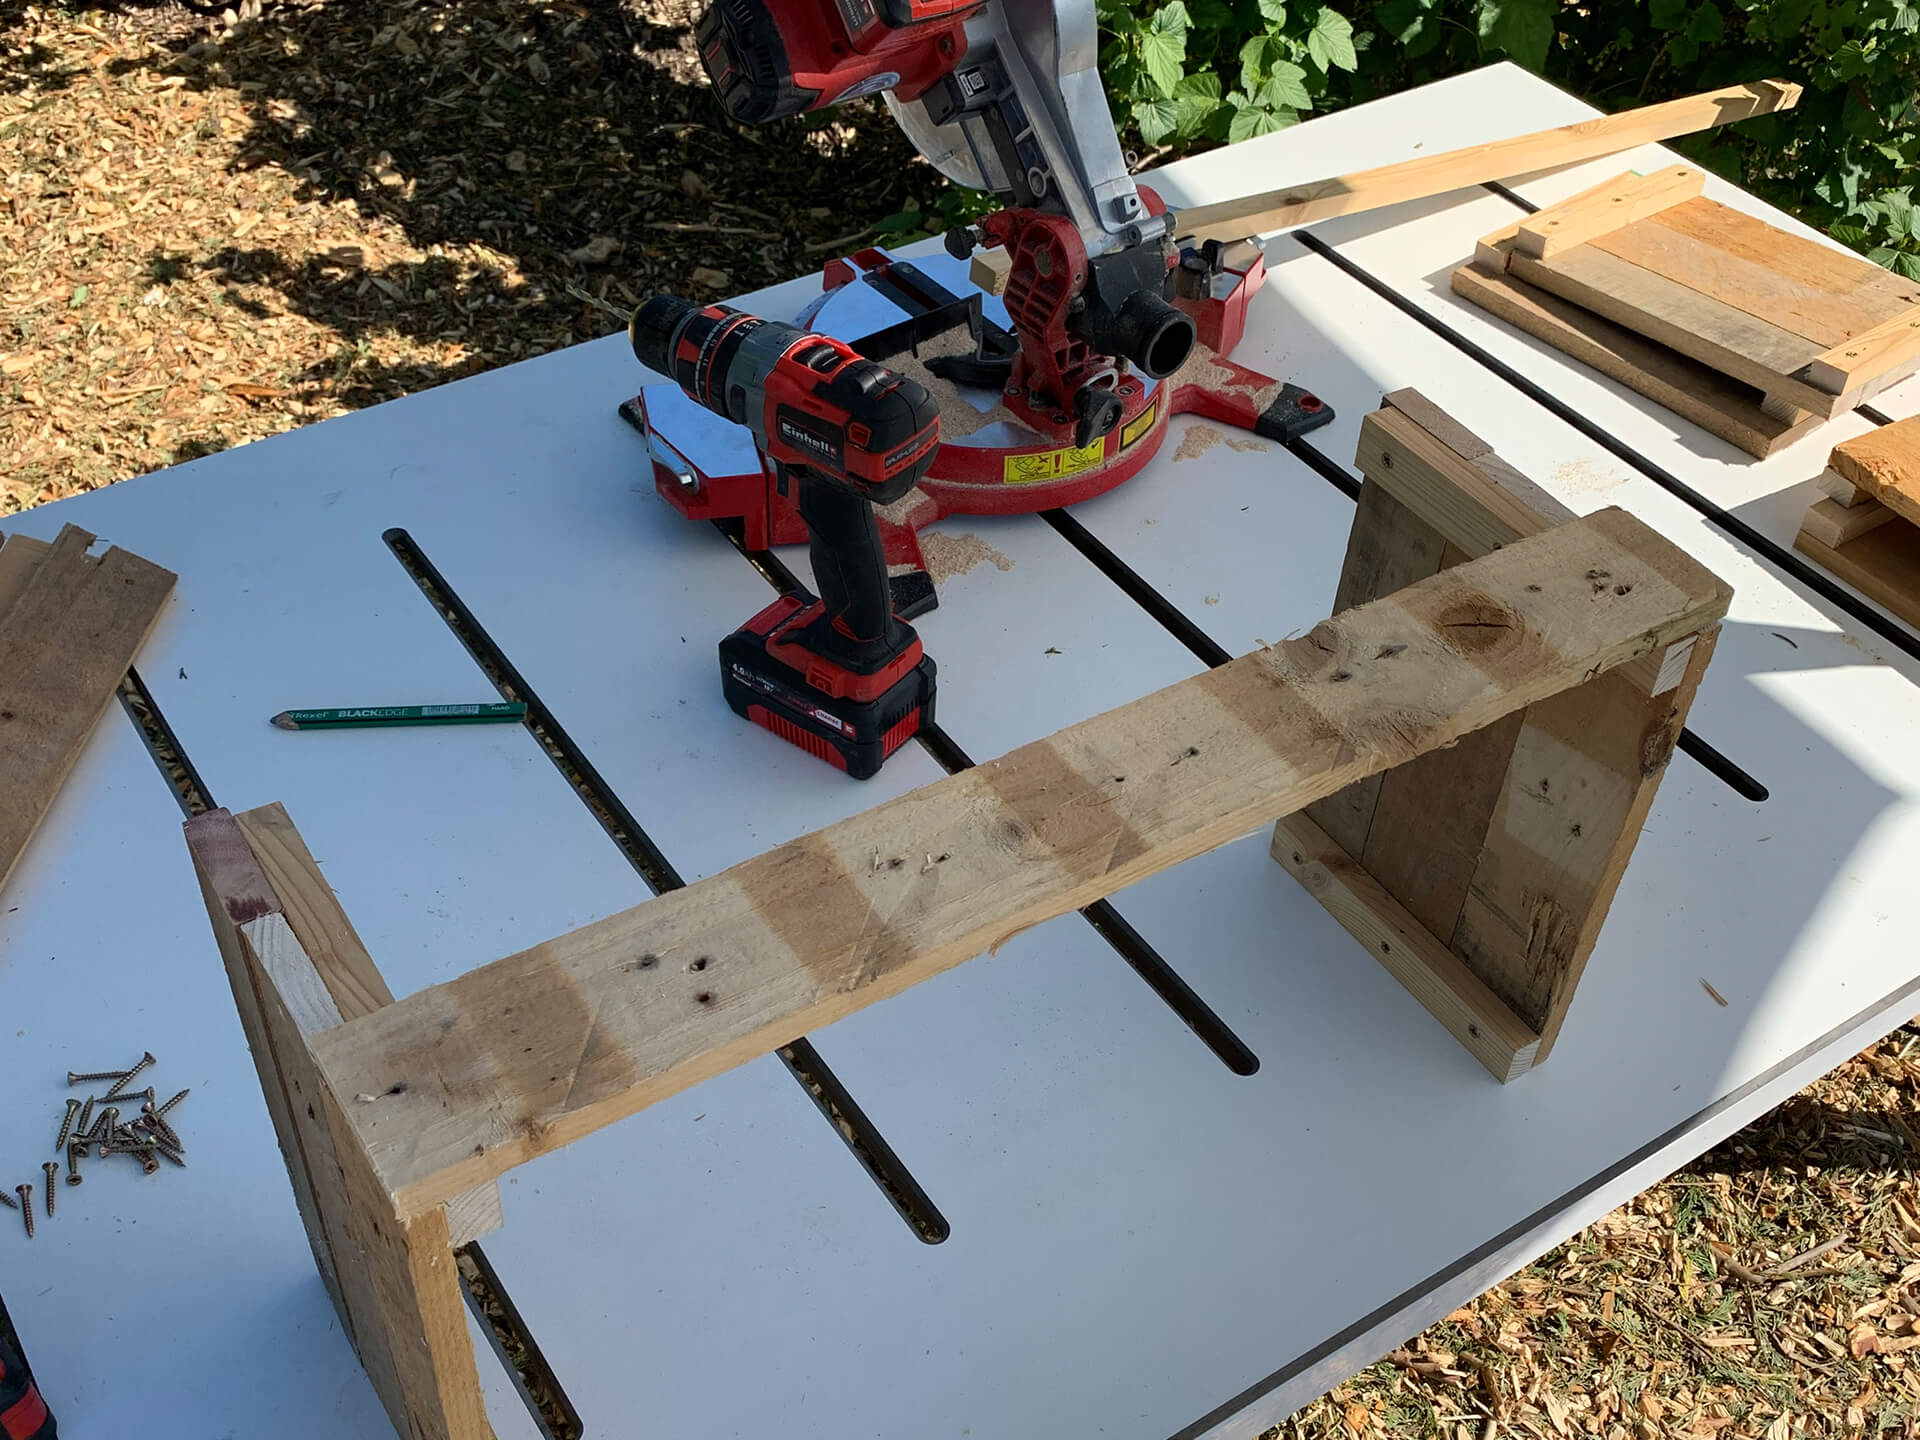
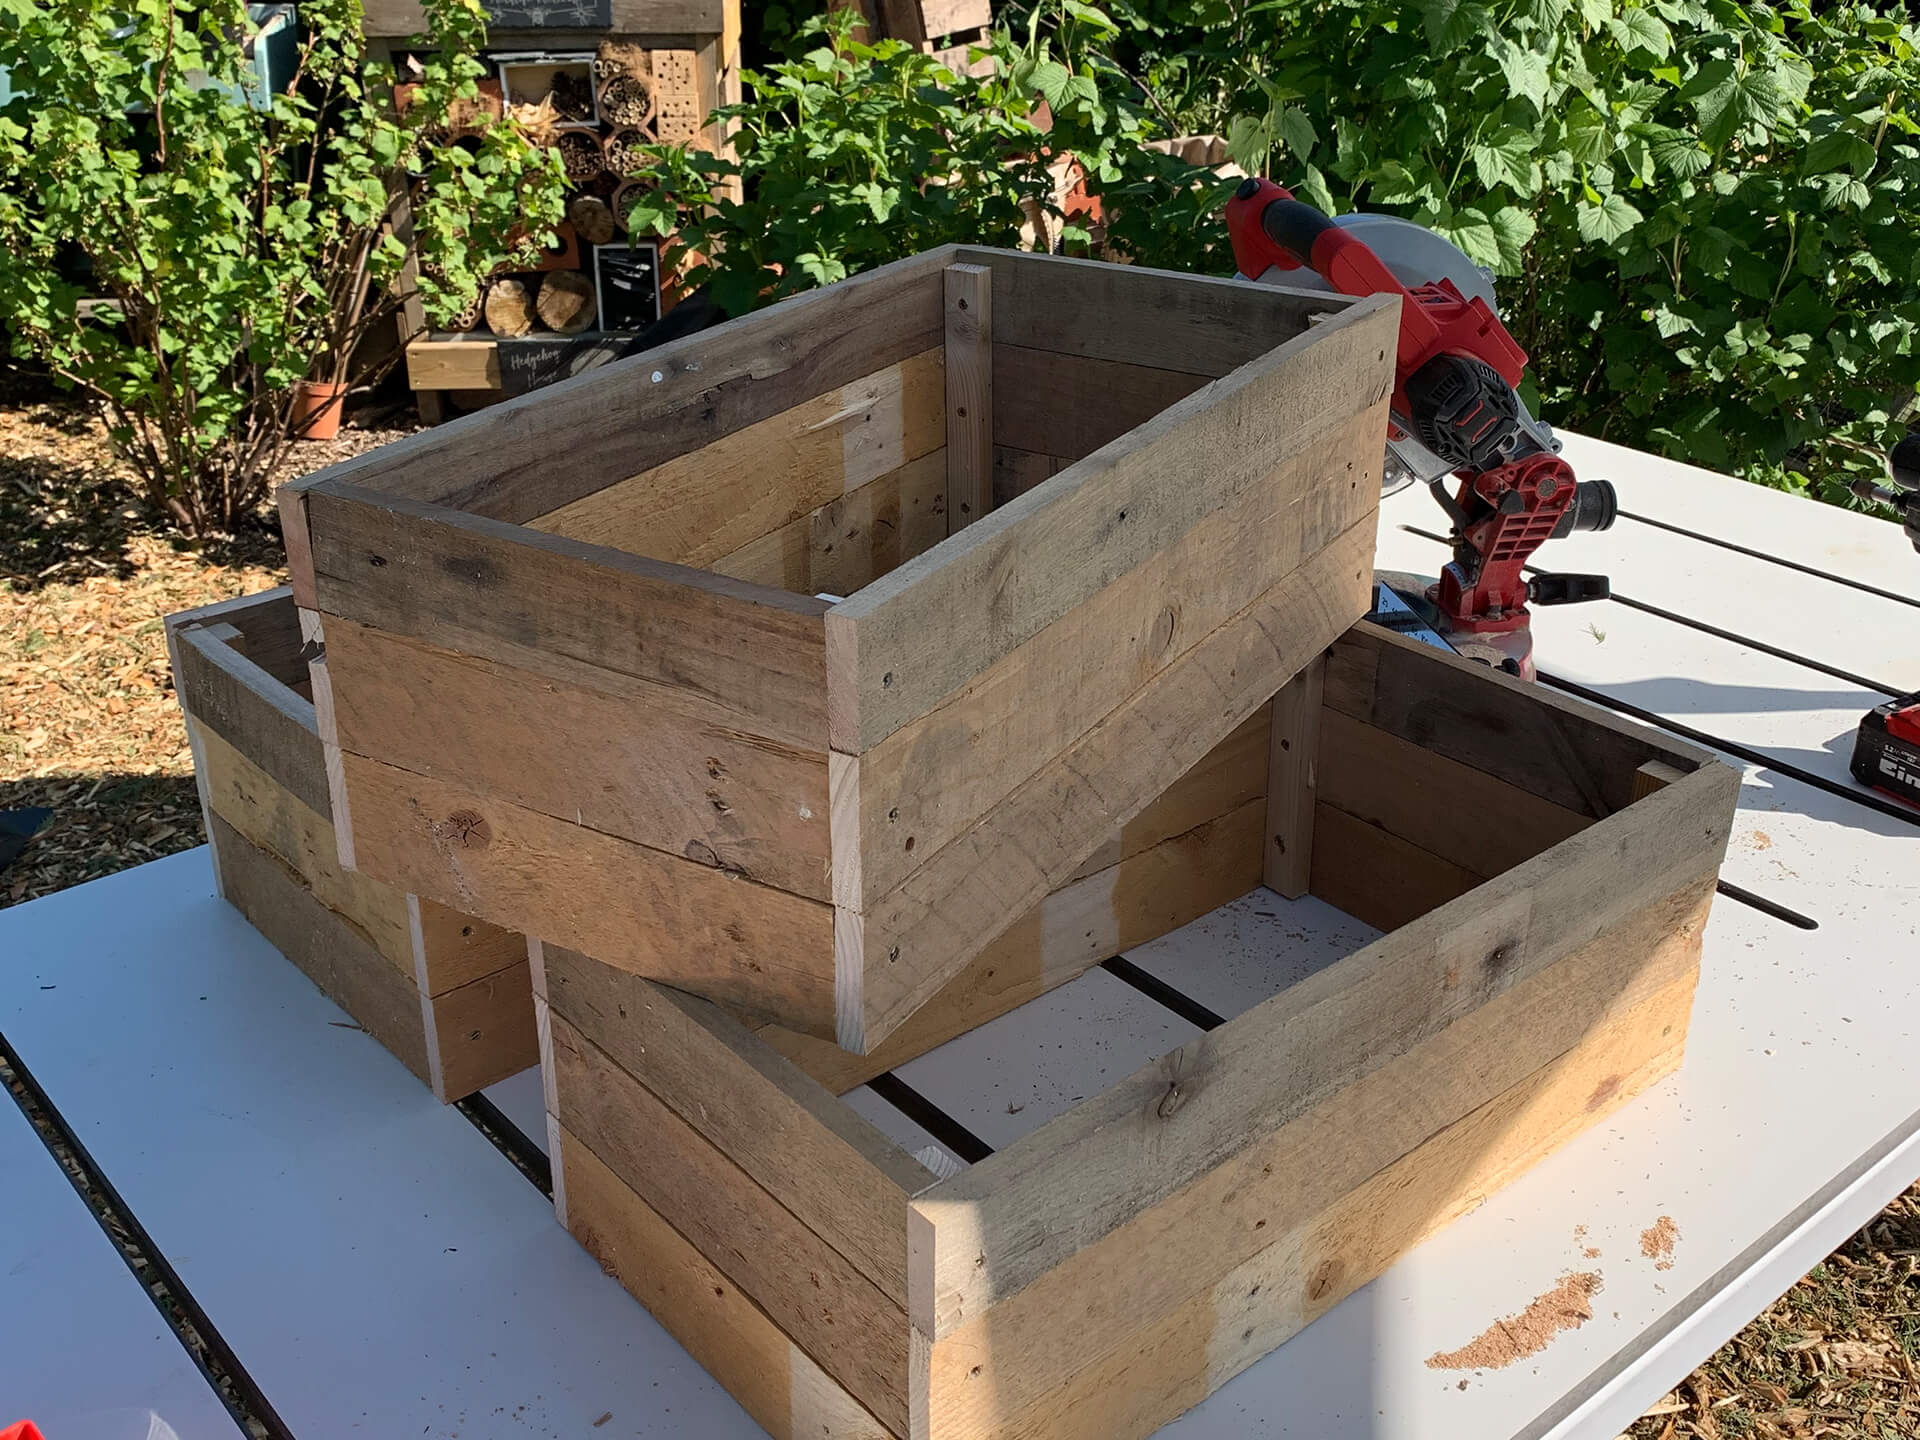
Take two of your sides and stand them on a table or bench so the batons face towards each other. Take one of your 60cm lengths and position it to connect the two sides together. Making sure everything is square and lined up, make piolet holes through the pallet, so the screw will go into the baton. Again, one screw in each length of pallet is enough but be careful not to drill where a screw is already located. Repeat with three lengths of pallet on each side to create a box.
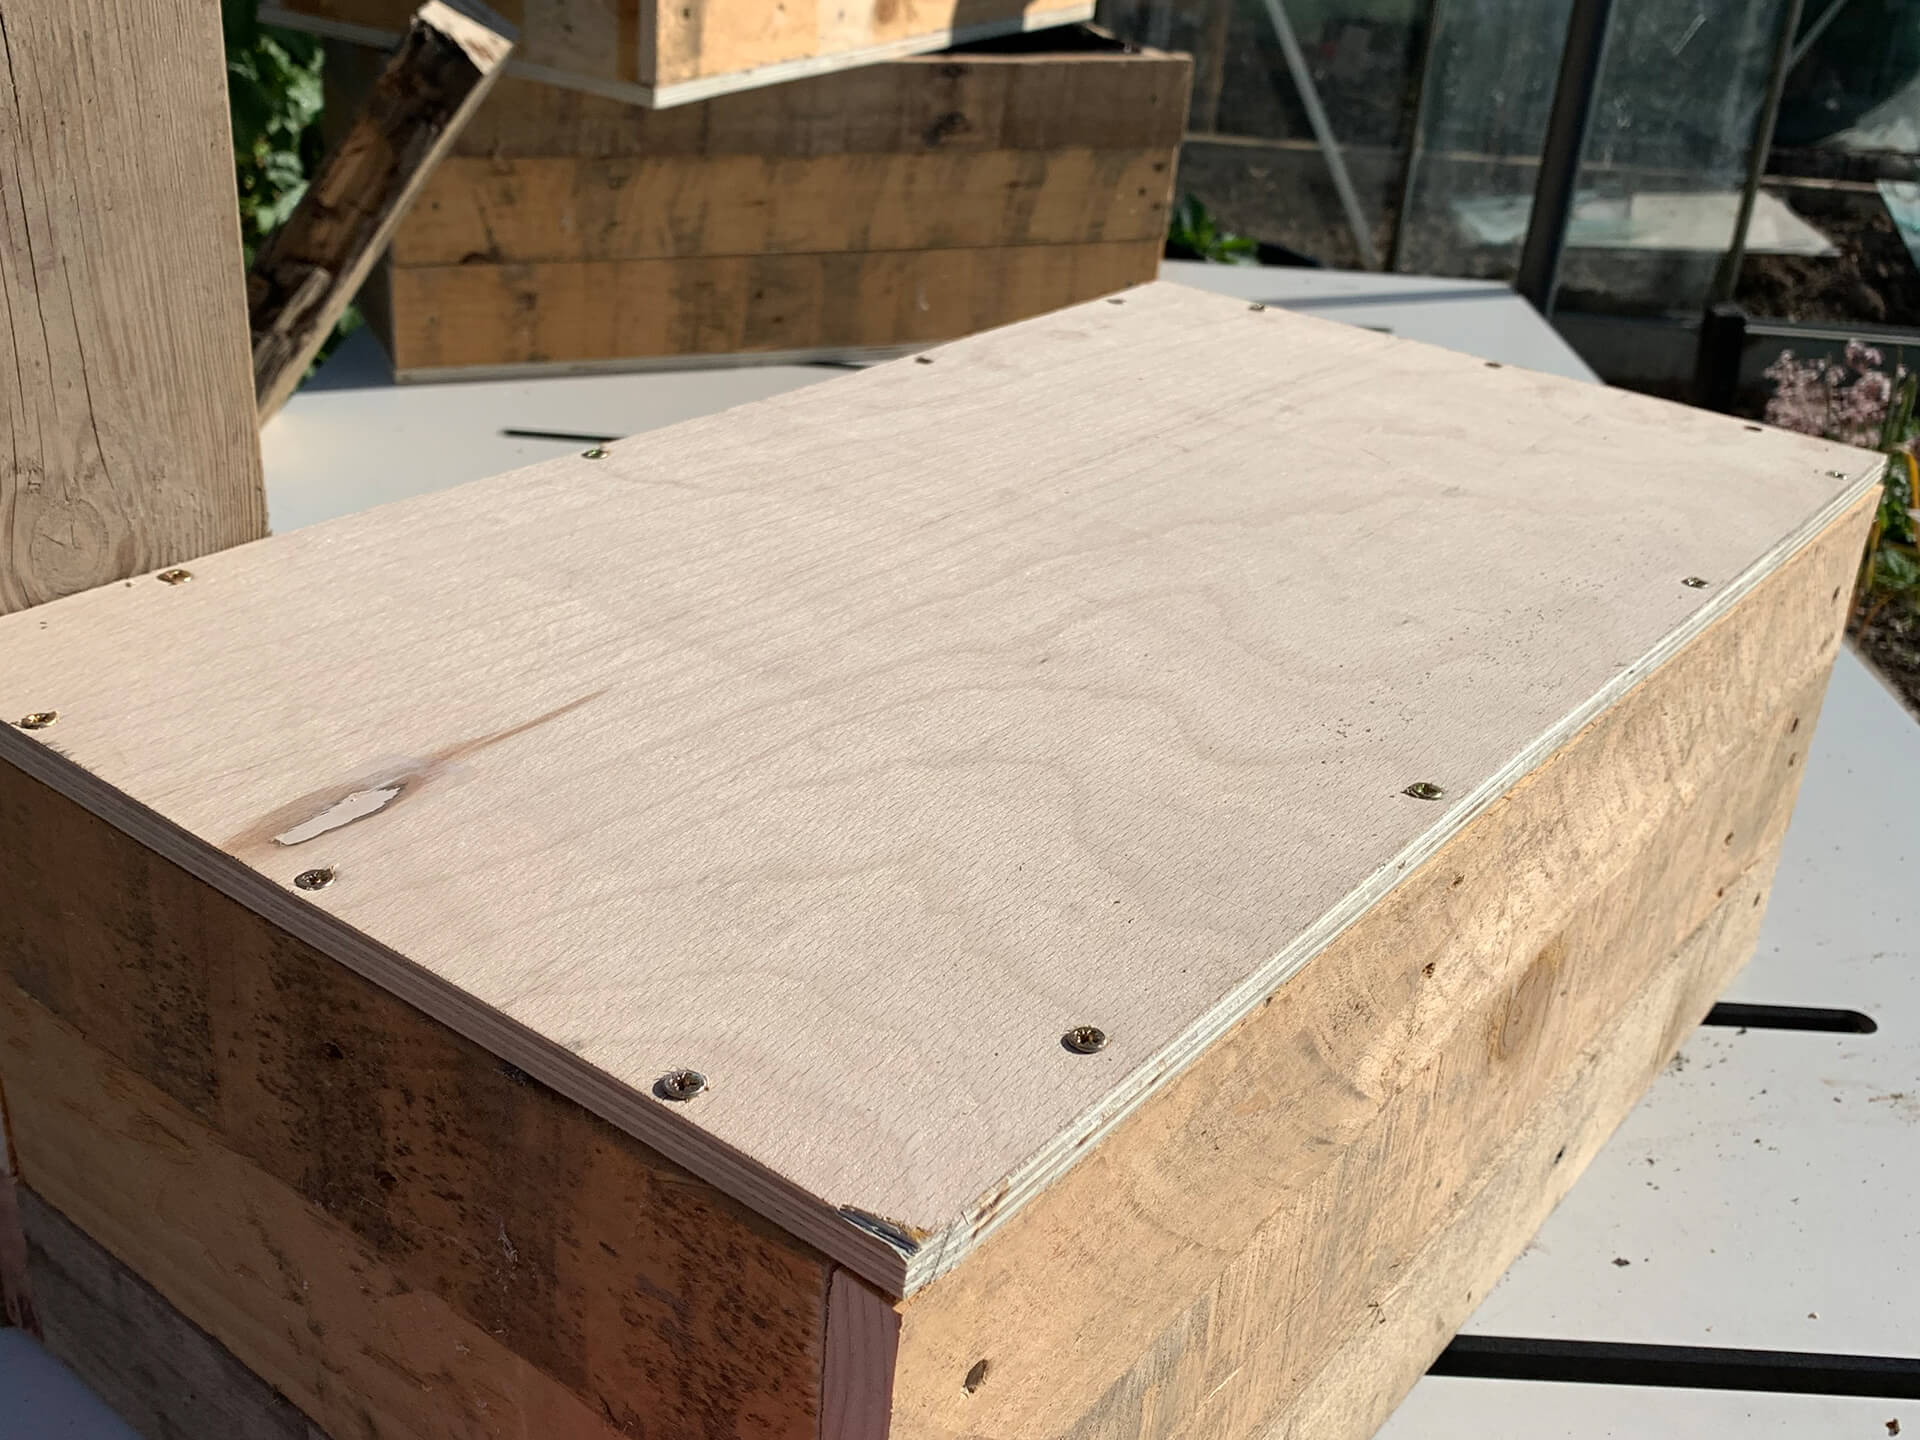
Step Six:
Once you have made all three boxes, its time to put a base on them to hold in all the soil. Measure the overall size of your planter and cut your plywood to size. The easiest method of cutting the plywood is with a circular saw. Screw this in place using long screws that go into the pallet. I placed four screws into the 60cm section and three screws into the 30cm section. You need a good fixing as this holds the weight of your soil, plants and water. Don’t screw near the corners of the planter as it will likely break out.
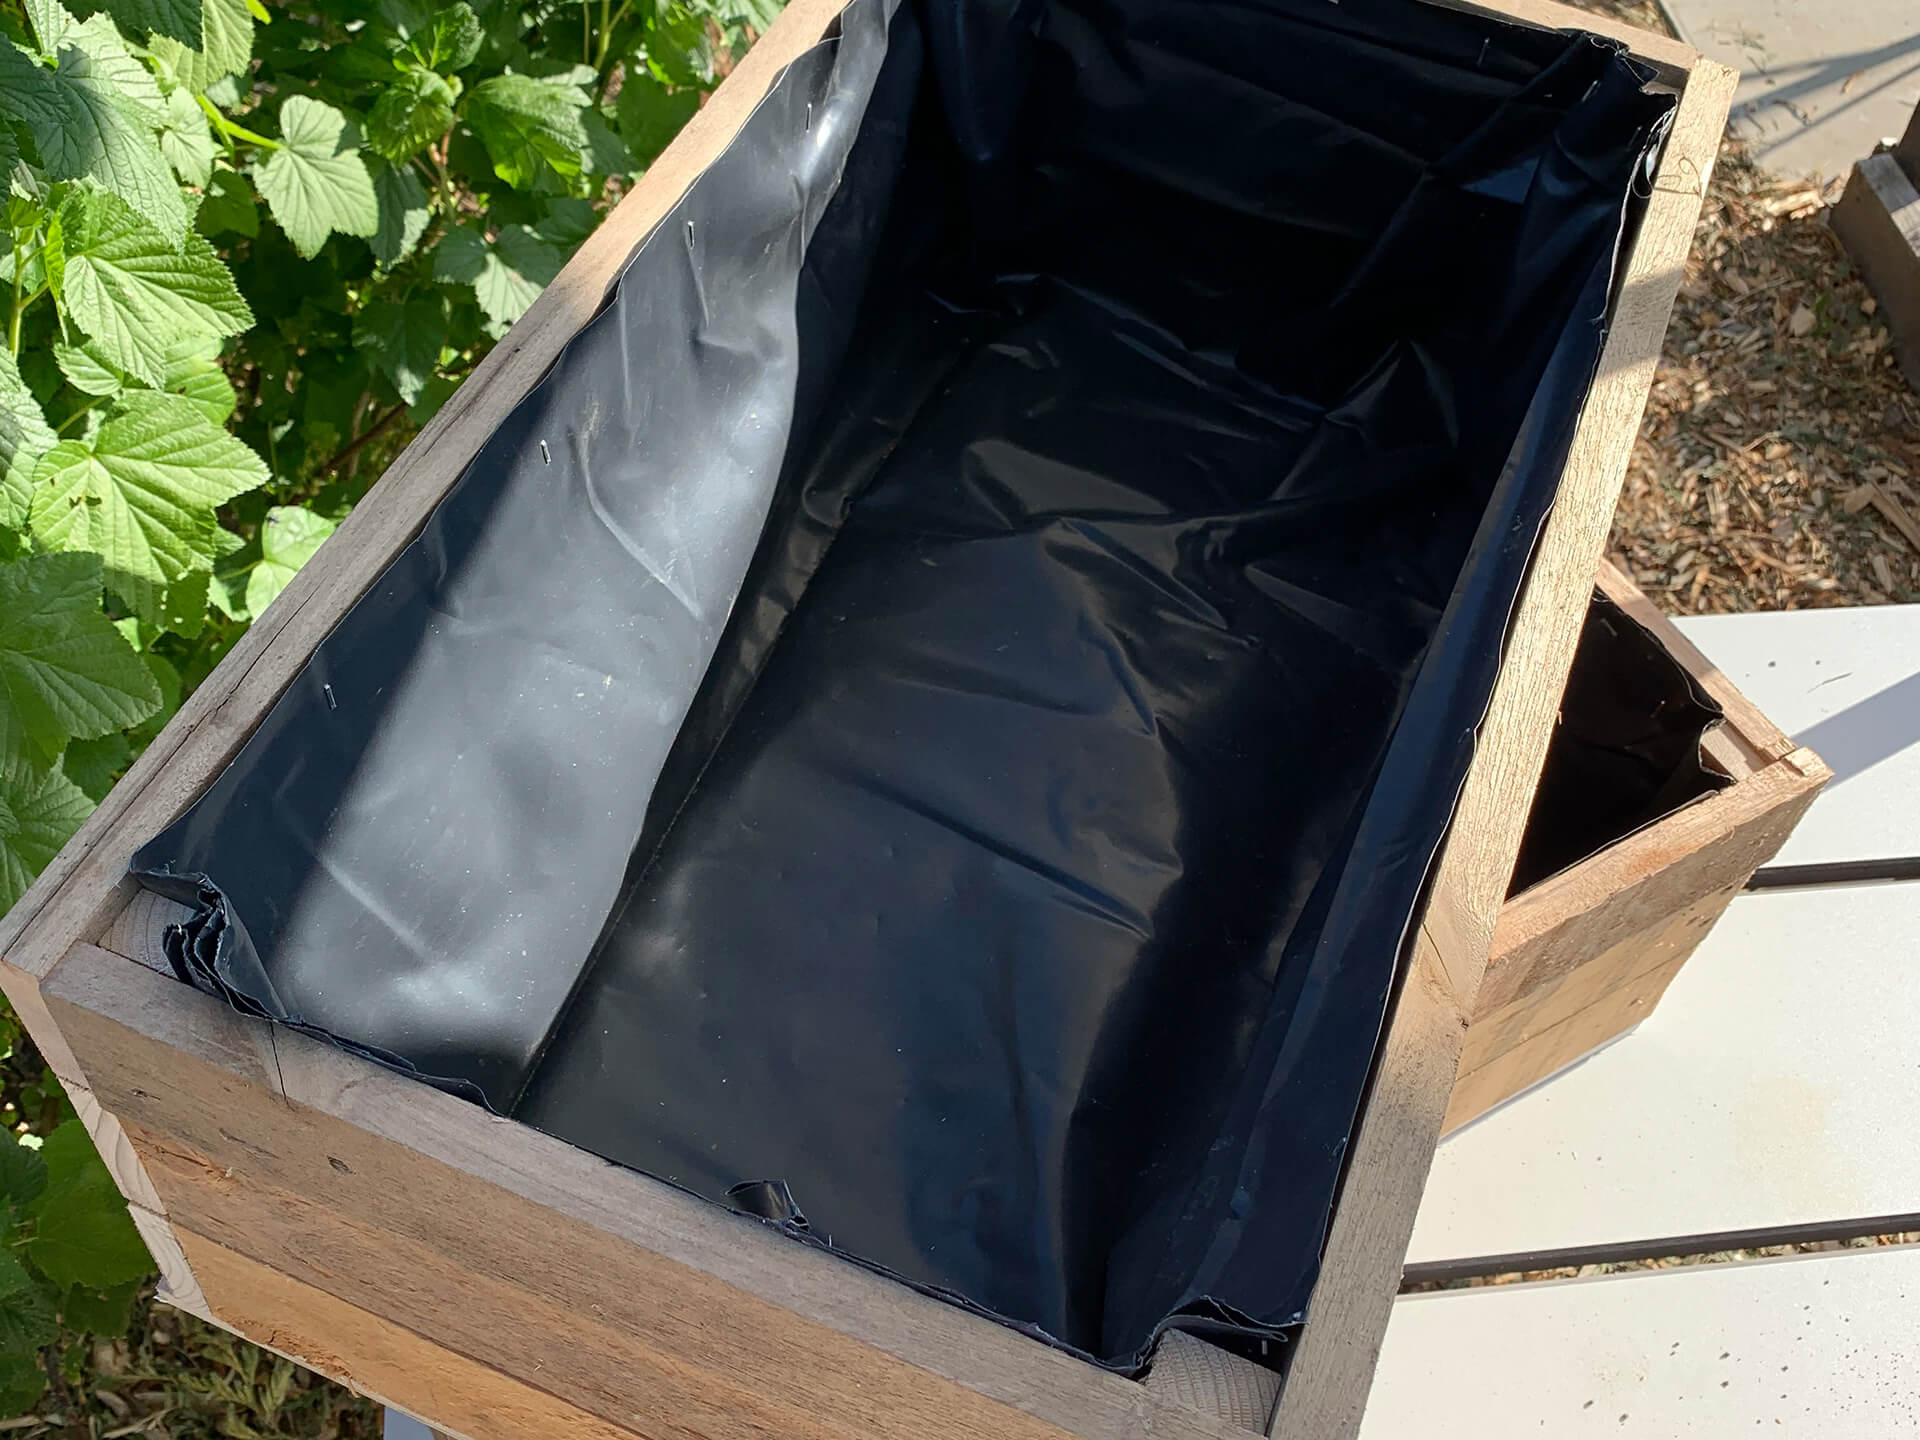
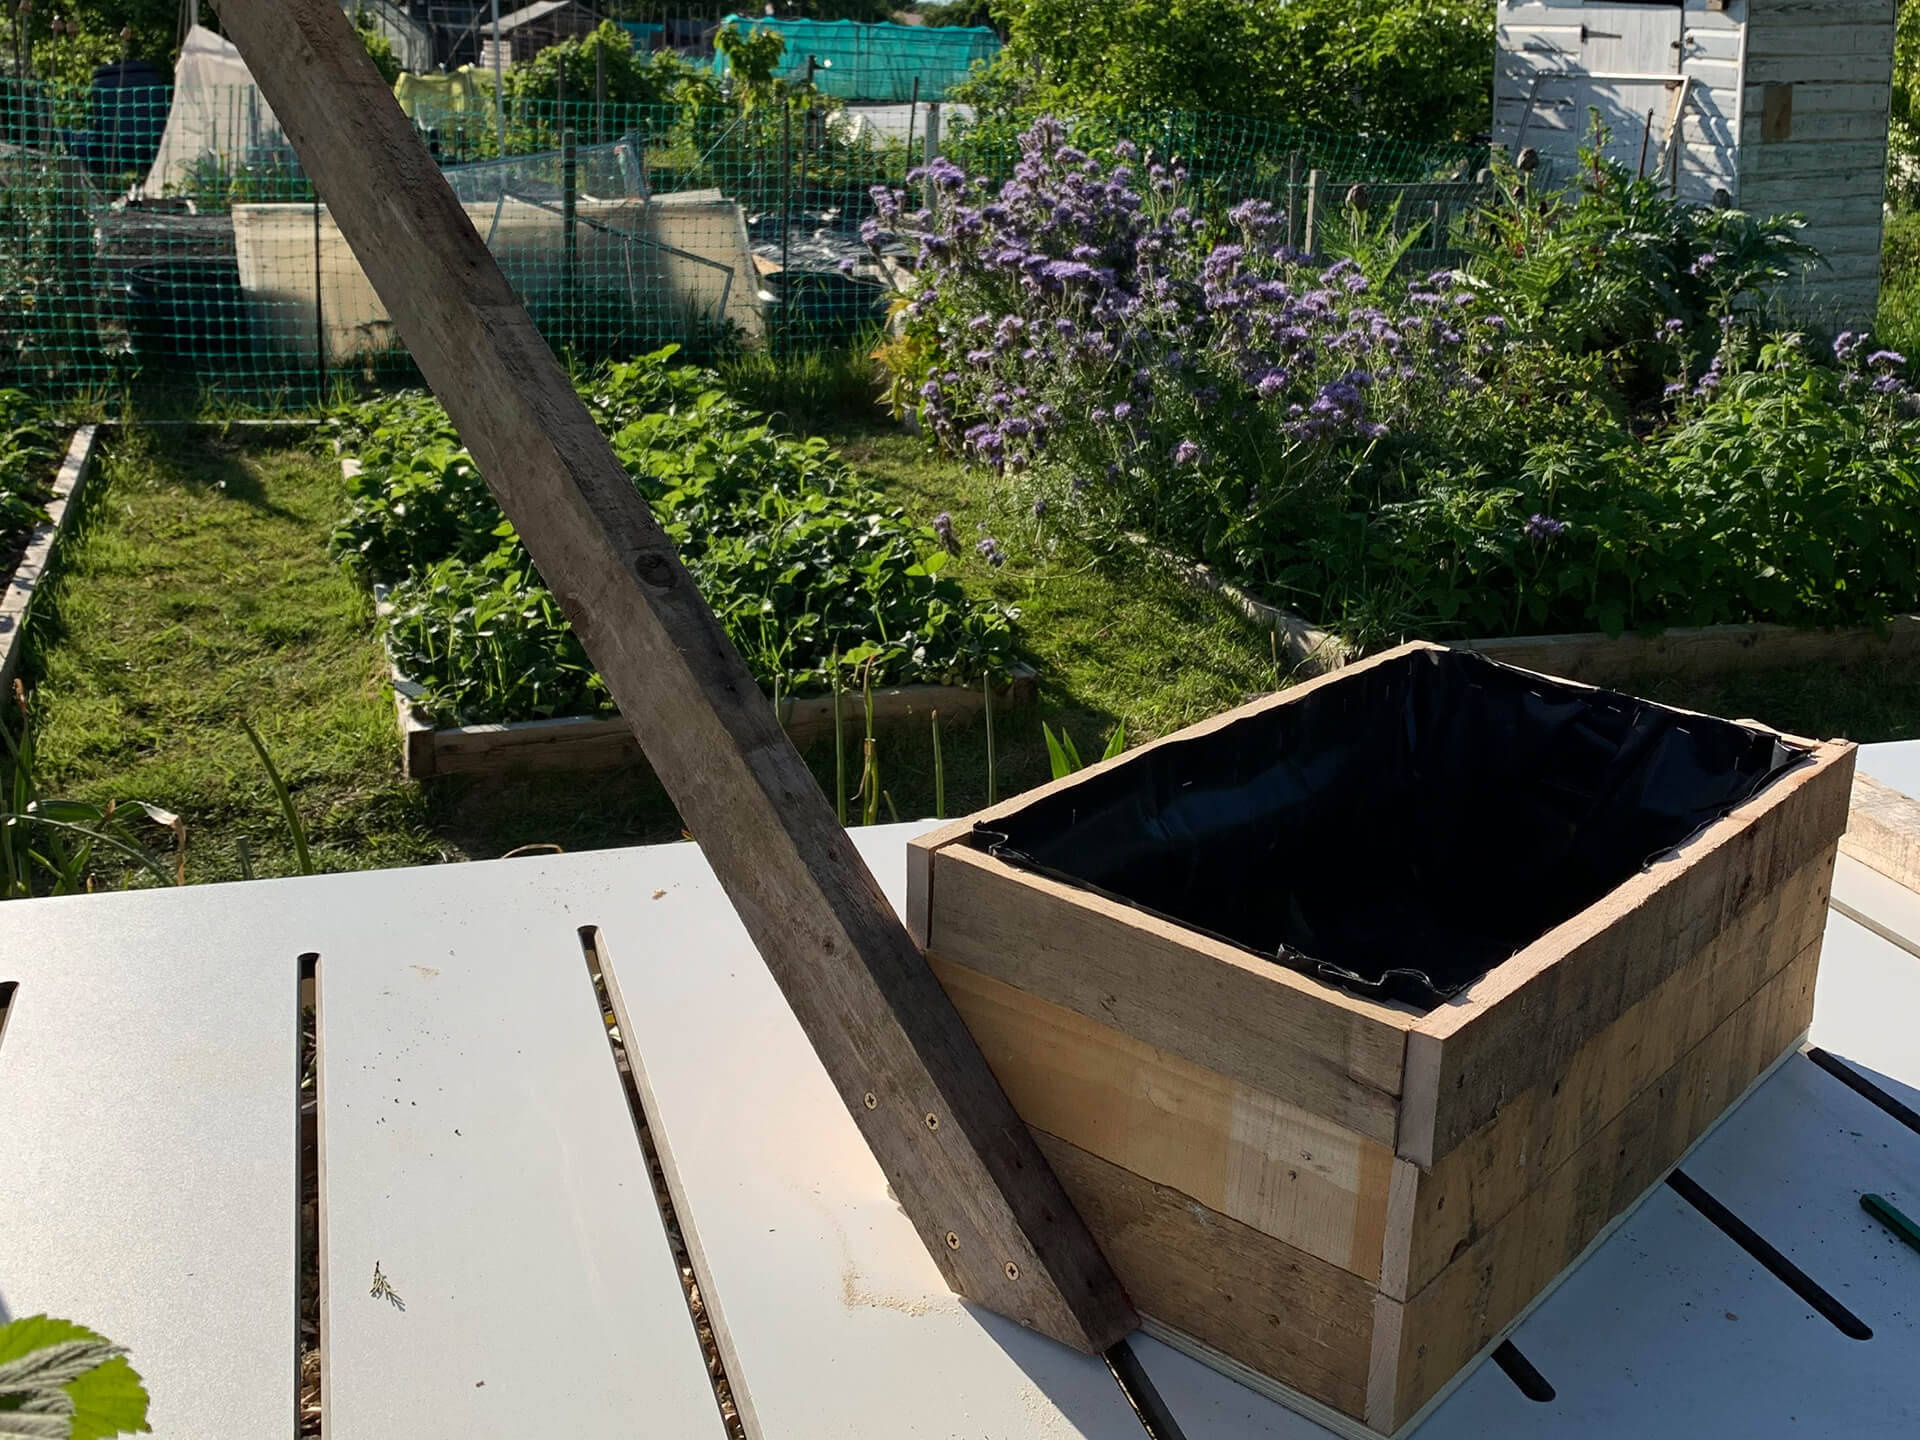
Step Seven:
After all three have a base, you can line them with the black plastic sheeting. I lay mine inside, pushing it to all the corners and then secured in place with a stapler. You can use scissors or a knife to cut the black plastic back to the edge of the planter.
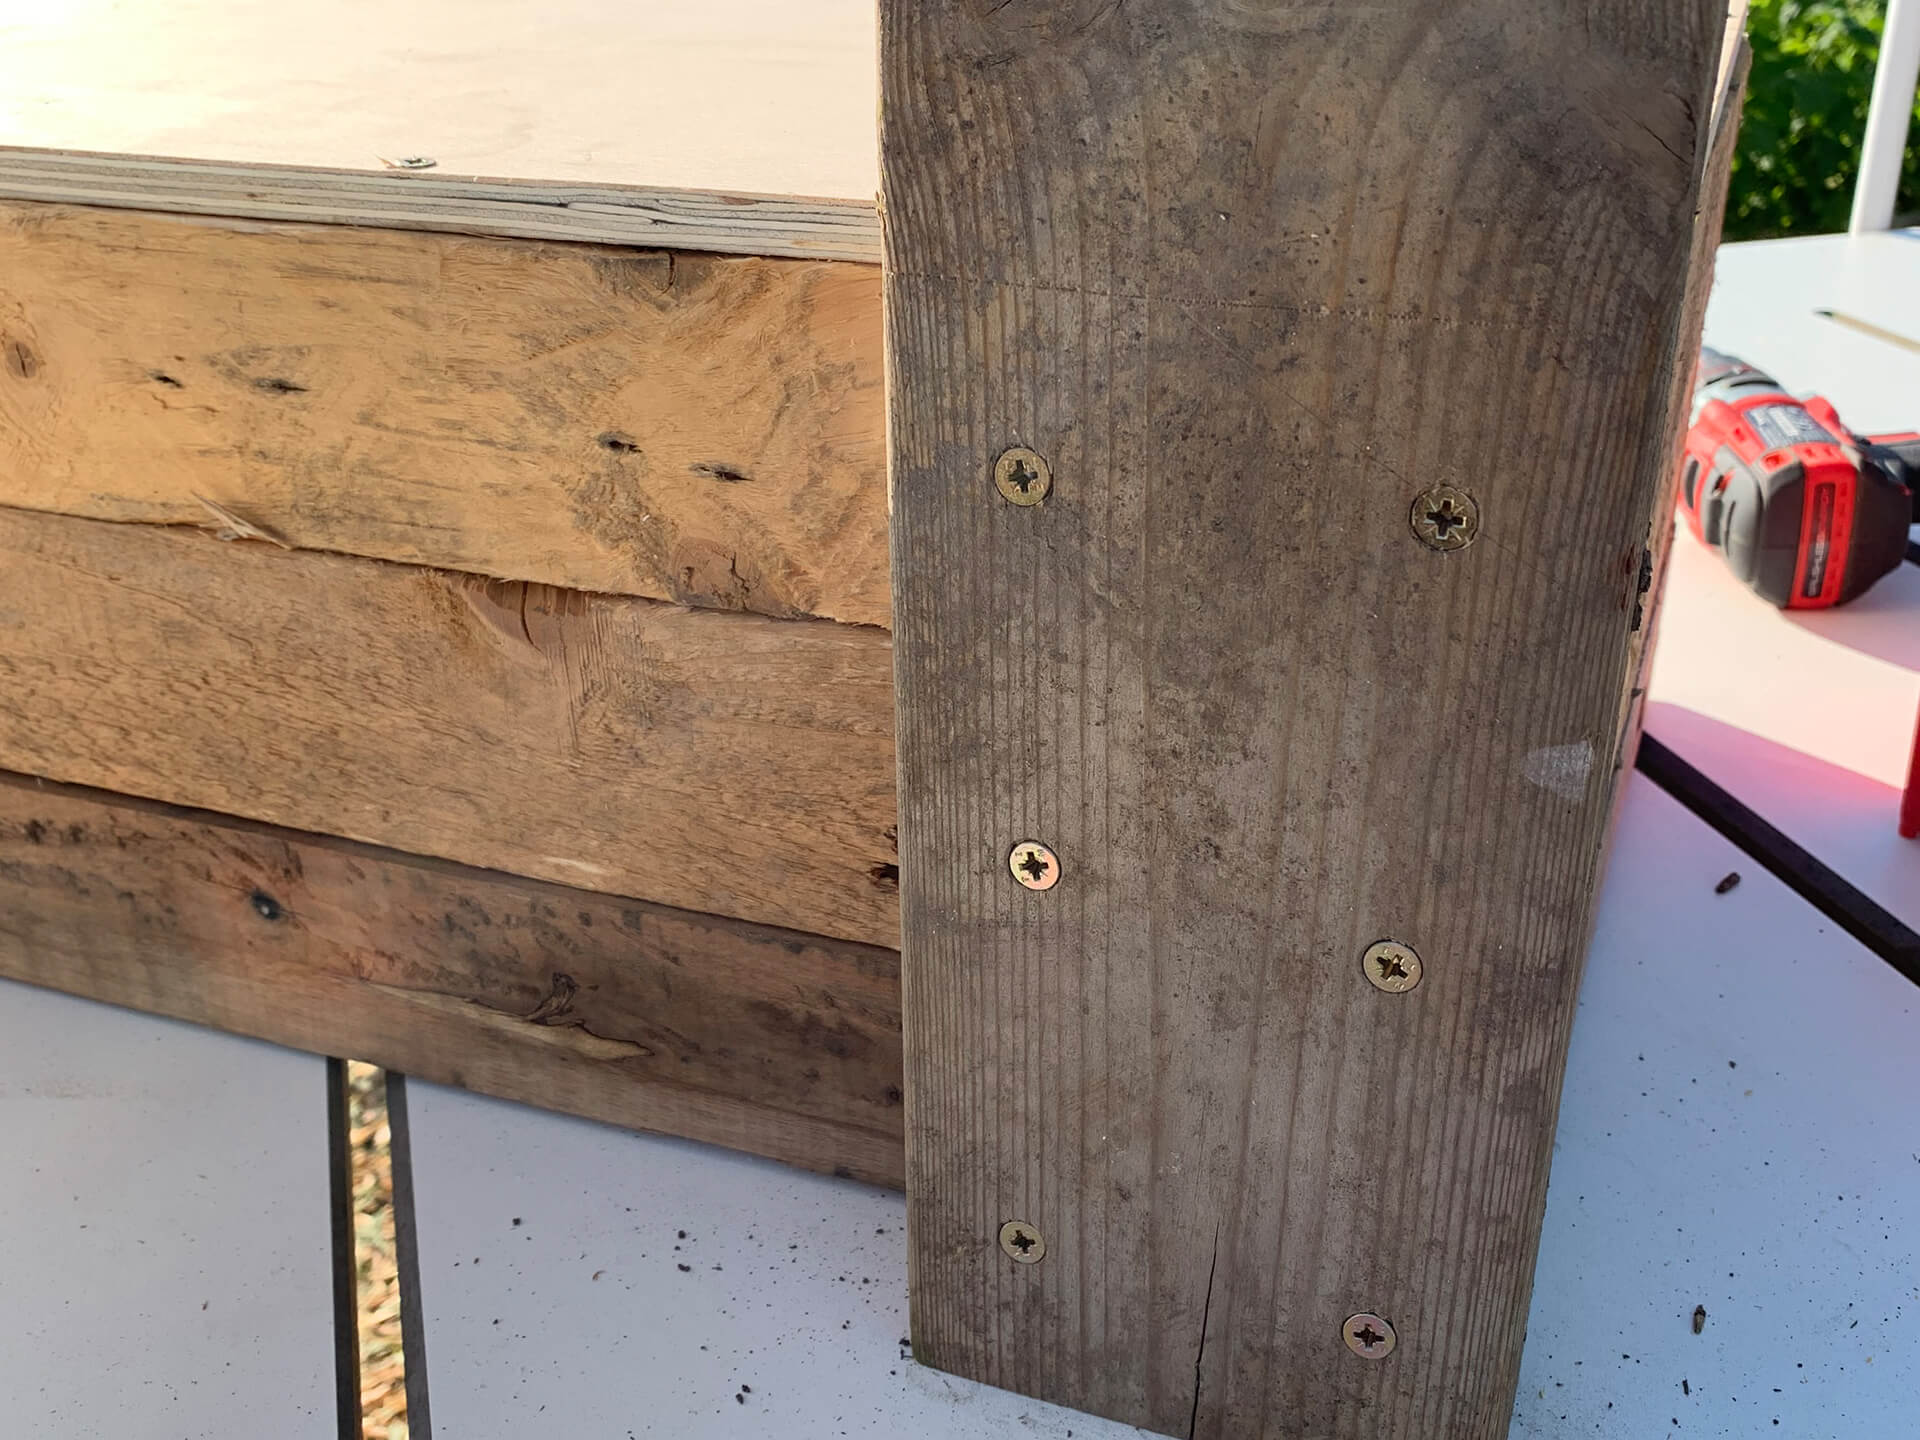
Step Eight:
Take your planter and two lengths of the 1.2m chunky wood. If you don’t want your pallet planter as high, you can cut these down to make them shorter. Turn your planter upside down and place one of the lengths upright in the left corner. Take your piolet drill and make 6 holes in the chunky timber, where it meets the planter. Screw these together using long screws. Repeat on the other right side.

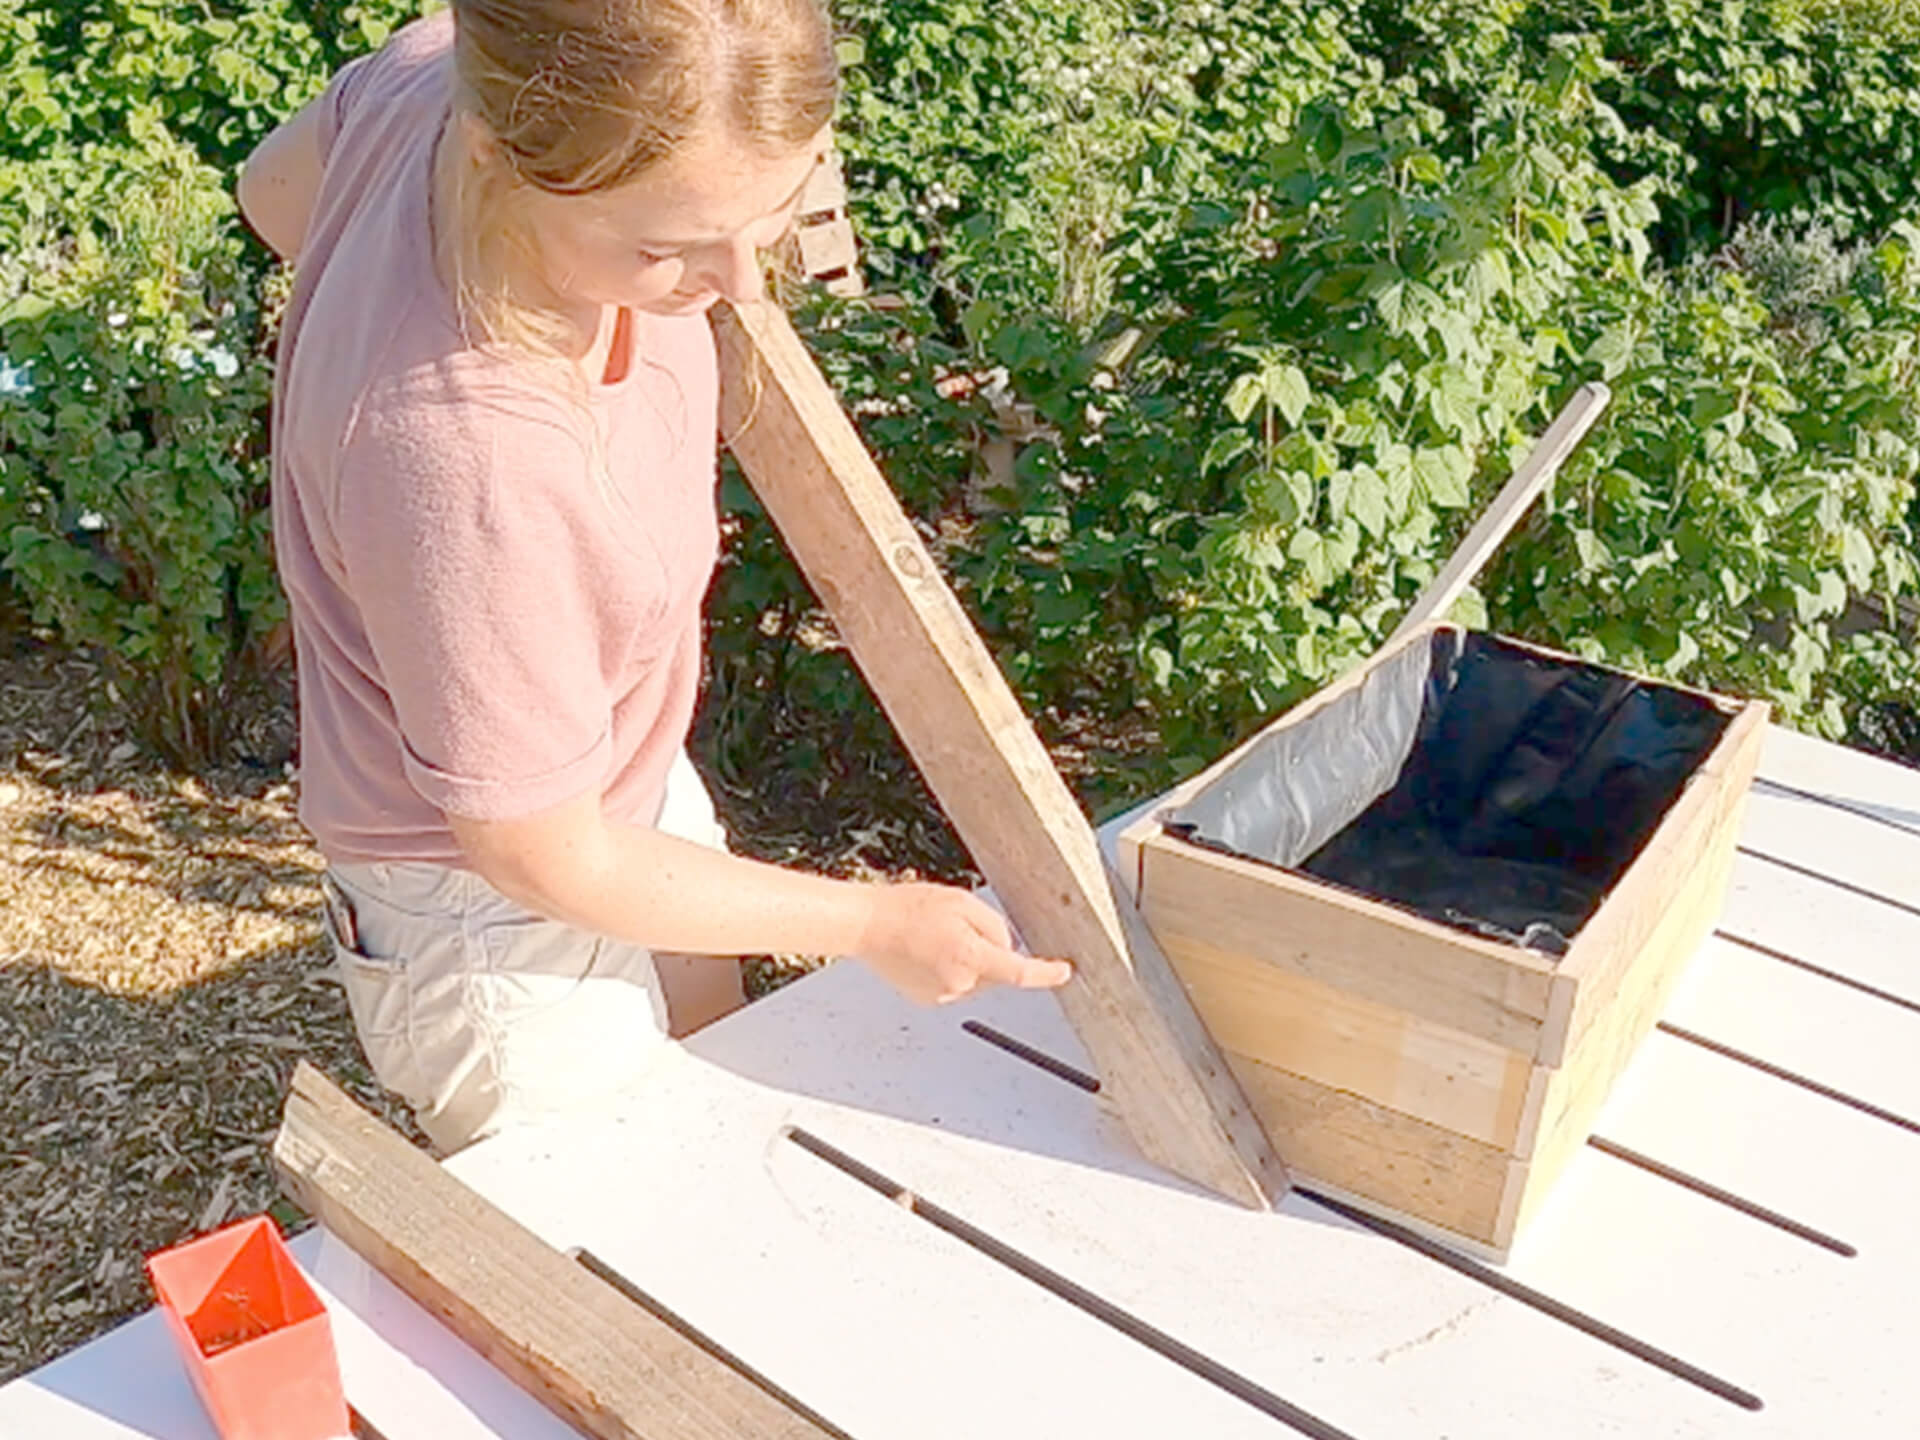
Step Nine:
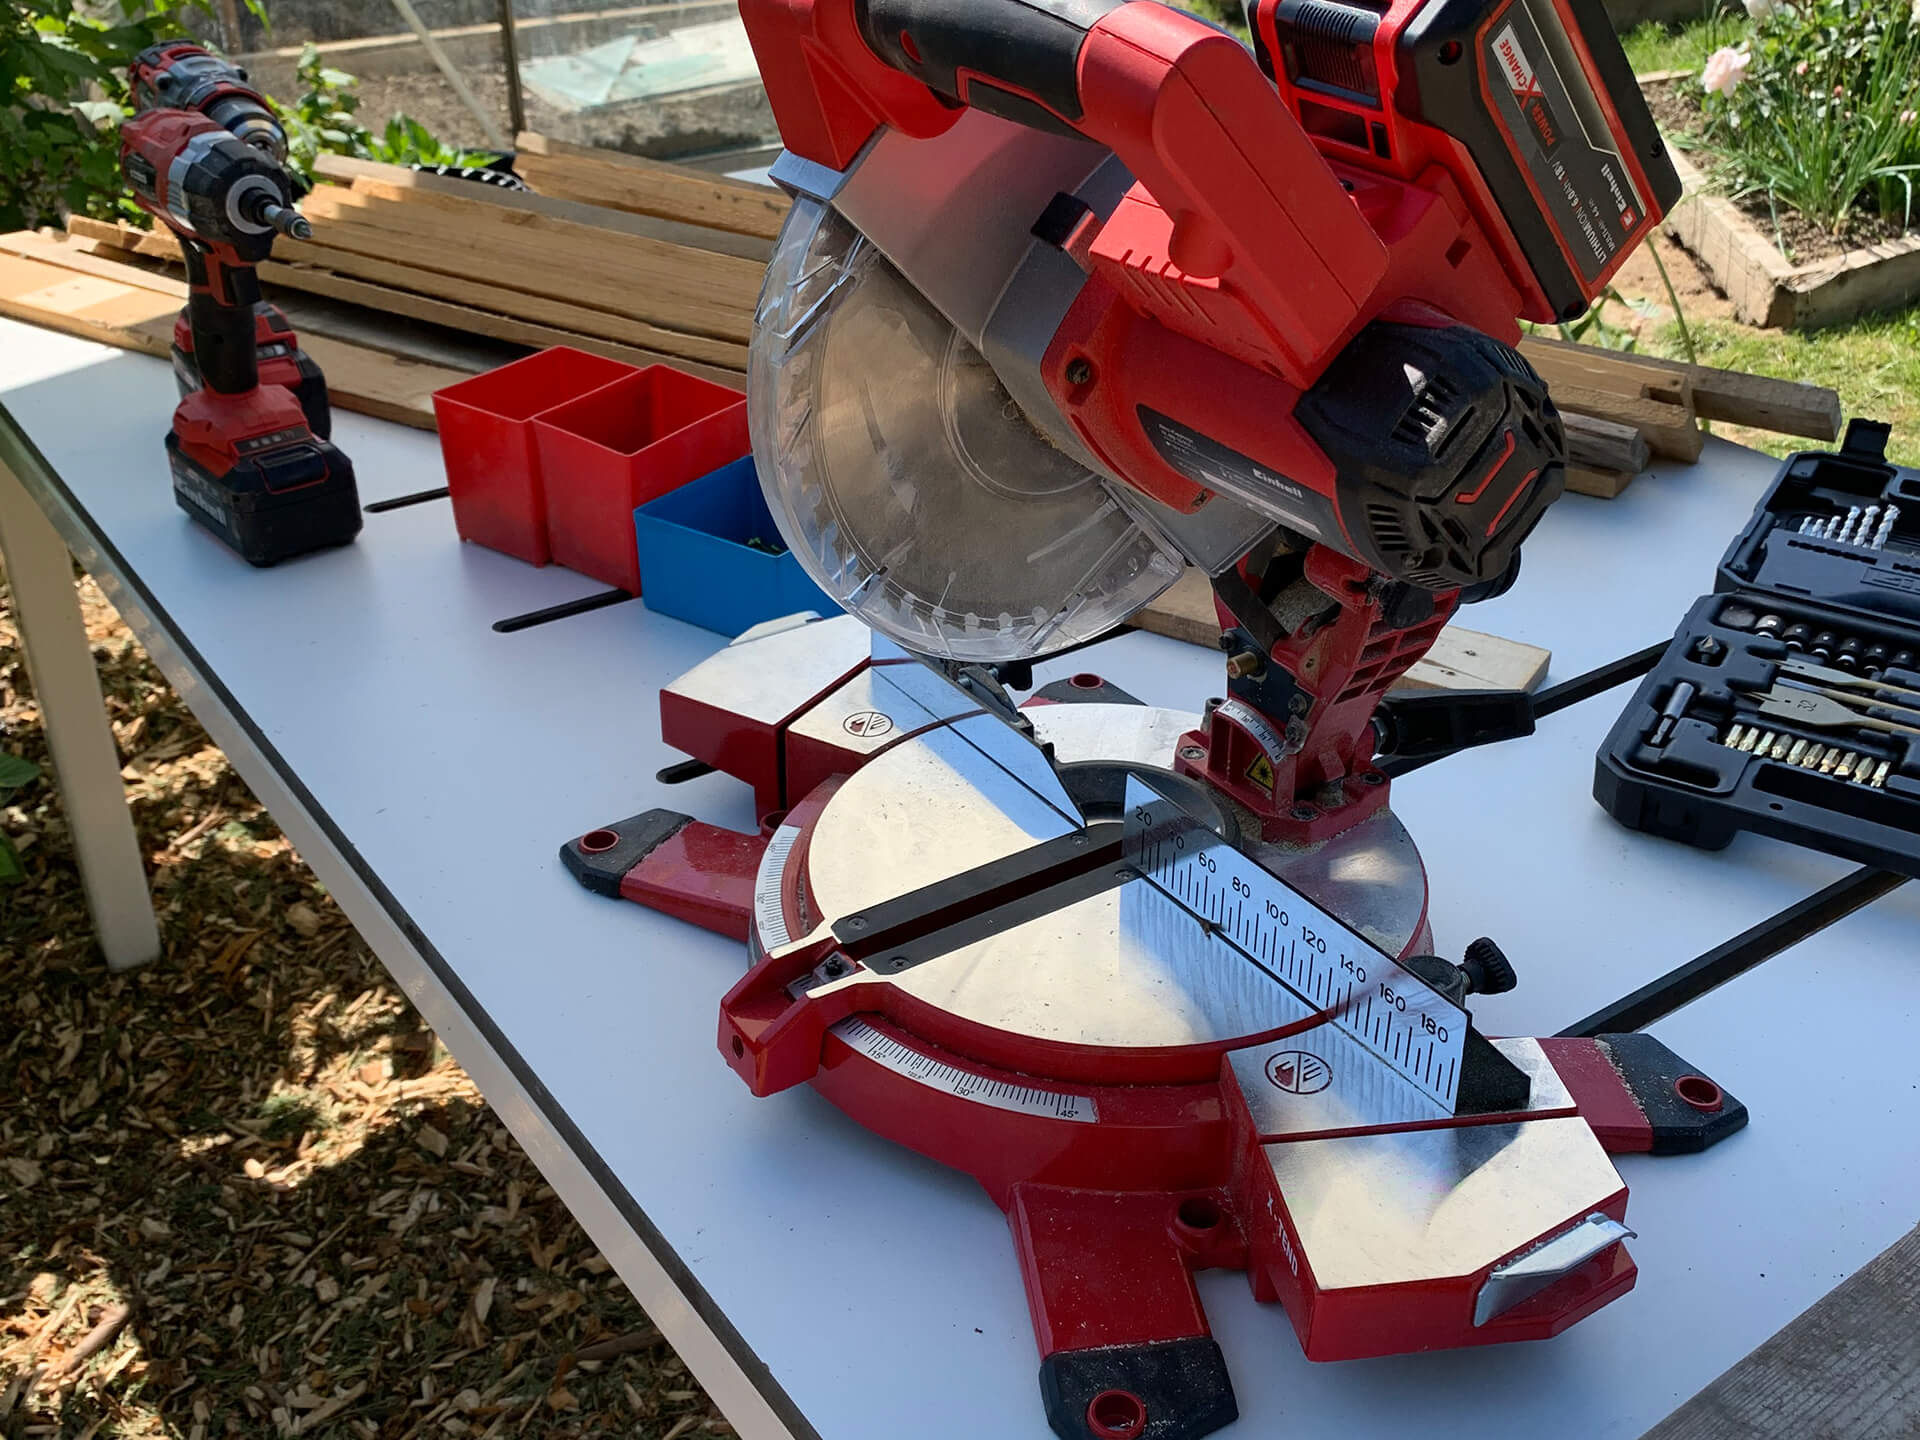
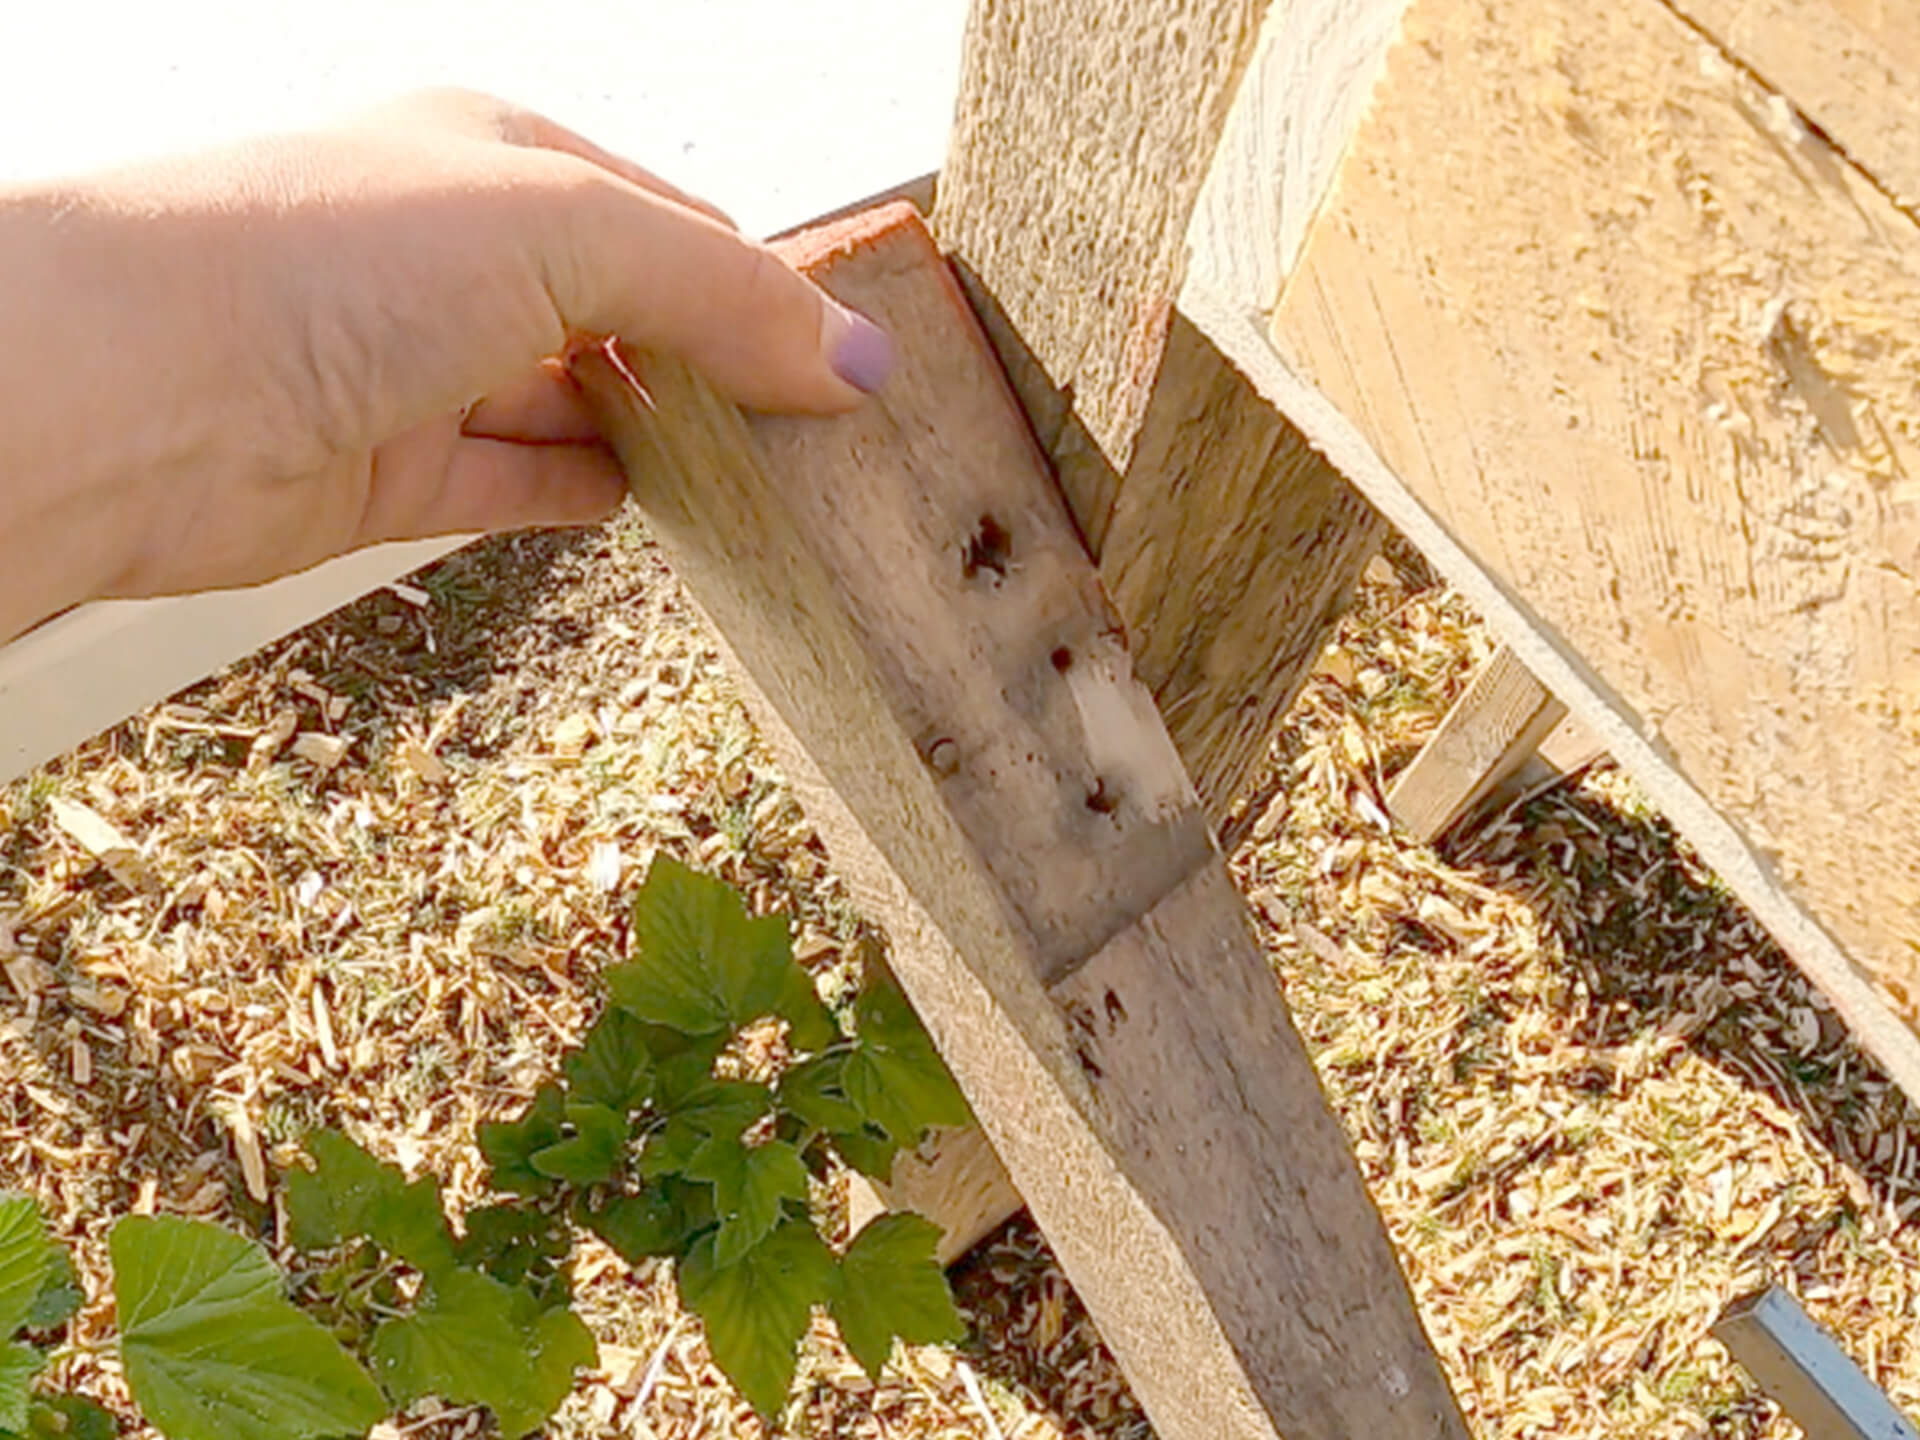
Take your remaining two lengths of chunky wood and change the setting on your mitre saw to 45 degrees. This angle can be increased or decreased depending on the angle you want to achieve. A larger angle will make a longer planter and a shorter angle will give you a more upright planter which is better for smaller spaces. Using your mitre saw, cut a 45 degree piece off one end of both lengths. Make sure your lengths are the same size.
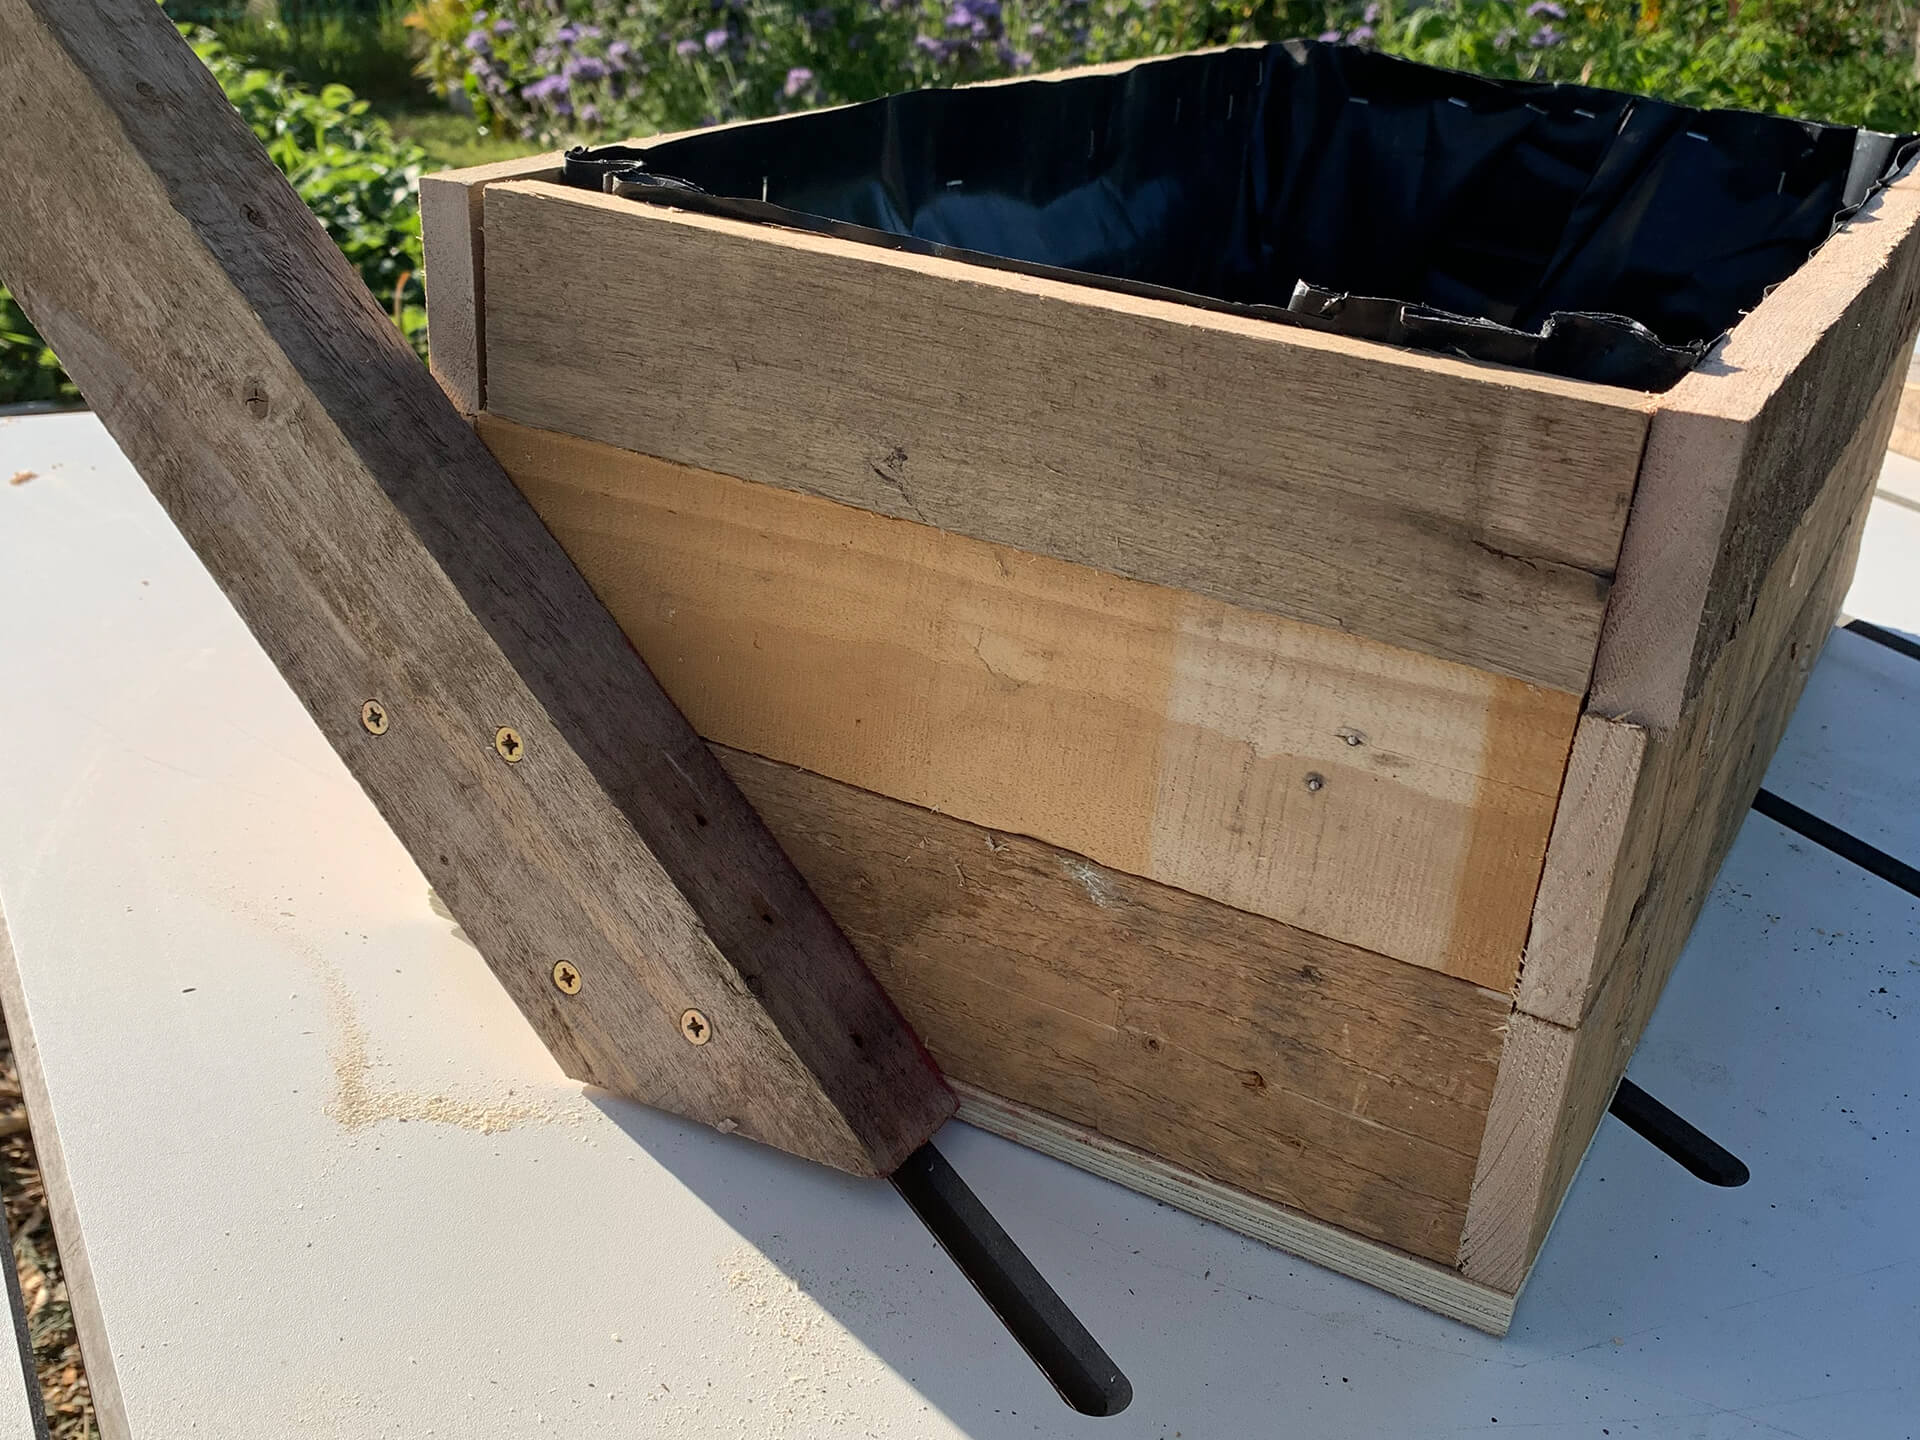
Step Ten:
Take another planter and lay it upright on a table. Then place your piece of wood with the 45 degree angle flat on the table, up against the side of the planter. You can set this as far in or out as you like, depending on how much space you have for the planter. Take your piolet drill and make six holes through the length of timber. Screw this to your planter using suitable screws, making sure the 45 degree cut stays flat on the table. Repeat on the other side making sure the two lengths are the same distance in on the planter.
Step Eleven:
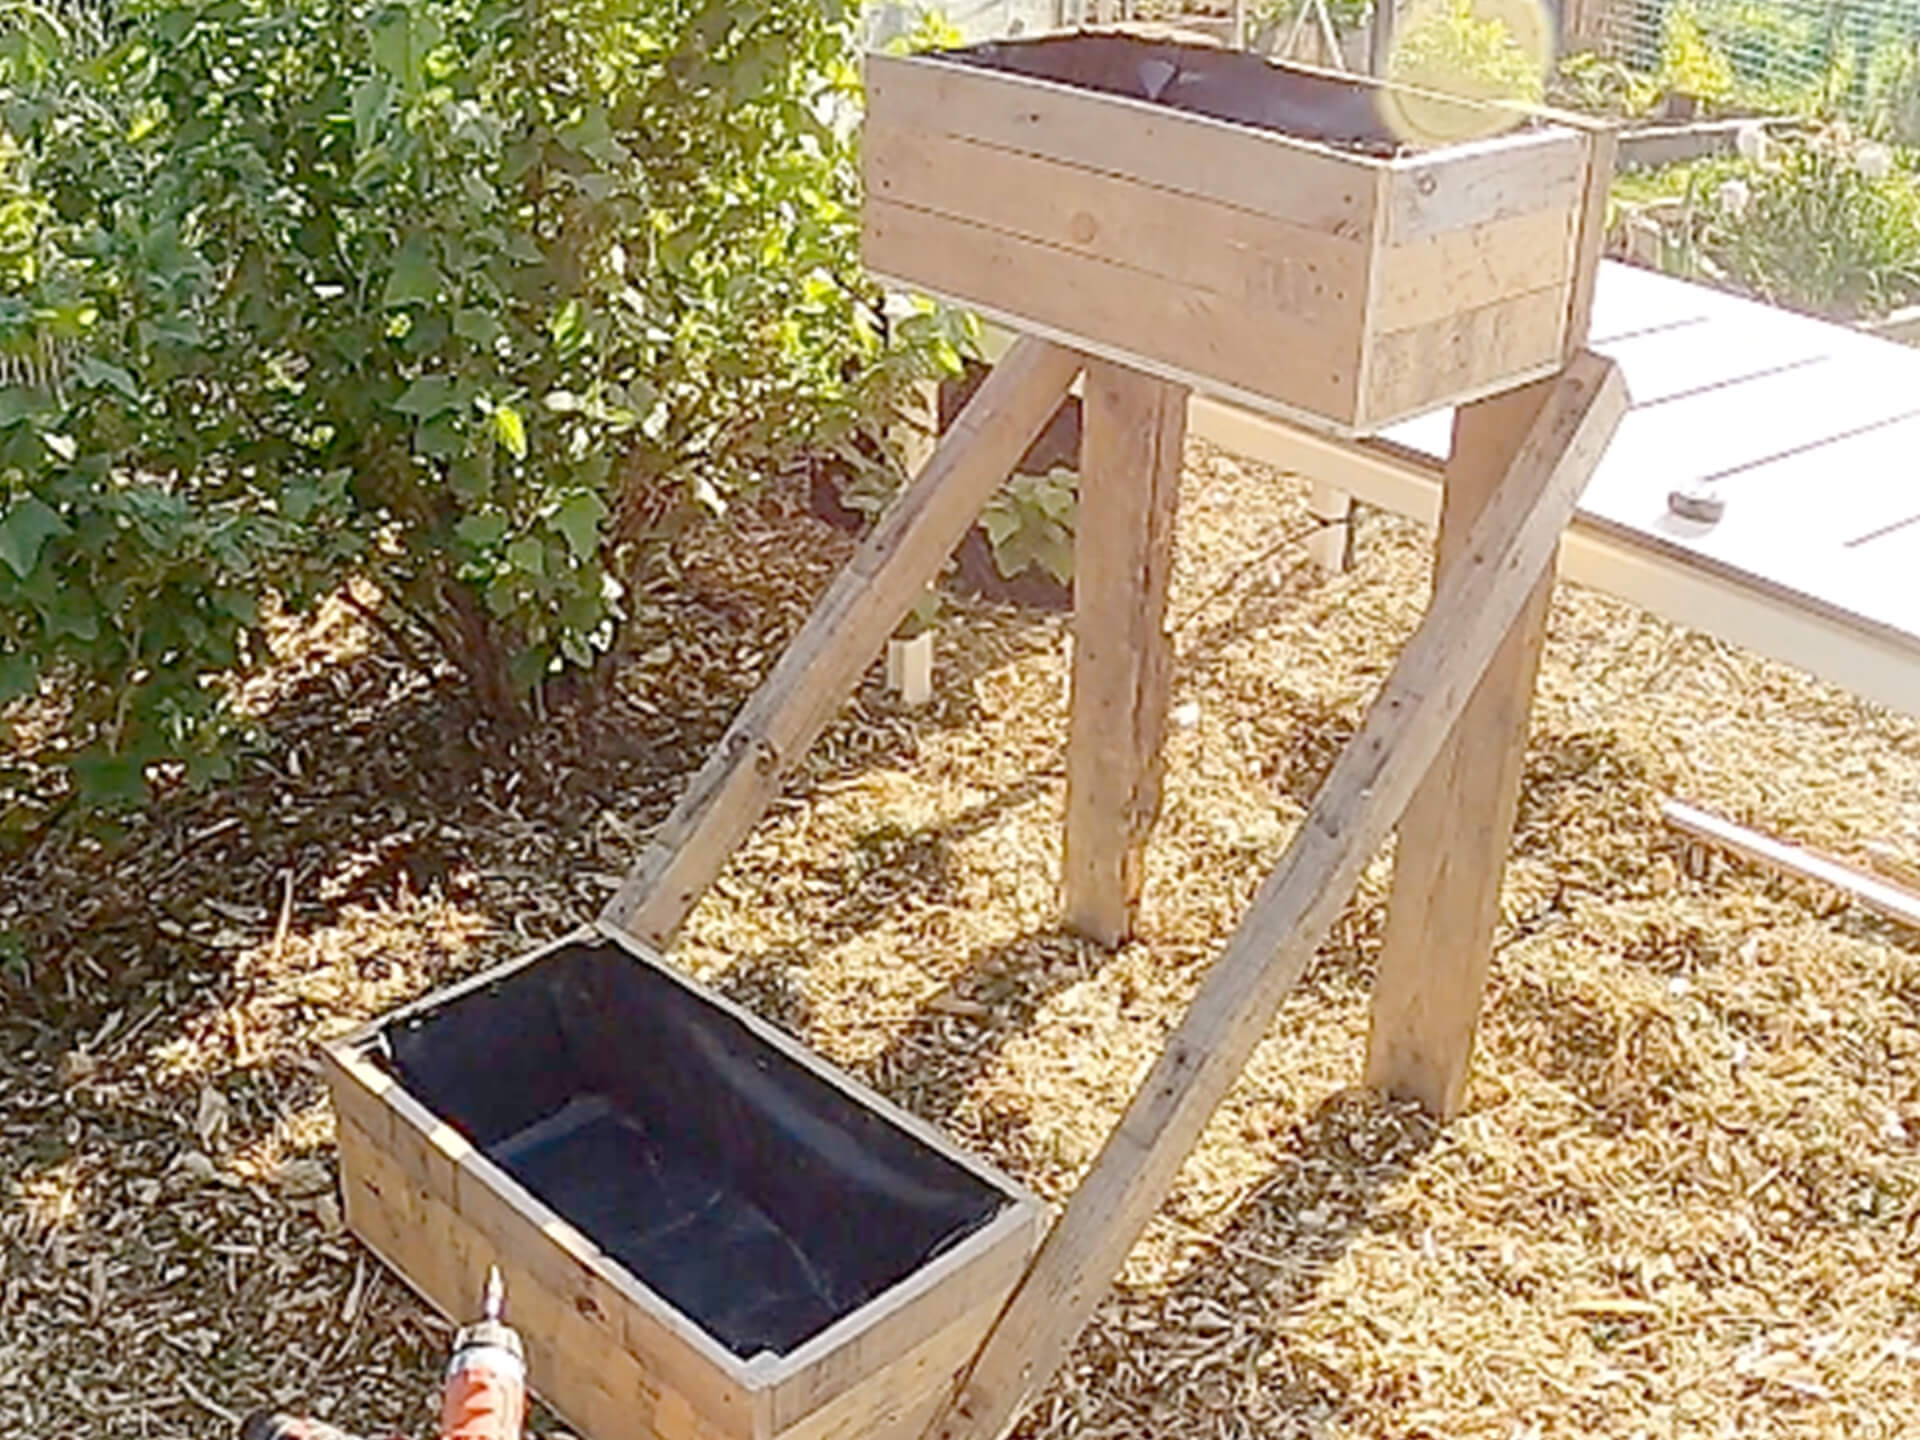
Now we have two sections, the top and the bottom, it’s time to fix them together. Place the bottom planter on the floor with the diagonal pieces in the air. Slide the top planter in-between so your diagonal lengths are on the outside of the two vertical lengths, just underneath your top planter. Take your level and make sure the top planter is left from back to front. Once level, use your piolet drill and impact driver to fix the two pieces of wood together with three long screws.

Step Twelve:
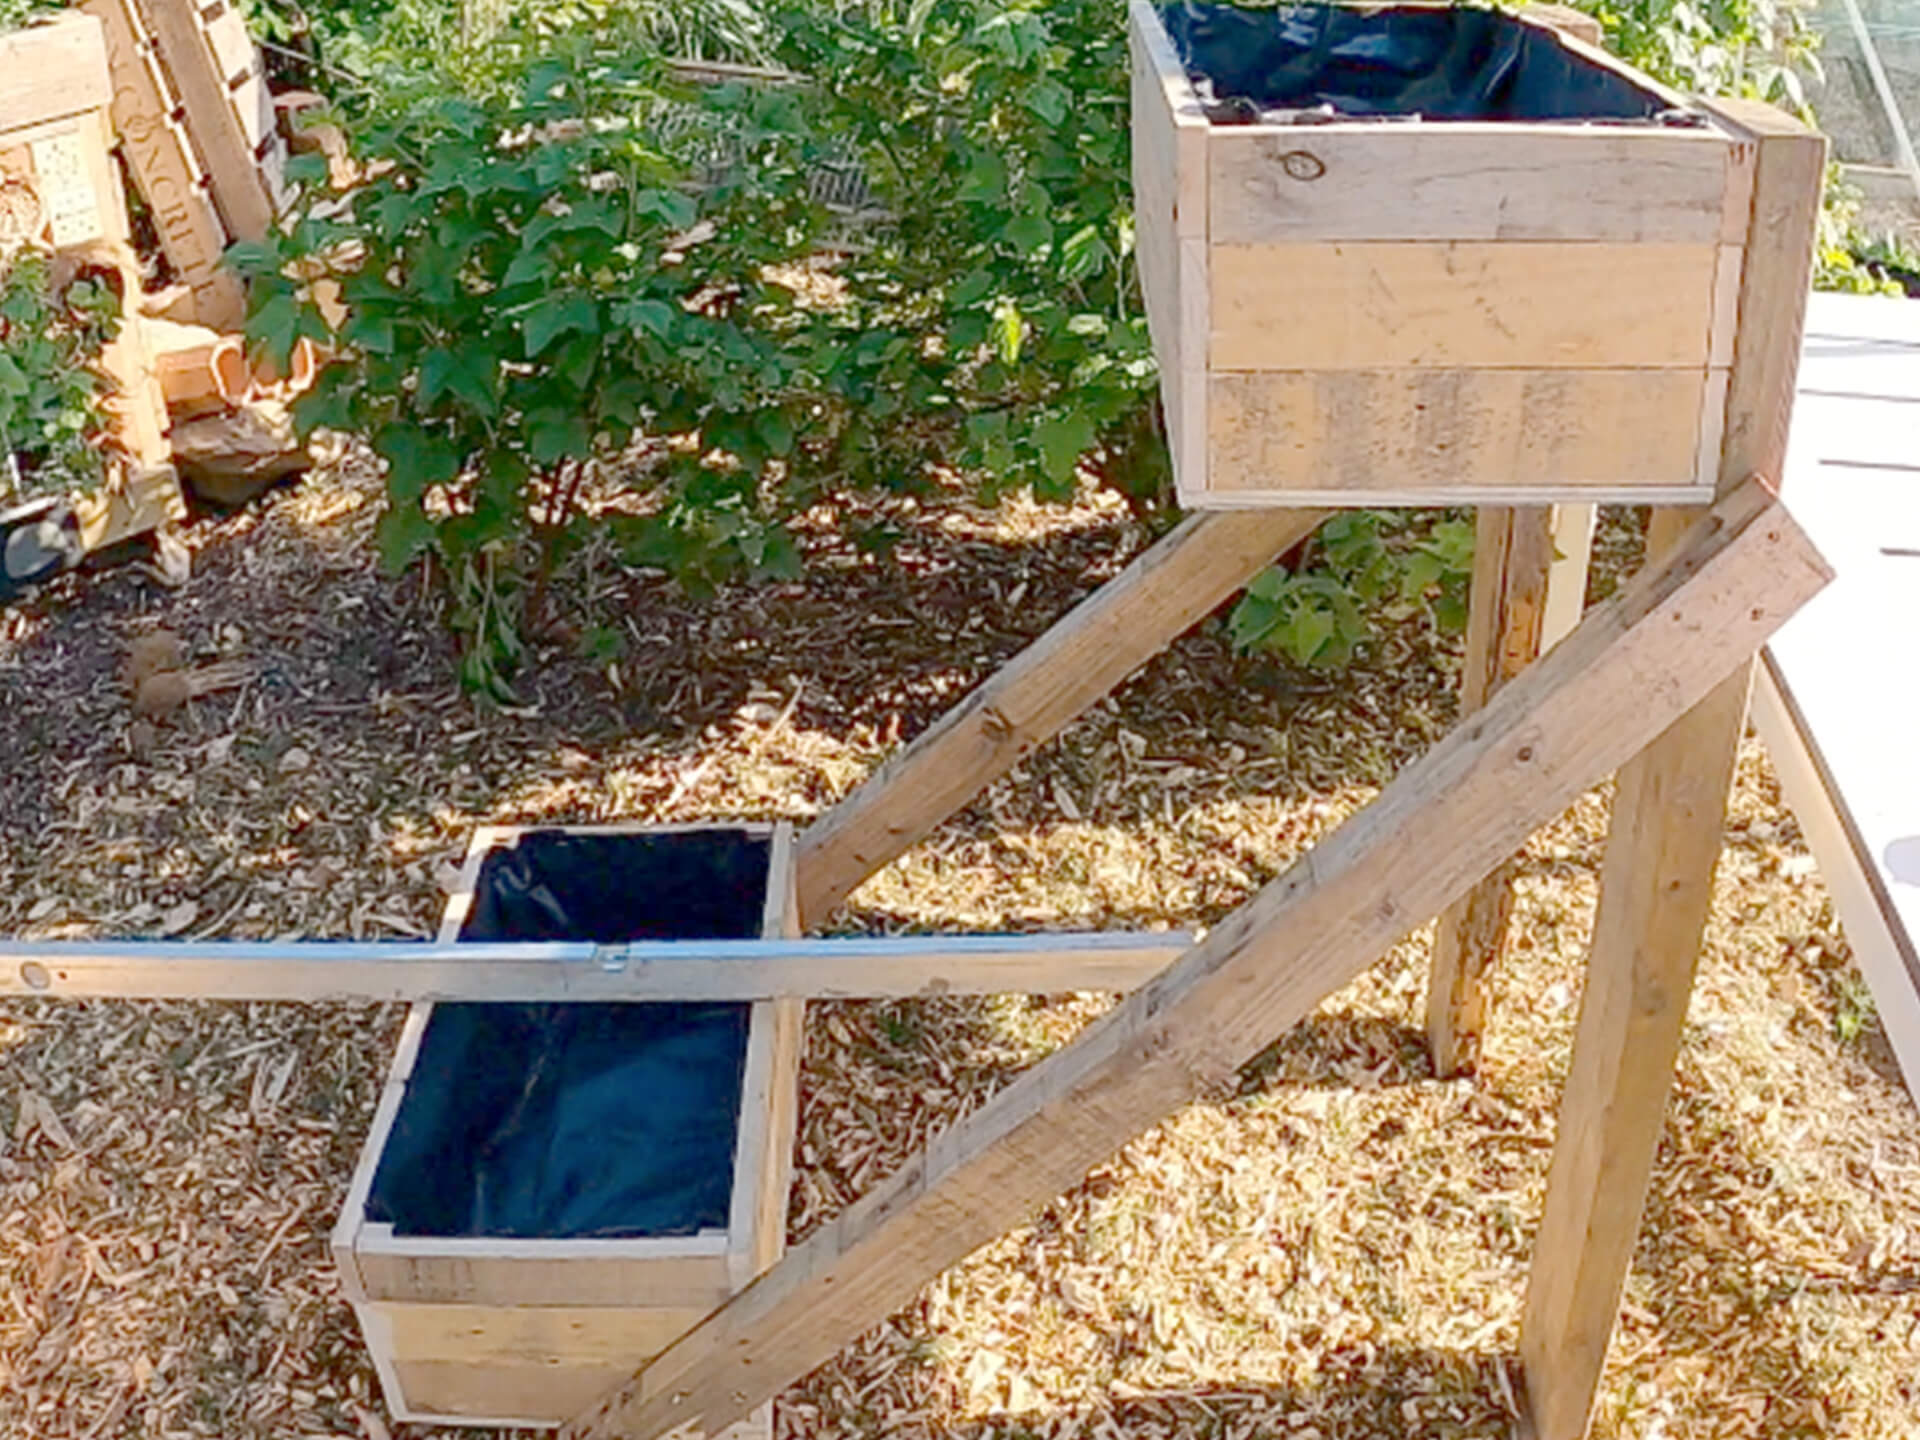
Take your level and make sure both planters are level from left to right. If you are on uneven ground, pack the lowest side up with packers or off cuts.
Step Thirteen:
Place your level on the bottom planter from back to front. Adjust this until it is level by moving your diagonal piece either forwards or backwards. Once level, secure in place like the other side.
Step Fourteen:
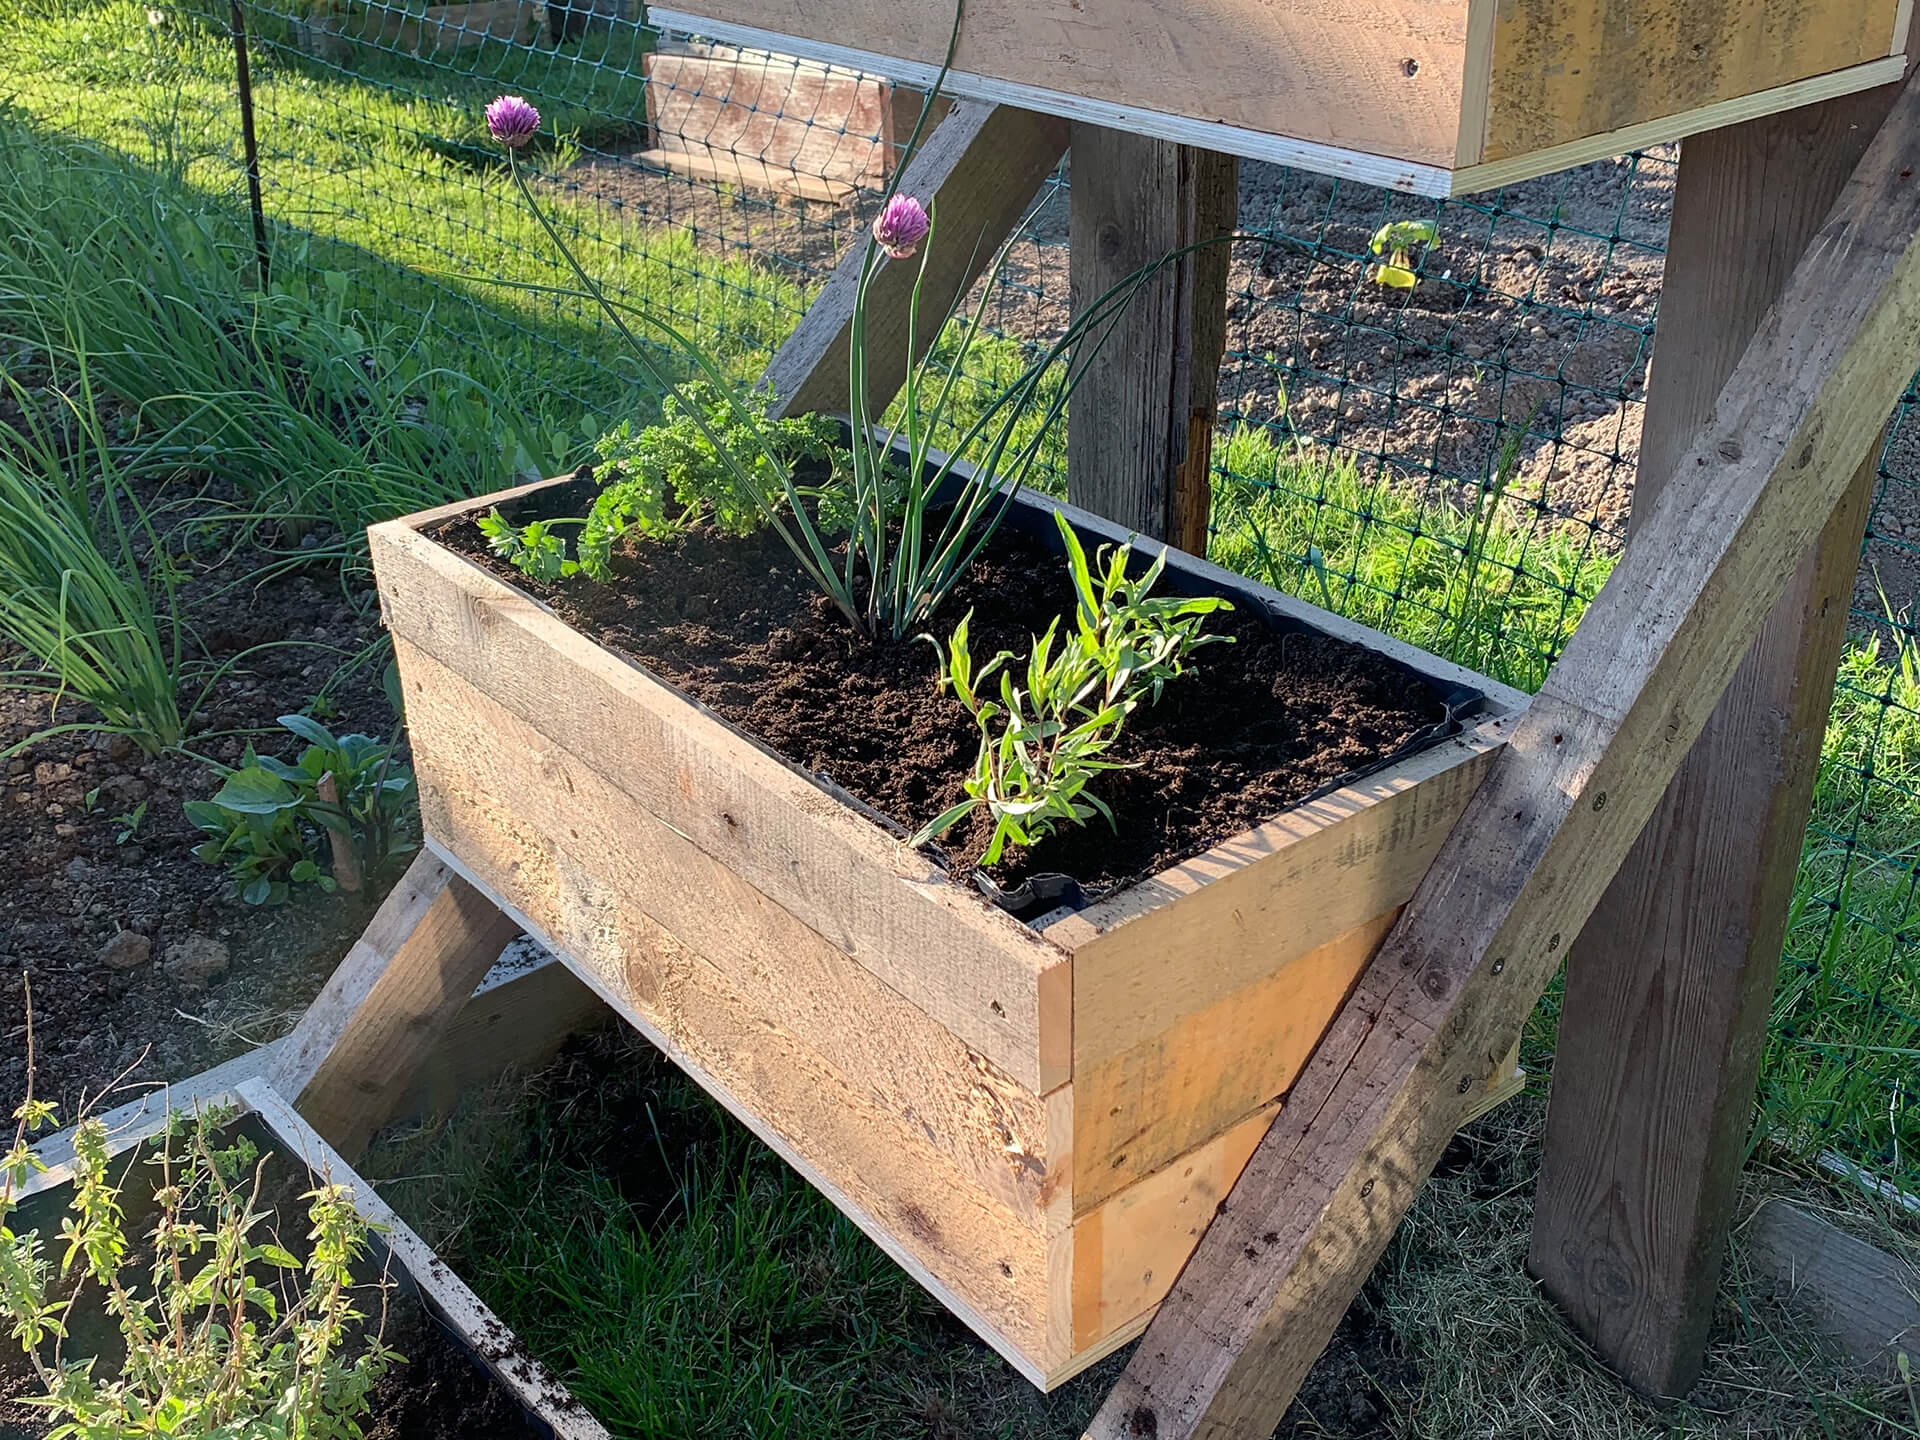
Now your frame and two planters are in place, its time to slide in your middle planter. Position this where you like, either evenly between the top and the bottom, or lower to allow more light to the middle. The planter should wedge in nice and tight so you may need a hammer to tap it into place. Before fixing, use a level to make sure it is perfectly positioned.
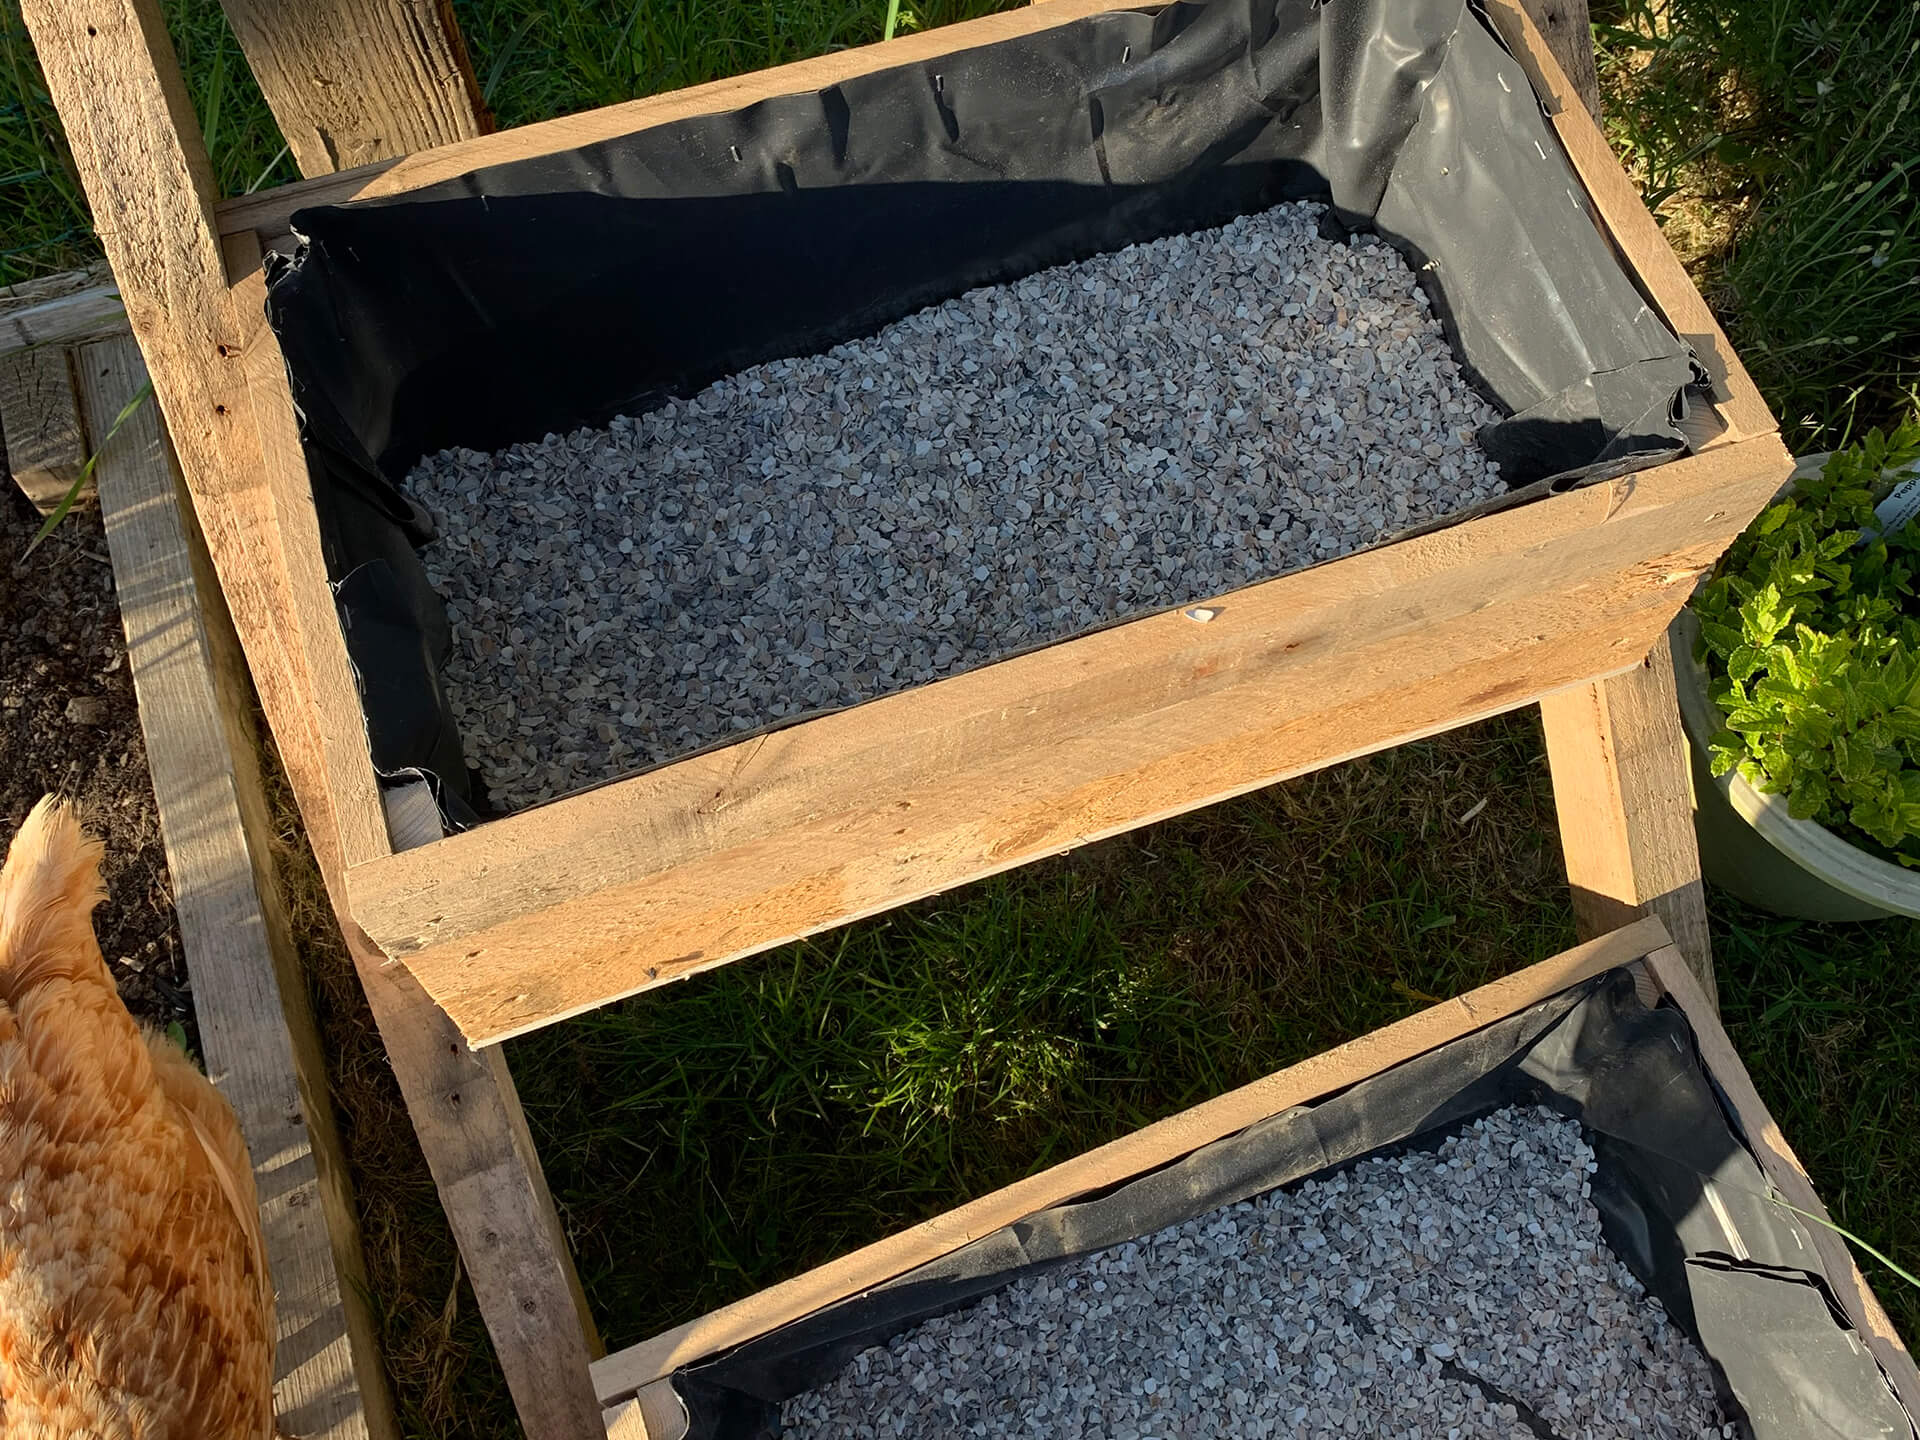
Step Fifteen:
Make holes in your plastic sheeting to allow for drainage. To prevent the drainage holes from getting blocked, spread a thin layer of gravel in the bottom. Then fill with a good multipurpose compost.
Step Sixteen:
Plant away to your hearts content. I’ve stuck to a range of herbs but you can fill it with tumbling tomatoes, strawberries or even salad leaves and beetroot. The best thing about this planter is its size. So many vertical planters lack the growing area that’s needed for most plants. They outgrow their space quickly and it’s a job to keep on top of the watering.
Step Seventeen:
Water and enjoy your extra growing space.