How to make a wellie rack and jack
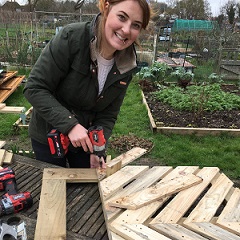
Autumn, Winter and even Spring seem to get wetter every year, turning my allotment paths and garden into a mud bath. I’ve always got wellies on hand but getting them off and storing them without spreading mud everywhere can be a challenge. These instructions show you how to make a wellie rack and a wellie jack to help you get your wellies off. They are two simple useful projects that can be made from off cuts you have lying around.
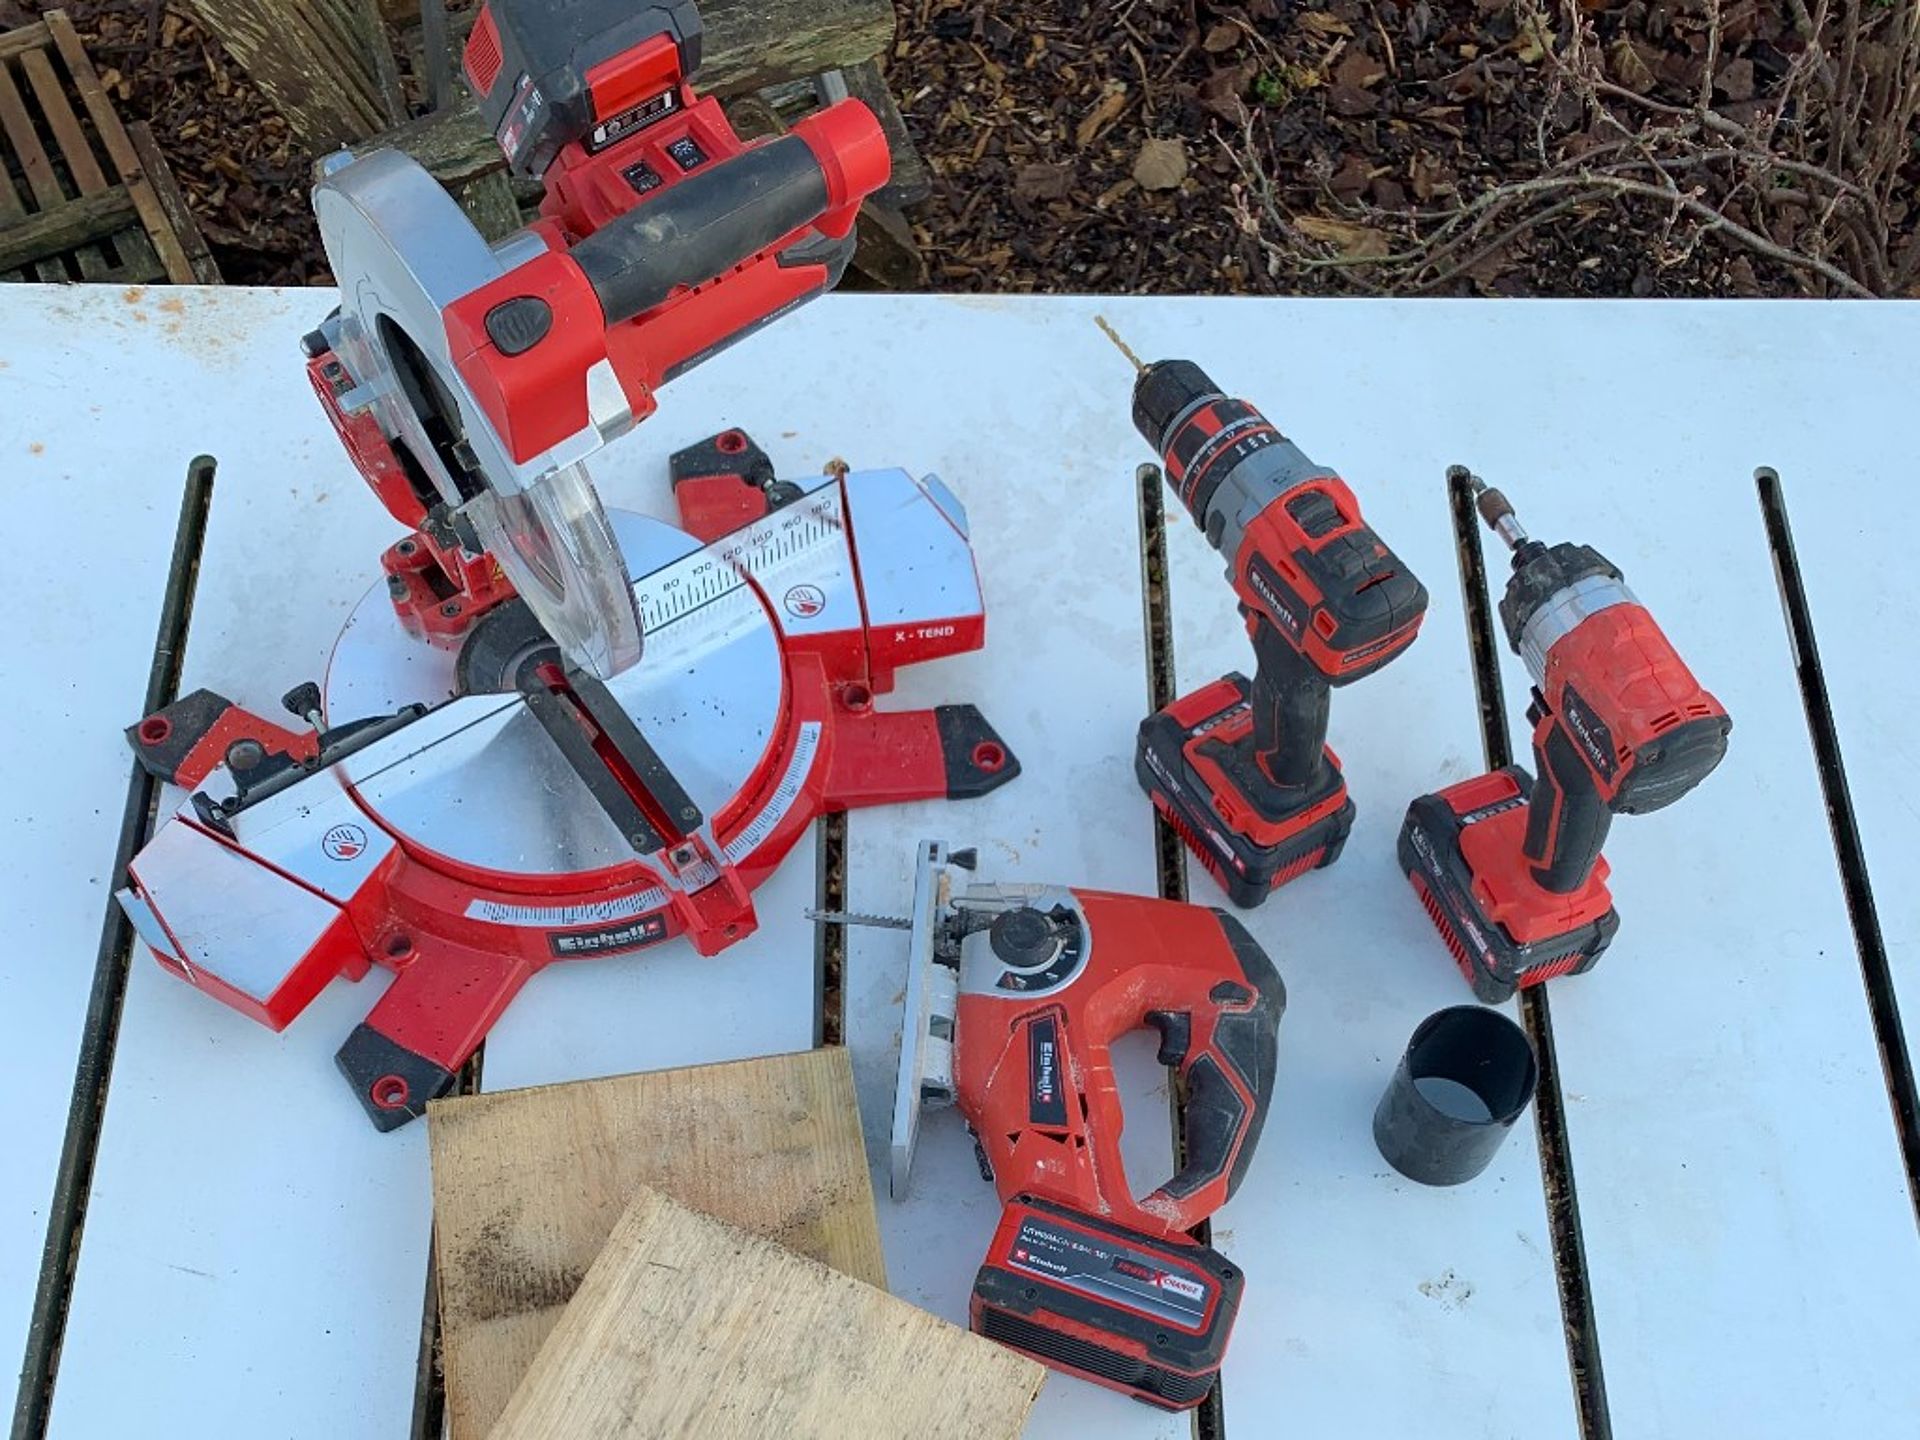
Here’s the materials and the equipment that you will need:
| Materials you wil need: | Tools |
|---|---|
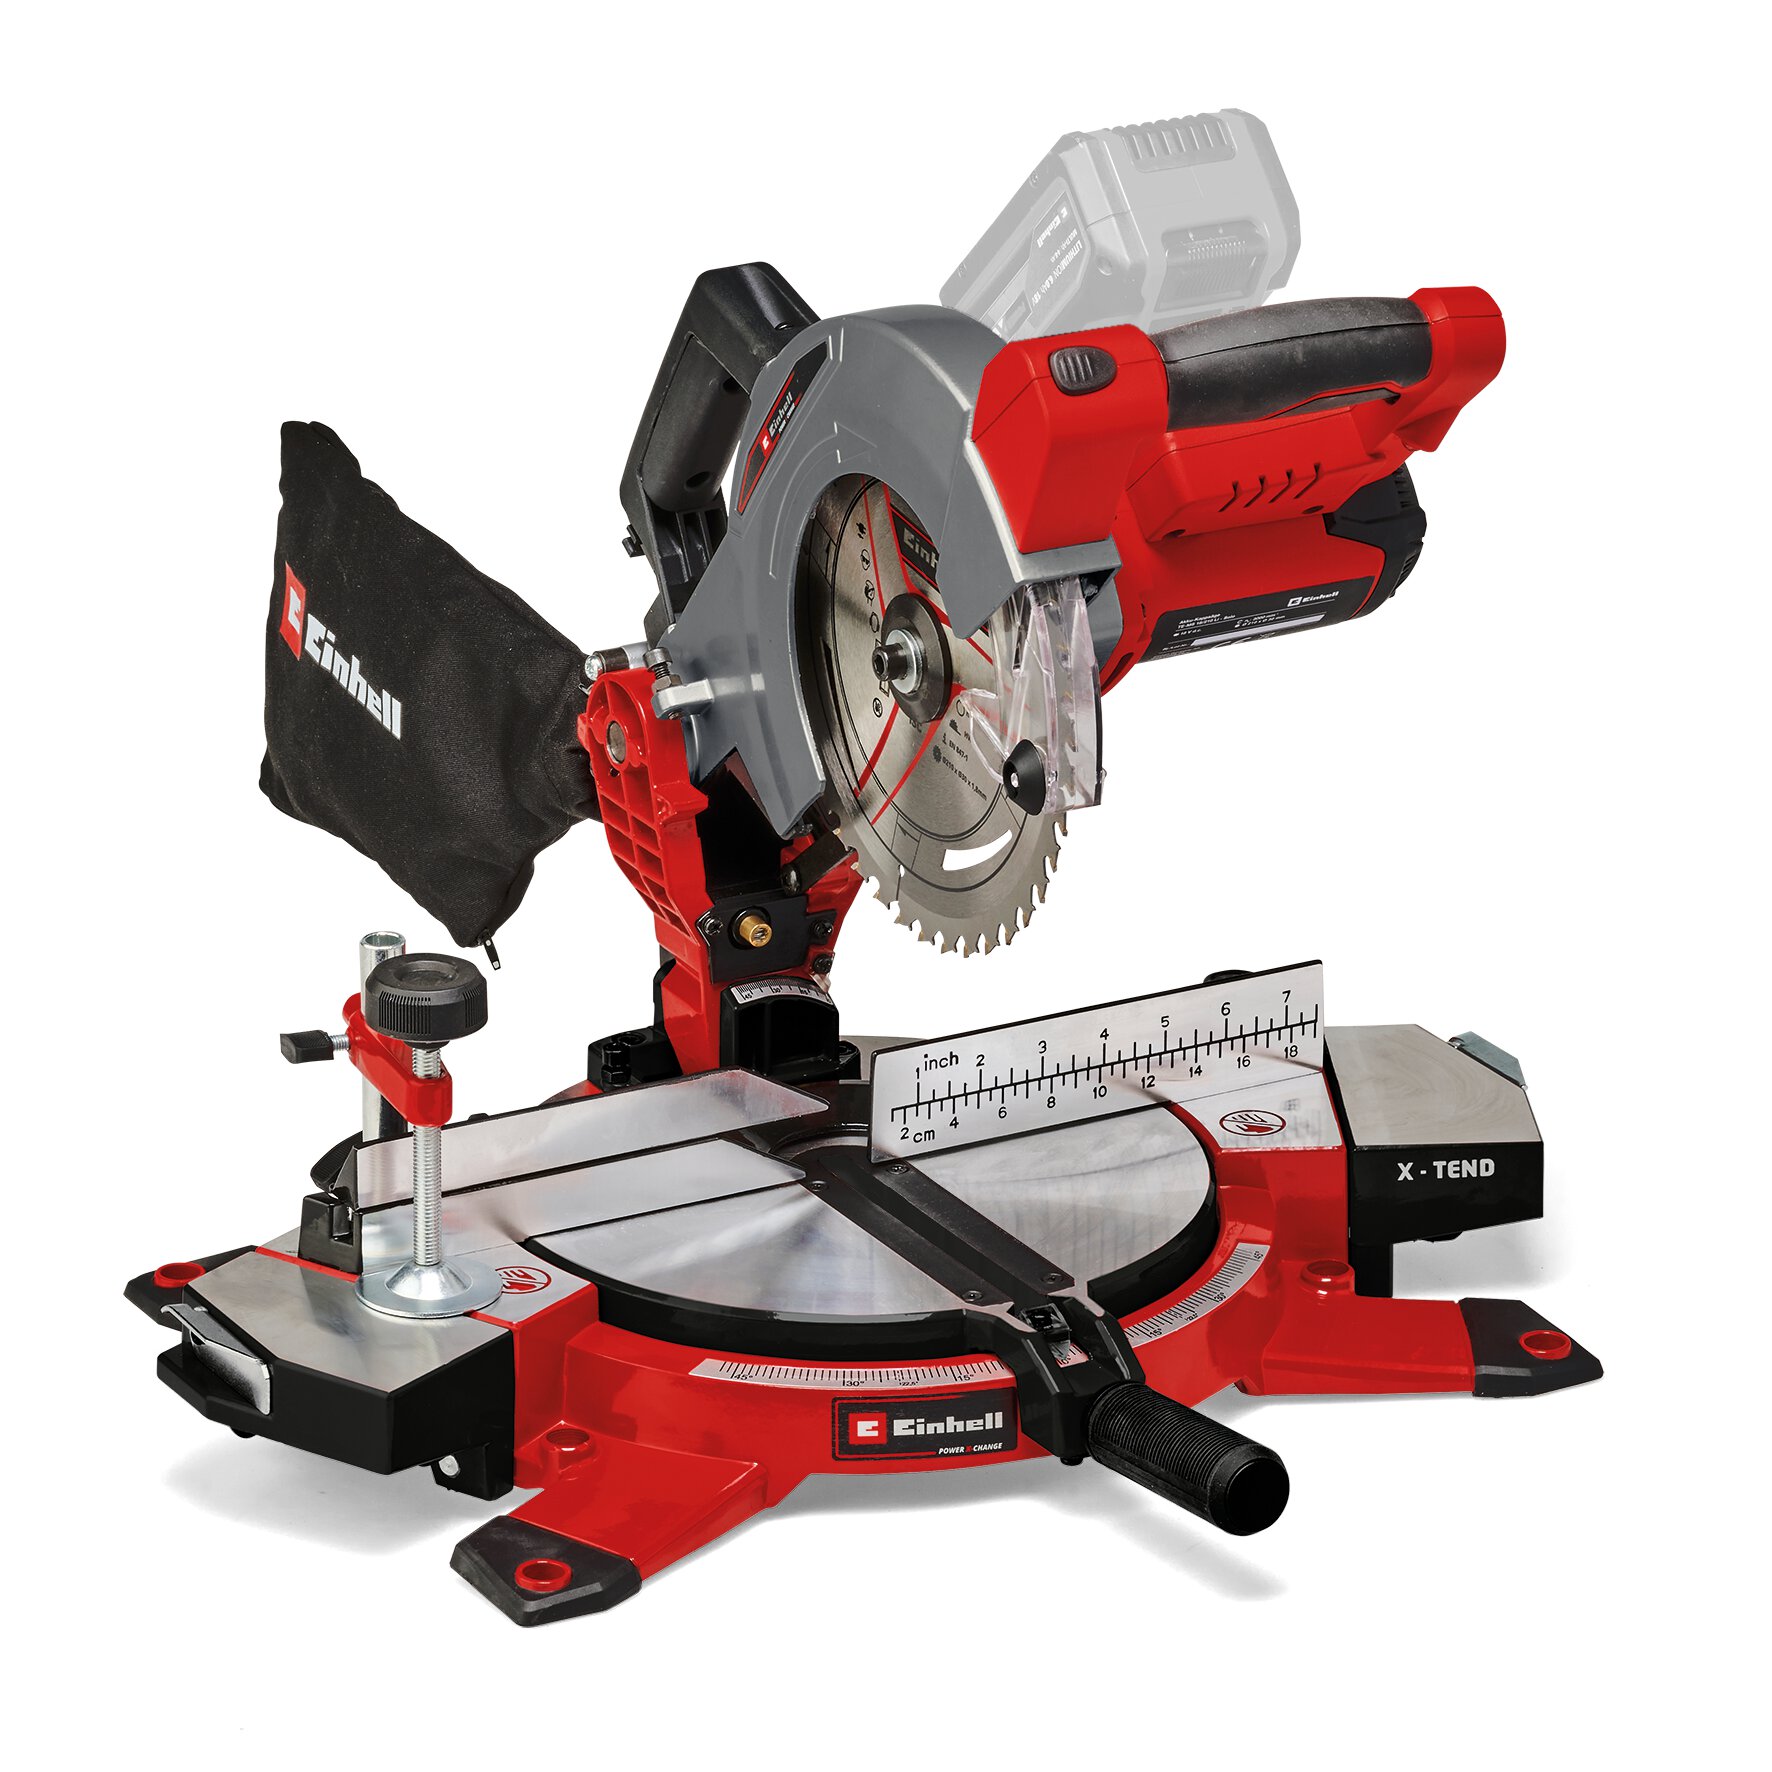
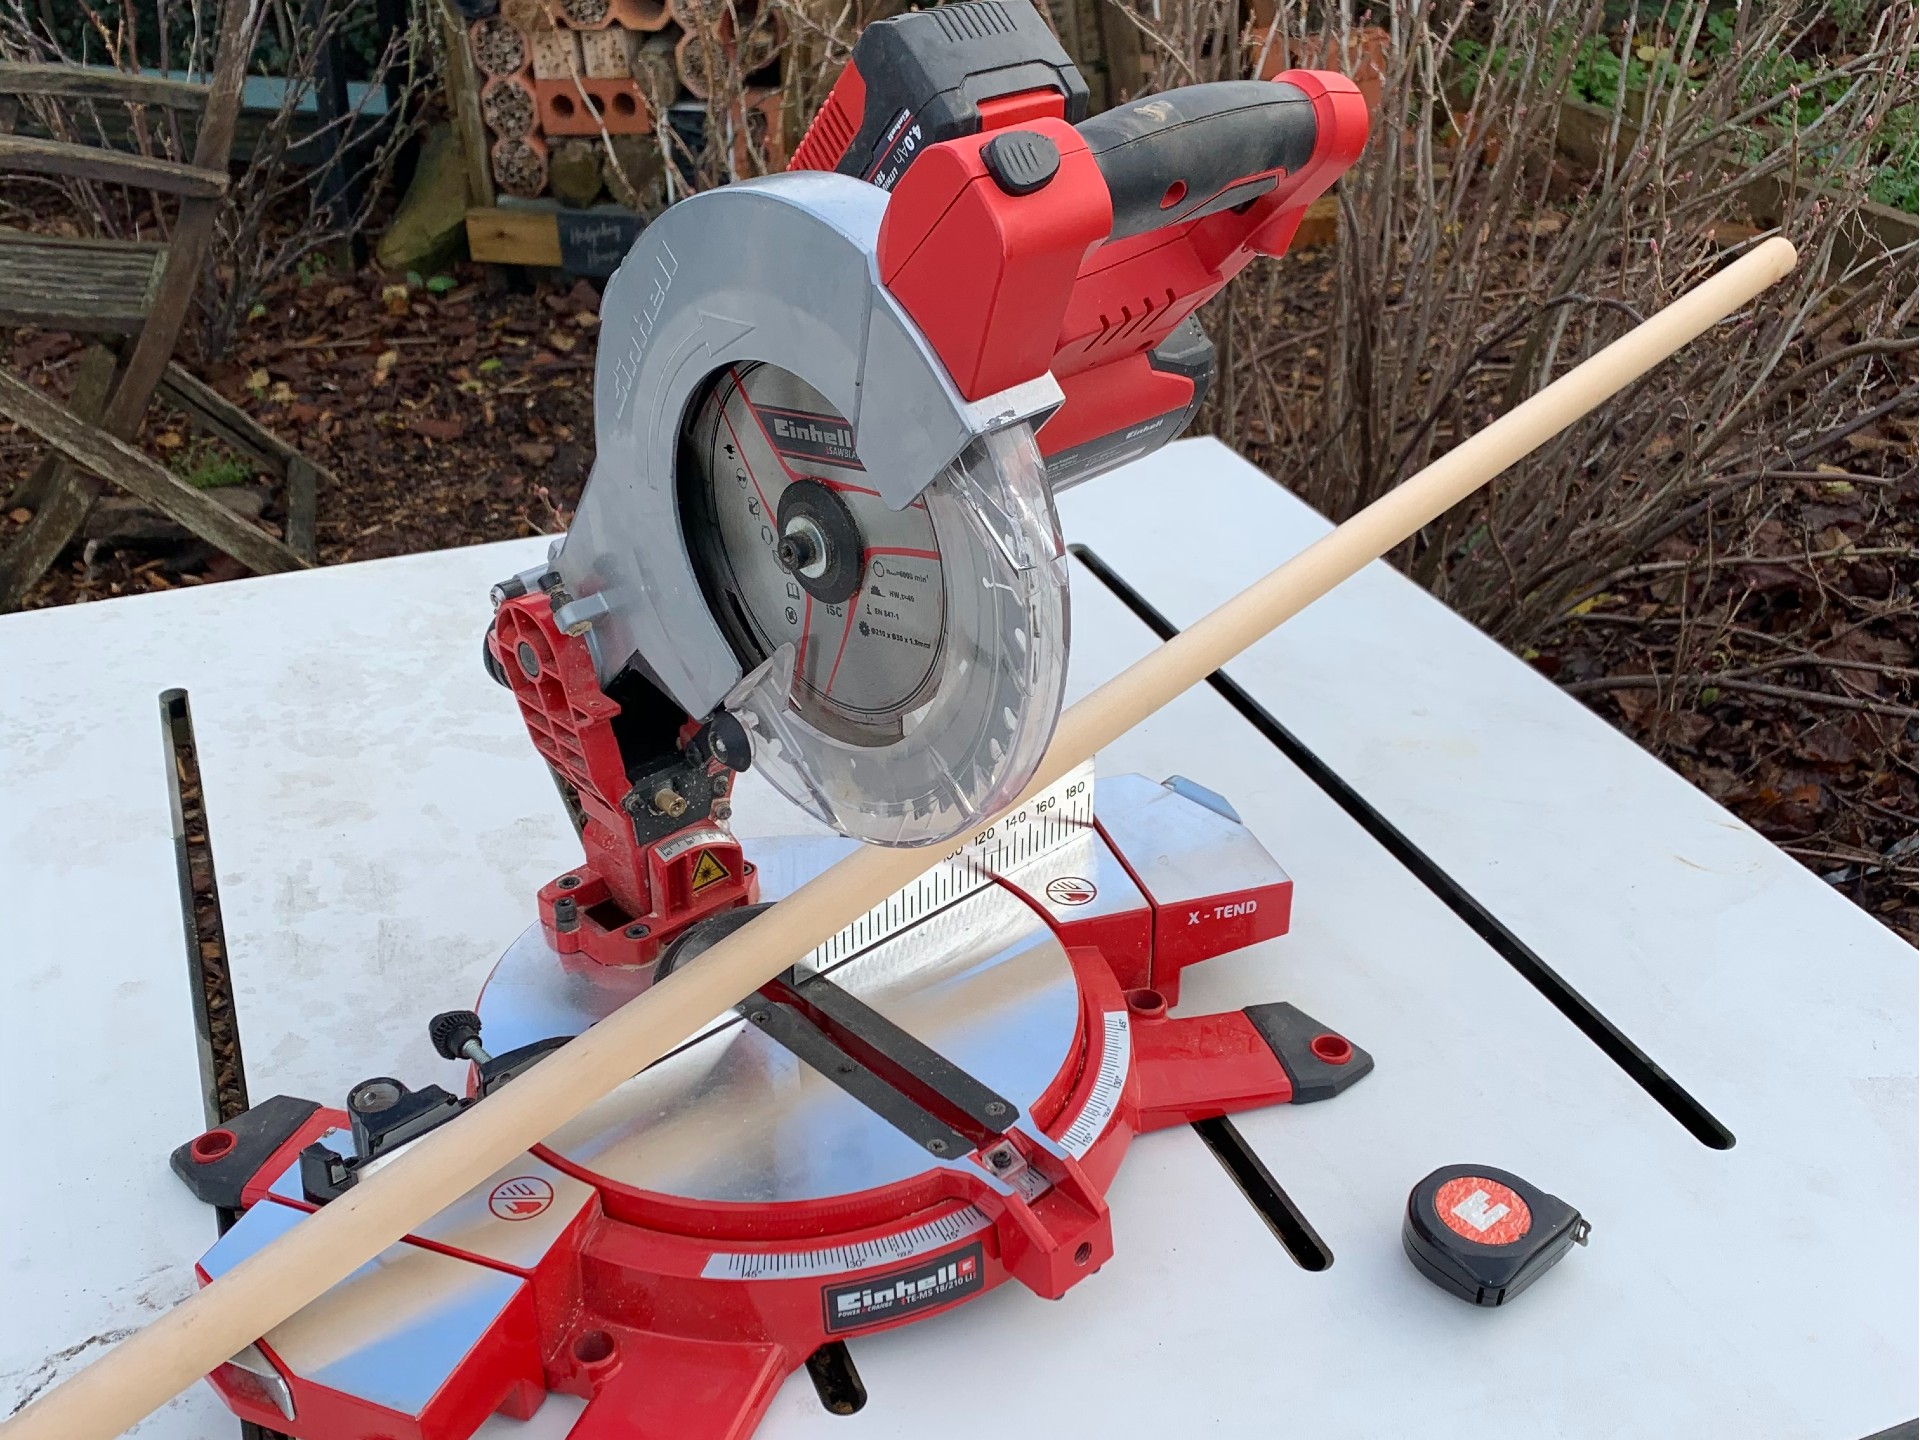
| <strong>Wellie rack: </strong> | Power X-Change TE-MS 18/210 Li - Cordless Mitre Saw |
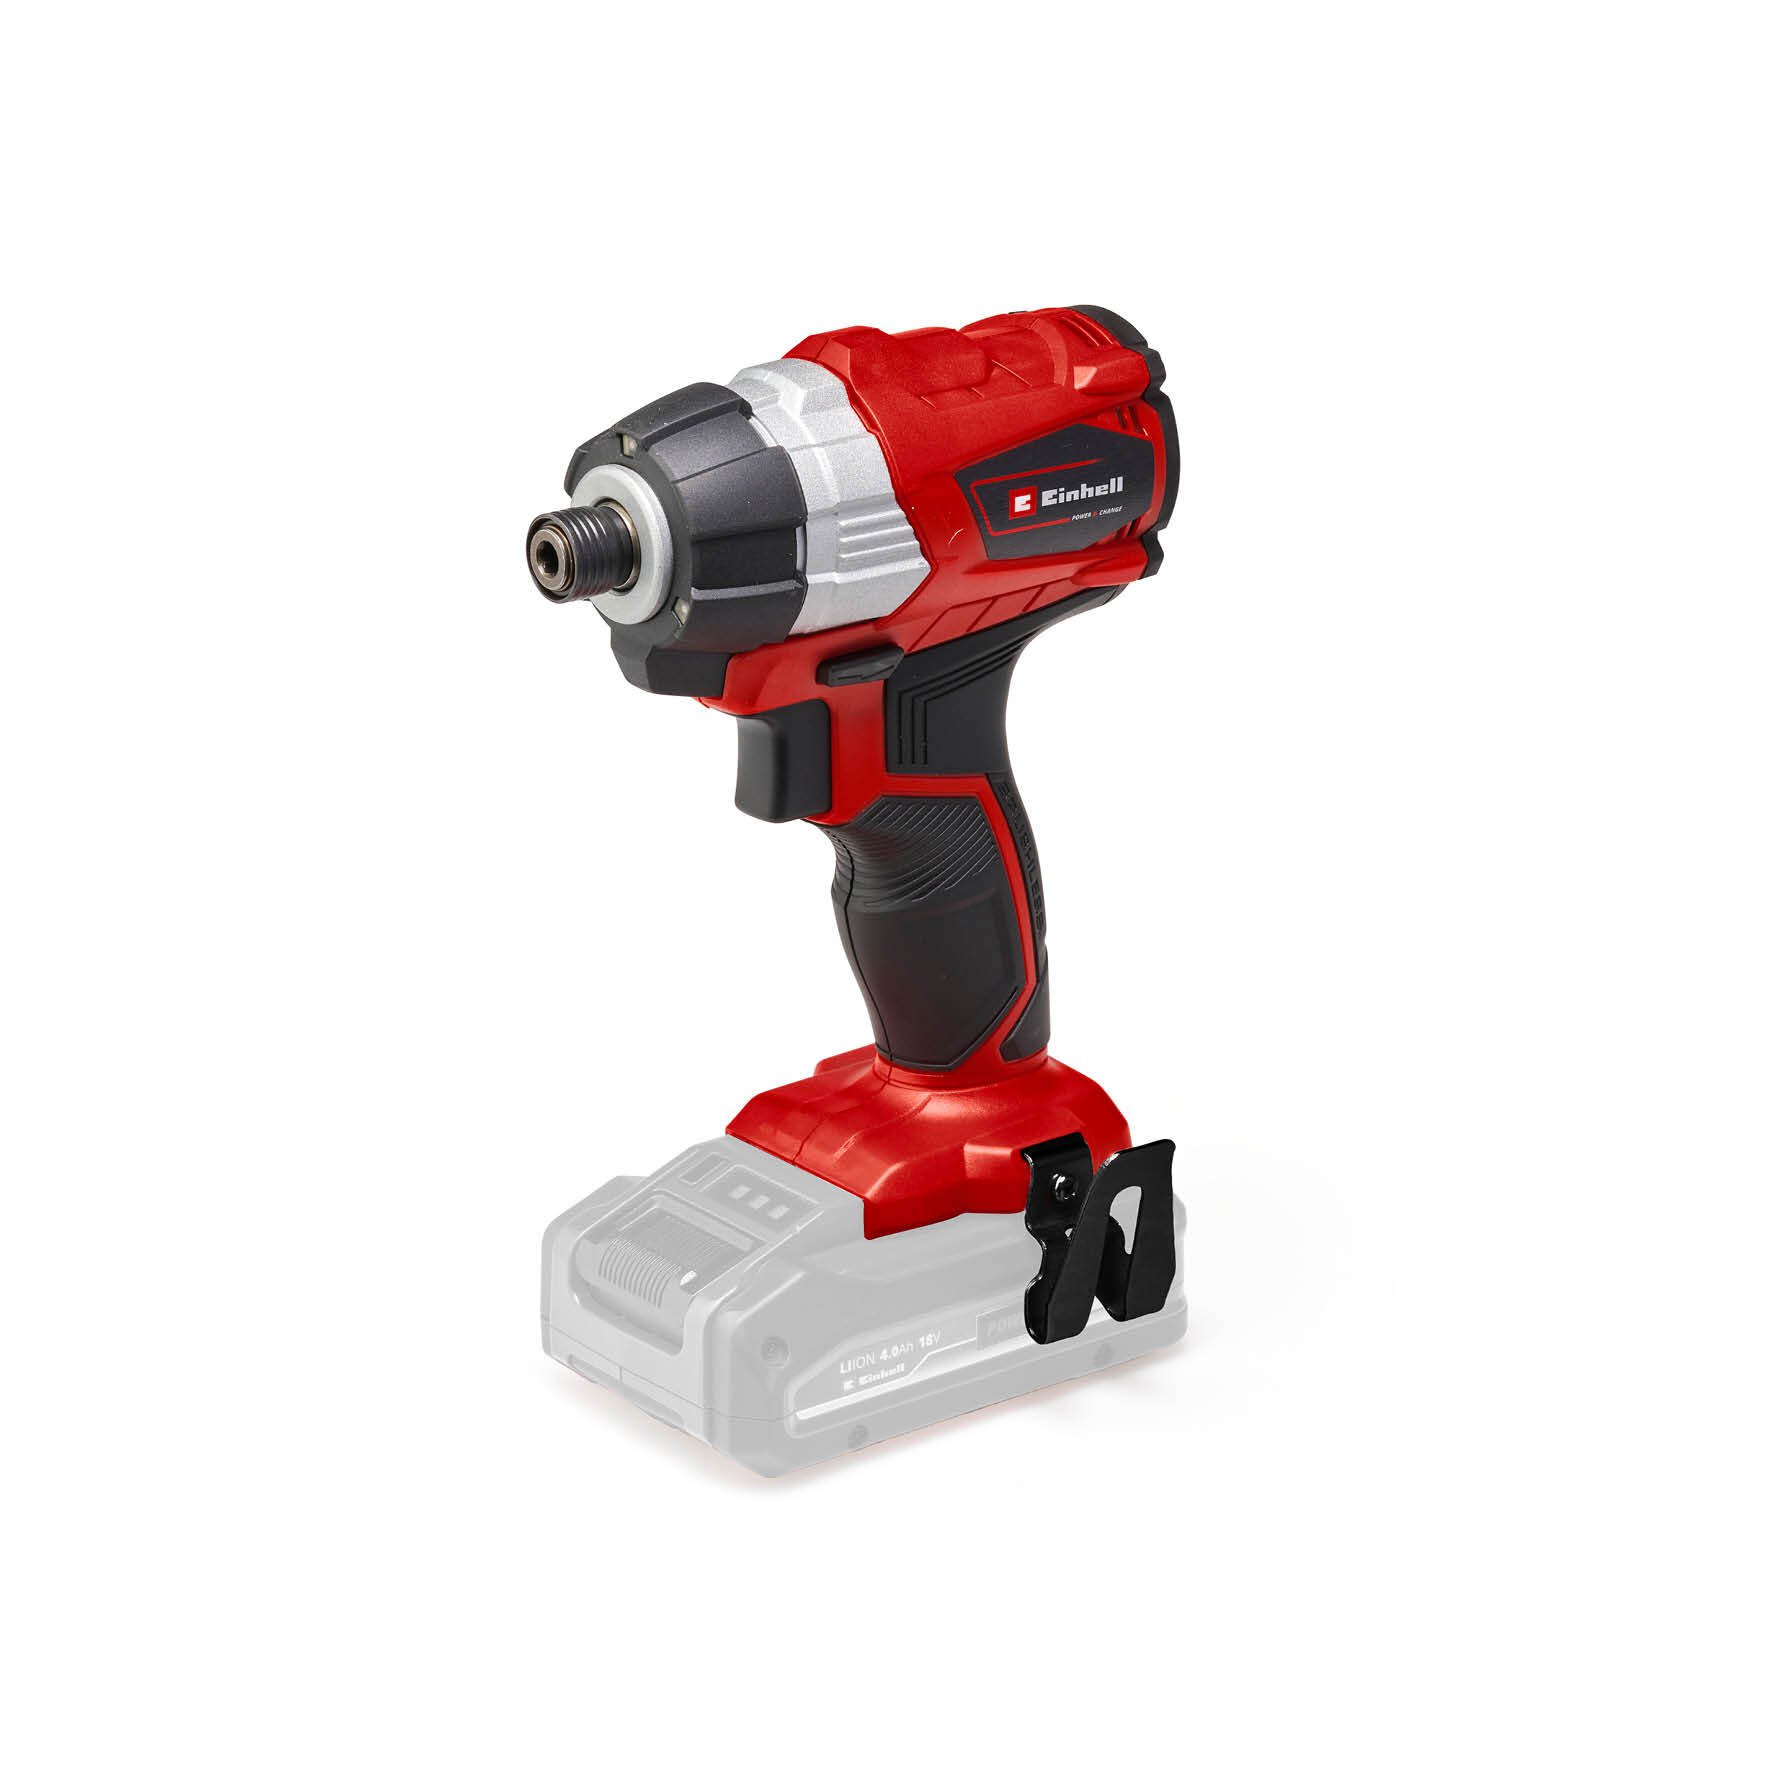
| 25mm dowel – approx. 1.6m long | Power X-Change TE-CI 18 Li BL solo - Cordless Brushless Impact driver |
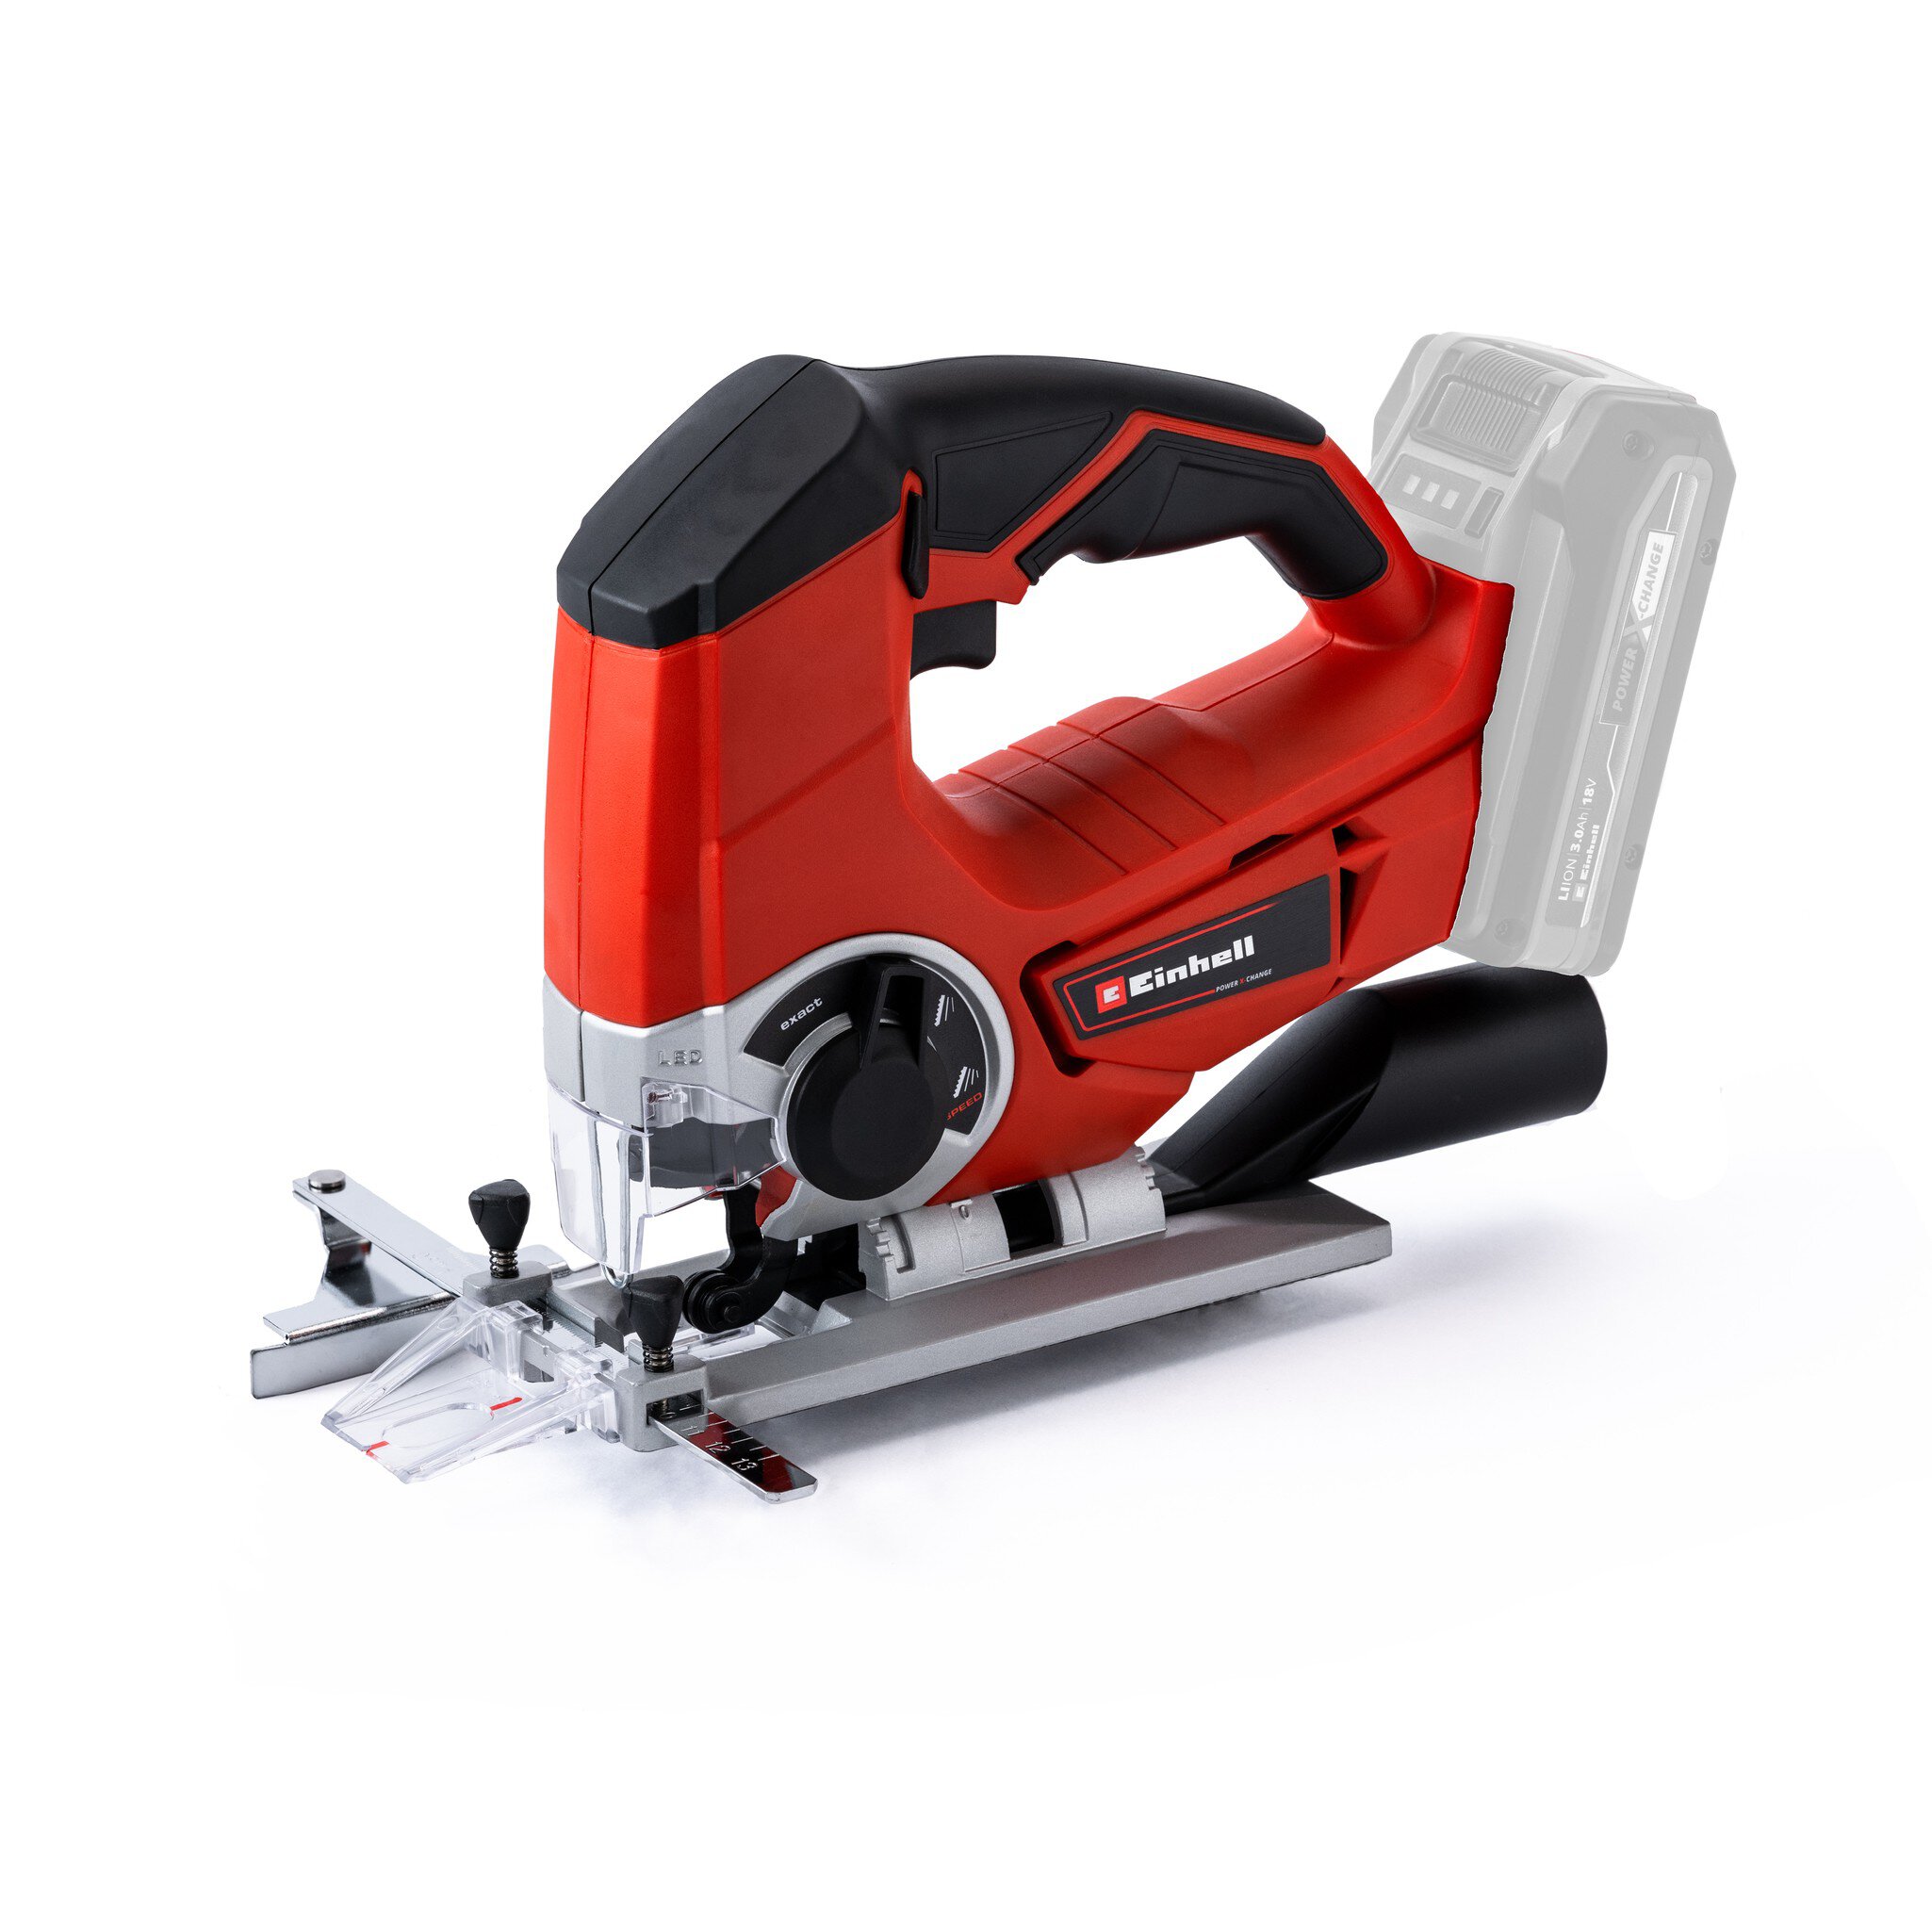
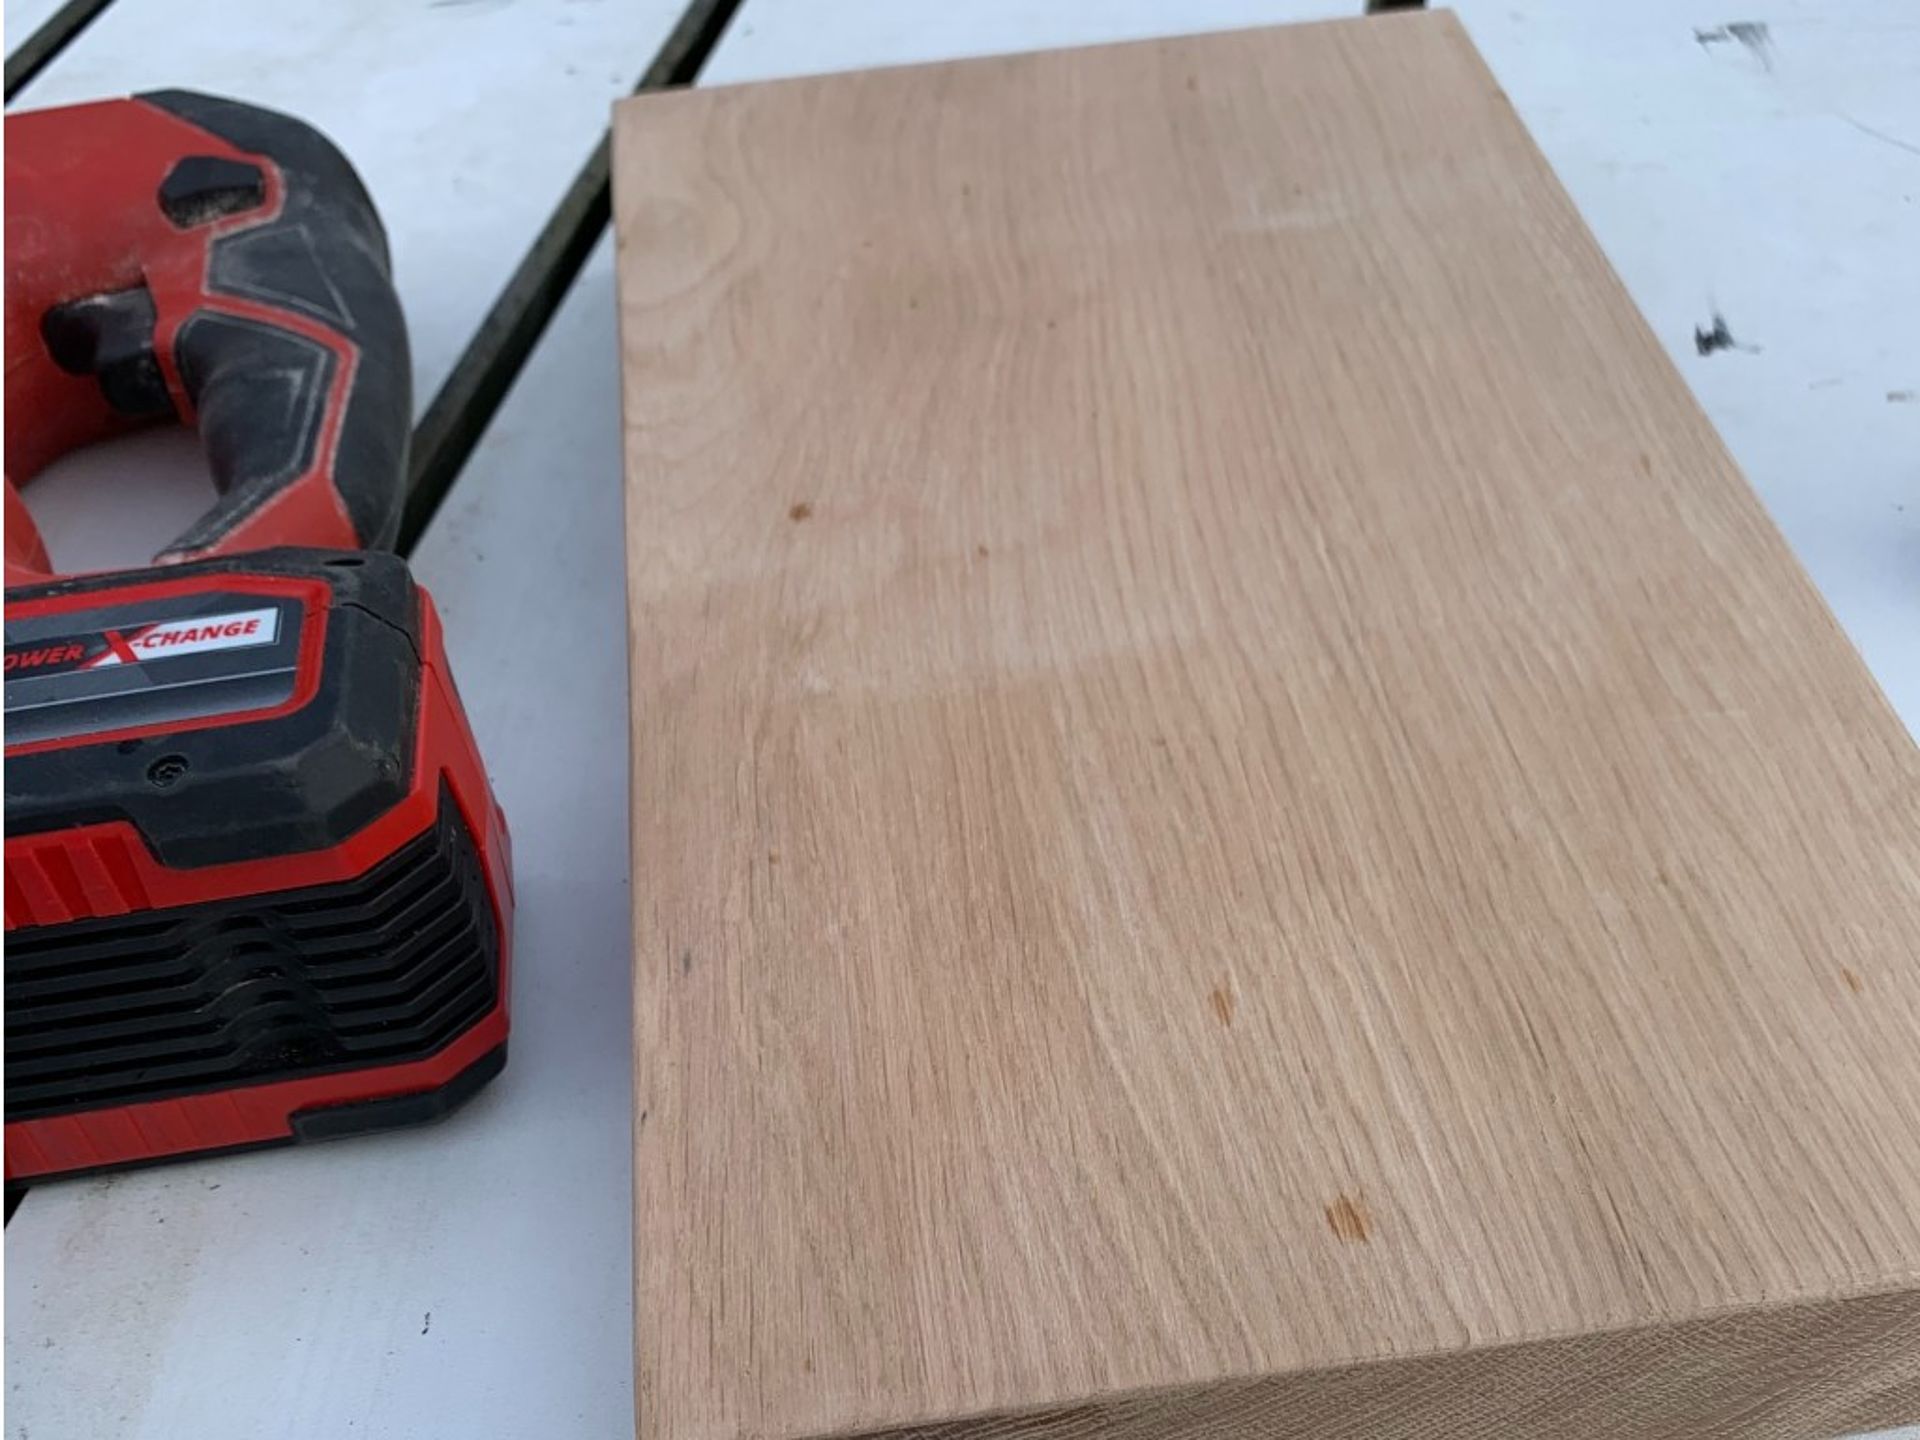
| 1 chunky piece of wood similar to 20x30cm | Power X-Change TE-JS 18 Li-Solo - Cordless Jigsaw |
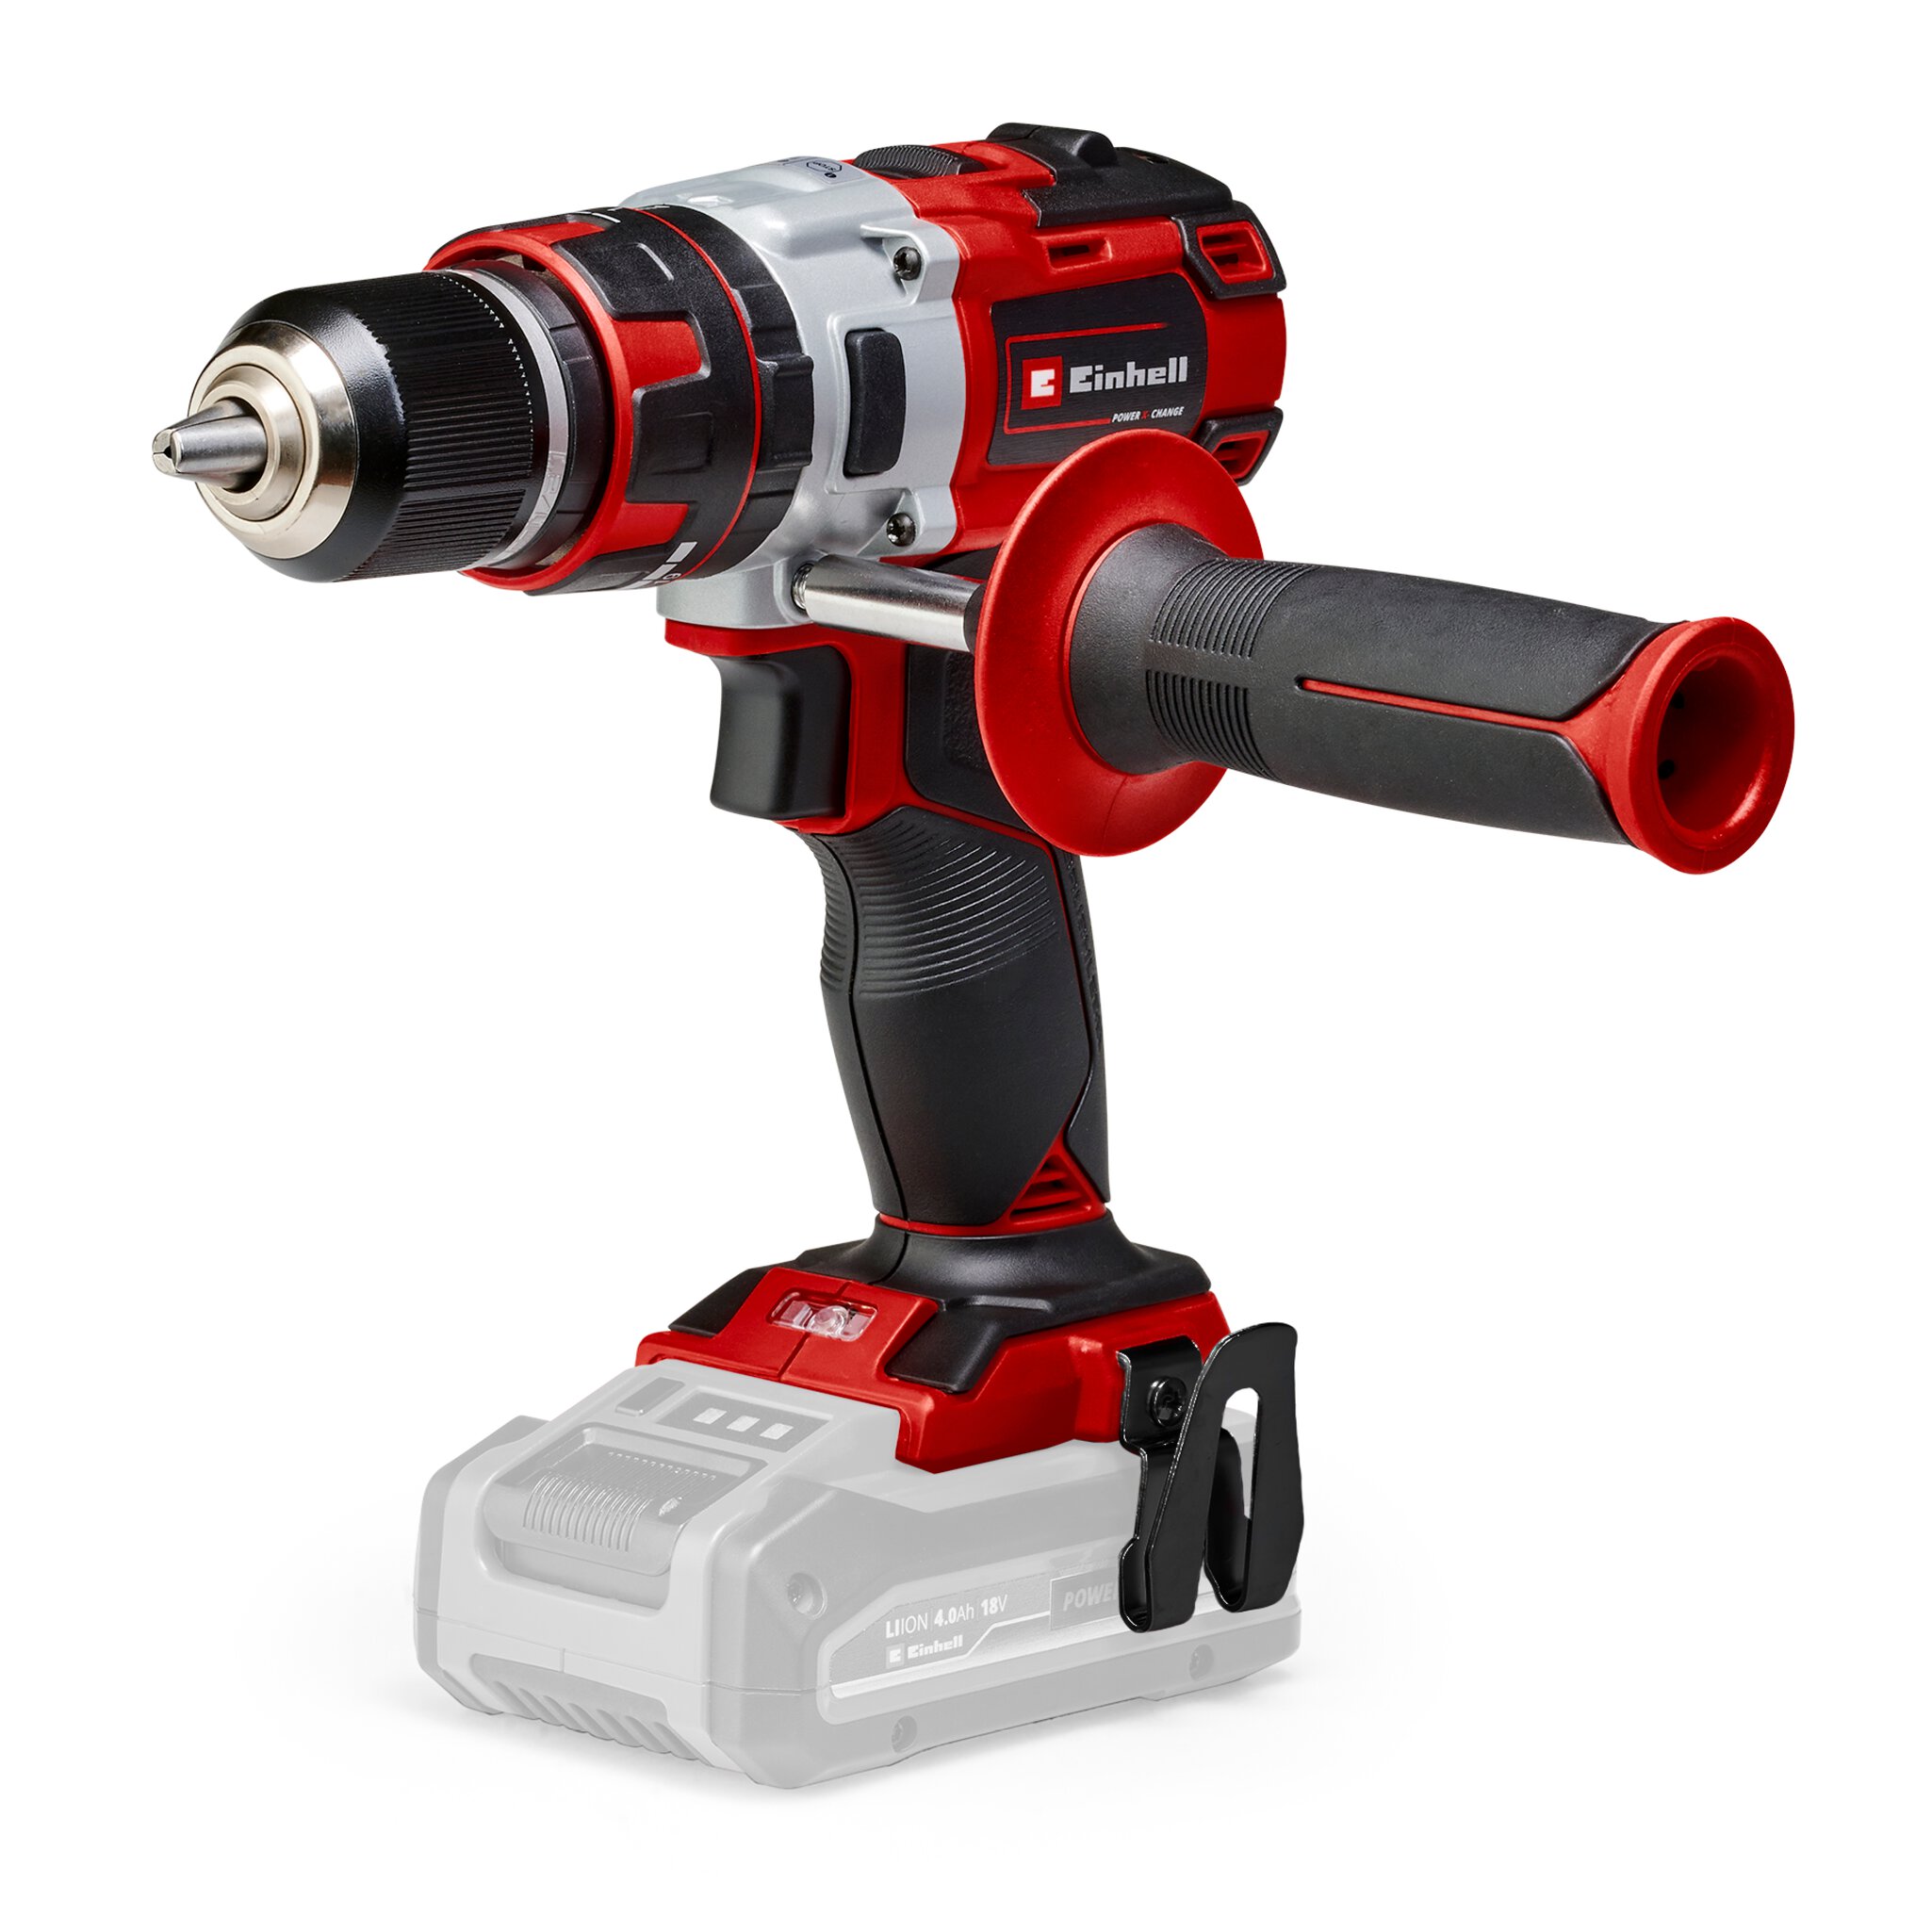
| 50mm screws | Power X-Change TE-CD 18 Li-i BL solo - Cordless Brushless Combi Drill |
| Power X-Change - TE-OS 18/1 Li solo - Cordless Multi-sander | |
| <strong>Wellie jack: </strong> | 18V 4-6 Ah Multi-Ah PXC Plus battery |
| Length of scaffold board – approx. 450mm long | Tape Measure |
| 70mm screws | Pencil |
| Off cut of drain pipe or similar width bottle | 4mm drill bit |
| Wood glue | |
| 24mm Flat Wood Drill Bit | |
| Countersink Bit | |
| Square |
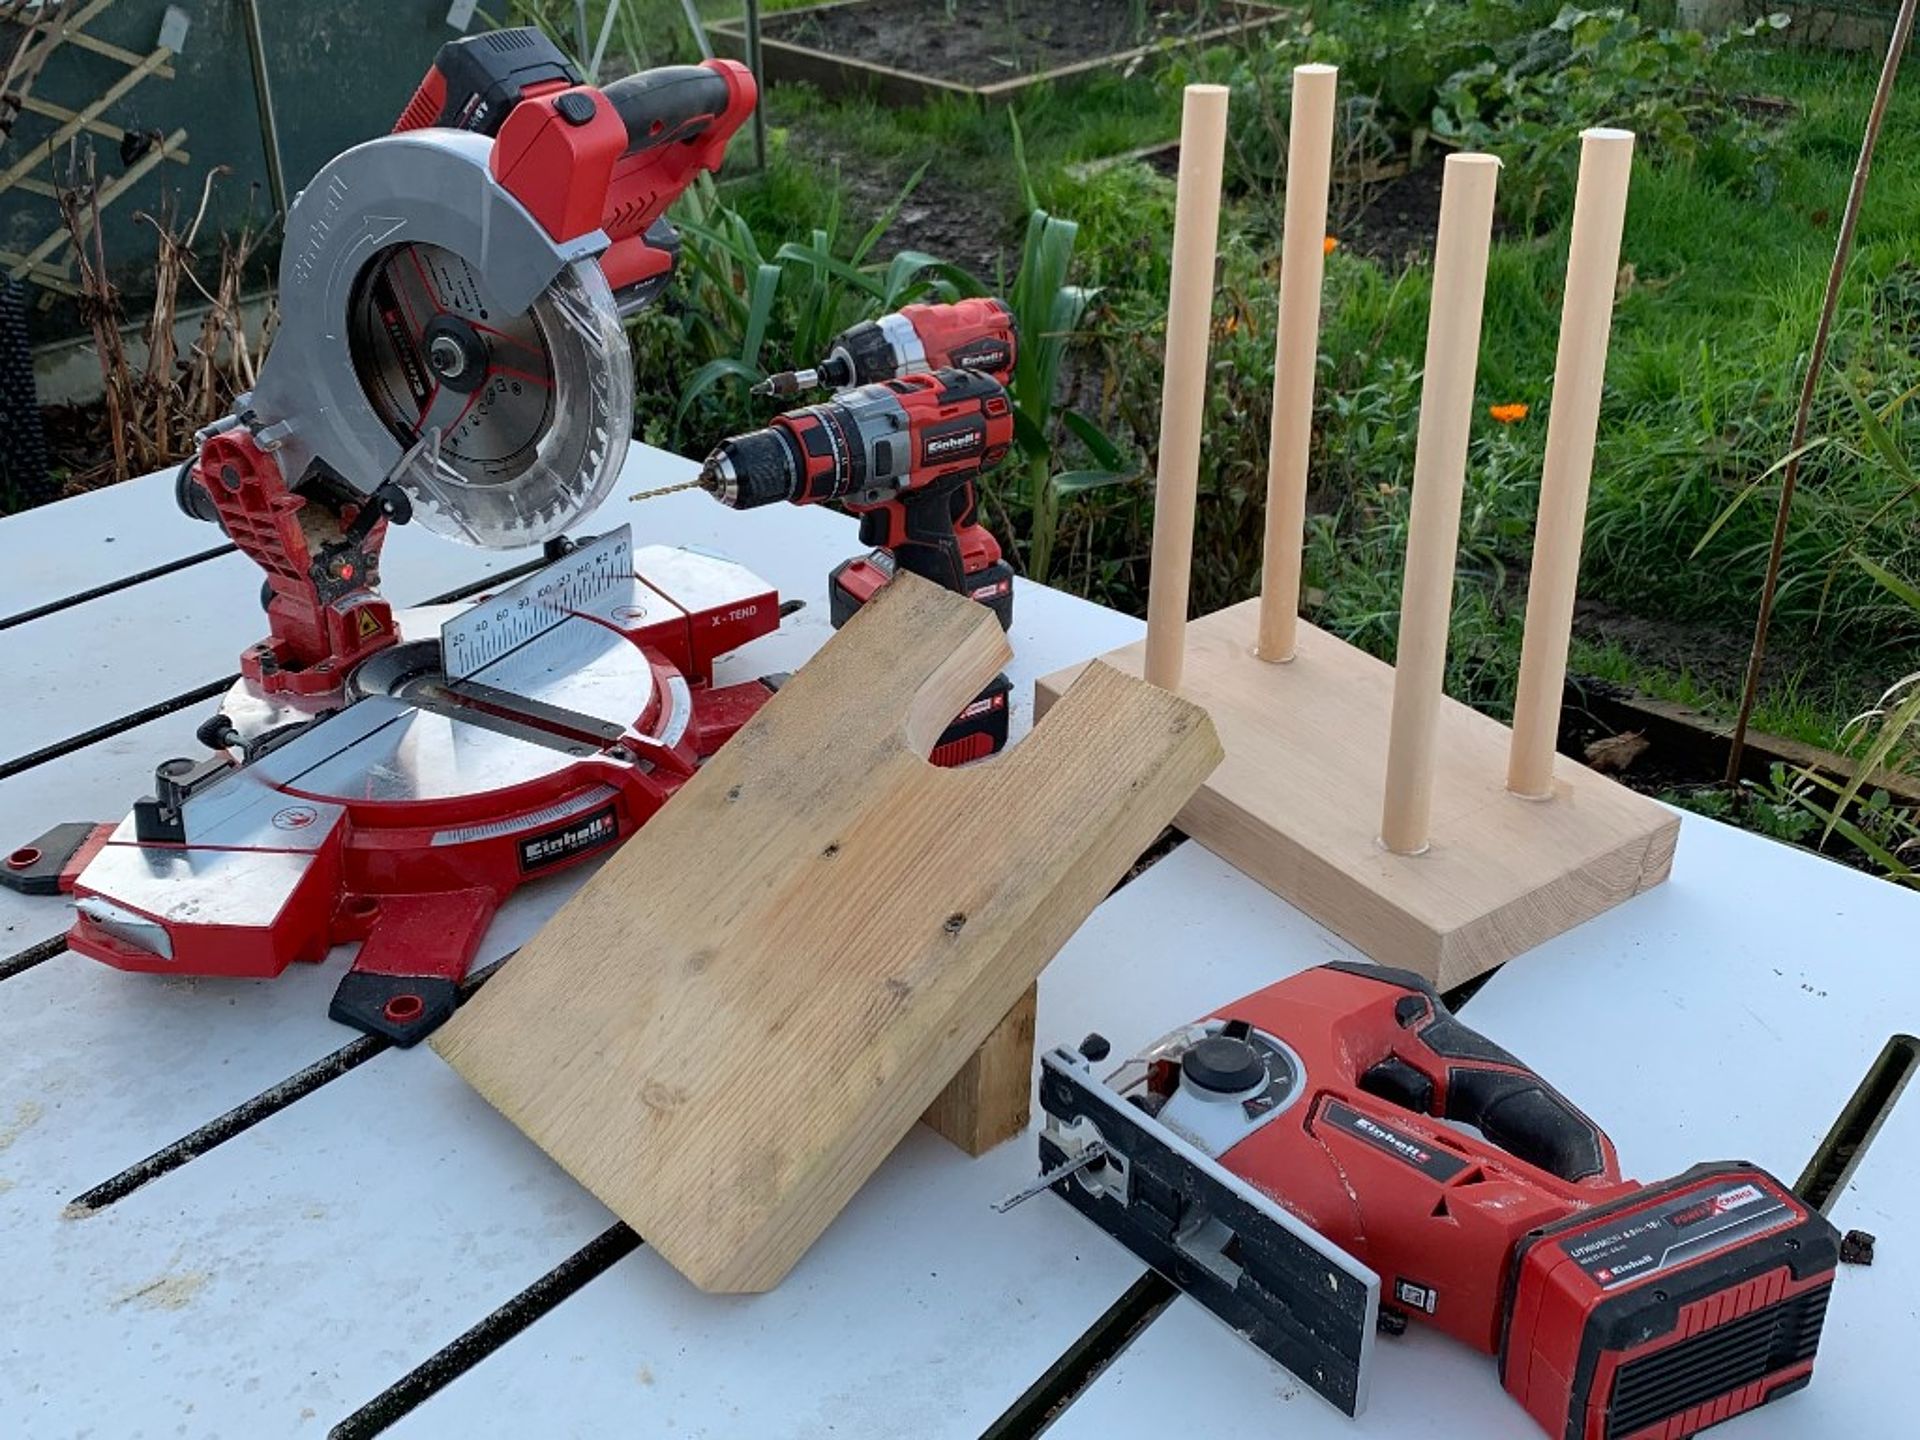
Wellie Rack:
I have used a piece of chunky oak as the base for my wellie rack. You can use any wood you like, providing it is chunky and heavy enough so it doesn’t topple over when your wellies are on it. Mine measures 30cm long which is perfect for two sets of wellies. You can make yours bigger or smaller, depending on how many wellies you would like to put on it.
Step One:
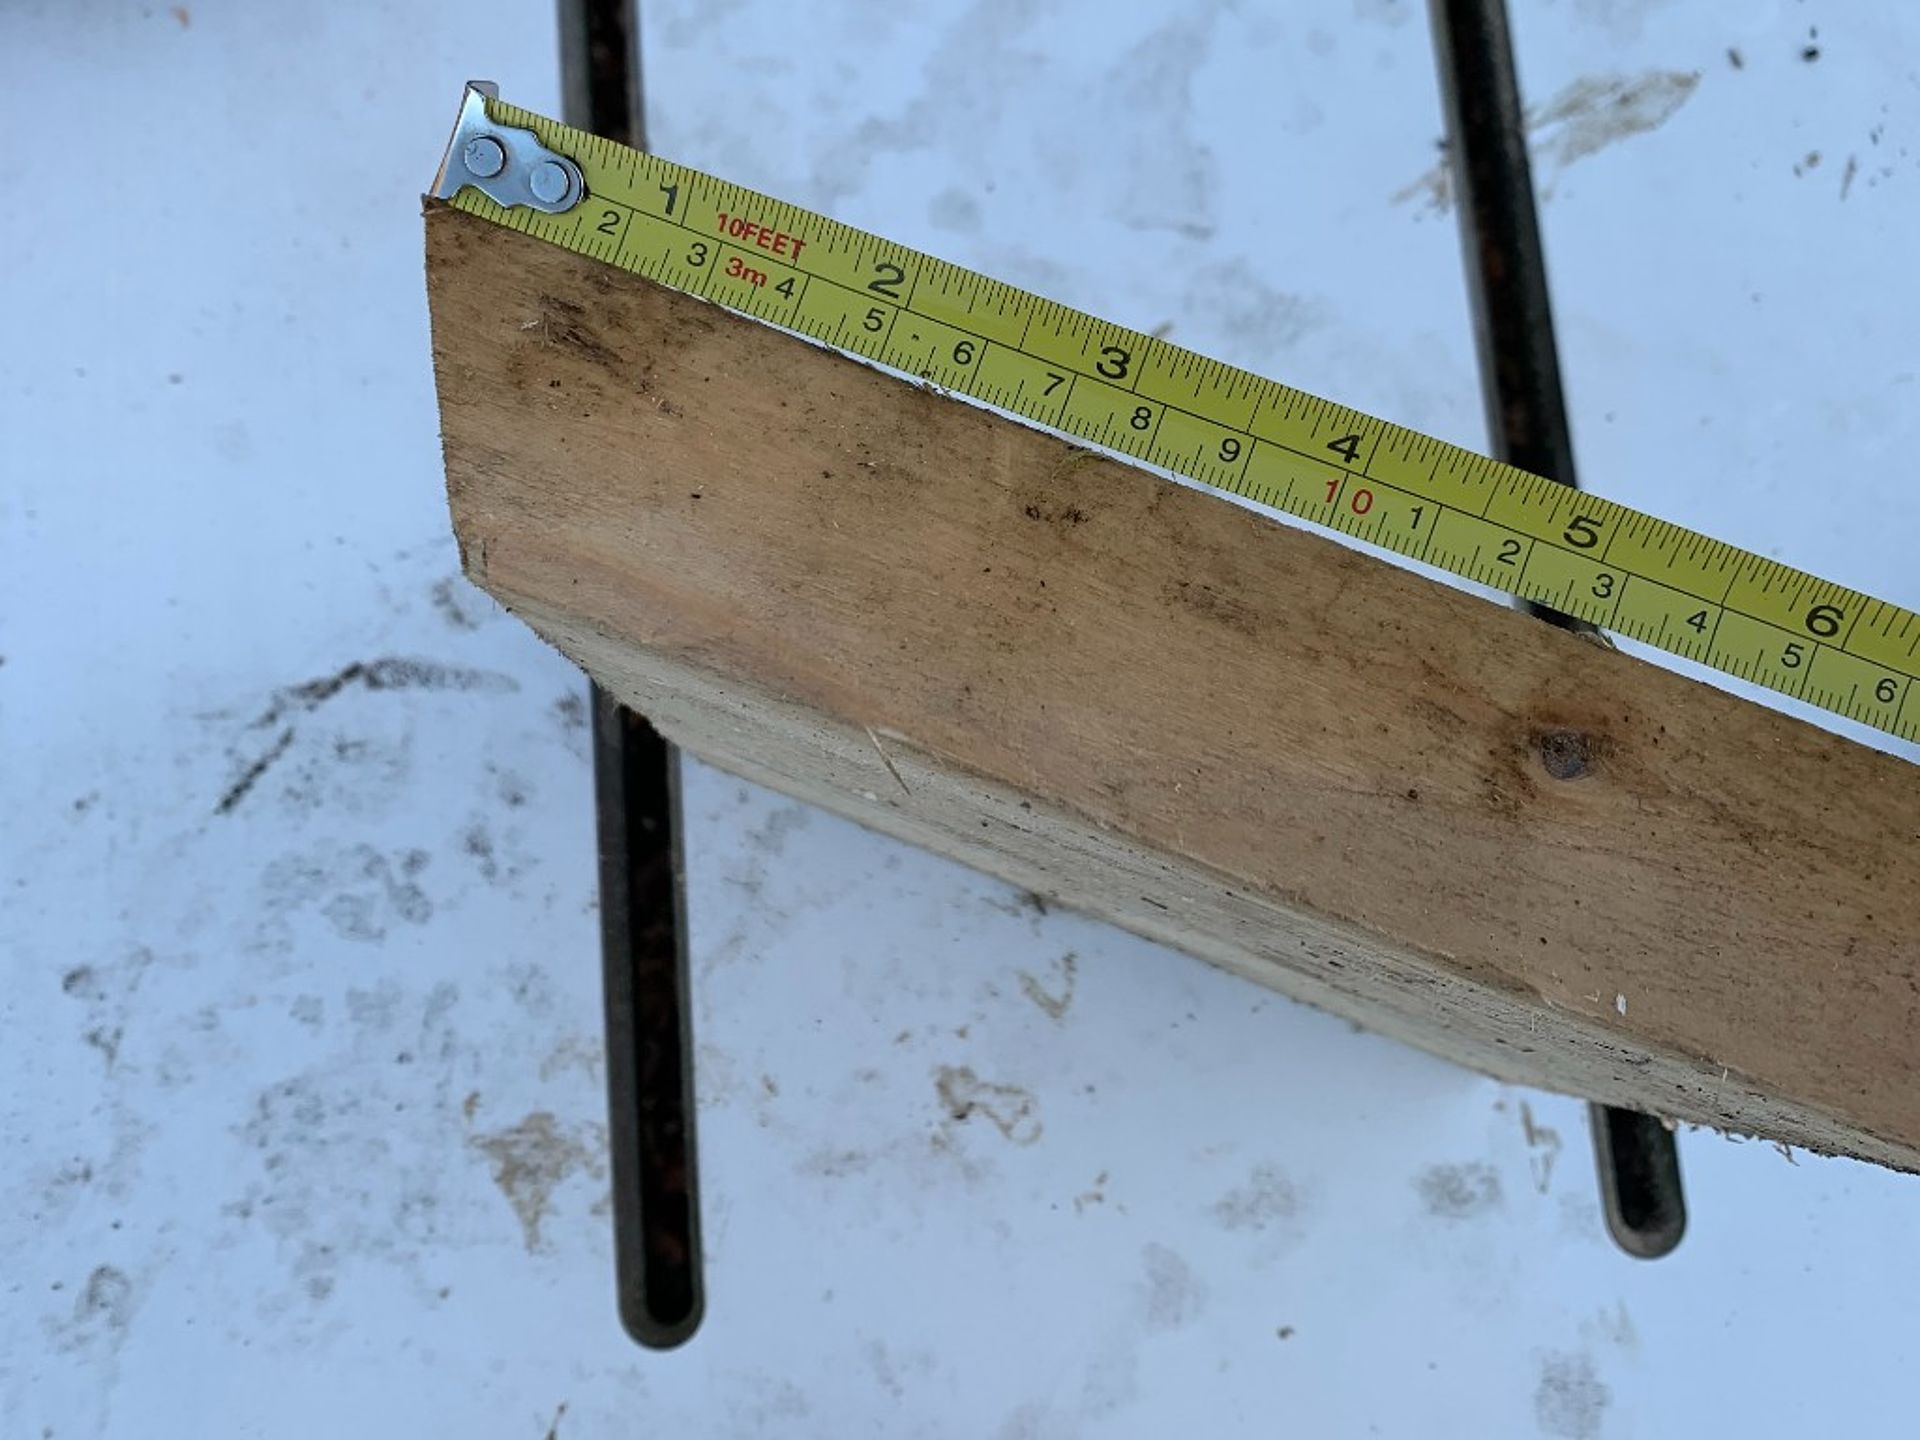
Take your wood and cut it to the size you require using your mitre saw or skill saw. Next mark out the wood using a tape measure, pencil and square for the centre points of your holes. On my block of 20x30cm wood I wanted to fit 4 dowels in so I measured 70mm in from the longest side and 50mm in from the shortest. Where these two points meet in each corner, mark with a pencil.
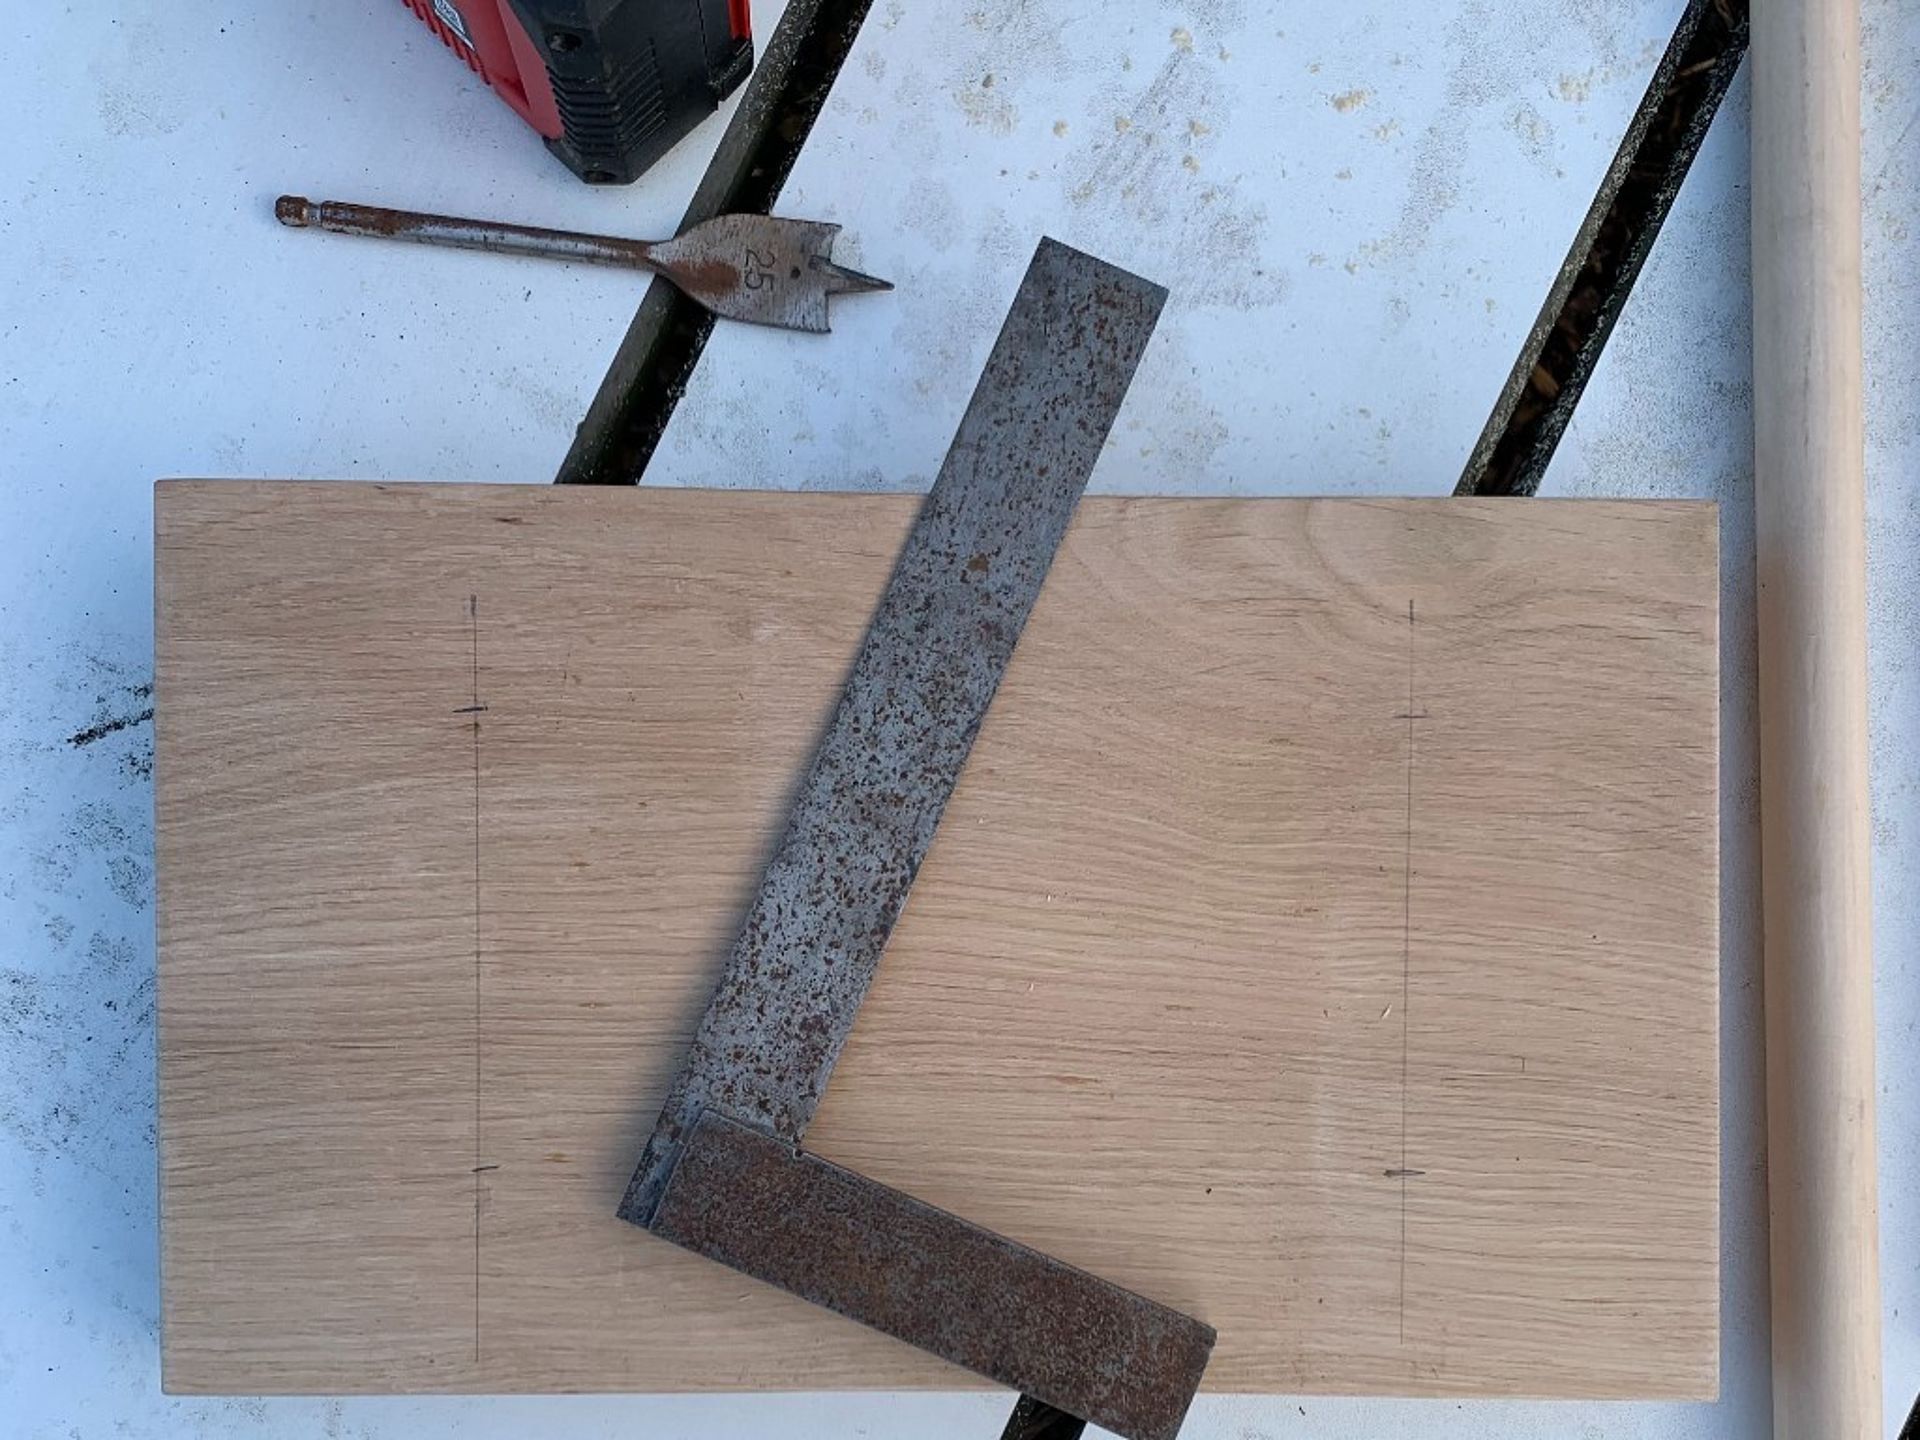
Step Two:
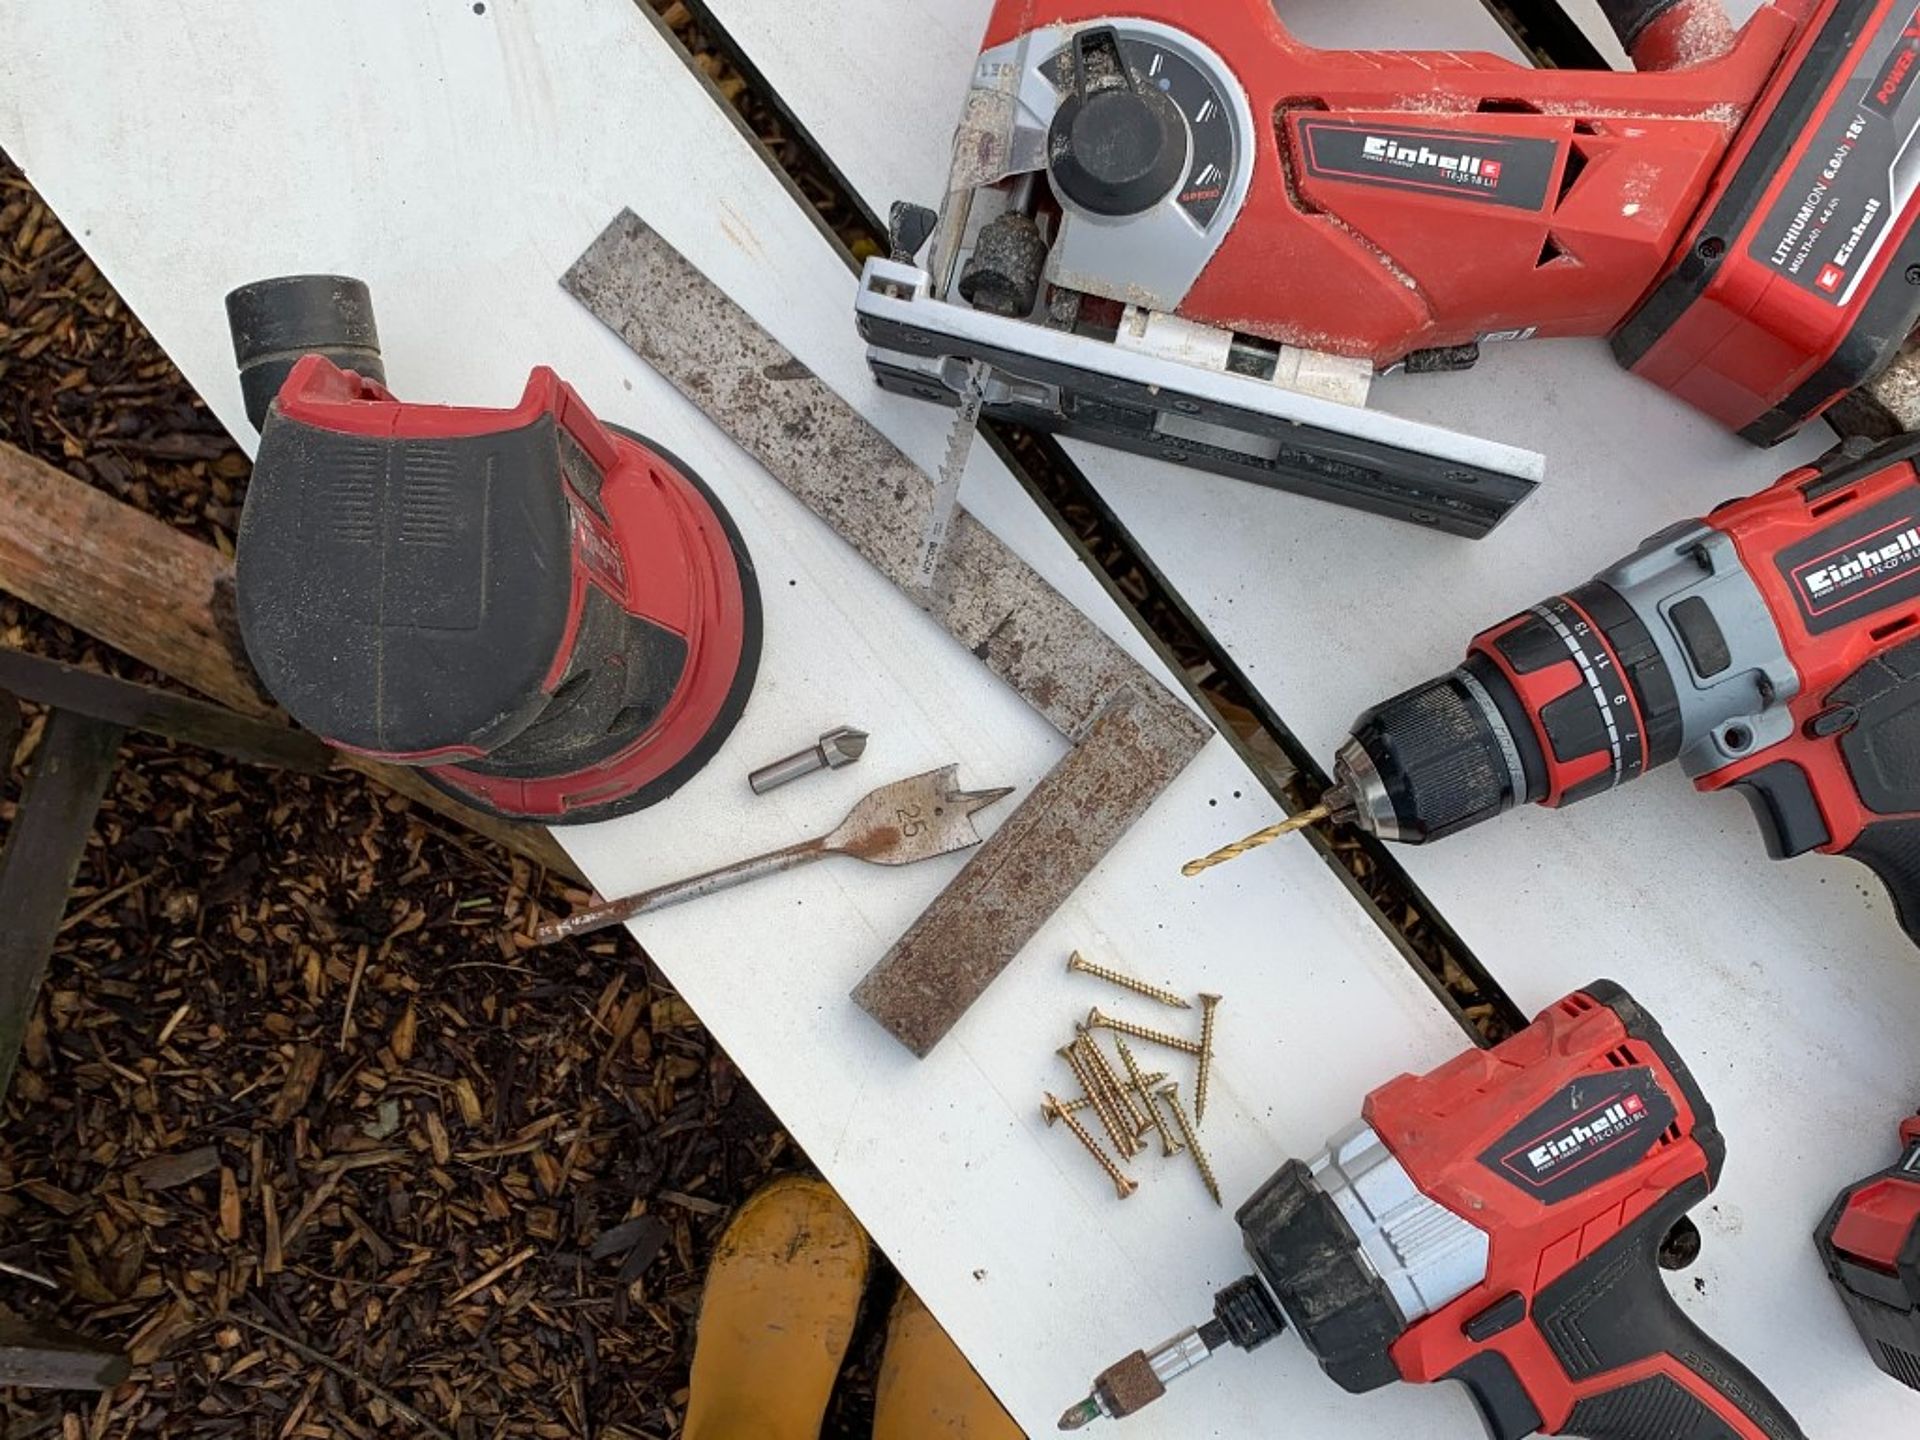
Using your drill and 4 mm drill bit, drill the four points to make a pilot hole. This will give your flat wood drill bit something to locate when beginning to drill.
Step Three:
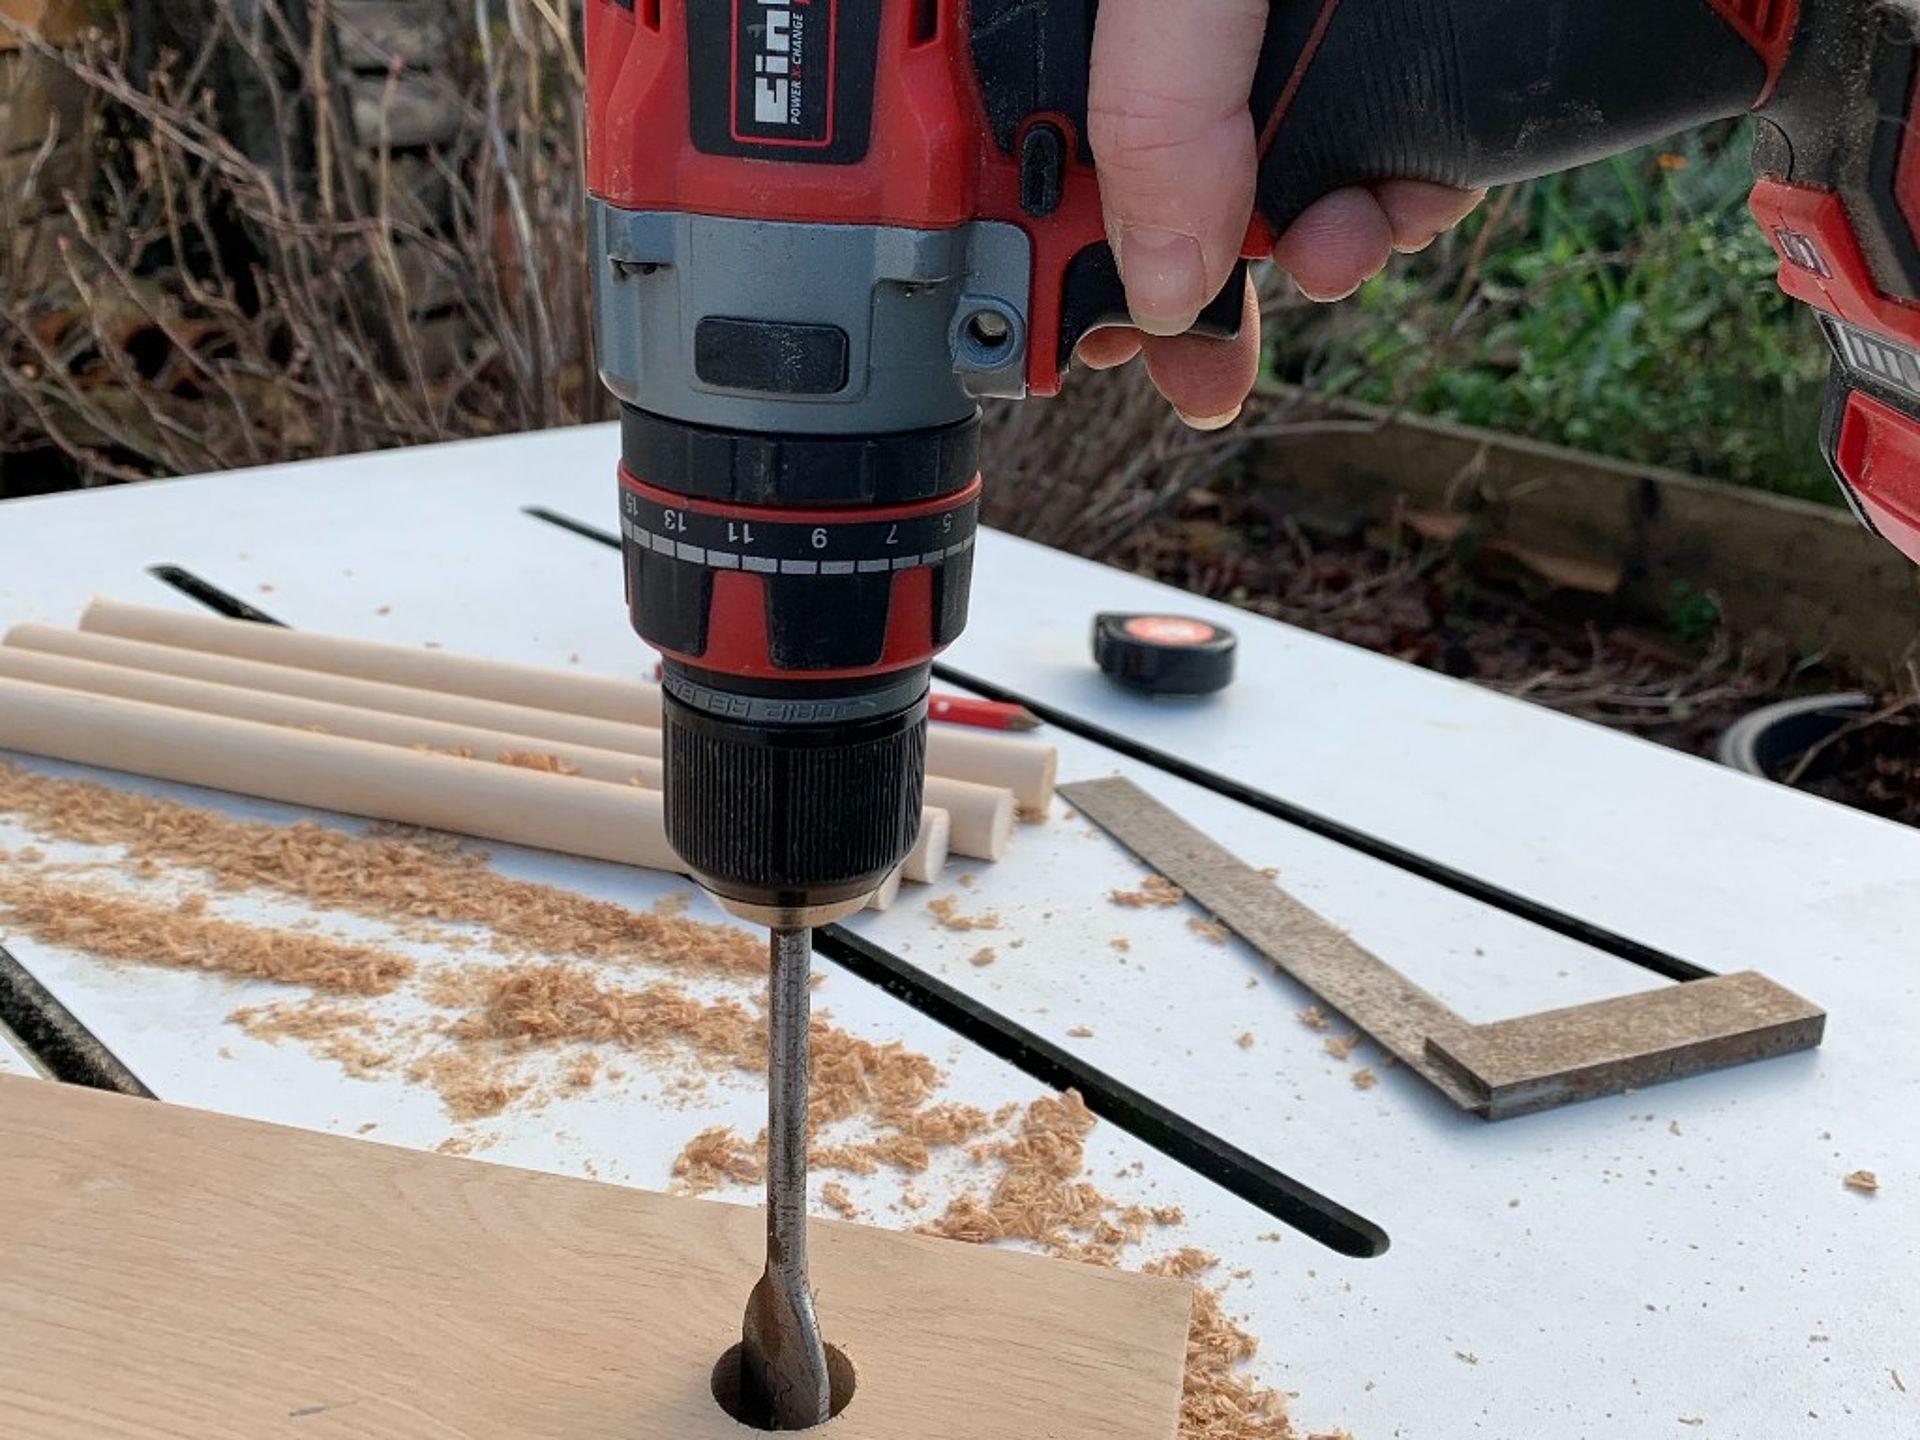
Take your flat wood drill bit and put it in your drill. Start slowly with the drill bit in your pilot hole. Keep drilling until around 2cm of wood has been removed. You want all the depths even so you can either measure the depth of each one or you can wrap a piece of masking tape around your flat wood drill bit to act as a guide for which depth you should go down to. The most important thing in this step is to keep the drill straight. If the hole is at an angle, so will your dowel.
Step Four:
Once all four holes are drilled. Place your 4mm drill bit back into the drill and go through the full depth of the wood in the centre of each hole. This creates your pilot hole.
Step Five:
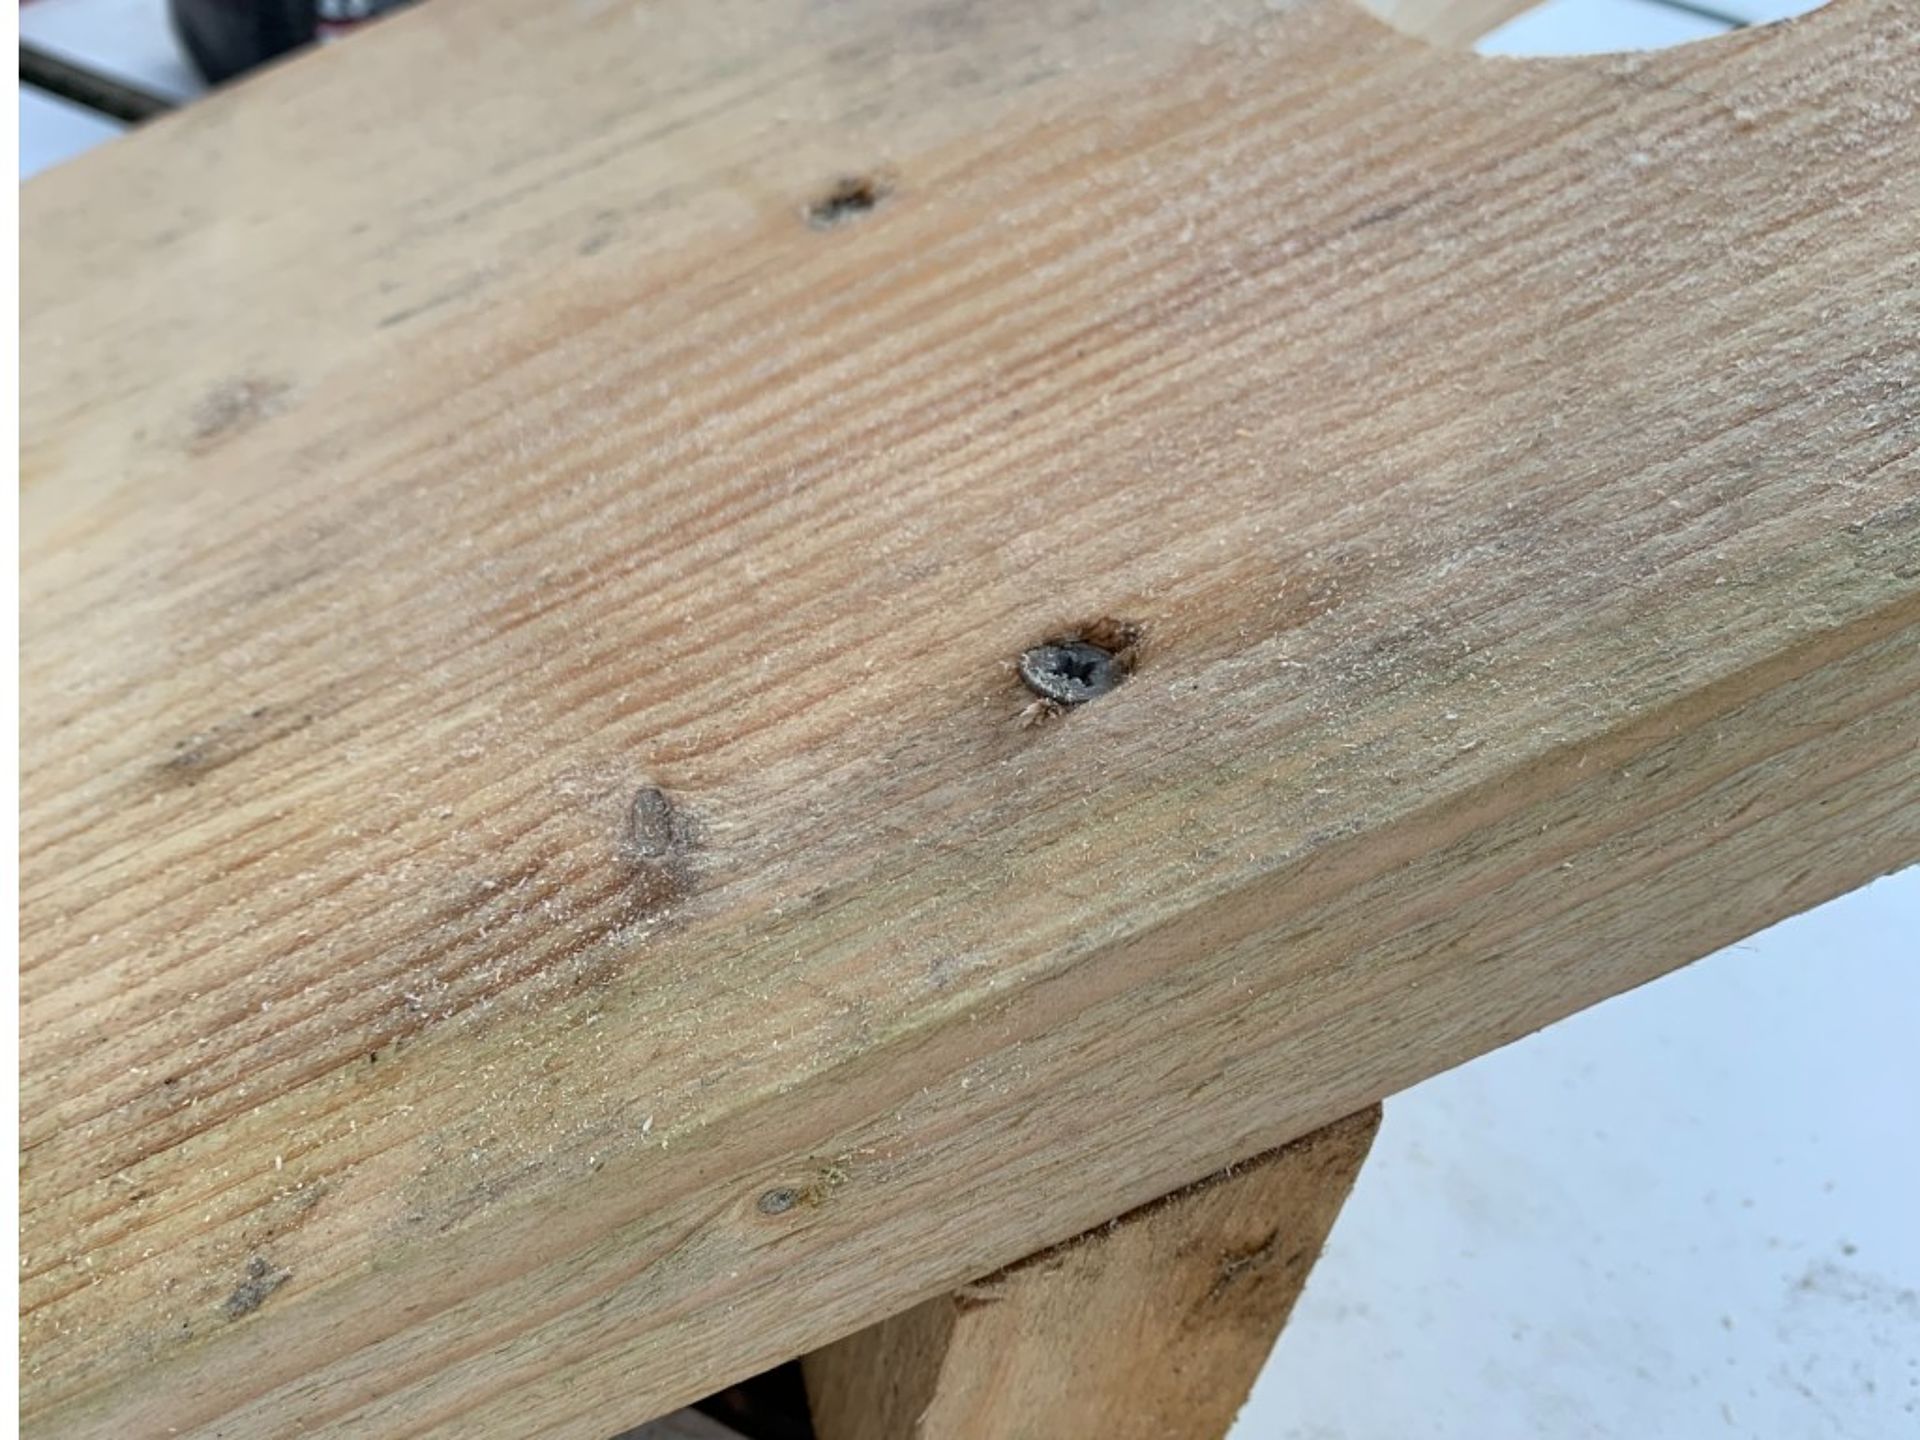
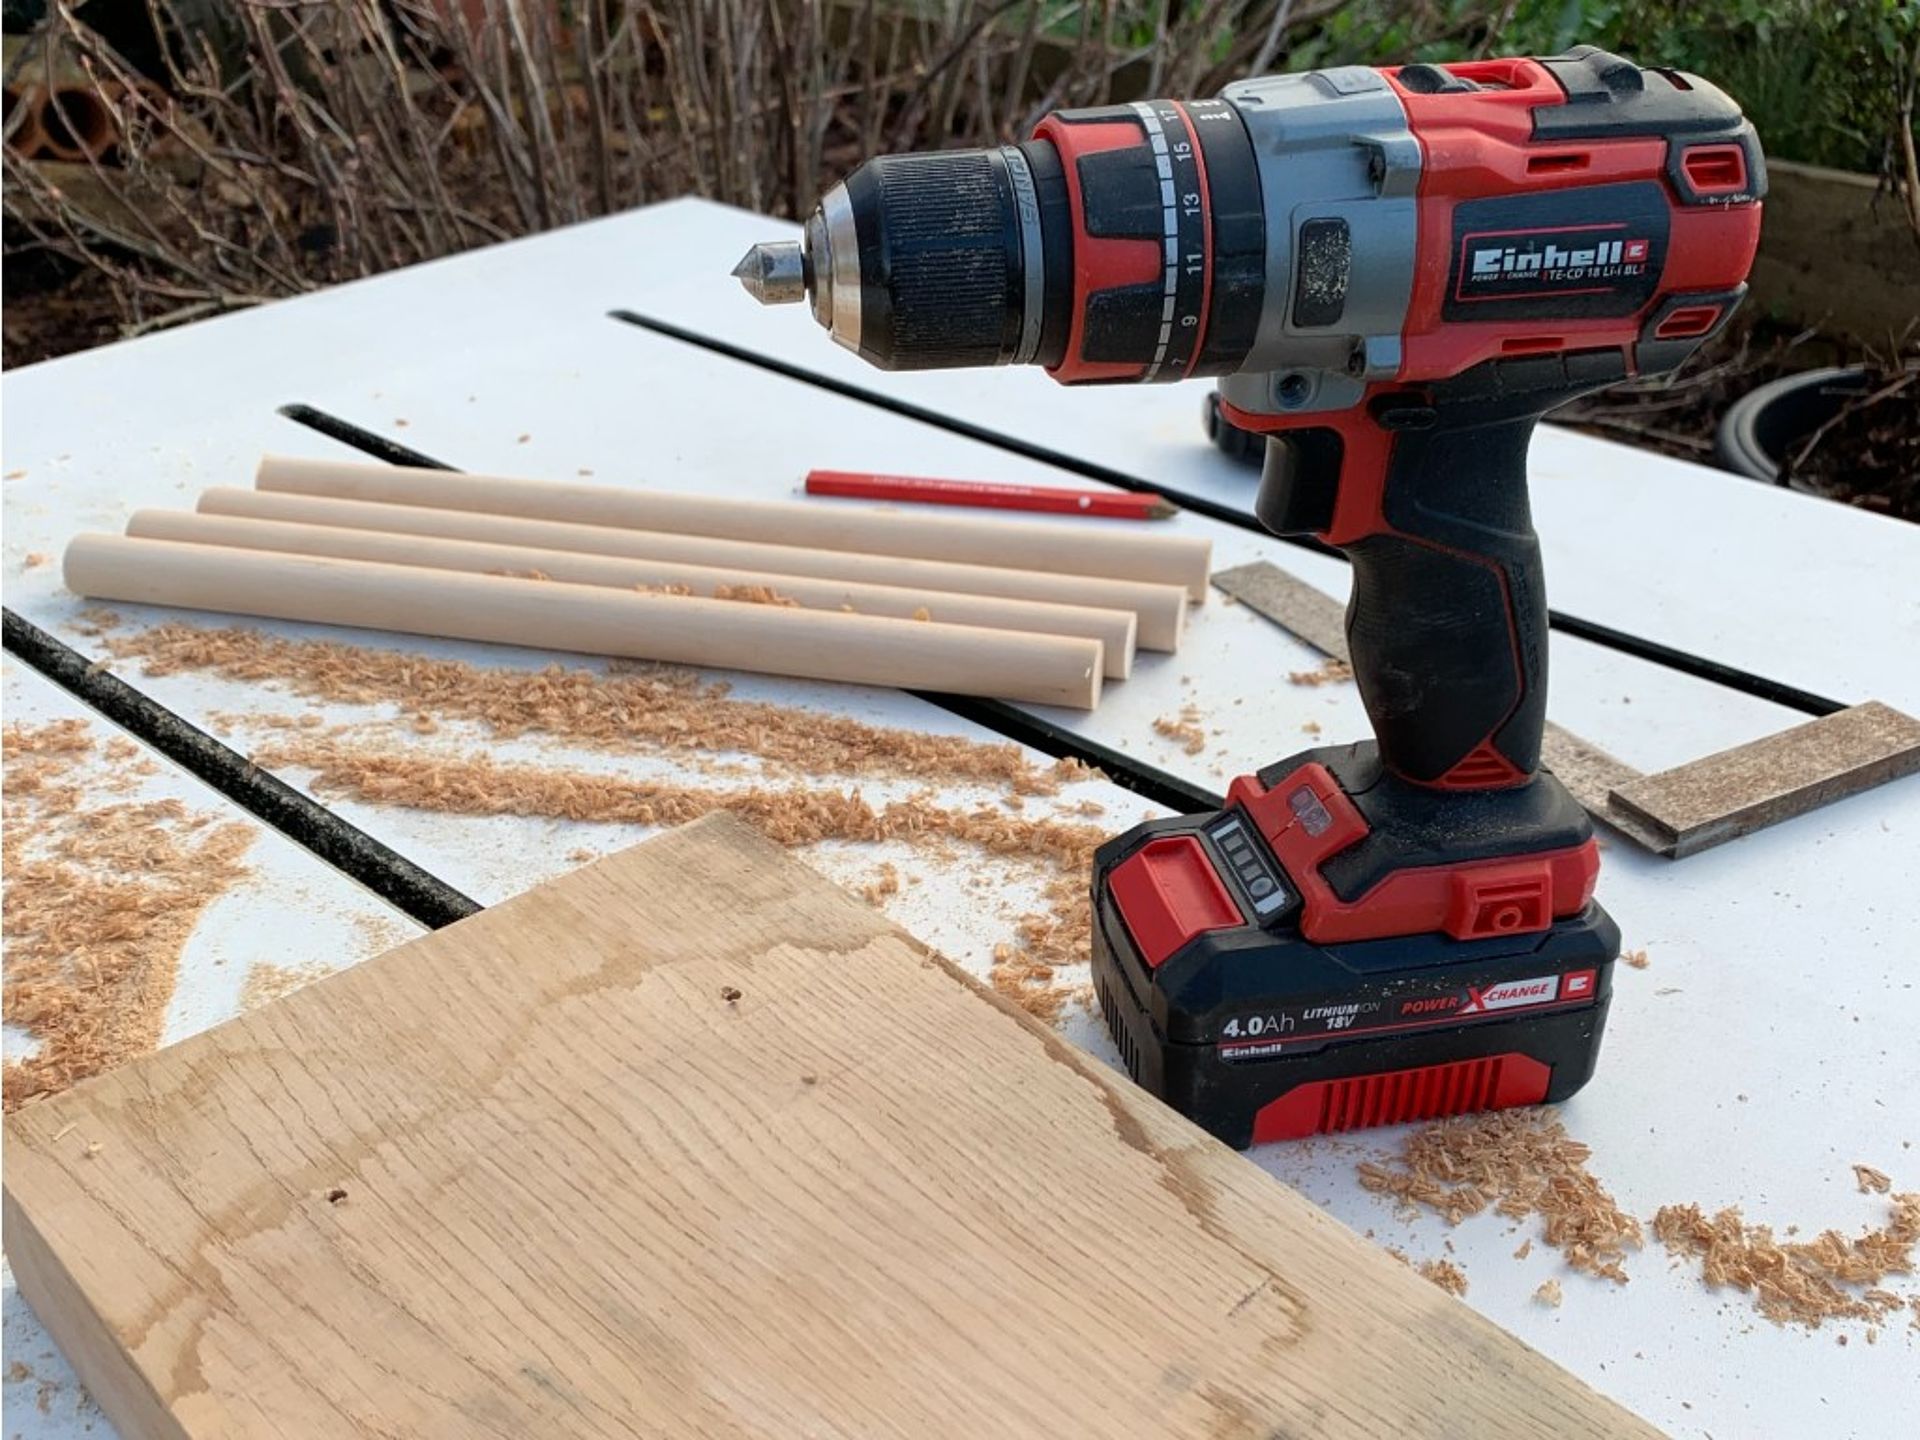
Turn the wood over to reveal the base. You will now need to countersink these holes so the screws are flush with the wood. Otherwise your screws may stick up and make your wellie rack rock. You can do this with a counter sink bit that goes into your drill.
Step Six:
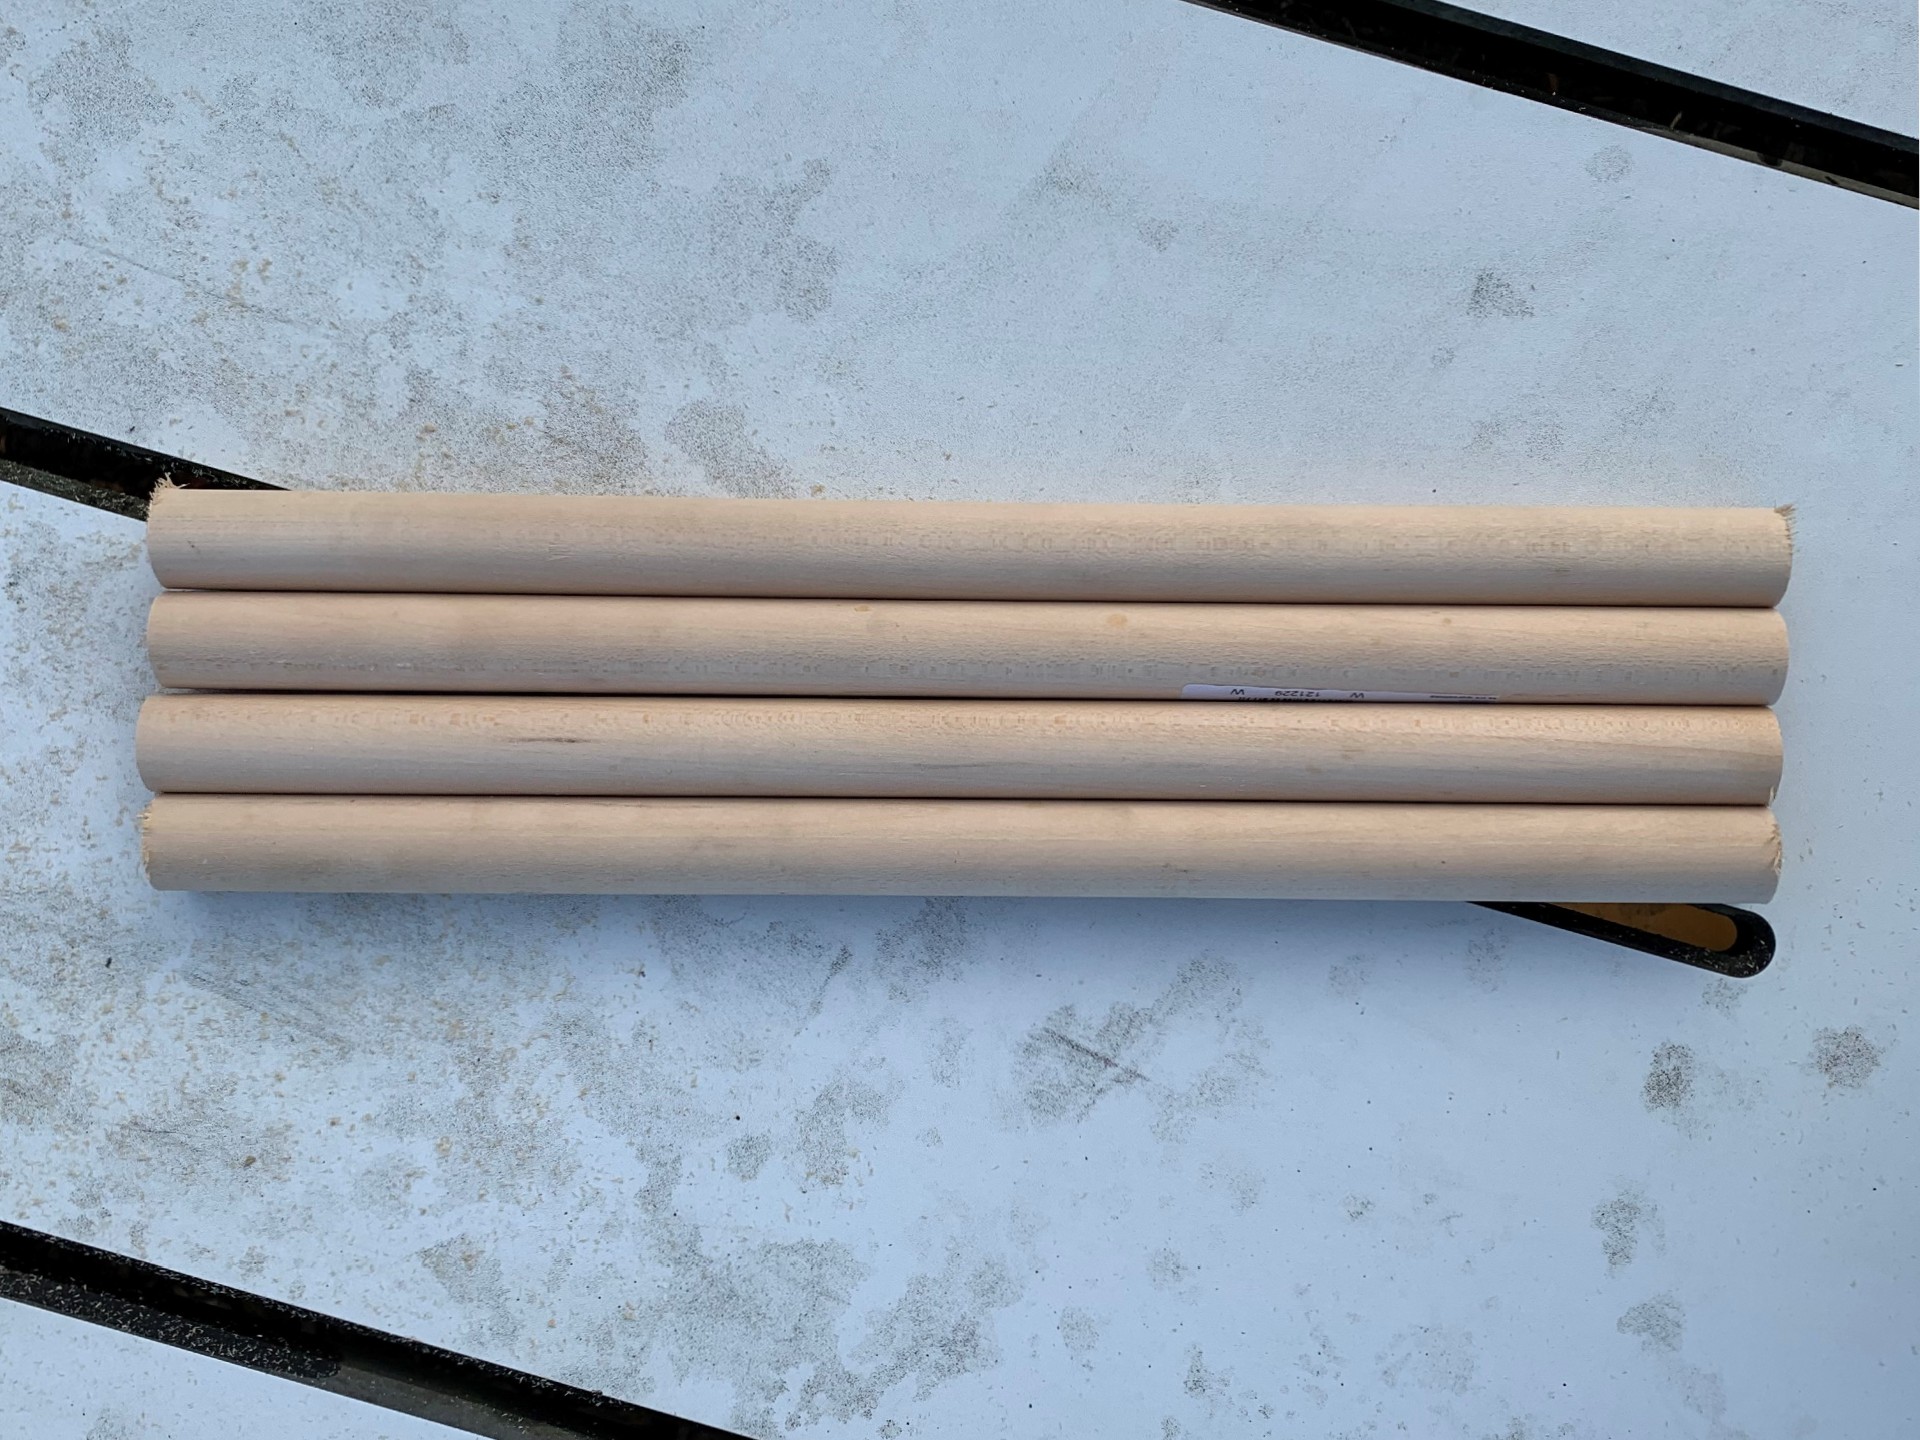
Next you want to determine how high you want your wellie stand to be. The best way to do this is by measuring the height of your wellies and add on 10cm. My half height wellies meant I cut my dowels down to 40cm. To do this, square up one end of your dowel with your mitre saw and then cut 4 sections at your required length. You could also use a hand saw or a skill saw but you want to ensure you have clean square cuts otherwise your dowels might go lop sided.
Step Seven:
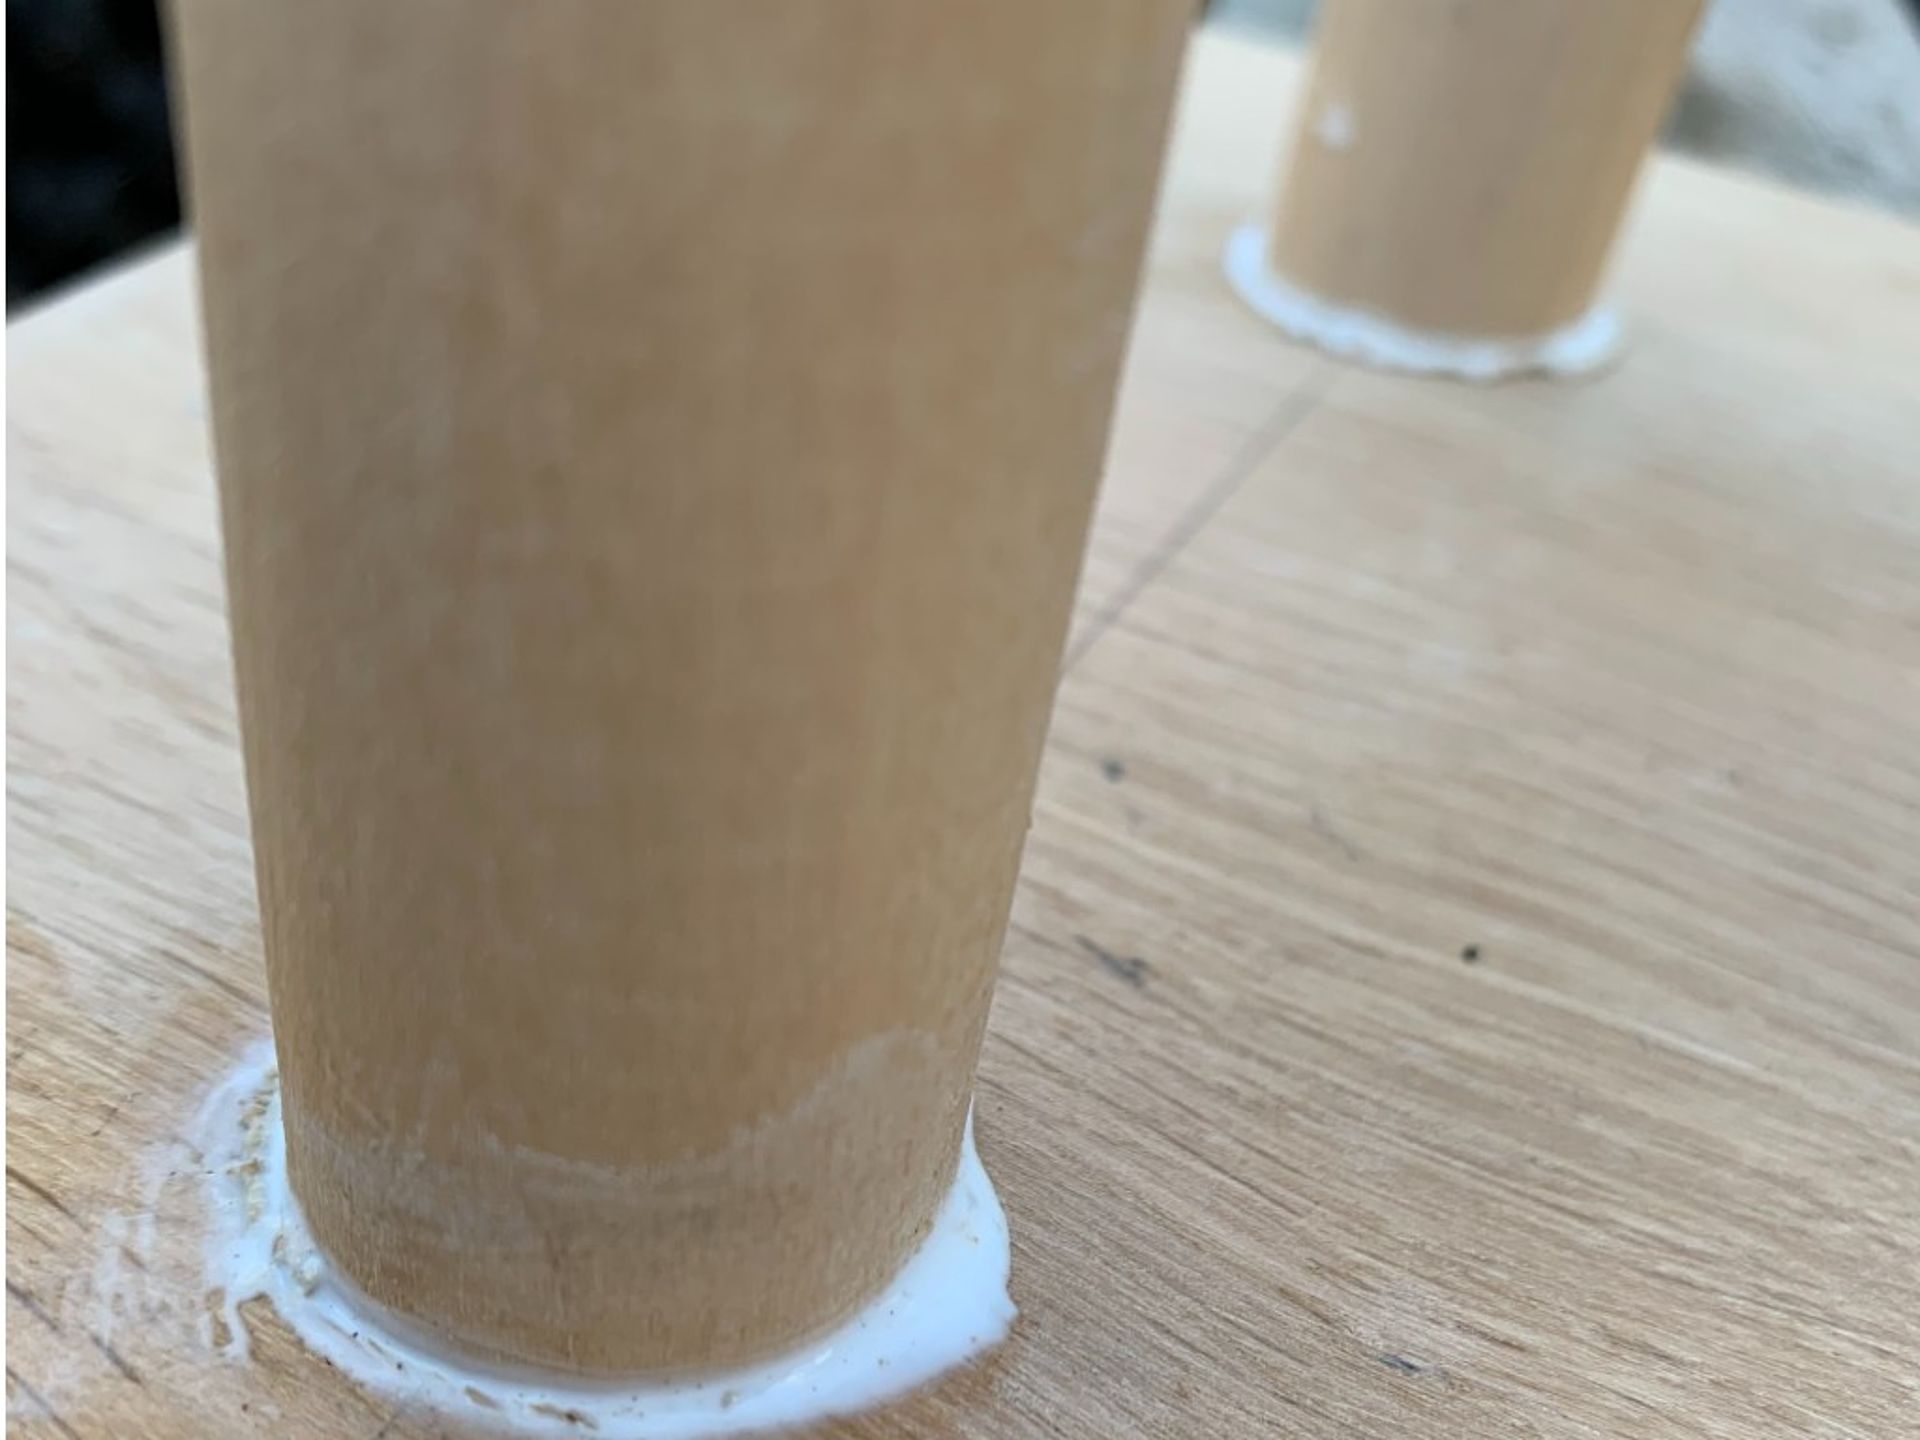
Take your wood glue and pour it into each hole, spreading it around the edge of the hole. You can always wipe away an excess glue. Place a dowel in each hole. The hole may be tight so keep a hammer or mallet on hand to tap the dowels in.
Step Eight:
With the dowels in place hang one side of the wellie rack over the edge of the table, allowing you to screw through the pilot hole and into the dowels at one end. Use you 50mm screws and if your dowel is loose, hold it upright whist screwing it together. Turn your wellie rack around and repeat on the other side.
Step Nine:
Now your wellie rack is finished, give it a sand and a lick of paint. If you have gaps between the dowel and the hole you made, you can mix some of the sawdust with the glue to fill the gap. Once dried it will look seamless.
How to make the wellie jack:
Step One:
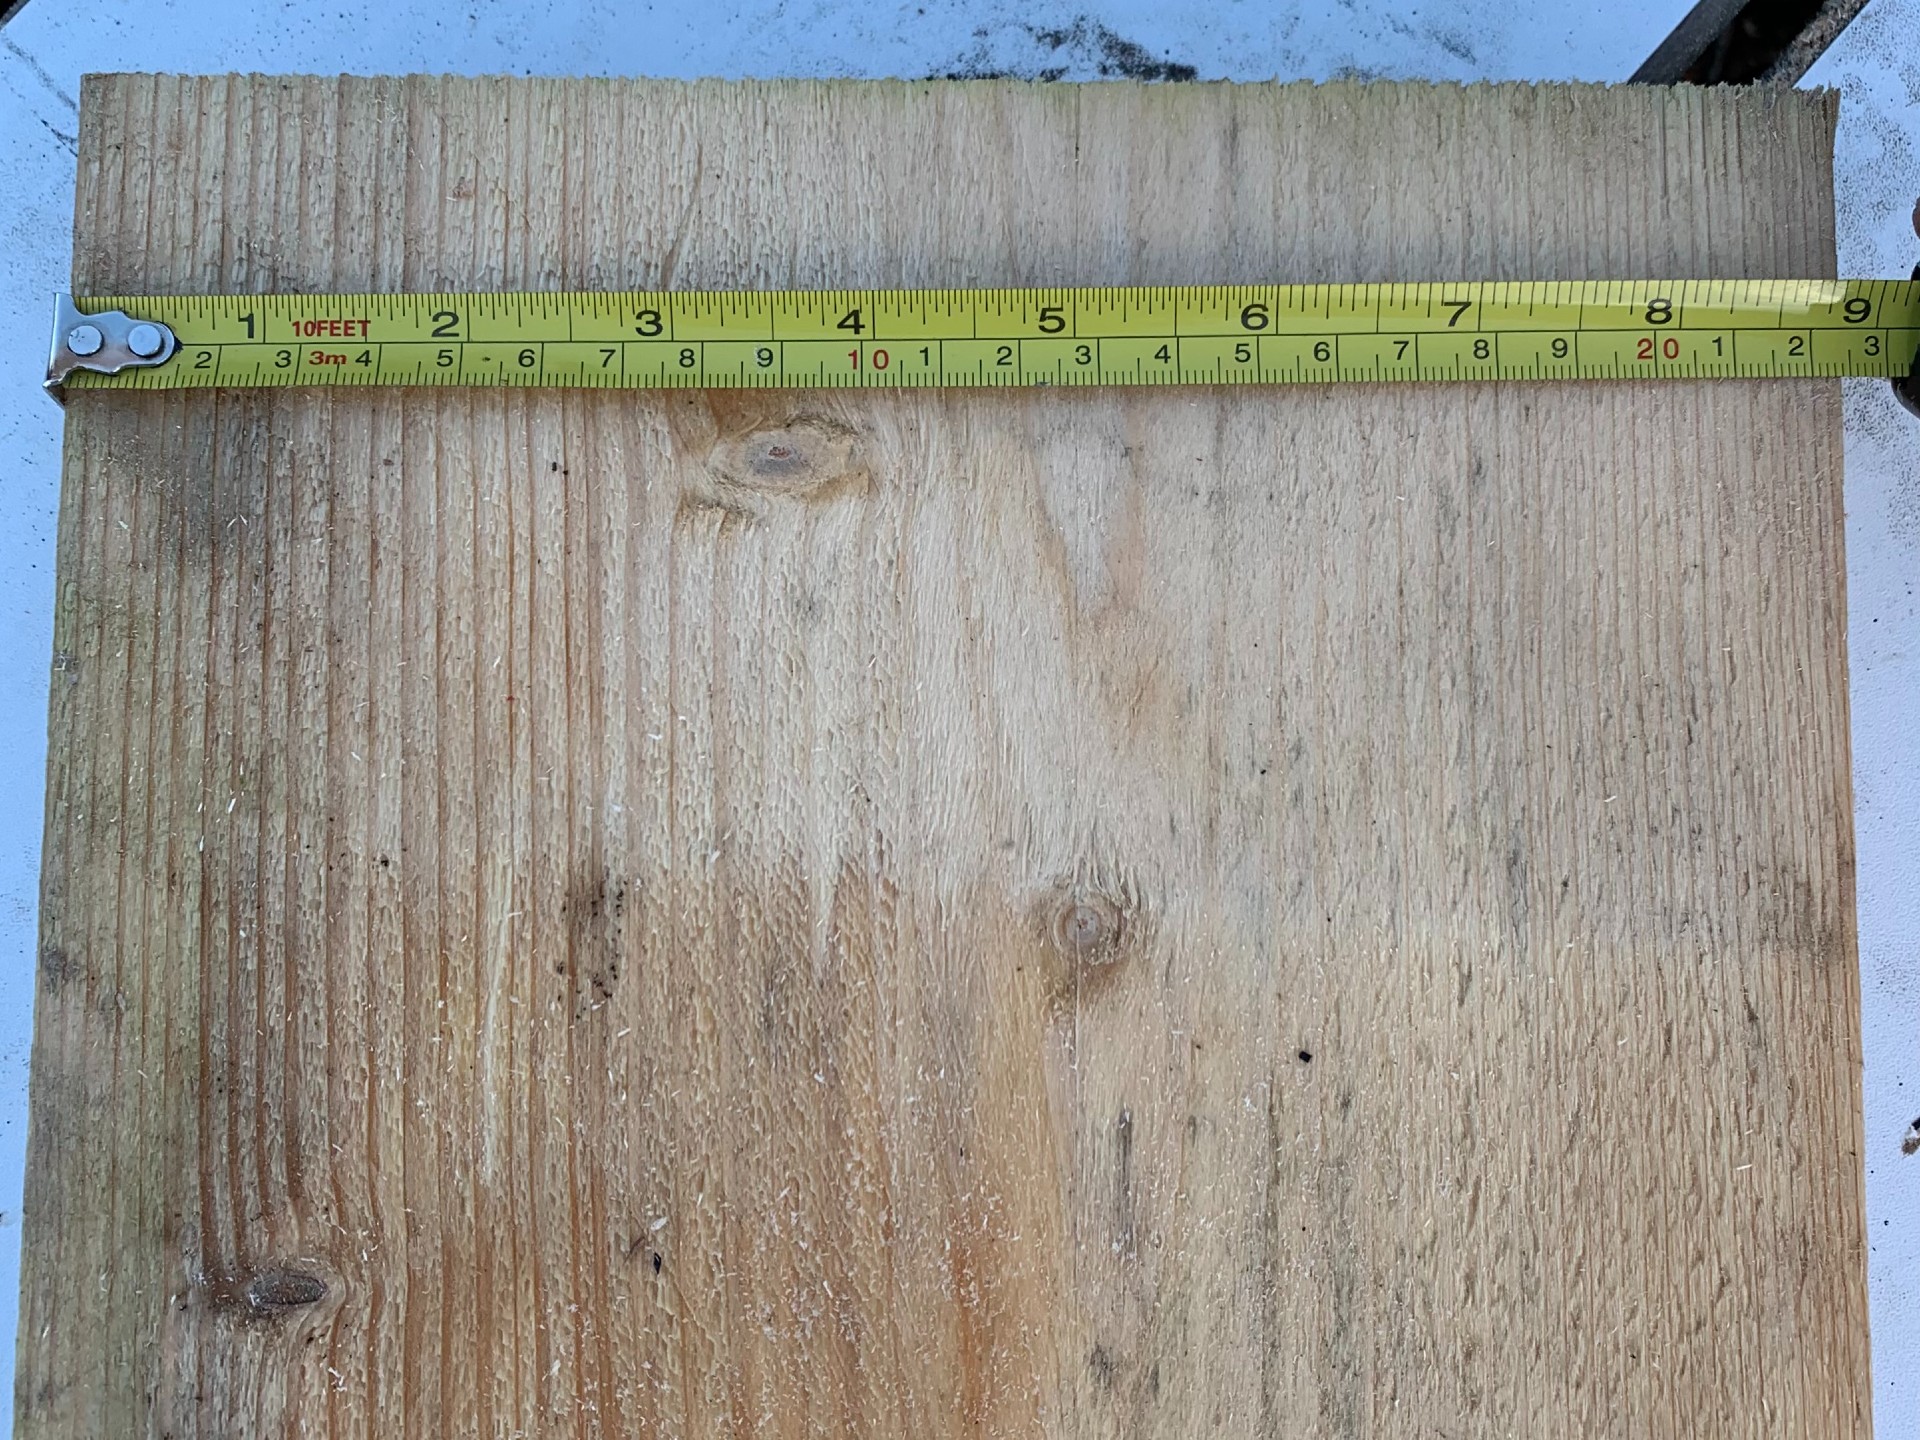
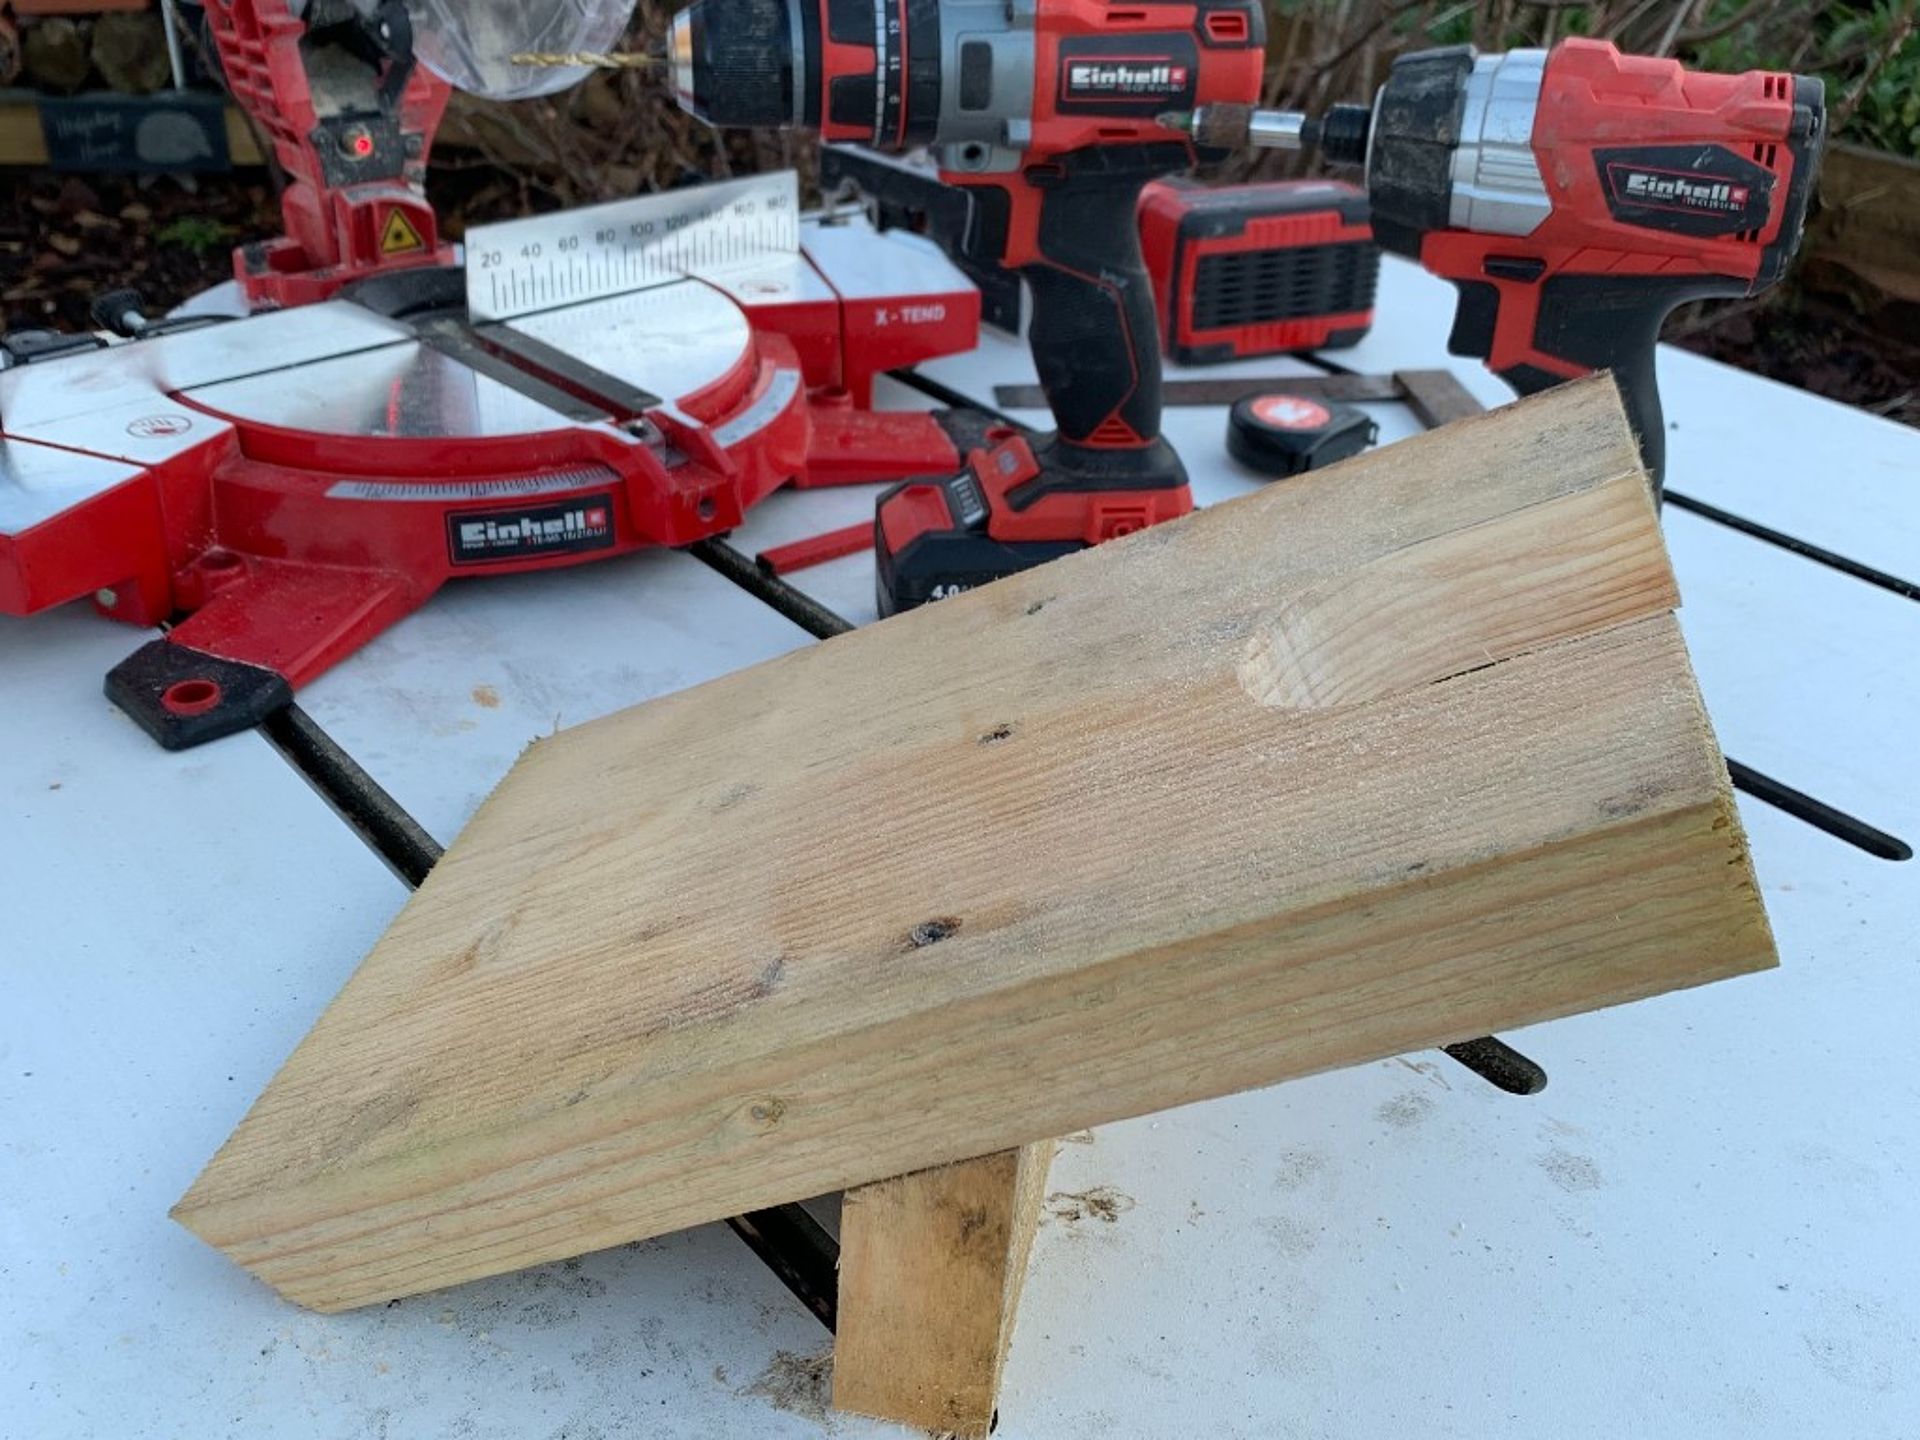
For this I used off cuts from a scaffold board which measured 22.5cm across. Take your scaffold board and cut one piece at 350mm with your mitre saw or skill saw. This is the top of your wellie jack.
Step Two:
Now from the remaining scaffold board, cut another piece at 10cm long. This is going to be your upright stand.
Step Three:
Taking the 10cm piece you just cut, position it in your mitre saw and release the lever at the back of the mitre saw so you can adjust the angle of the saw to 40 degrees. Cut 20mm off one end of the 10cm piece with the angle. Do the same with one end of you 350mm board, giving it a 40 degree angle.
Step Four:
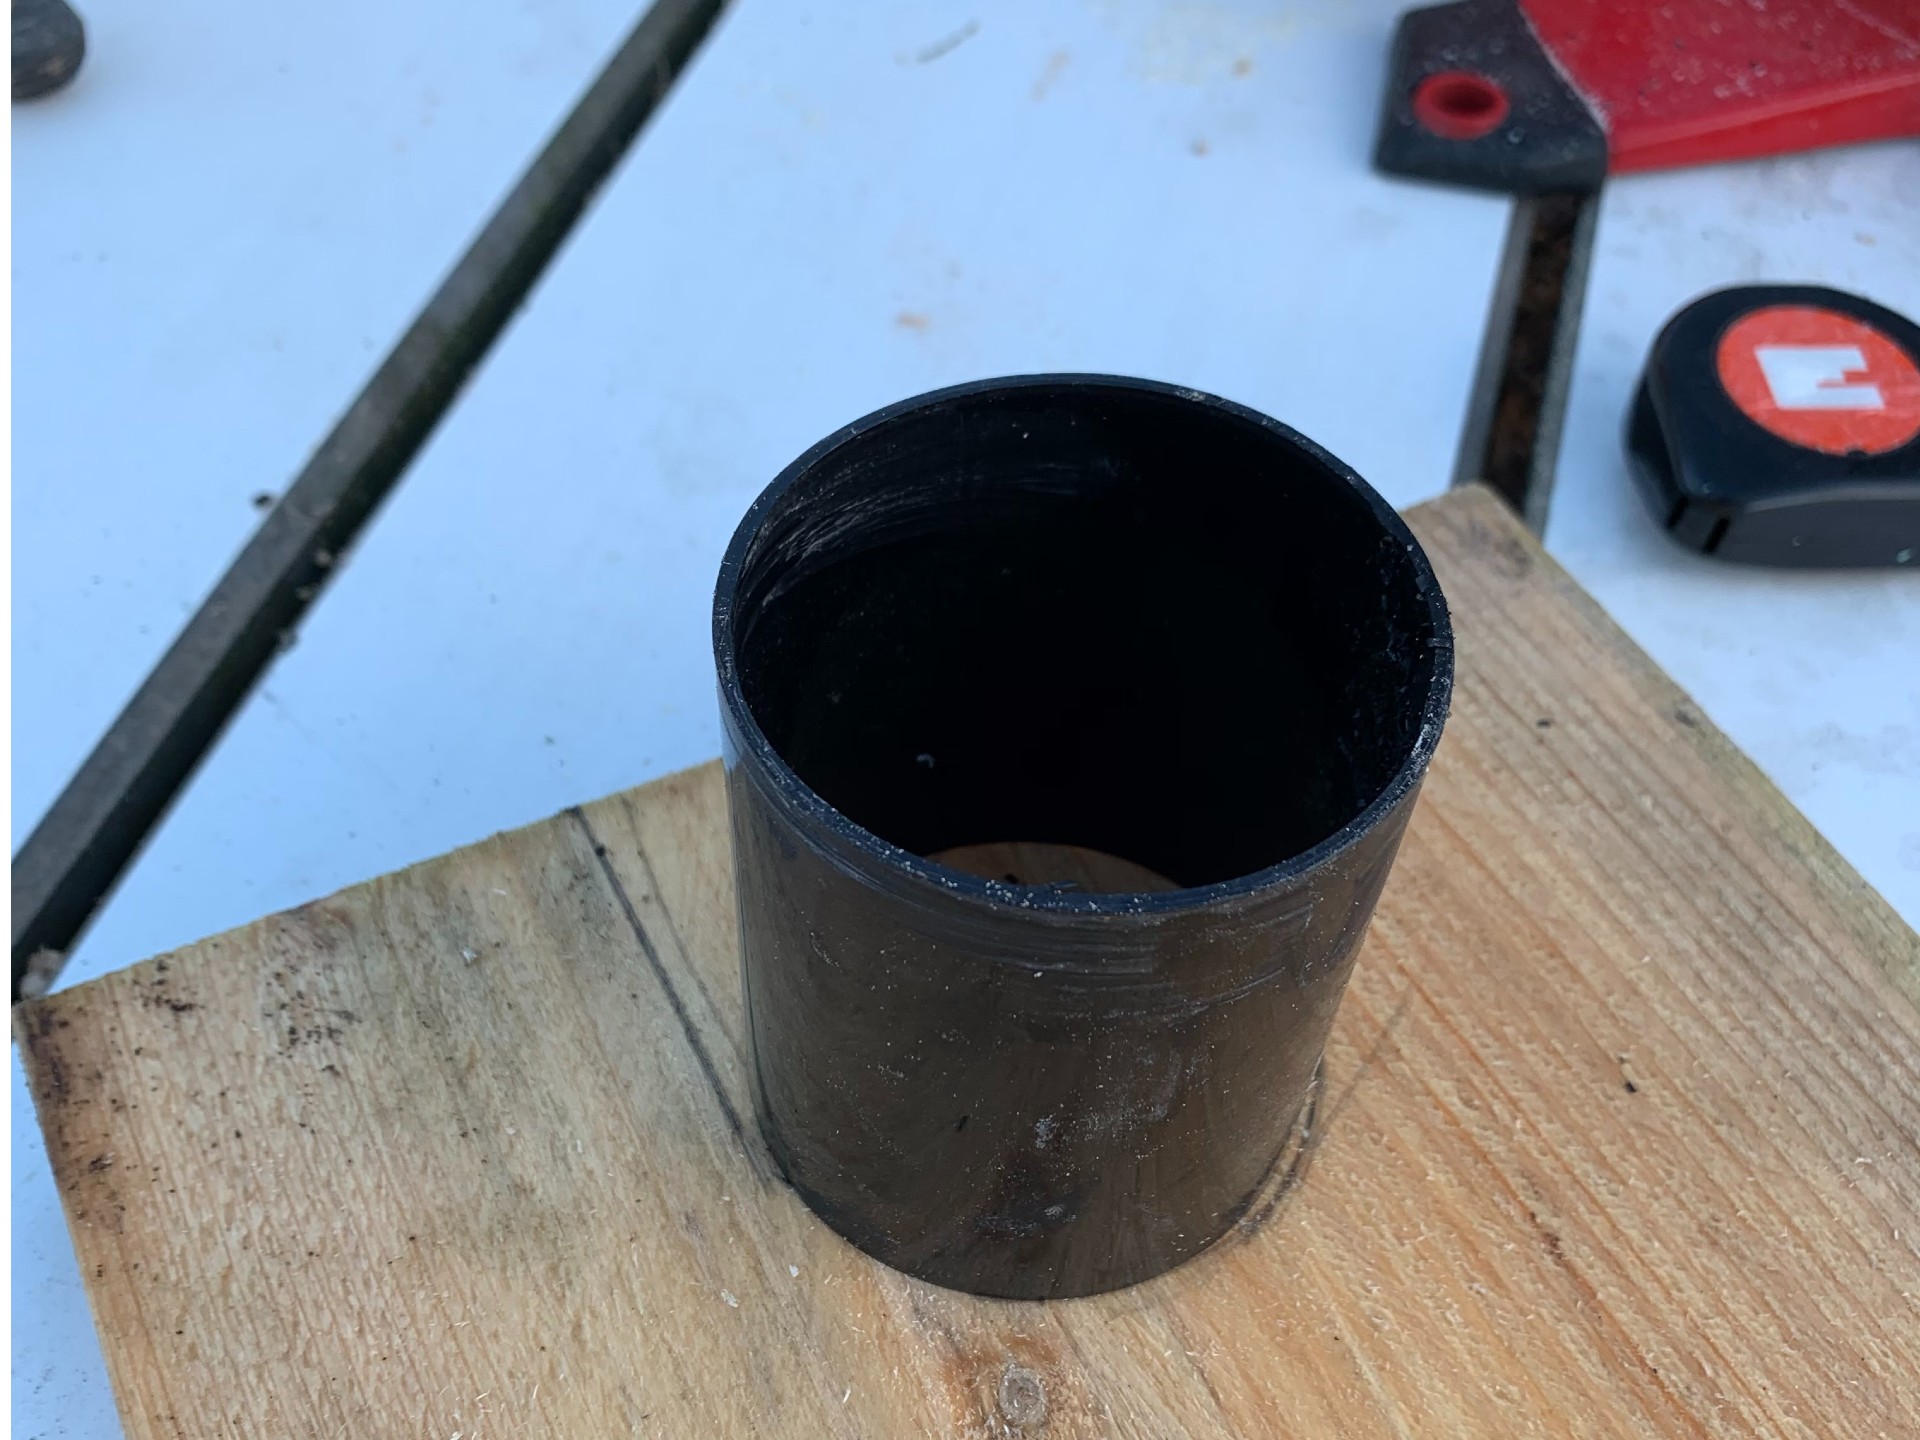
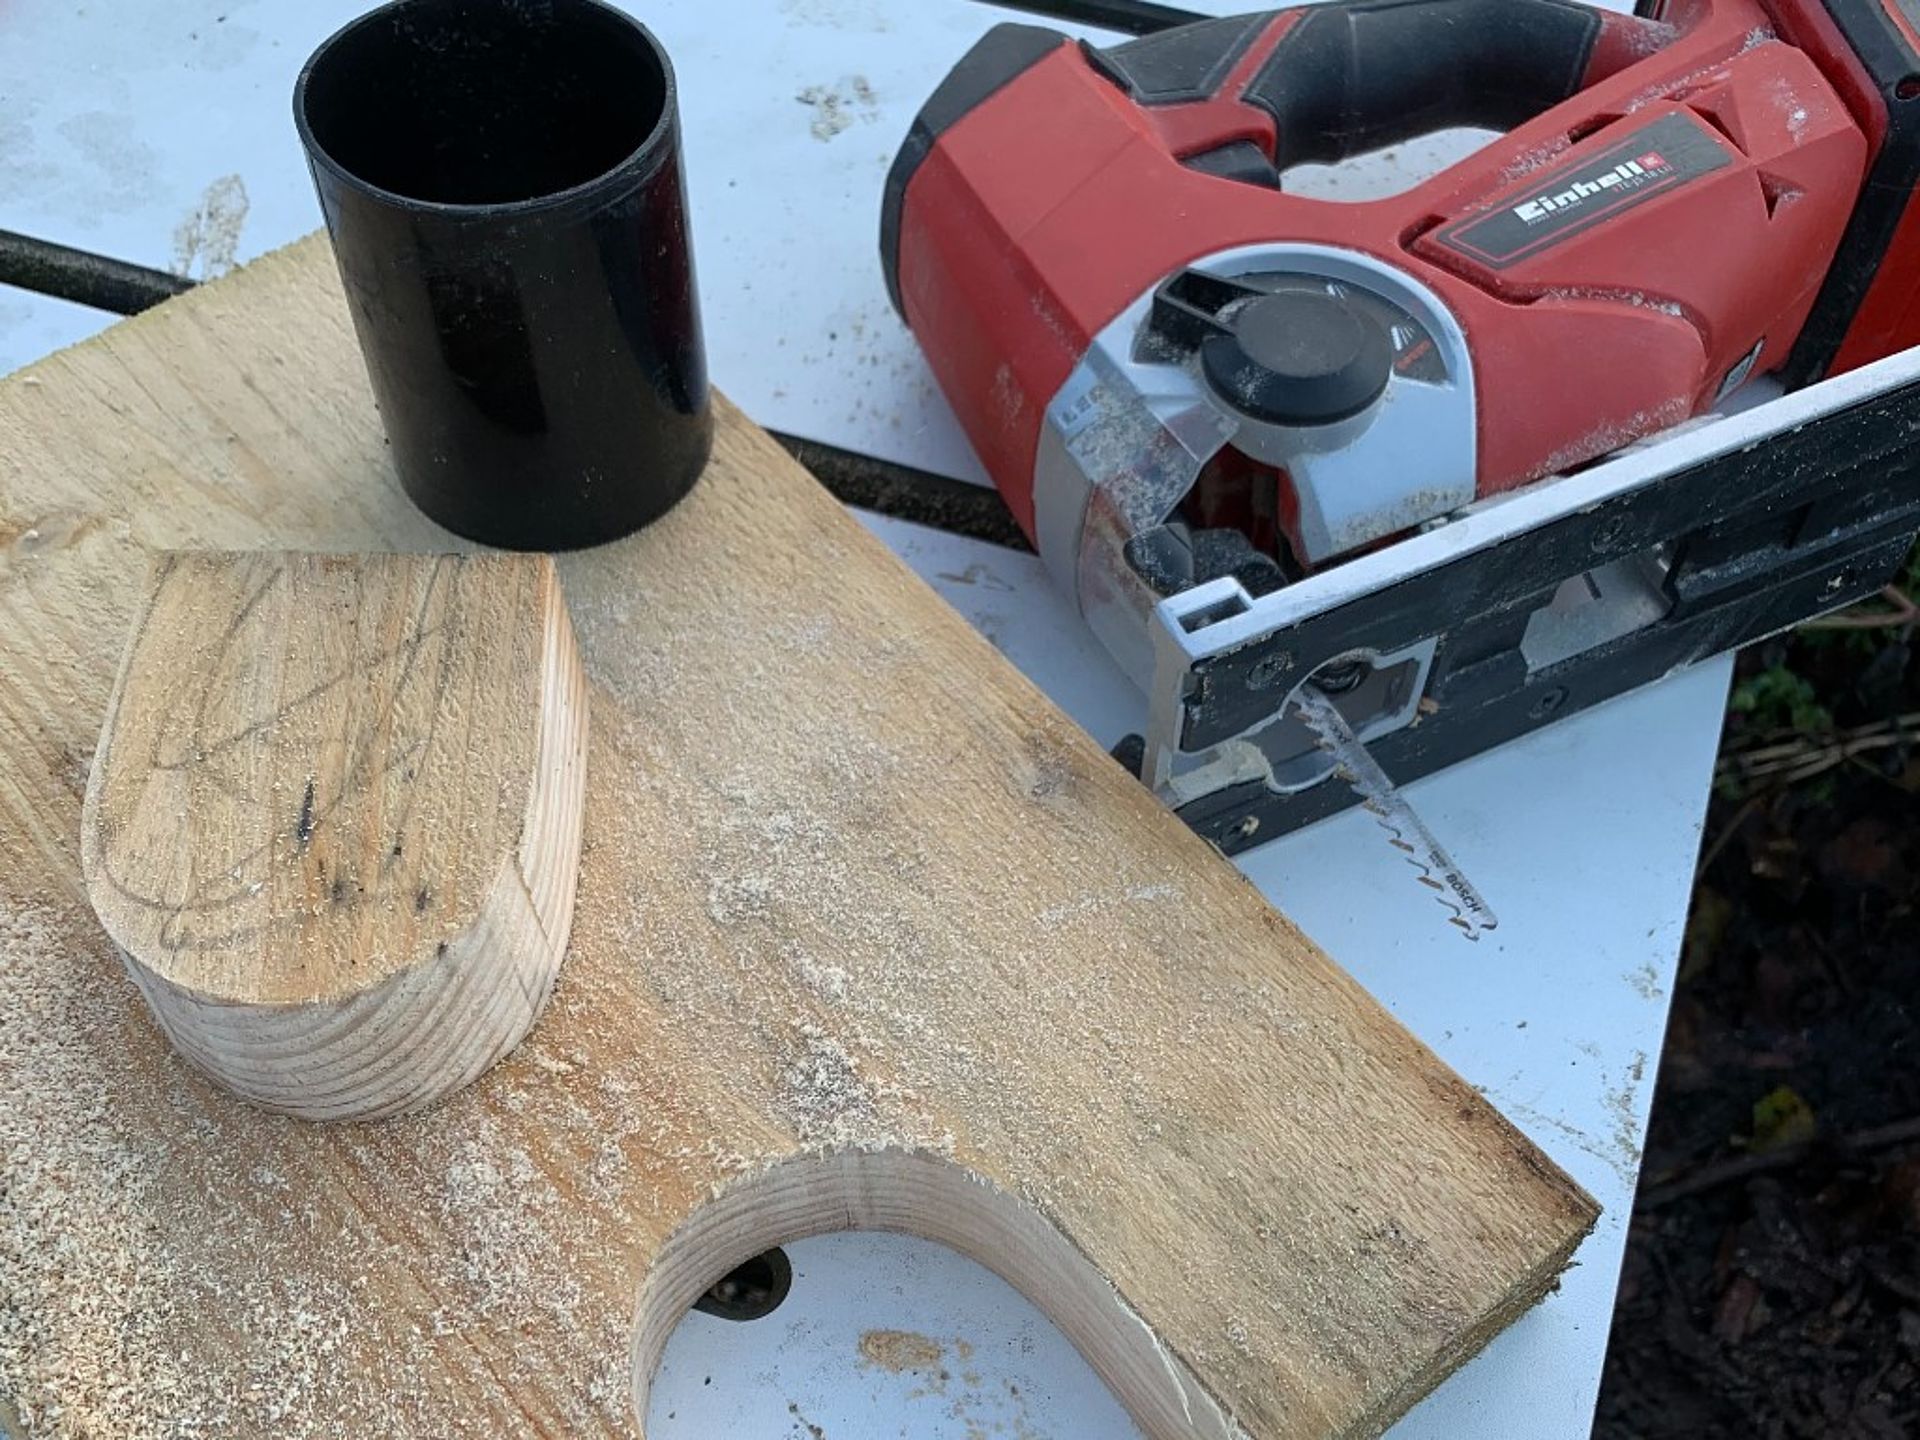
Next we need to make a u shaped hole in one end of the 350mm length. Measure in 10cm from the end of the board and find the centre point. Mark this on. Then place your drain pipe so the centre of it lines up with the mark you just made. Draw around the drain pipe. Taking your square, draw a line from the edge of the board to the edge of the circle on each side.
Step Five:
Cut this area out with a jigsaw. Take it slow.
Step Six:
Finally we can screw the two pieces together. Place your smaller angled length on a table so it is sitting flat. Then take your longer length with the U cut out of it, placing the U end in the air with the other end flush on the table.
Step Seven:
Take your 4mm drill bit and make three pilot holes, through the top of the U piece so the holes line up with the upright below. Use 70mm screws to fix these together.
Step Eight:
Paint your wellie jack with an outdoor paint.