How to make pallet shelving
Storage is always something I’m short of and I know I’m not alone. This project is super simple, costs next to nothing in materials, and you can personalise it with your own design. The shelving can be used in the garden, garage or even home. Perfect as a spice rack, herb shelf or even a bookshelf.
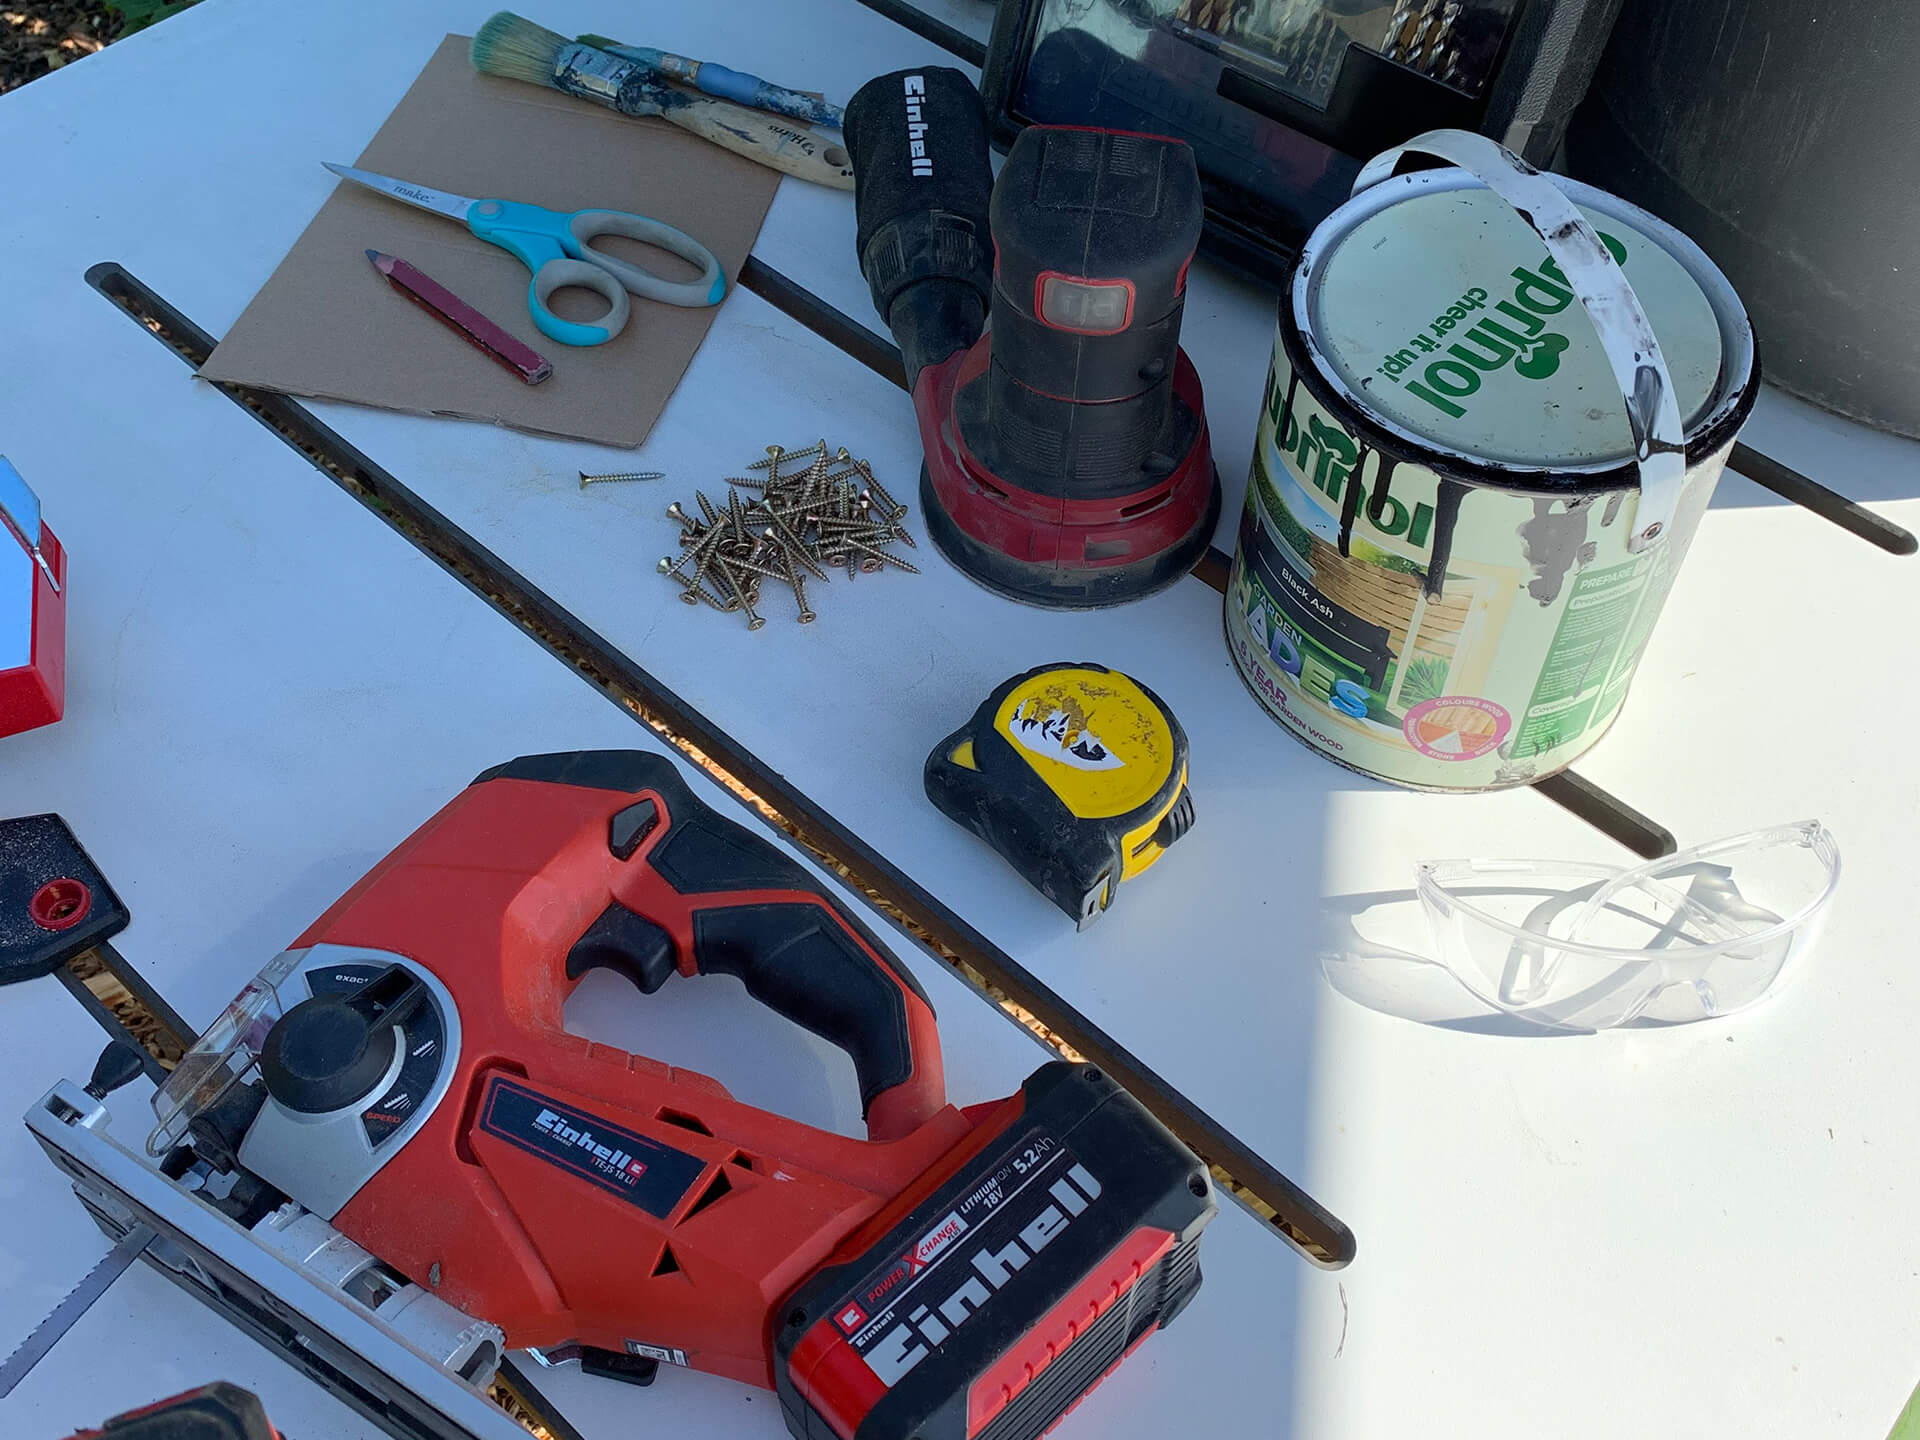
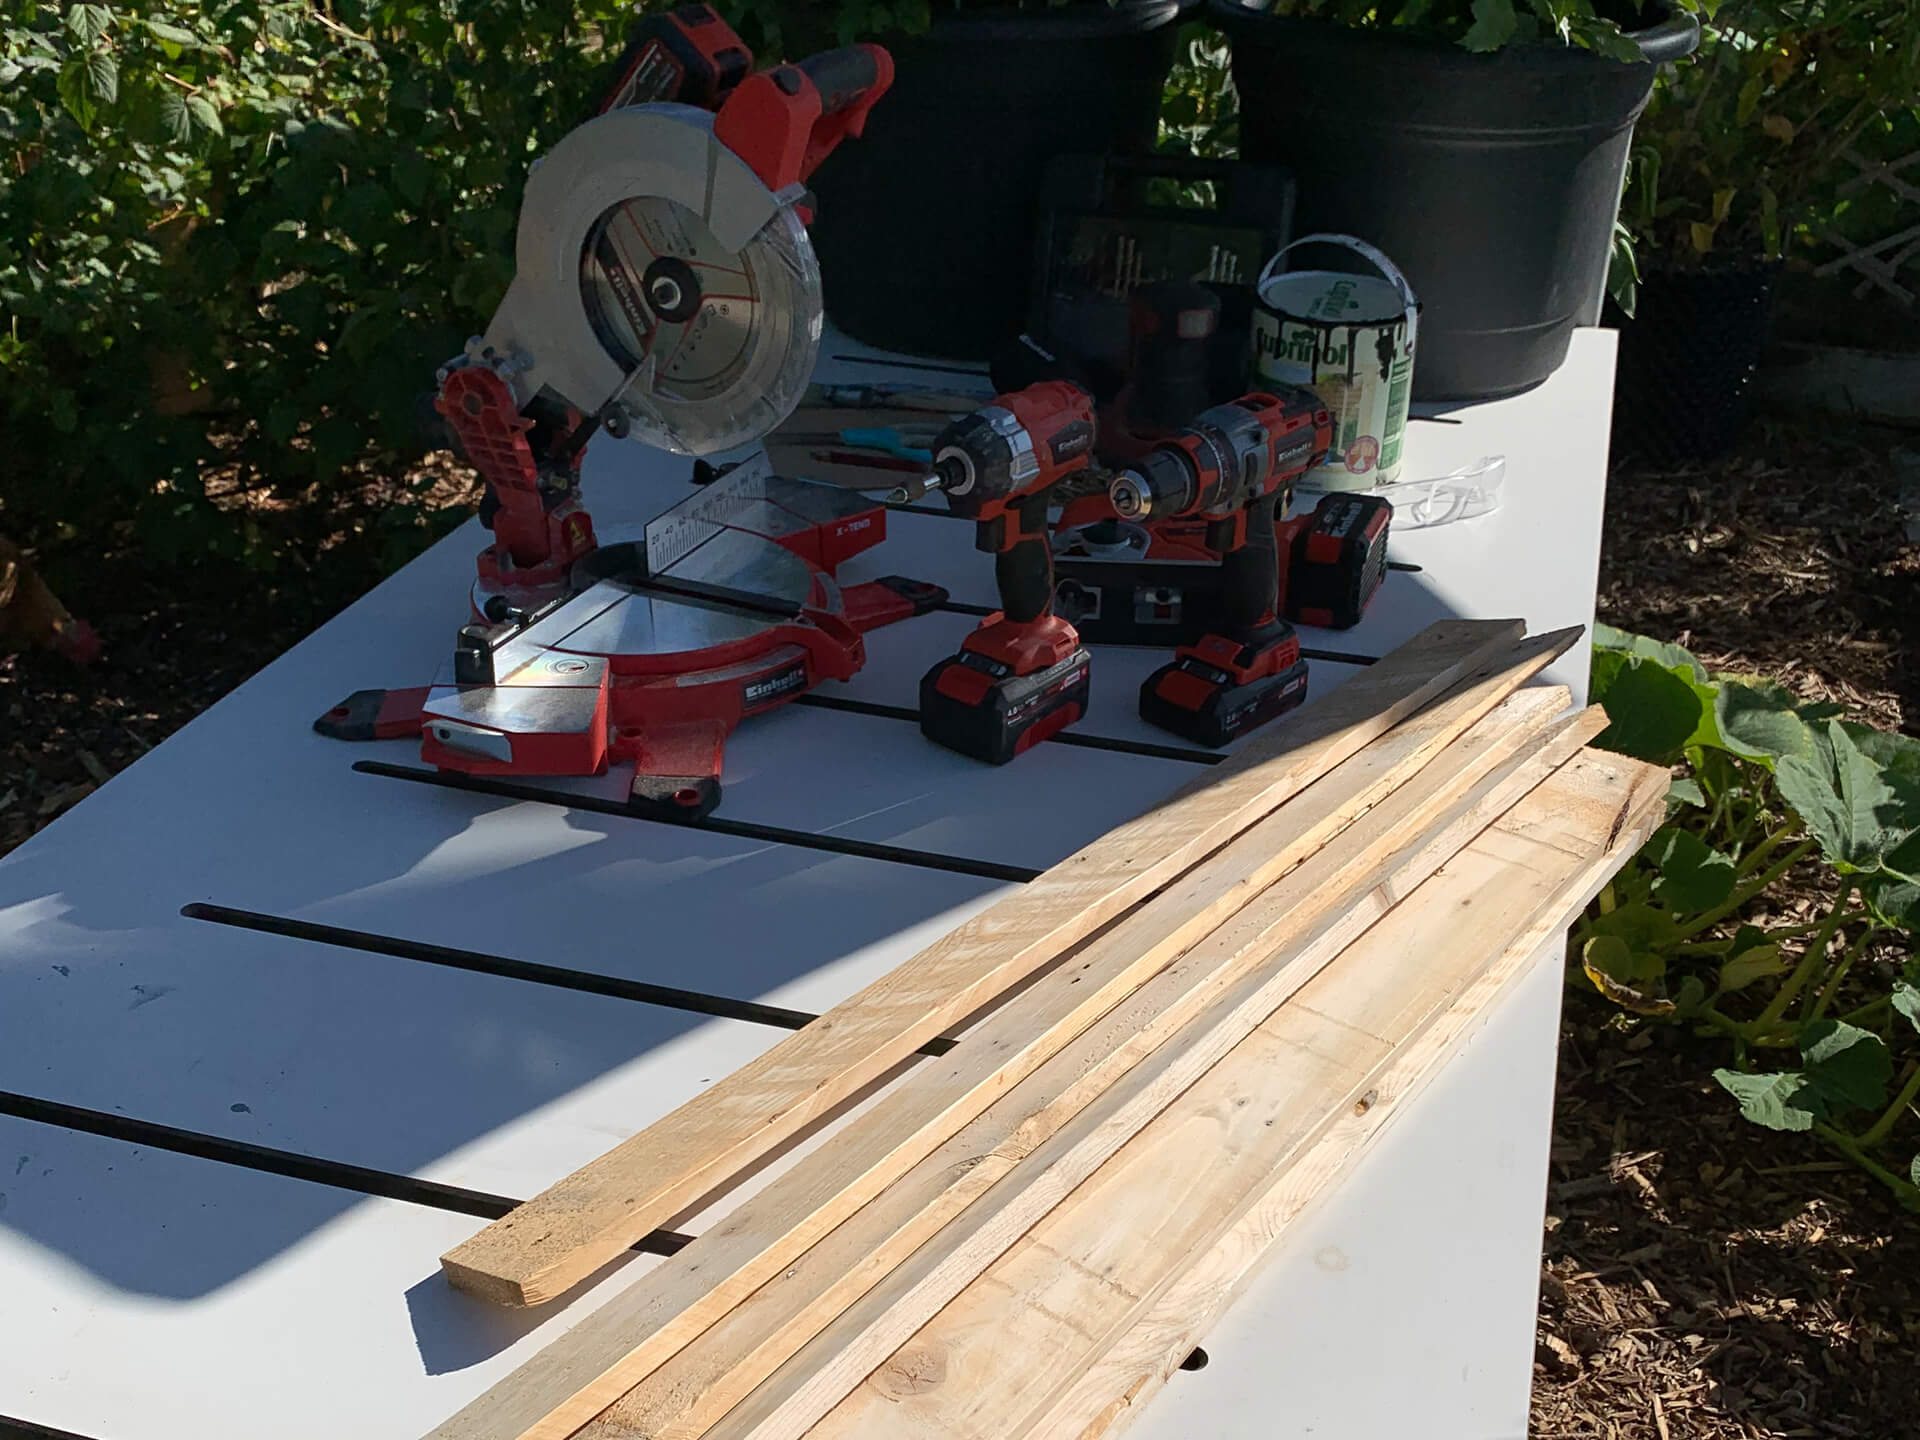
Here’s the materials and the equipment that you will need:
| Material | Tools |
|---|---|
| 5 slats from a pallet | Power X-Change Cordless TE-CS 18/165 Li-Solo Circular Saw |
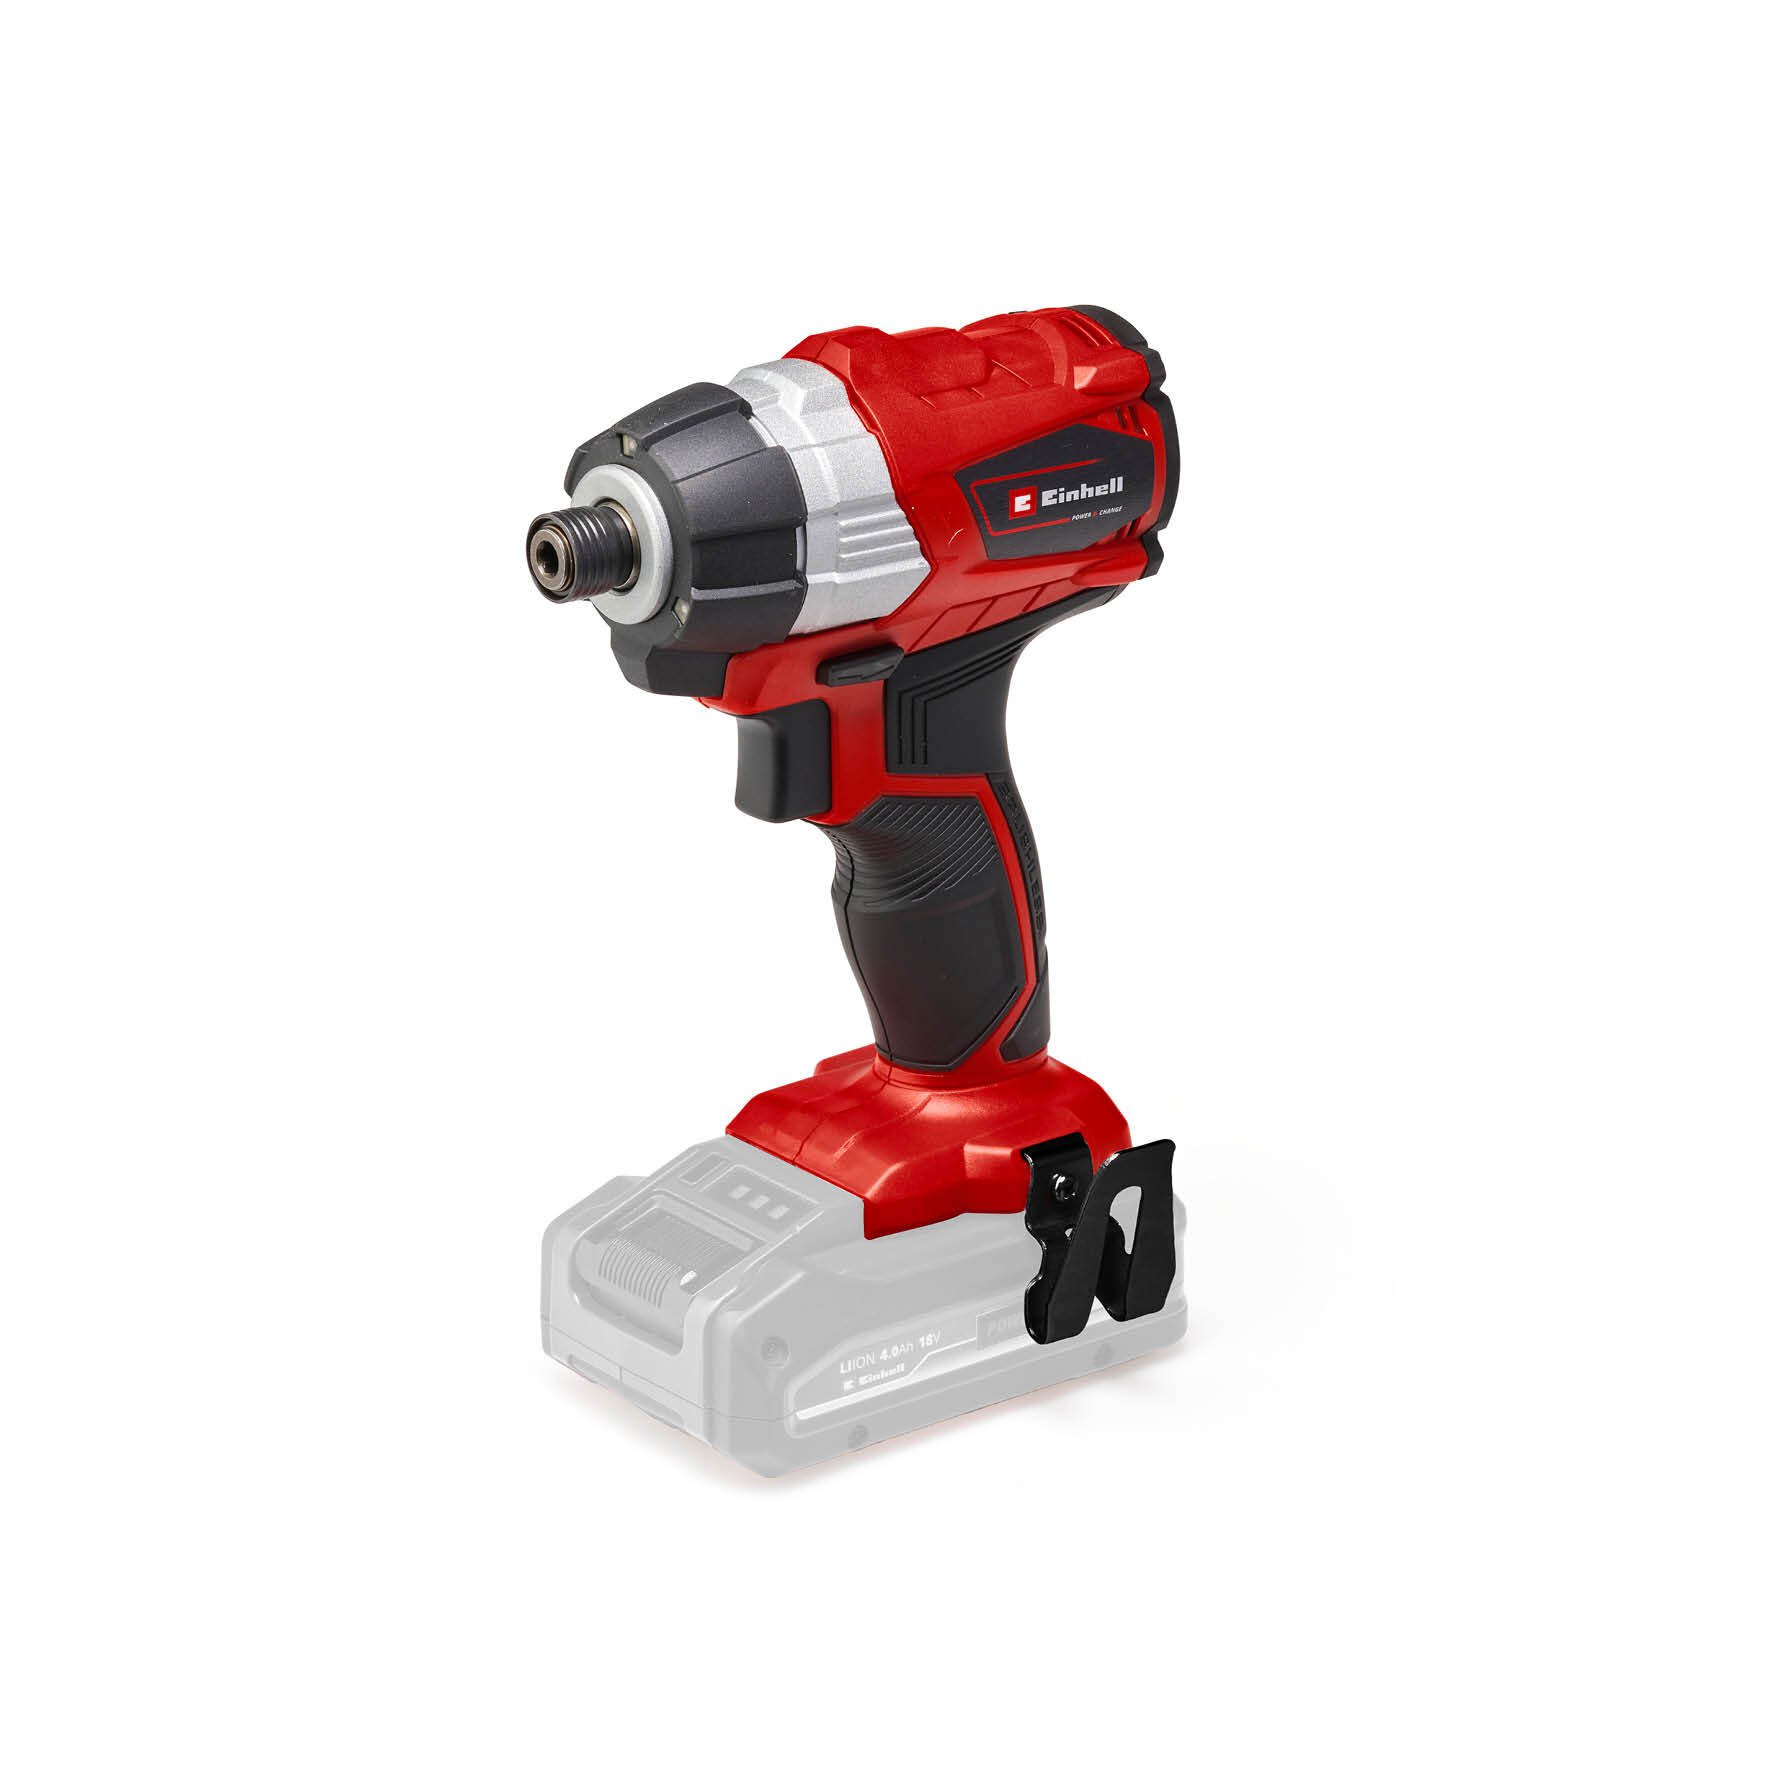
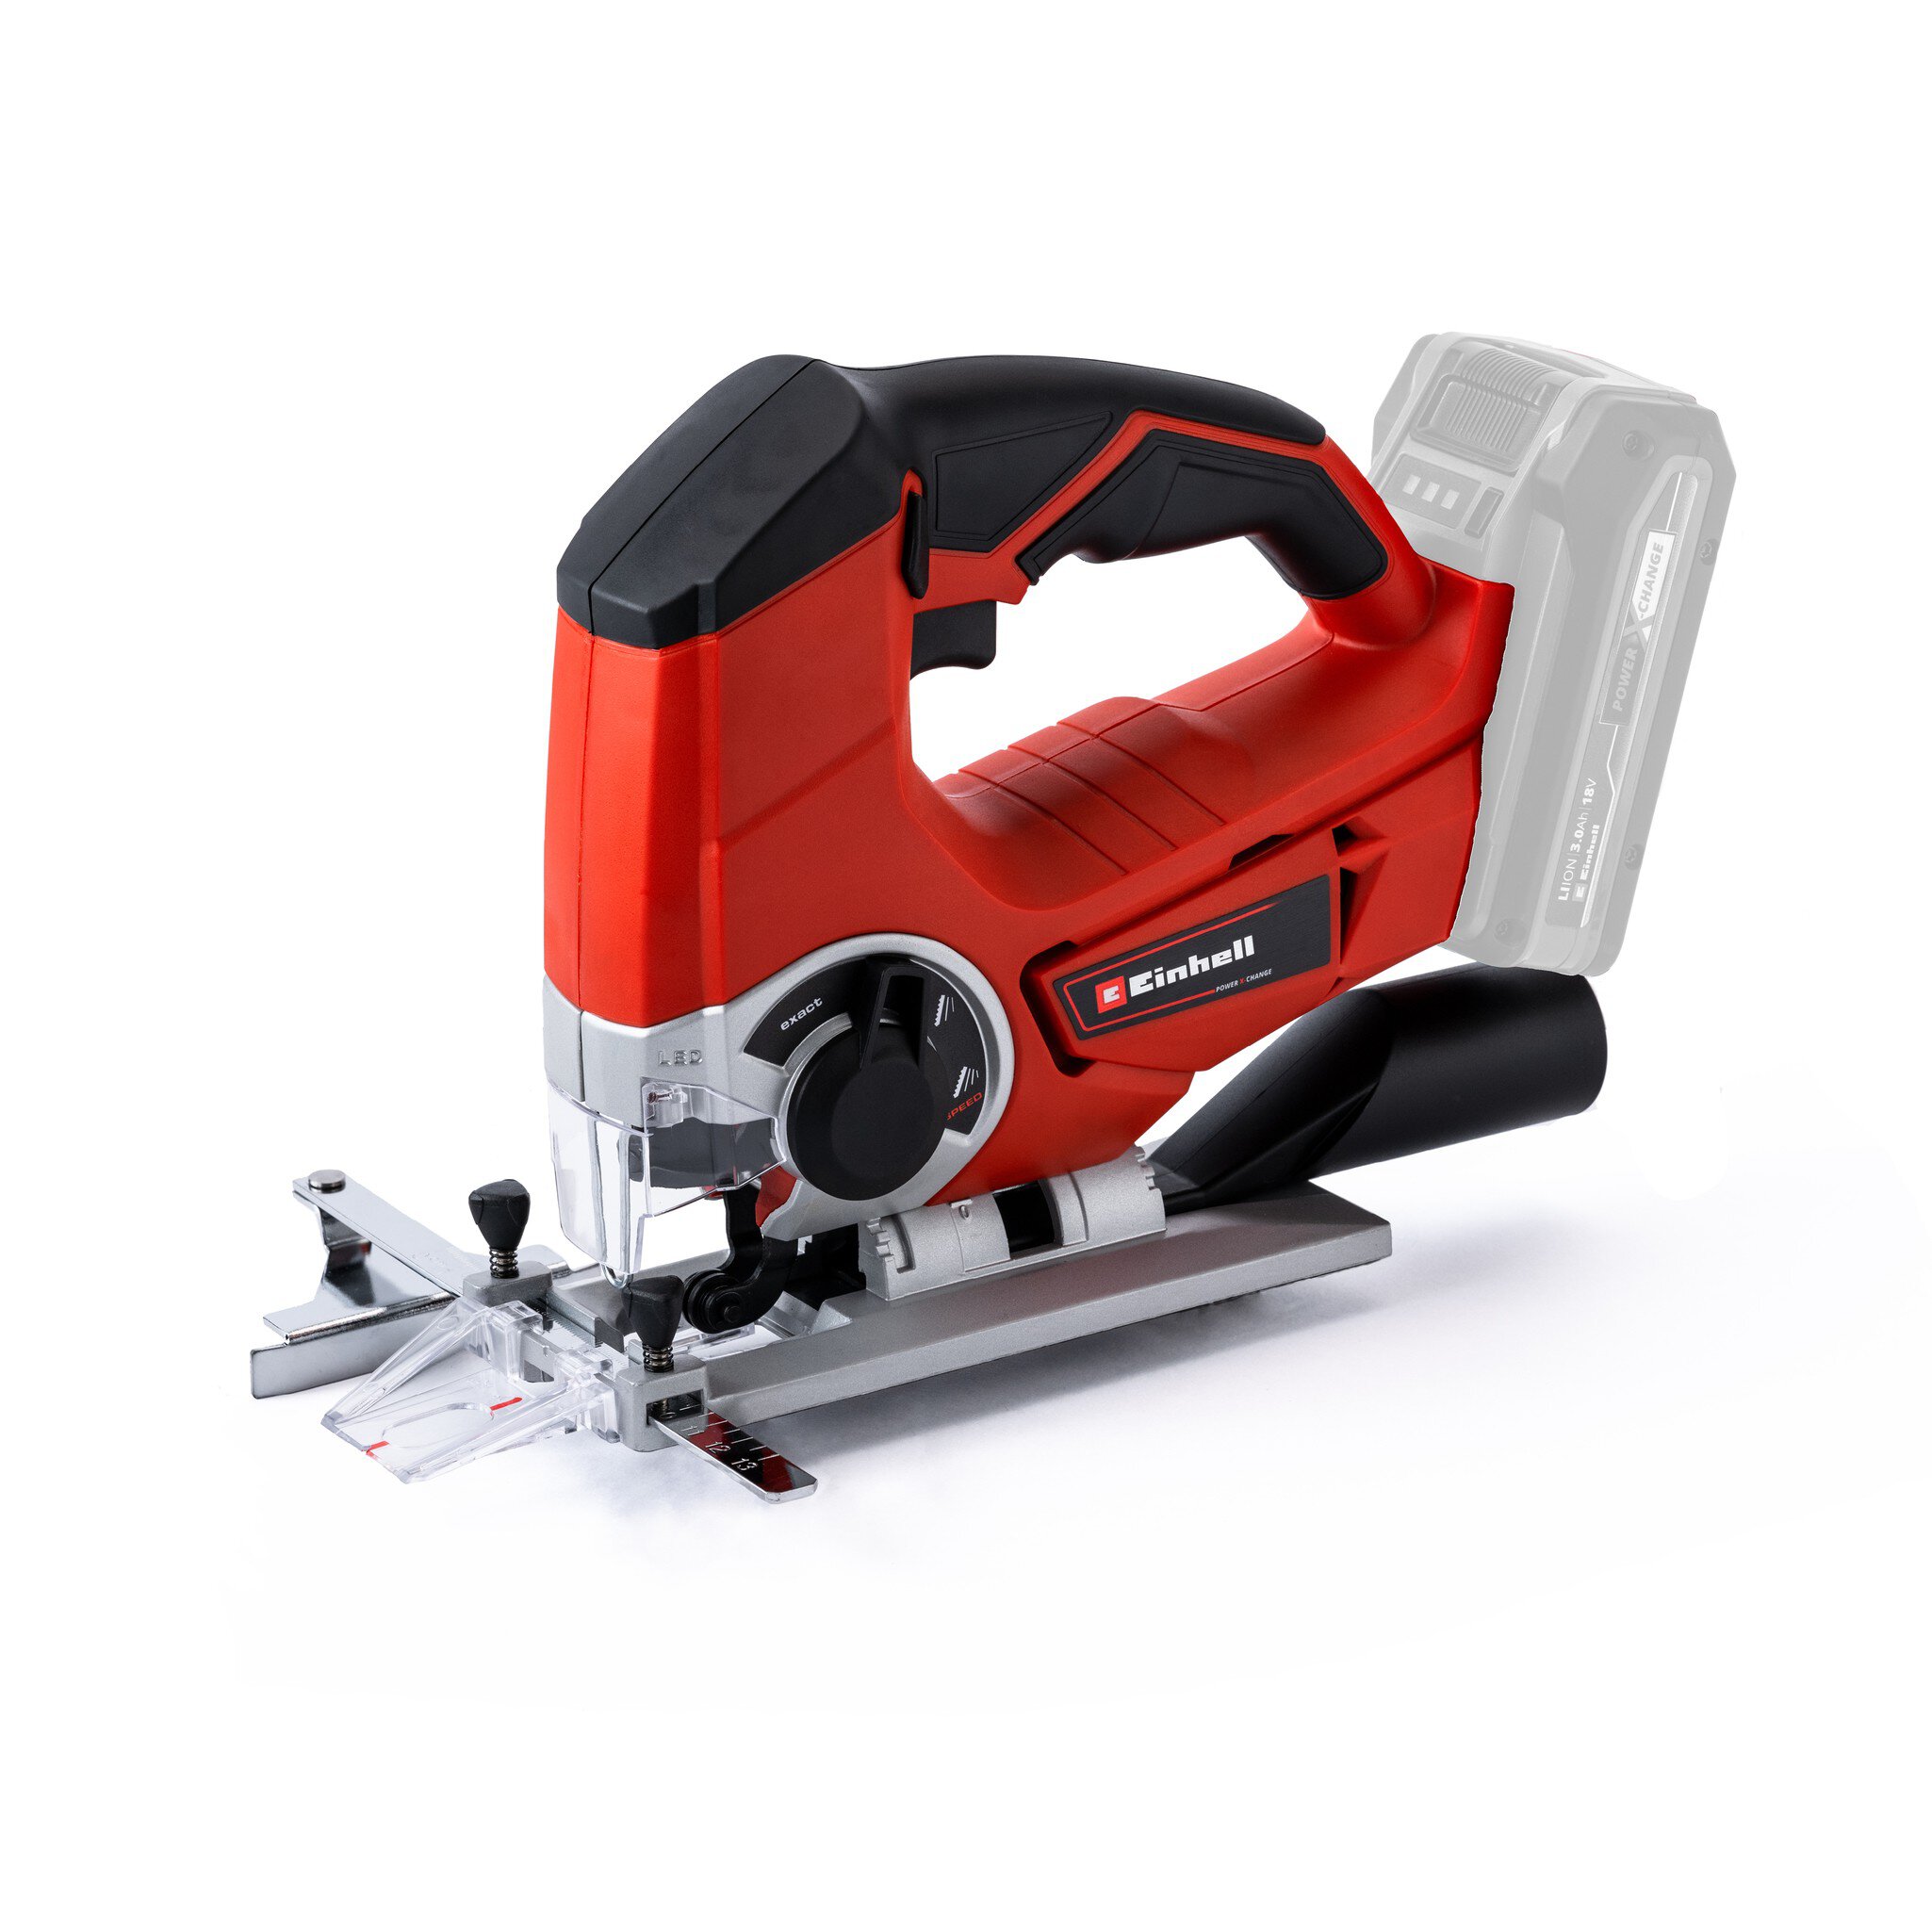
| Screws for the thickness of your pallet | Power X-Change Cordless Jig Saw TE-JS 18 Li-Solo – 4321200 |
| Paint of your choice | Power X-Change Cordless TE-CD 18 Li-i Brushless-Solo Impact Drill |
| Cardboard or paper | 18V 4-6 Ah Multi-Ah PXC Plus – 4511502 |
| Einhell Drill And Screwdriver Bit Set 70 Piece - 4258085 | |
| Power X-Change Impact driver – 4510030 | |
| 4.5mm drill bit | |
| Countersink bit | |
| Square | |
| Tape Measure | |
| Power X-Change Cordless TE-RS 18 Li-Solo Sander | |
| G Clamp | |
| Scissors | |
| Paintbrush | |
| Sand paper |

Step One:
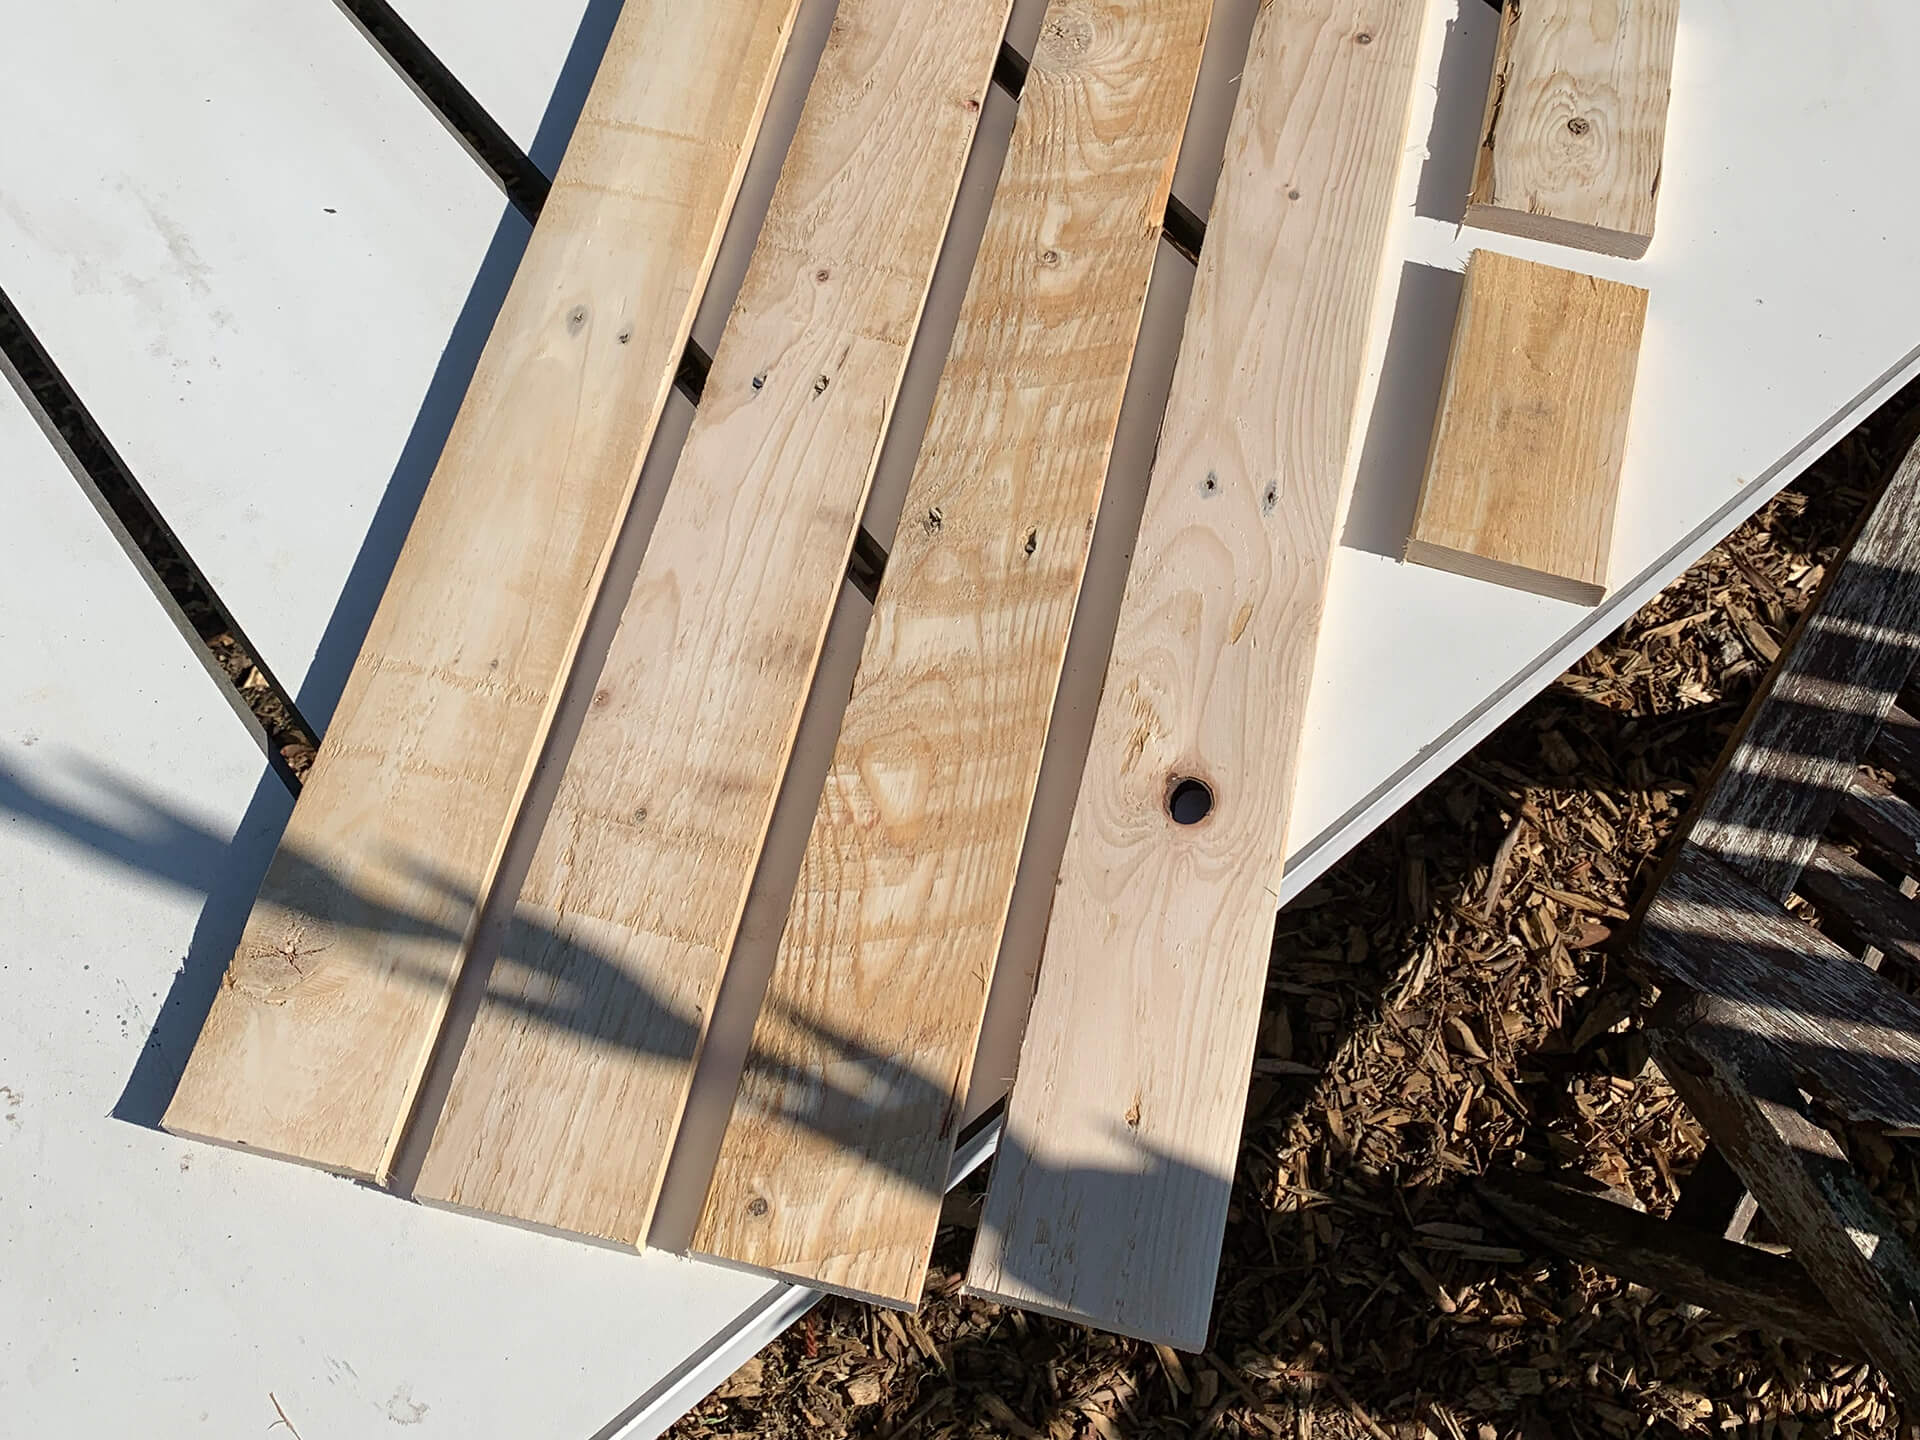
Take four of your five slats and square up one end on all four, using your mitre saw. Once all four are cut, measure from the square edge 70cm in and cut all four to that length.
Step Two:
Measure the width of each slat and put the widest one aside for later. This will be the base of your shelf.
Step Three:
Flip your pallet over carefully and draw a line on the top and bottom slat after the central post. Cut these with your circular saw but make sure you leave the middle intact.
Step Four:
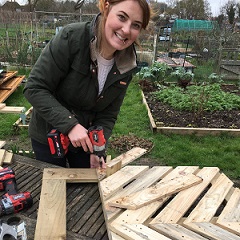
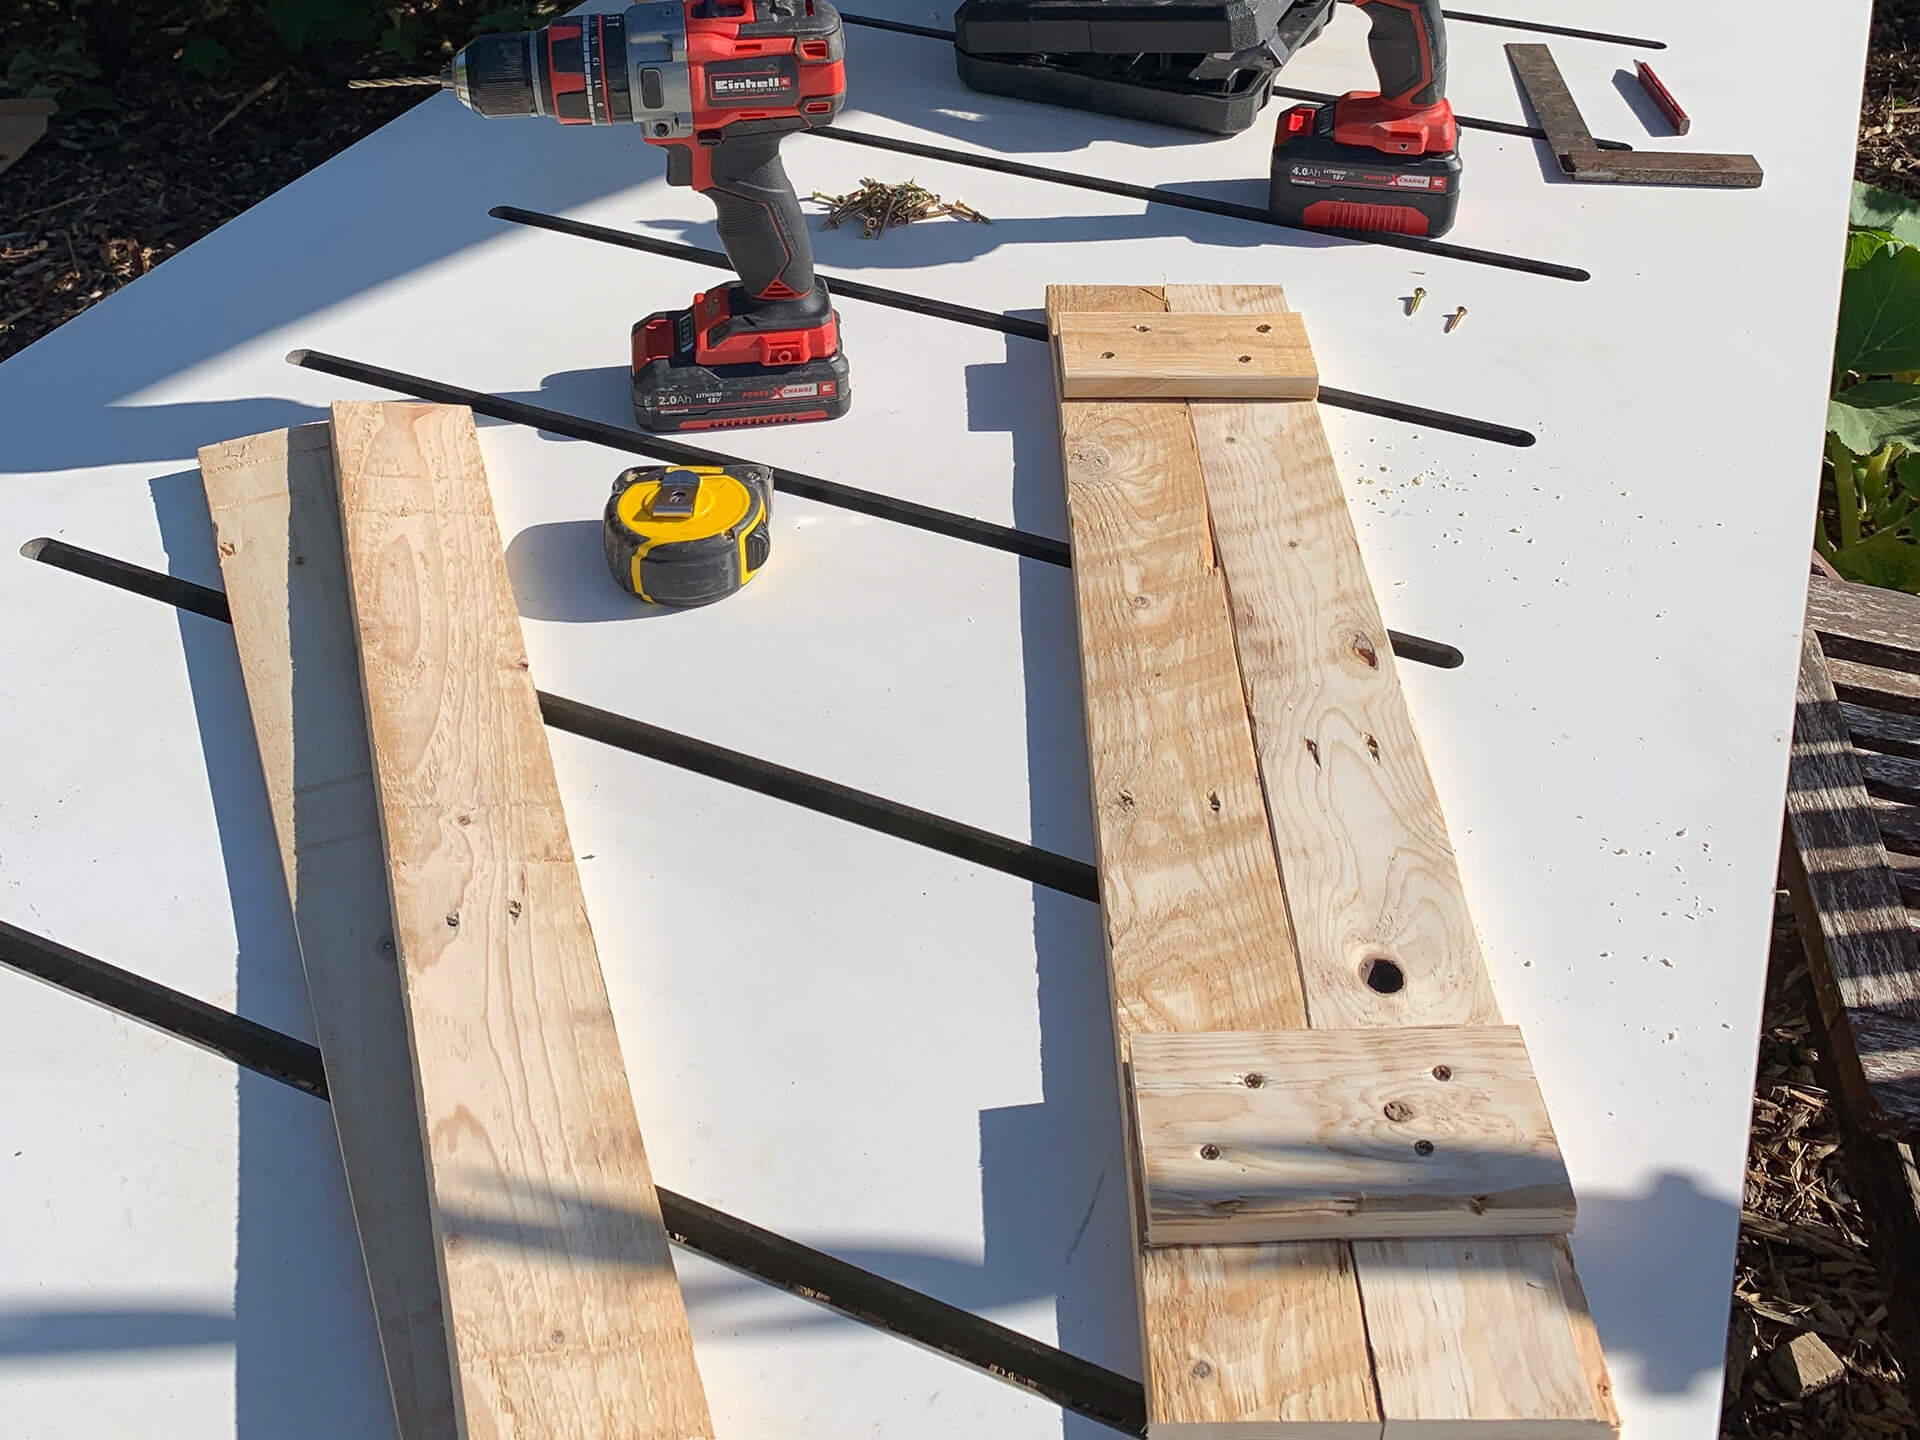
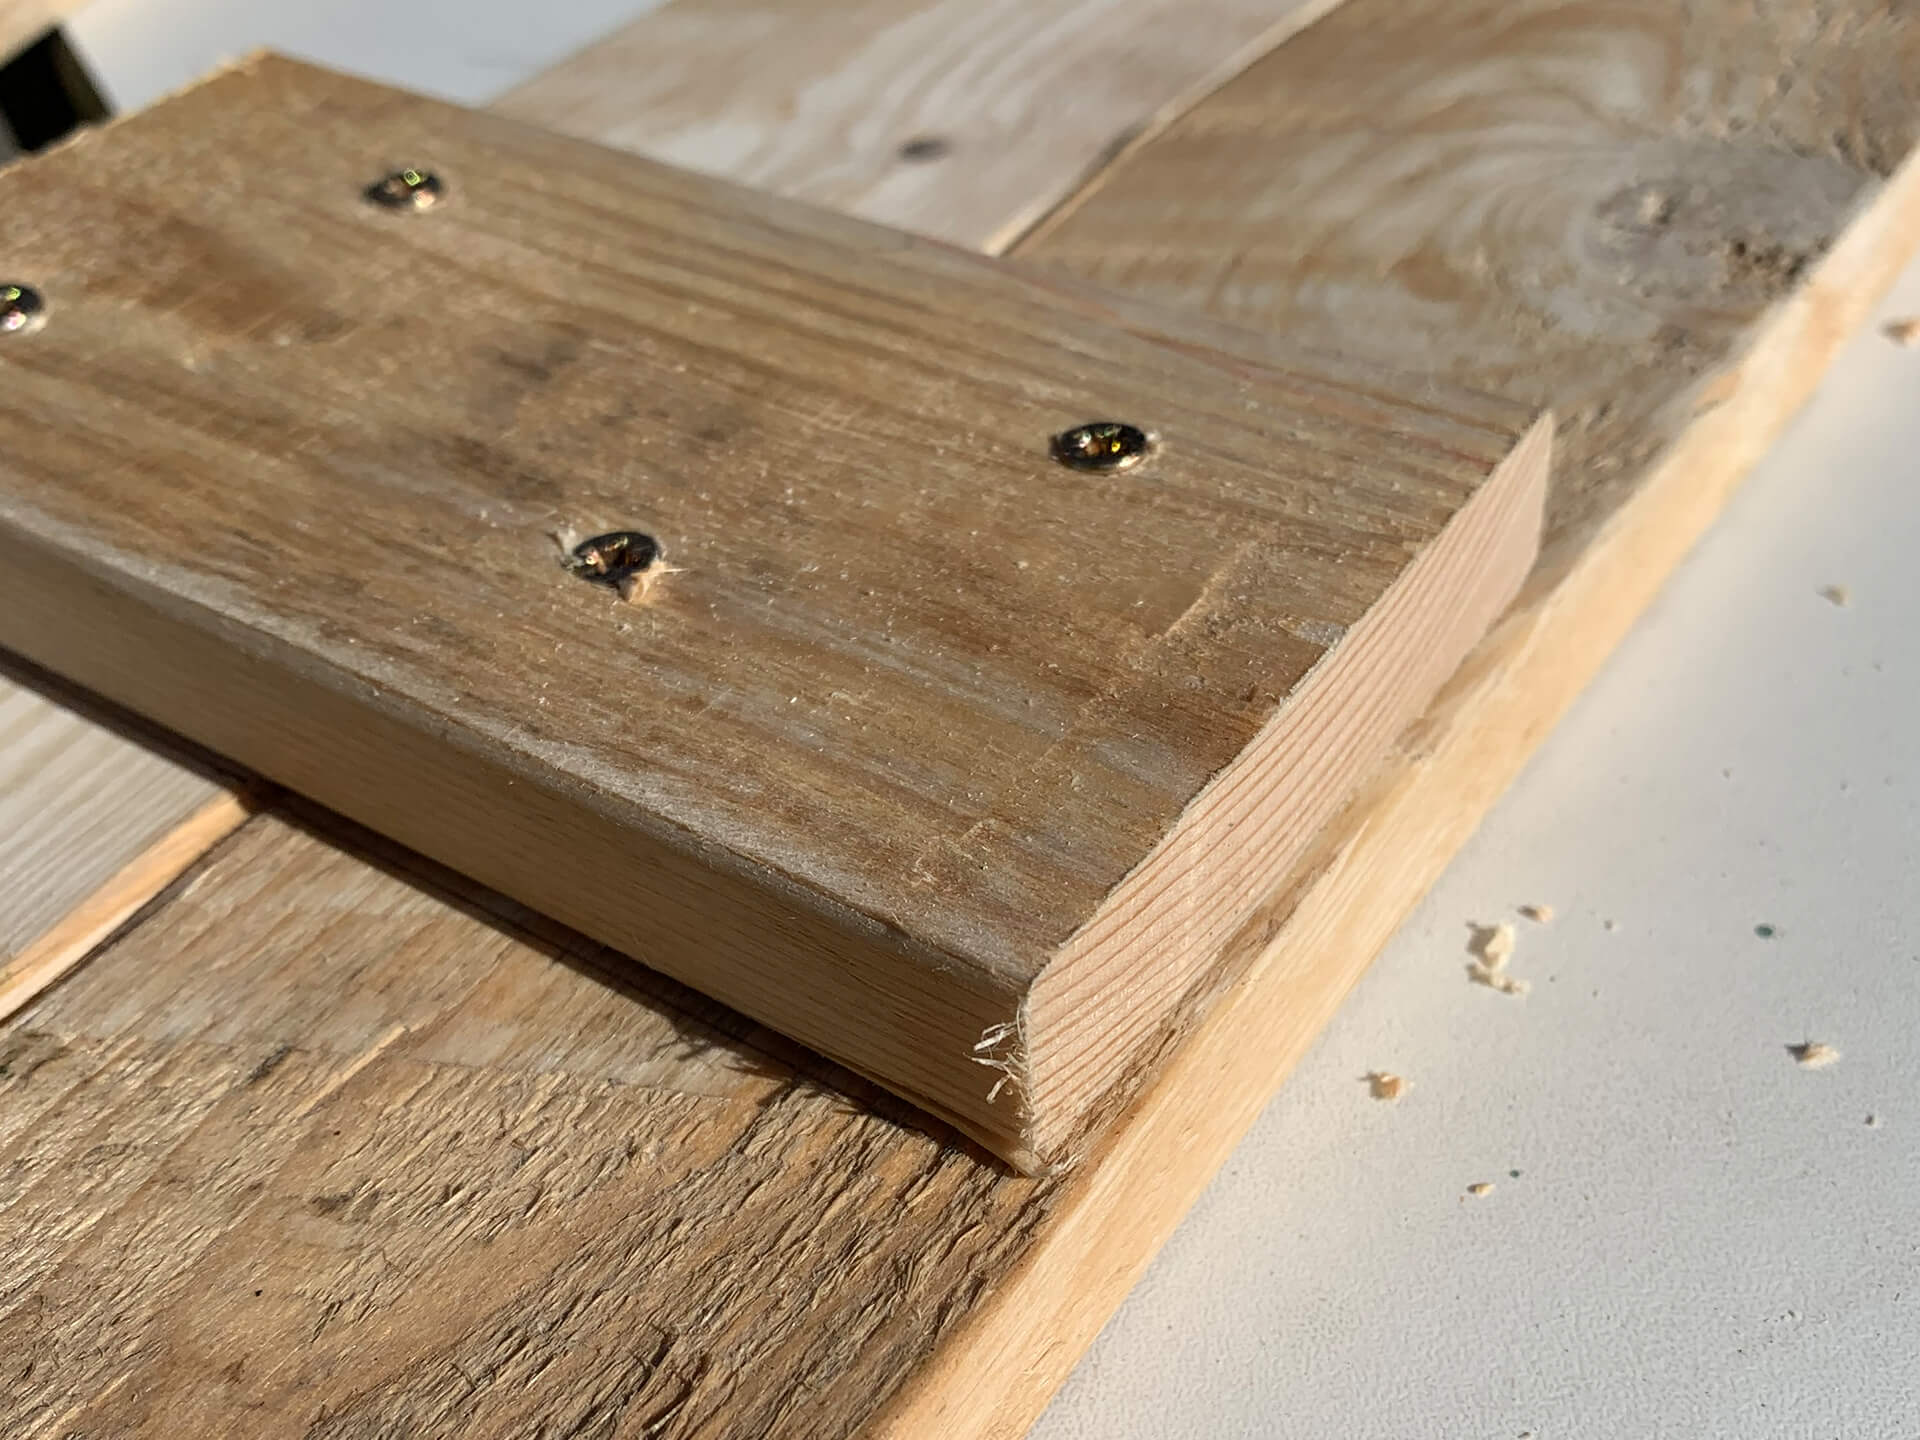
Take the two pieces cut of offcuts and place one at each end of the slats, around 5cm in from the edge. Using your 4.5mm pilot drill bit, drill through the offcuts and then screw into place. Make sure your screws are the right size as you don’t want them coming through the front of the slats. I placed two screws in each slat and staggered them diagonally to give a strong fix.
Step Five:
It’s time to assemble all the slats. Measure the thickness of your slats and divide by 2. My own were 14mm thick, so I took a tape measure and made a mark 7mm up from the base of the two slats that are now joined together. Mark 5 points evenly along the base and drill through with the 4.5mm drill bit.
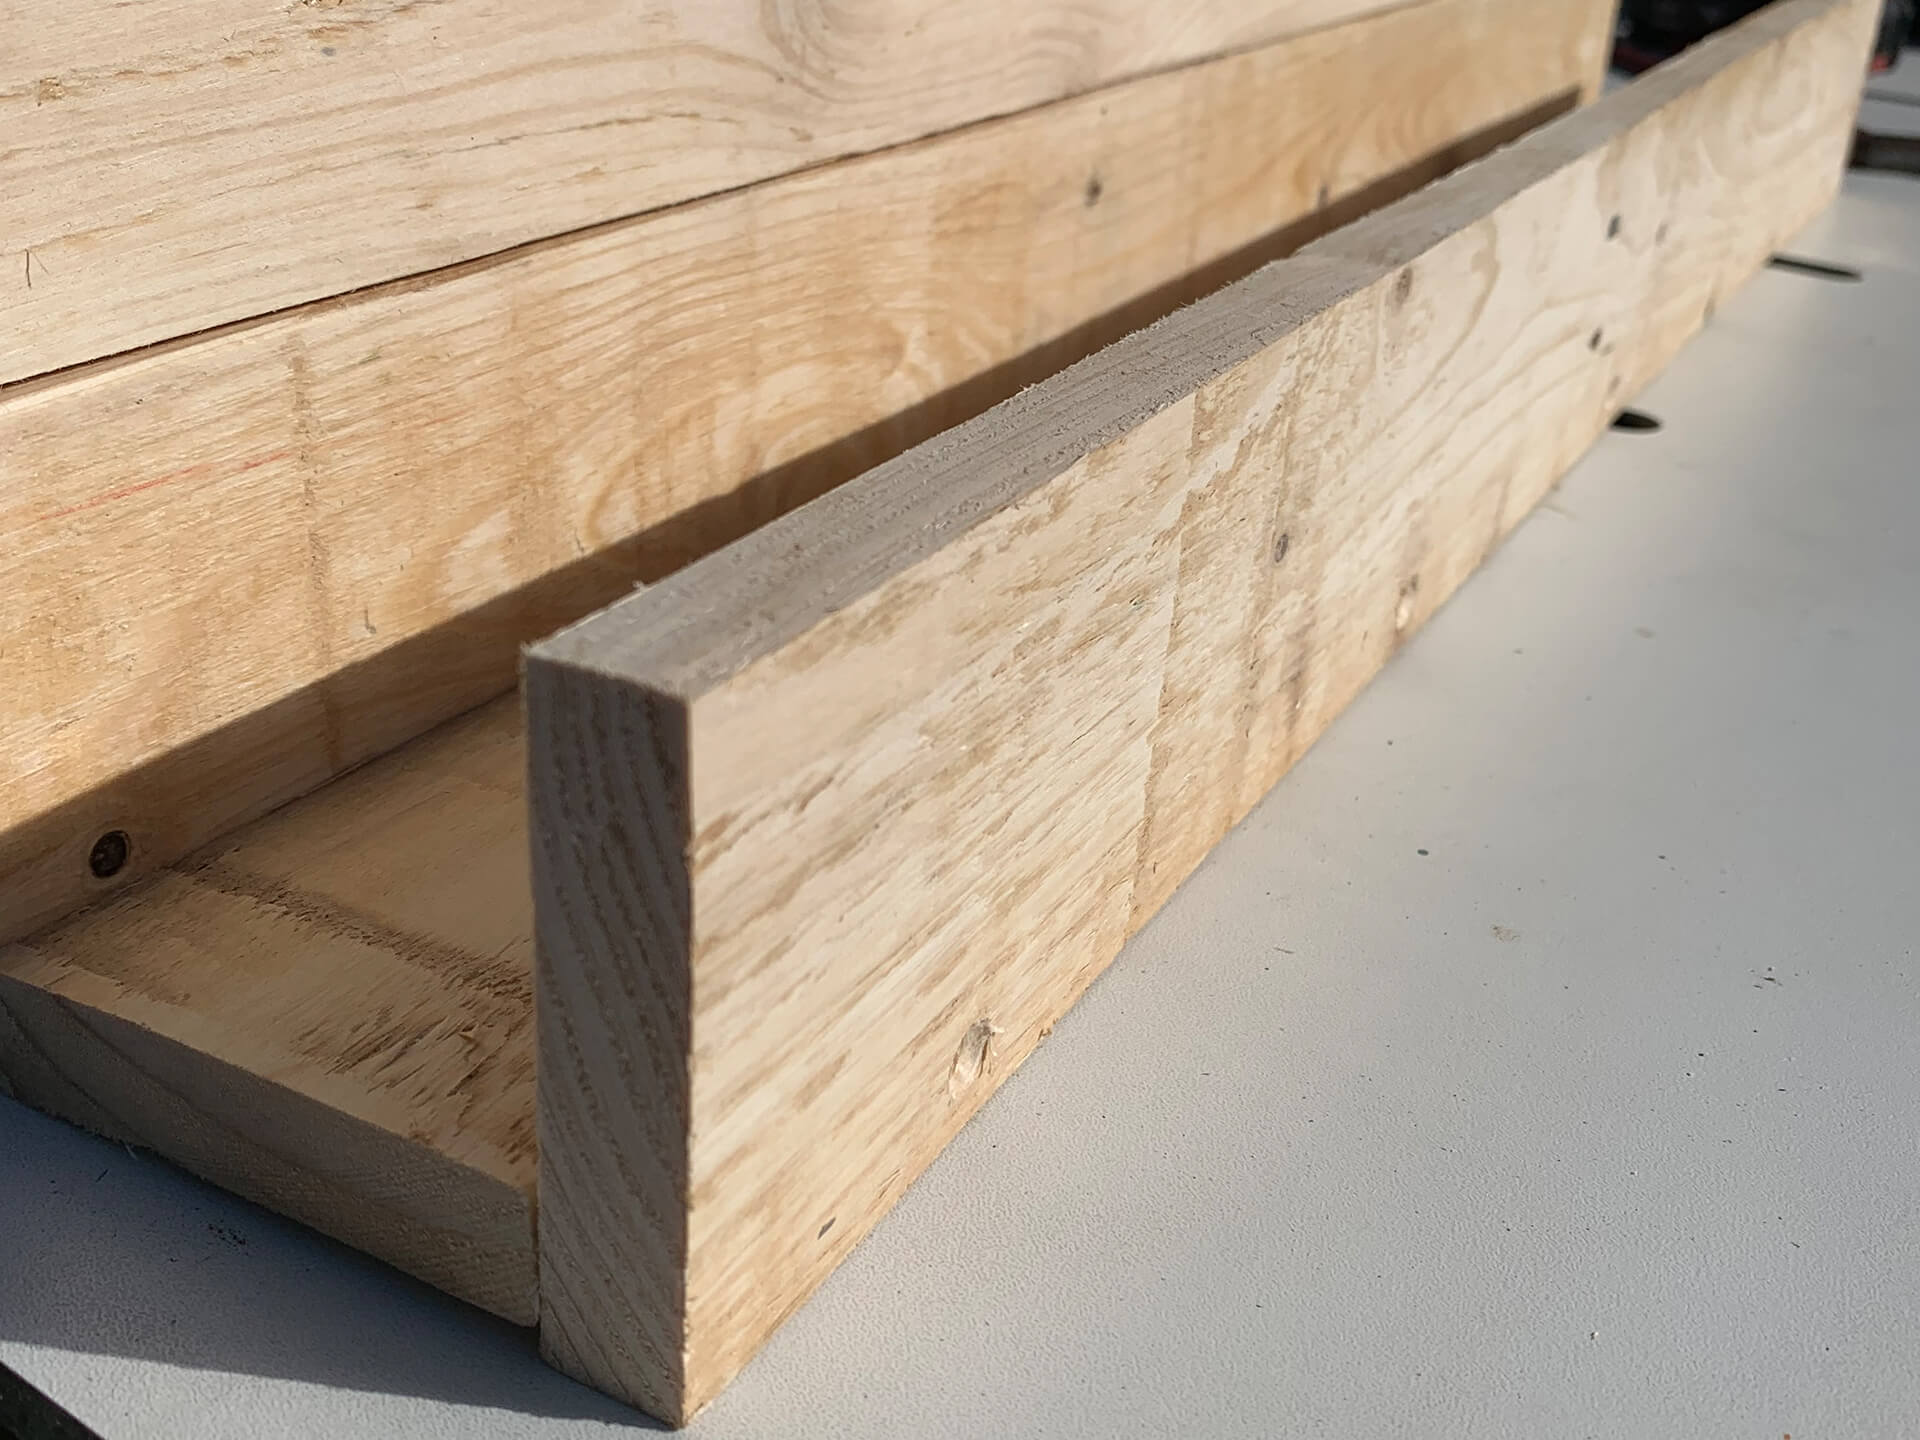
Step Six:
Taking the widest slat that was put to one side earlier, position this butt up to the two joined slats where your holes are. Make sure the slats are level at the ends. Screw together using 25mm screws and make sure your impact driver is straight so the screw goes in straight. I found it easiest to bring the work to the edge of the table so as to ensure freedom of movement.

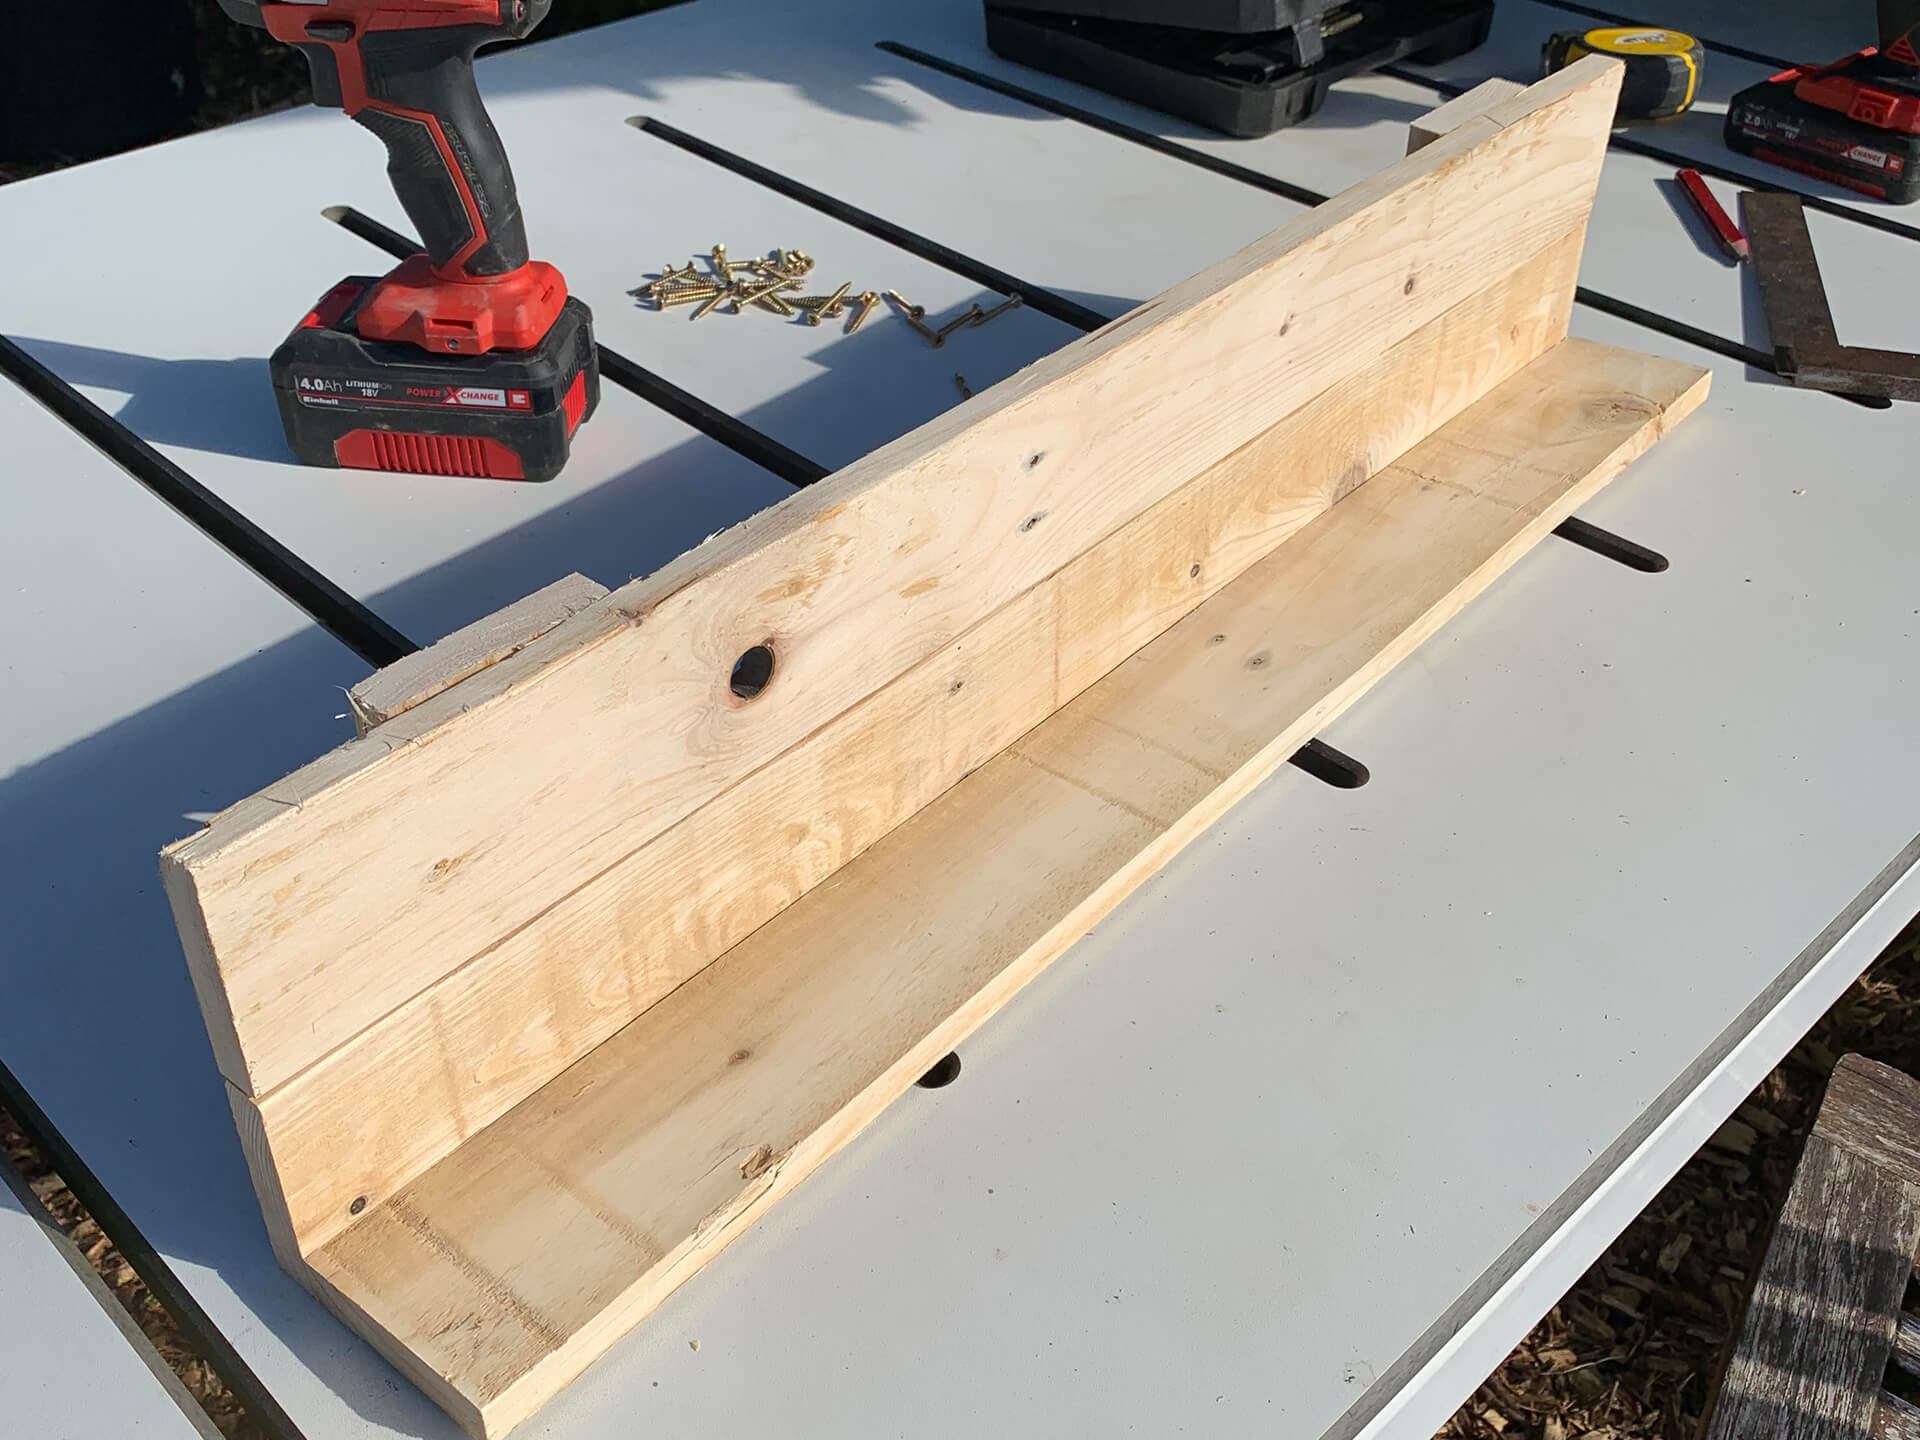
Step Seven:
Now you should have what looks like an L shape. We need to put a front on the shelf to stop everything falling out of it. Repeat the step of measuring out 5 holes that are half the thickness of your slats along your fourth slat. For this, measure them at 15cm intervals which will give you an even spacing. Because these screws will be on show, I used a countersink bit to make the screw head flush with the wood. Place the slat in position, getting it level with the rest and screw together with the same 25mm screws.
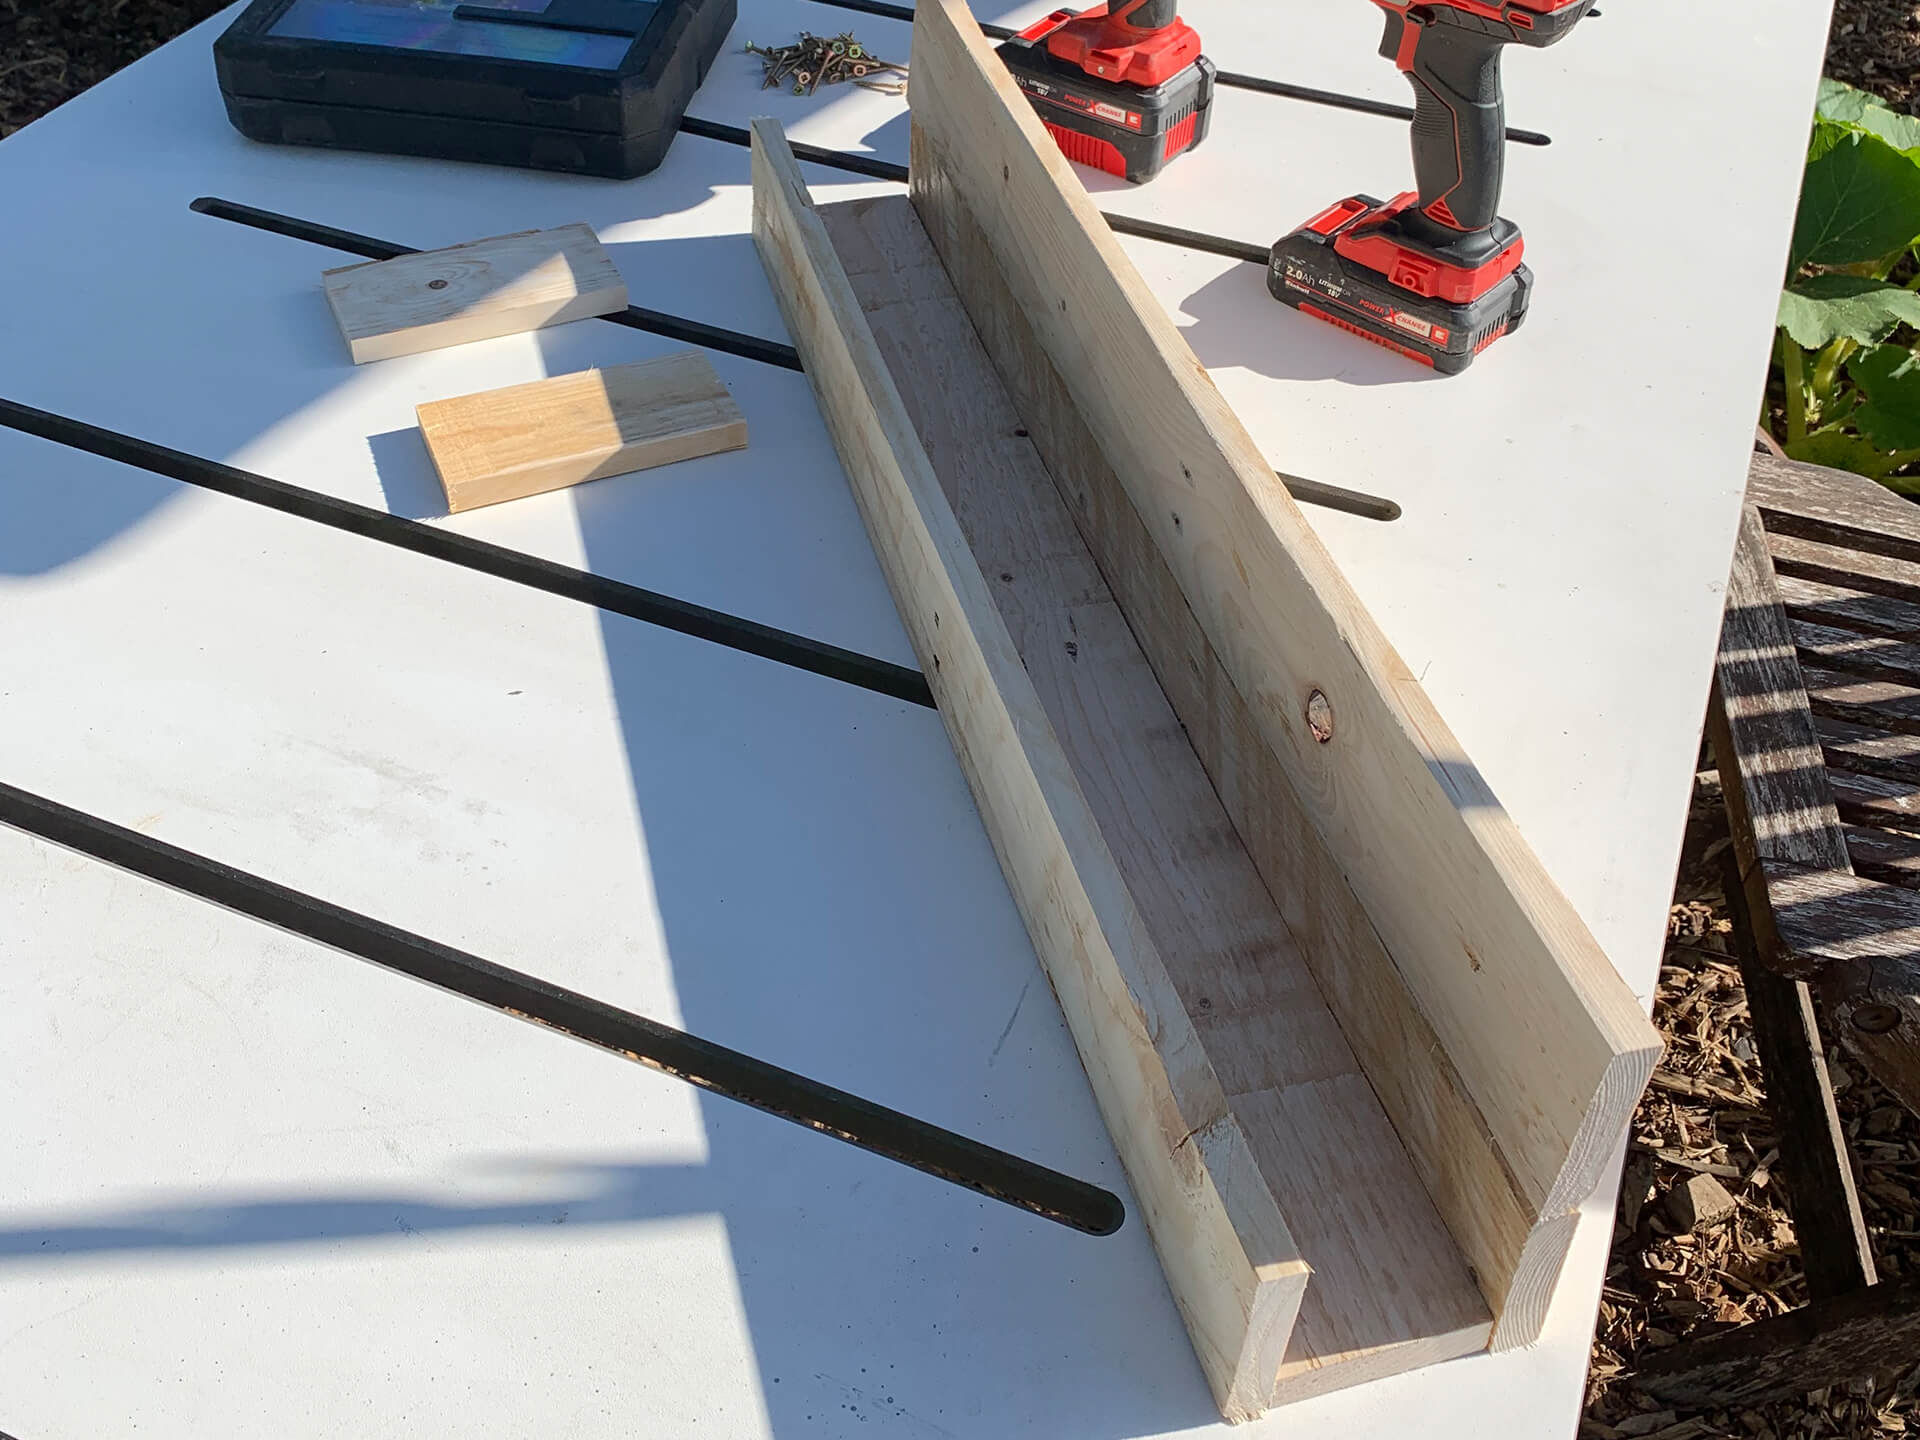
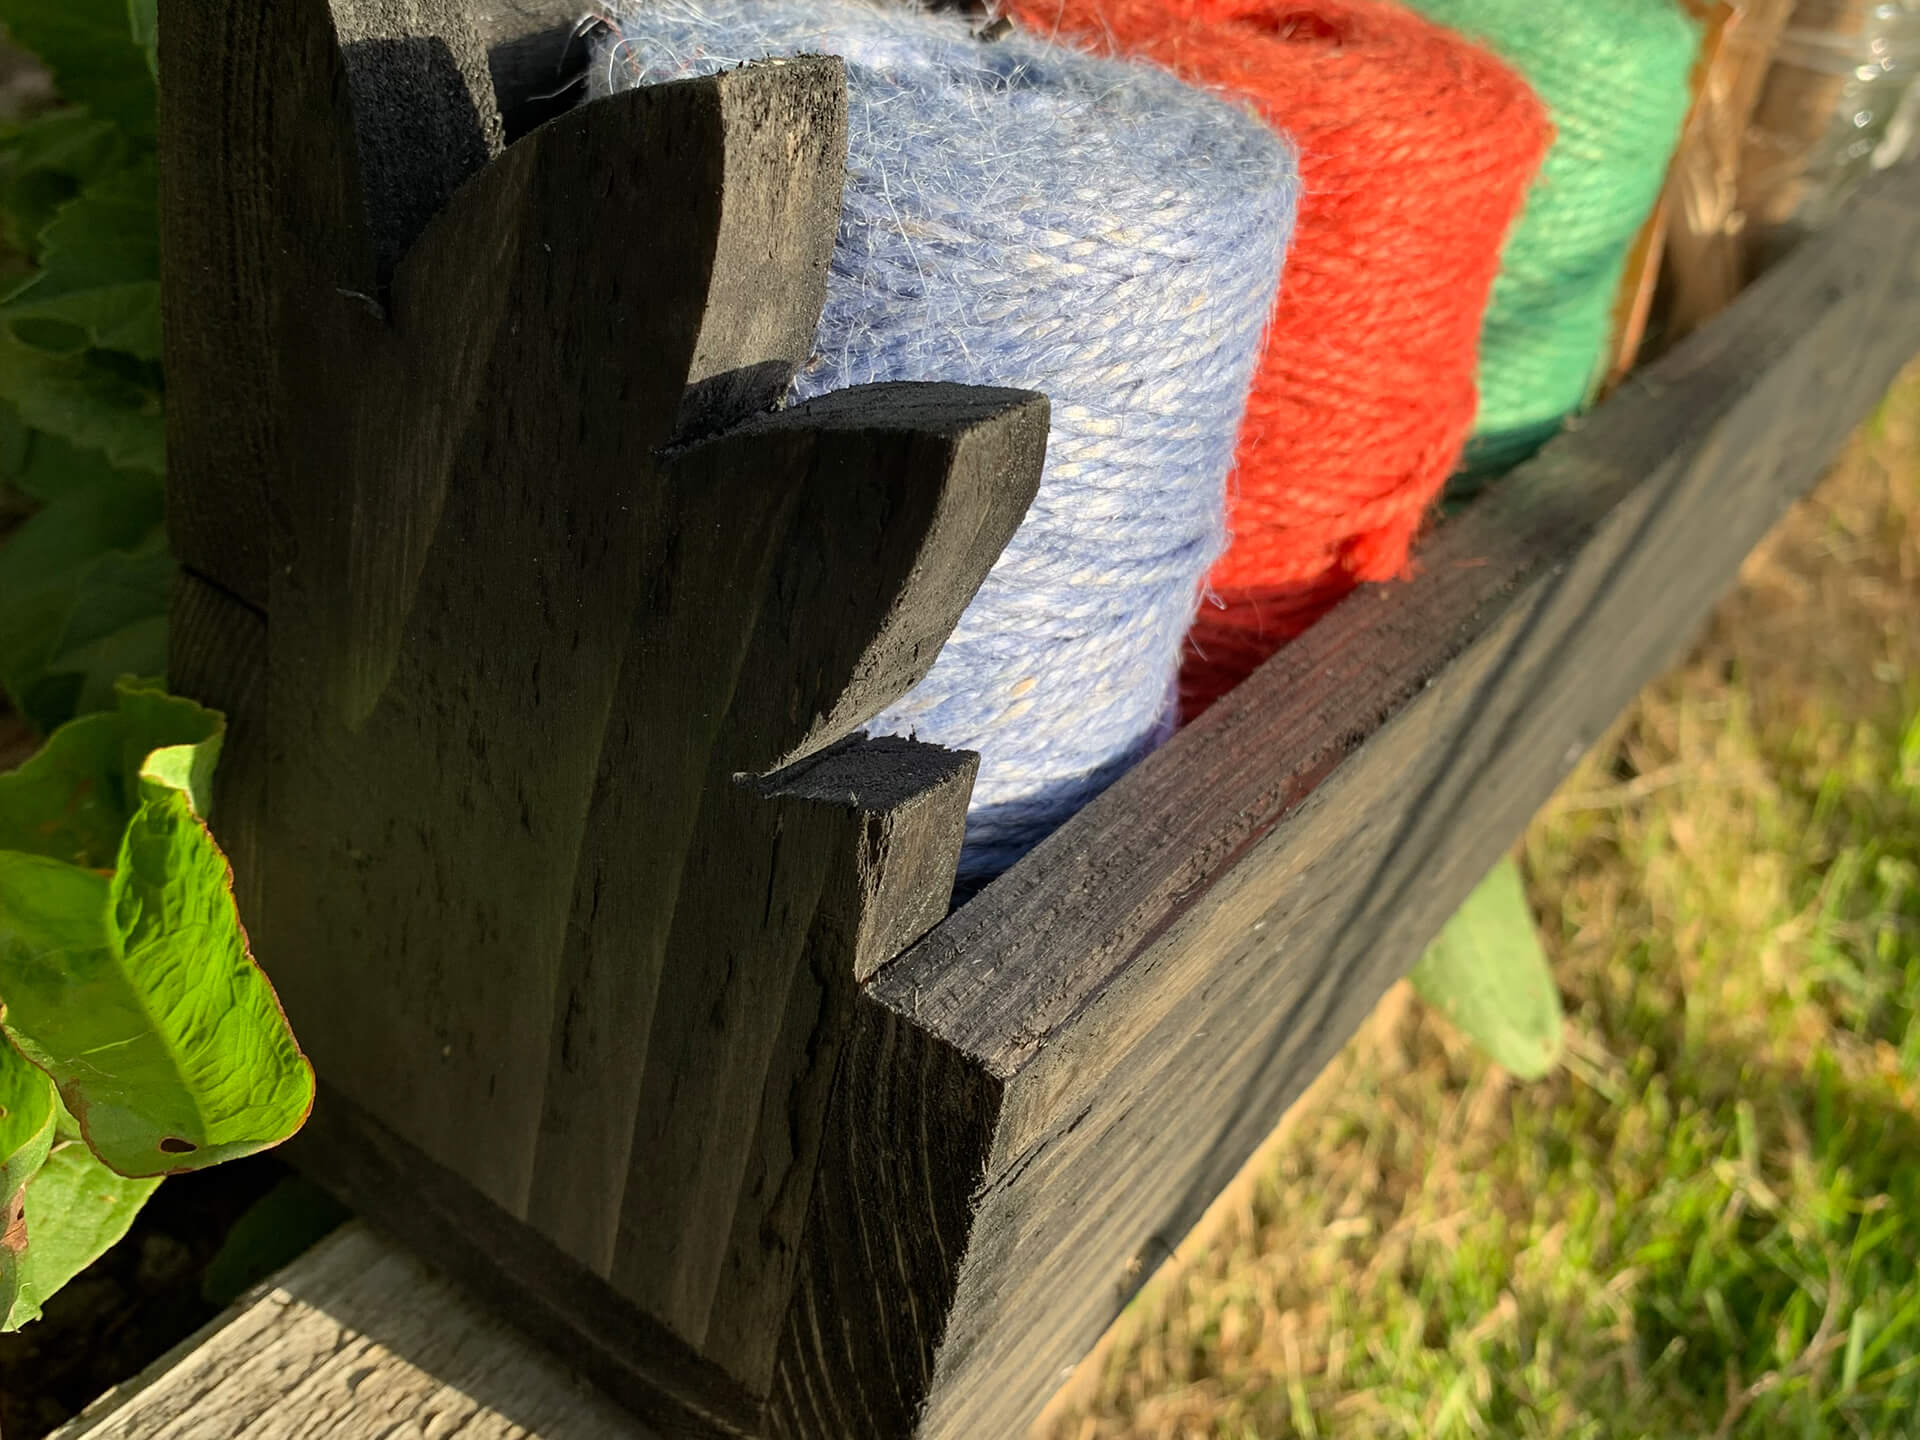
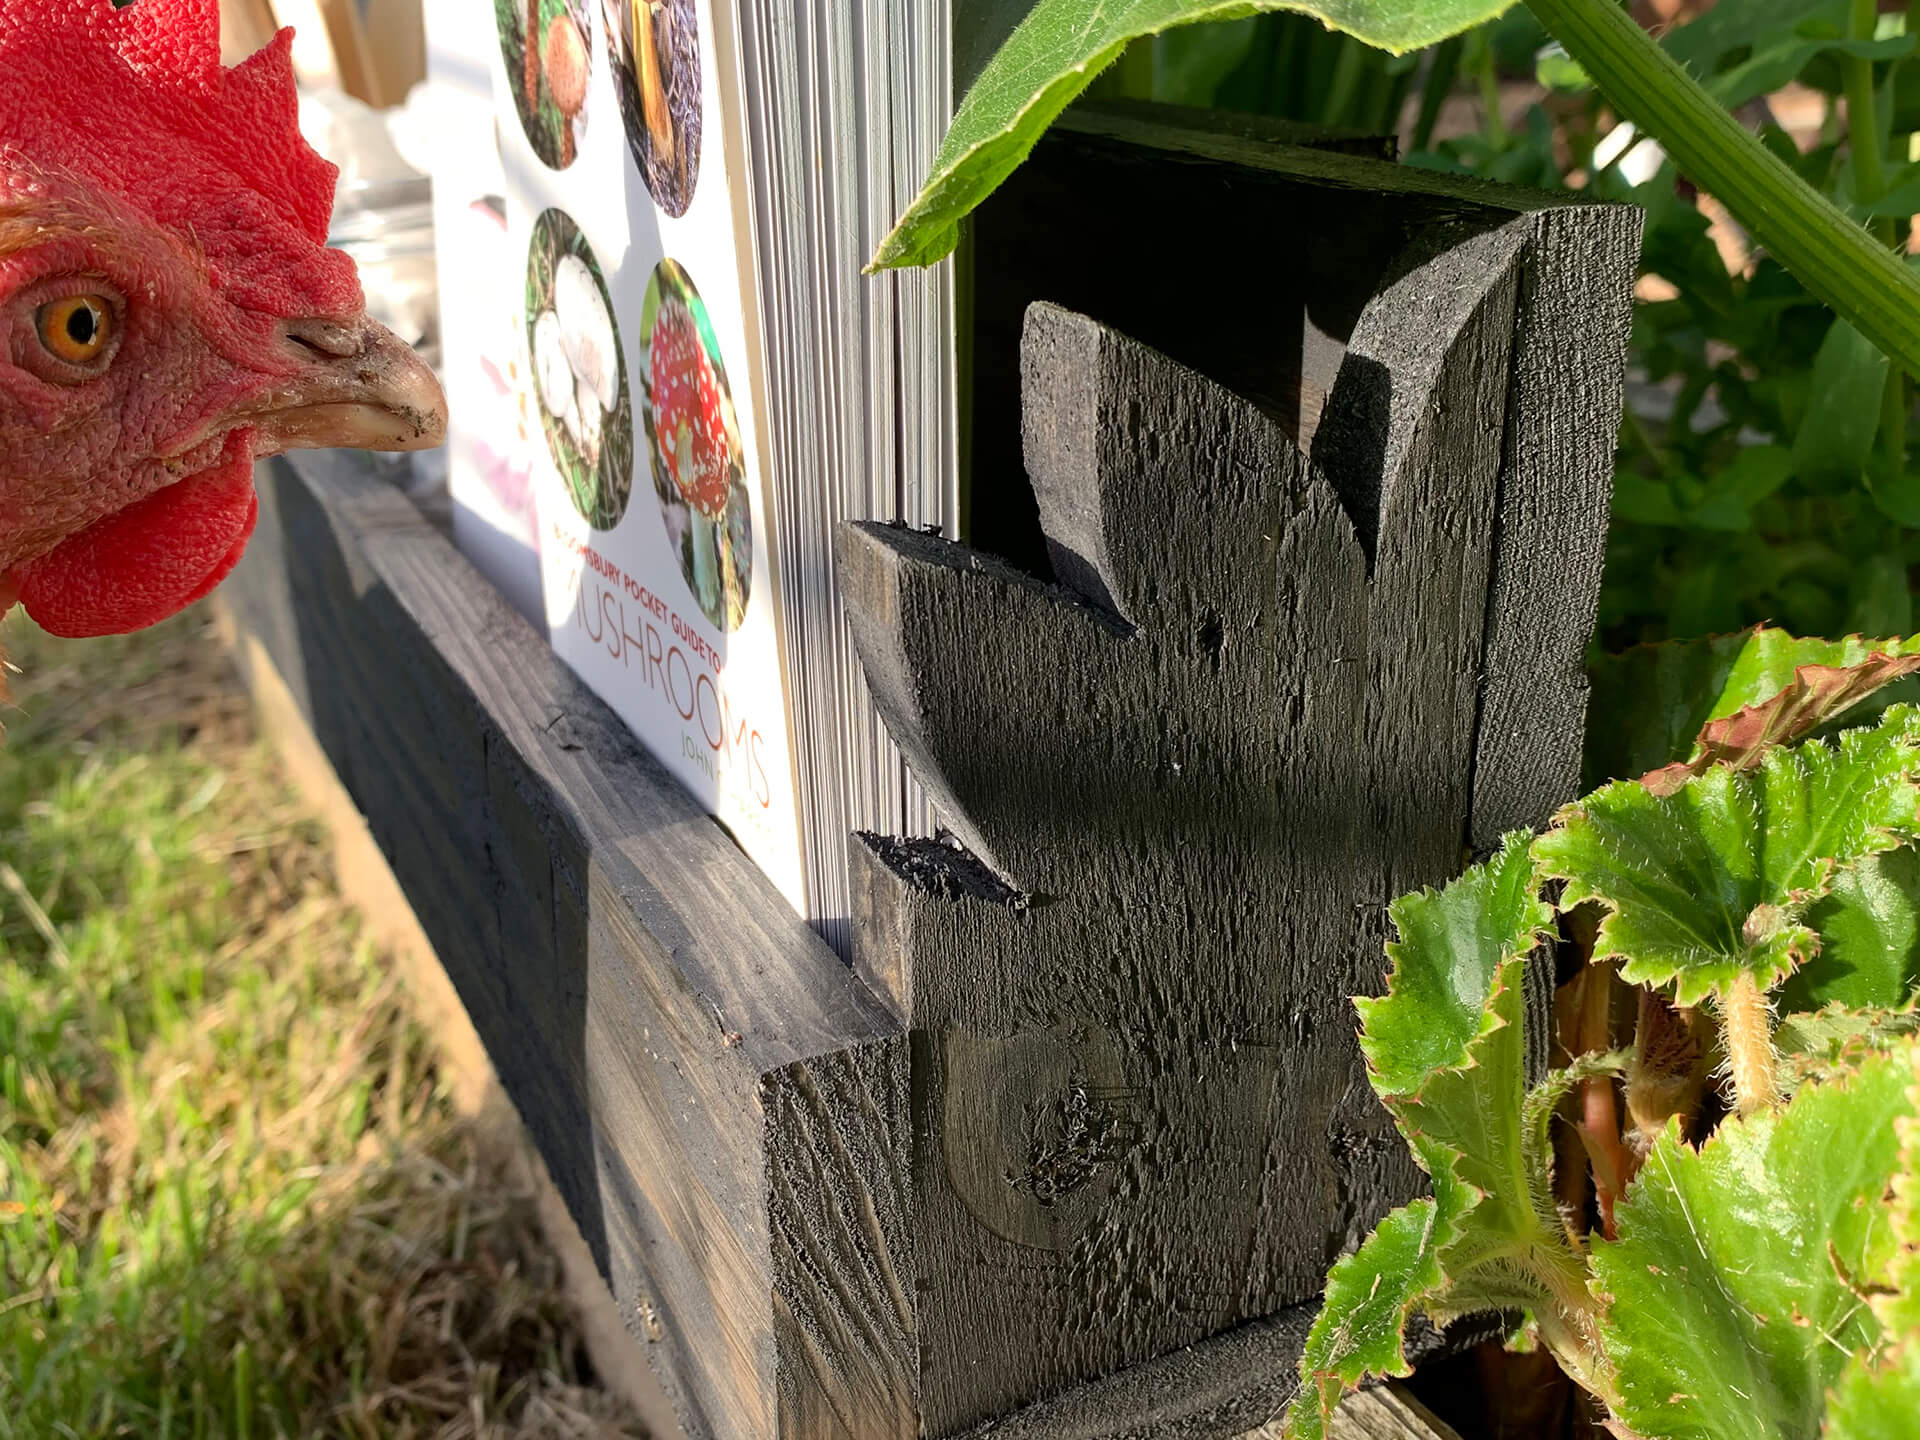
Step Eight:
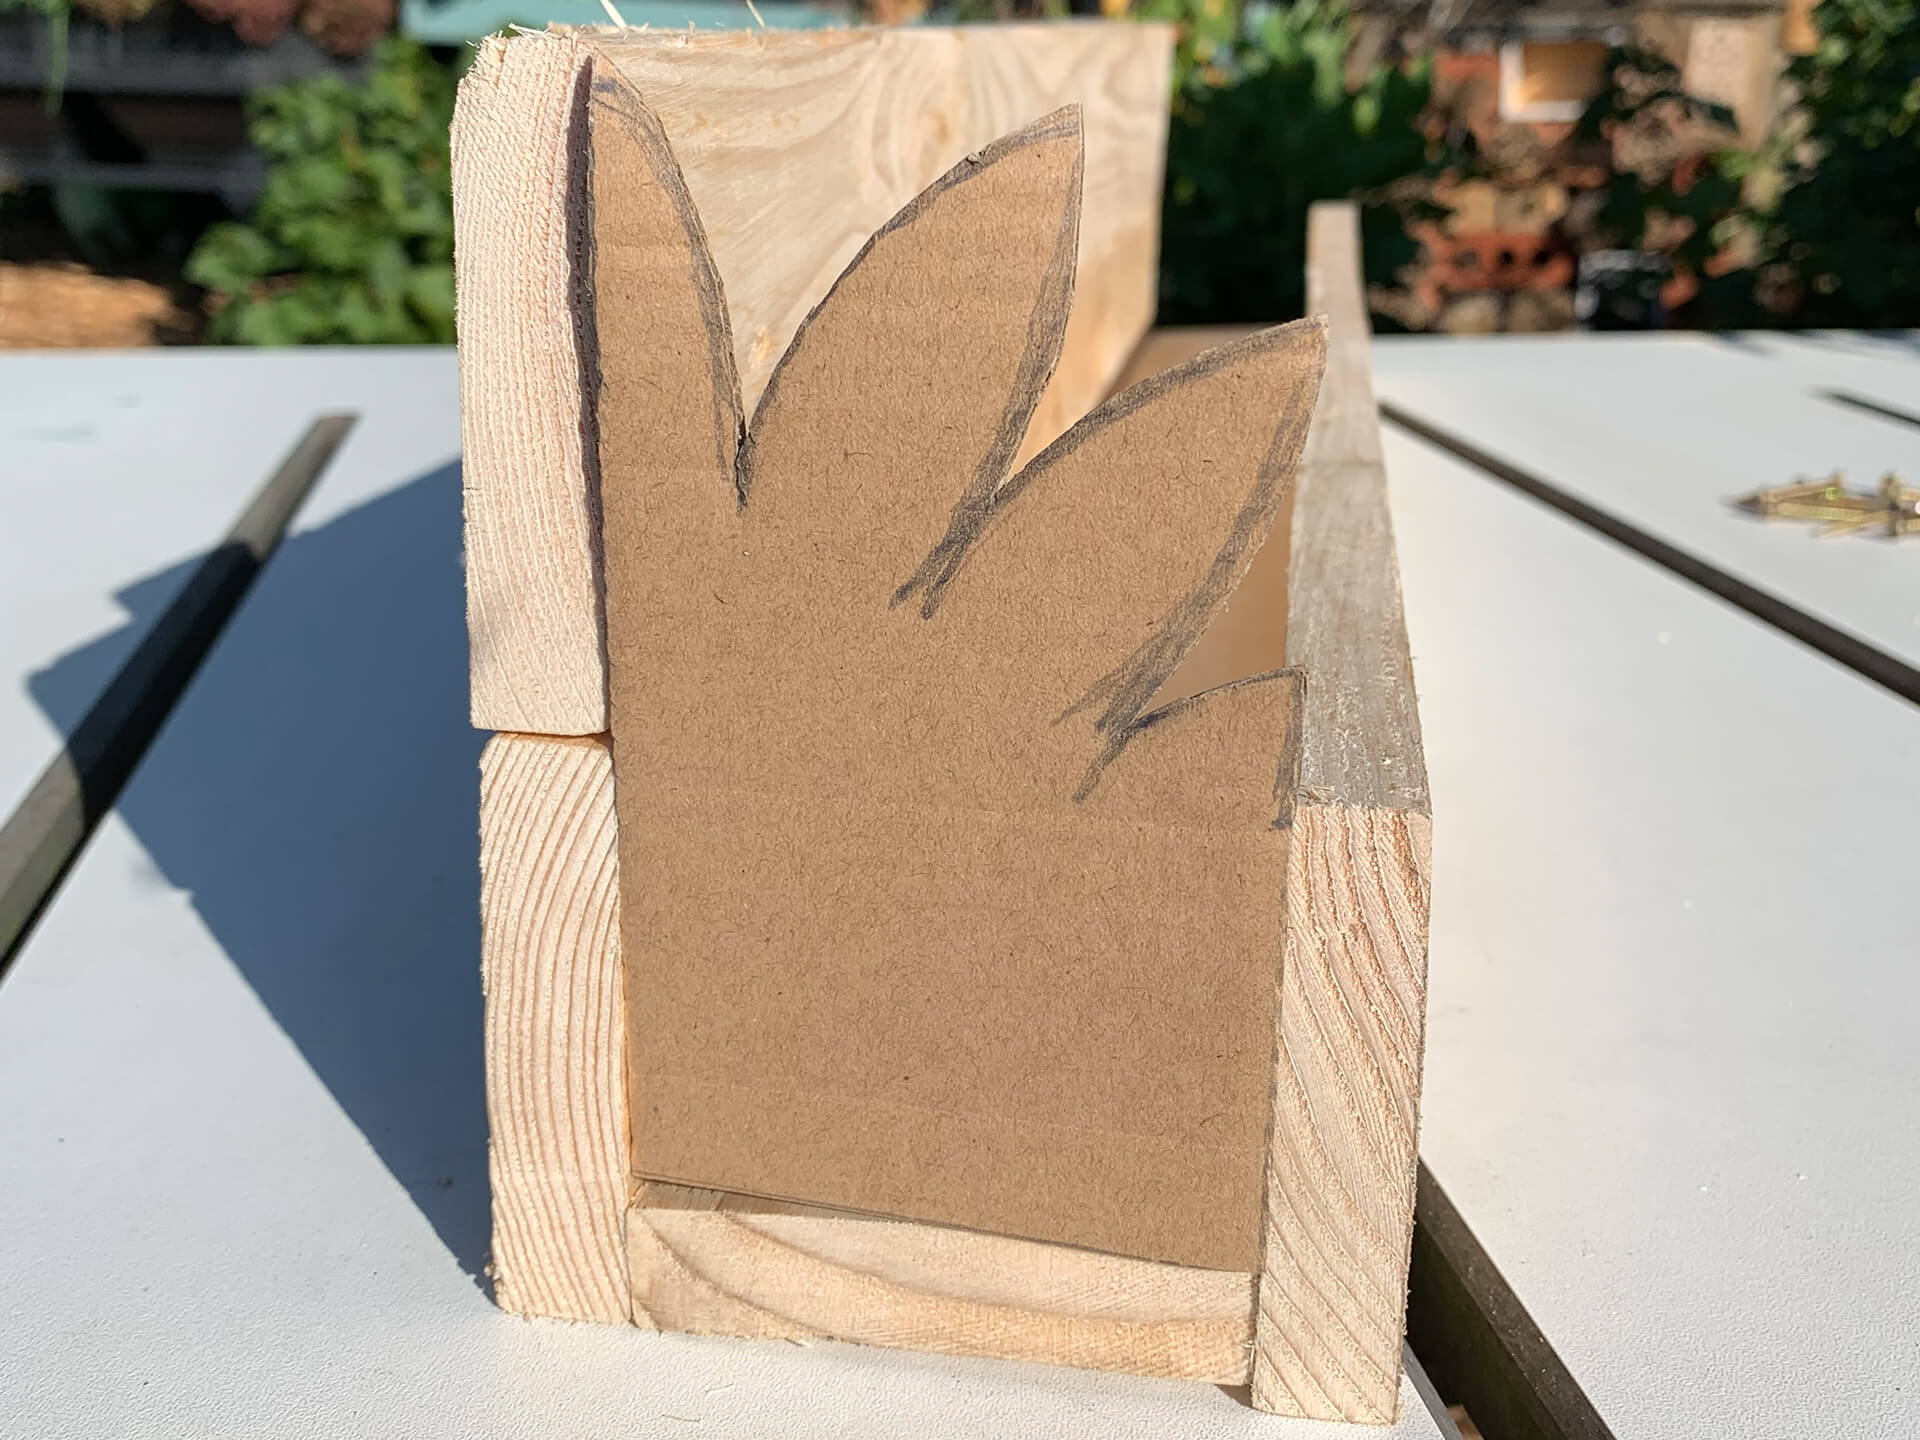
The next step is to make two ends from your final slat. This is where you can get creative and match the design to your confidence by using a jigsaw. Take the piece of cardboard/paper and your pencil and draw around one end of the slat. This will give you the template to work with. Measure up from the bottom of each side of your shelf and mark this on the cardboard.
Step Nine:
You can get creative as you like to join these two points up. I choose a petal flower pattern but you can draw something a lot simpler. When you are happy with your design, cut the cardboard/paper to size with the scissors.
Step Ten:
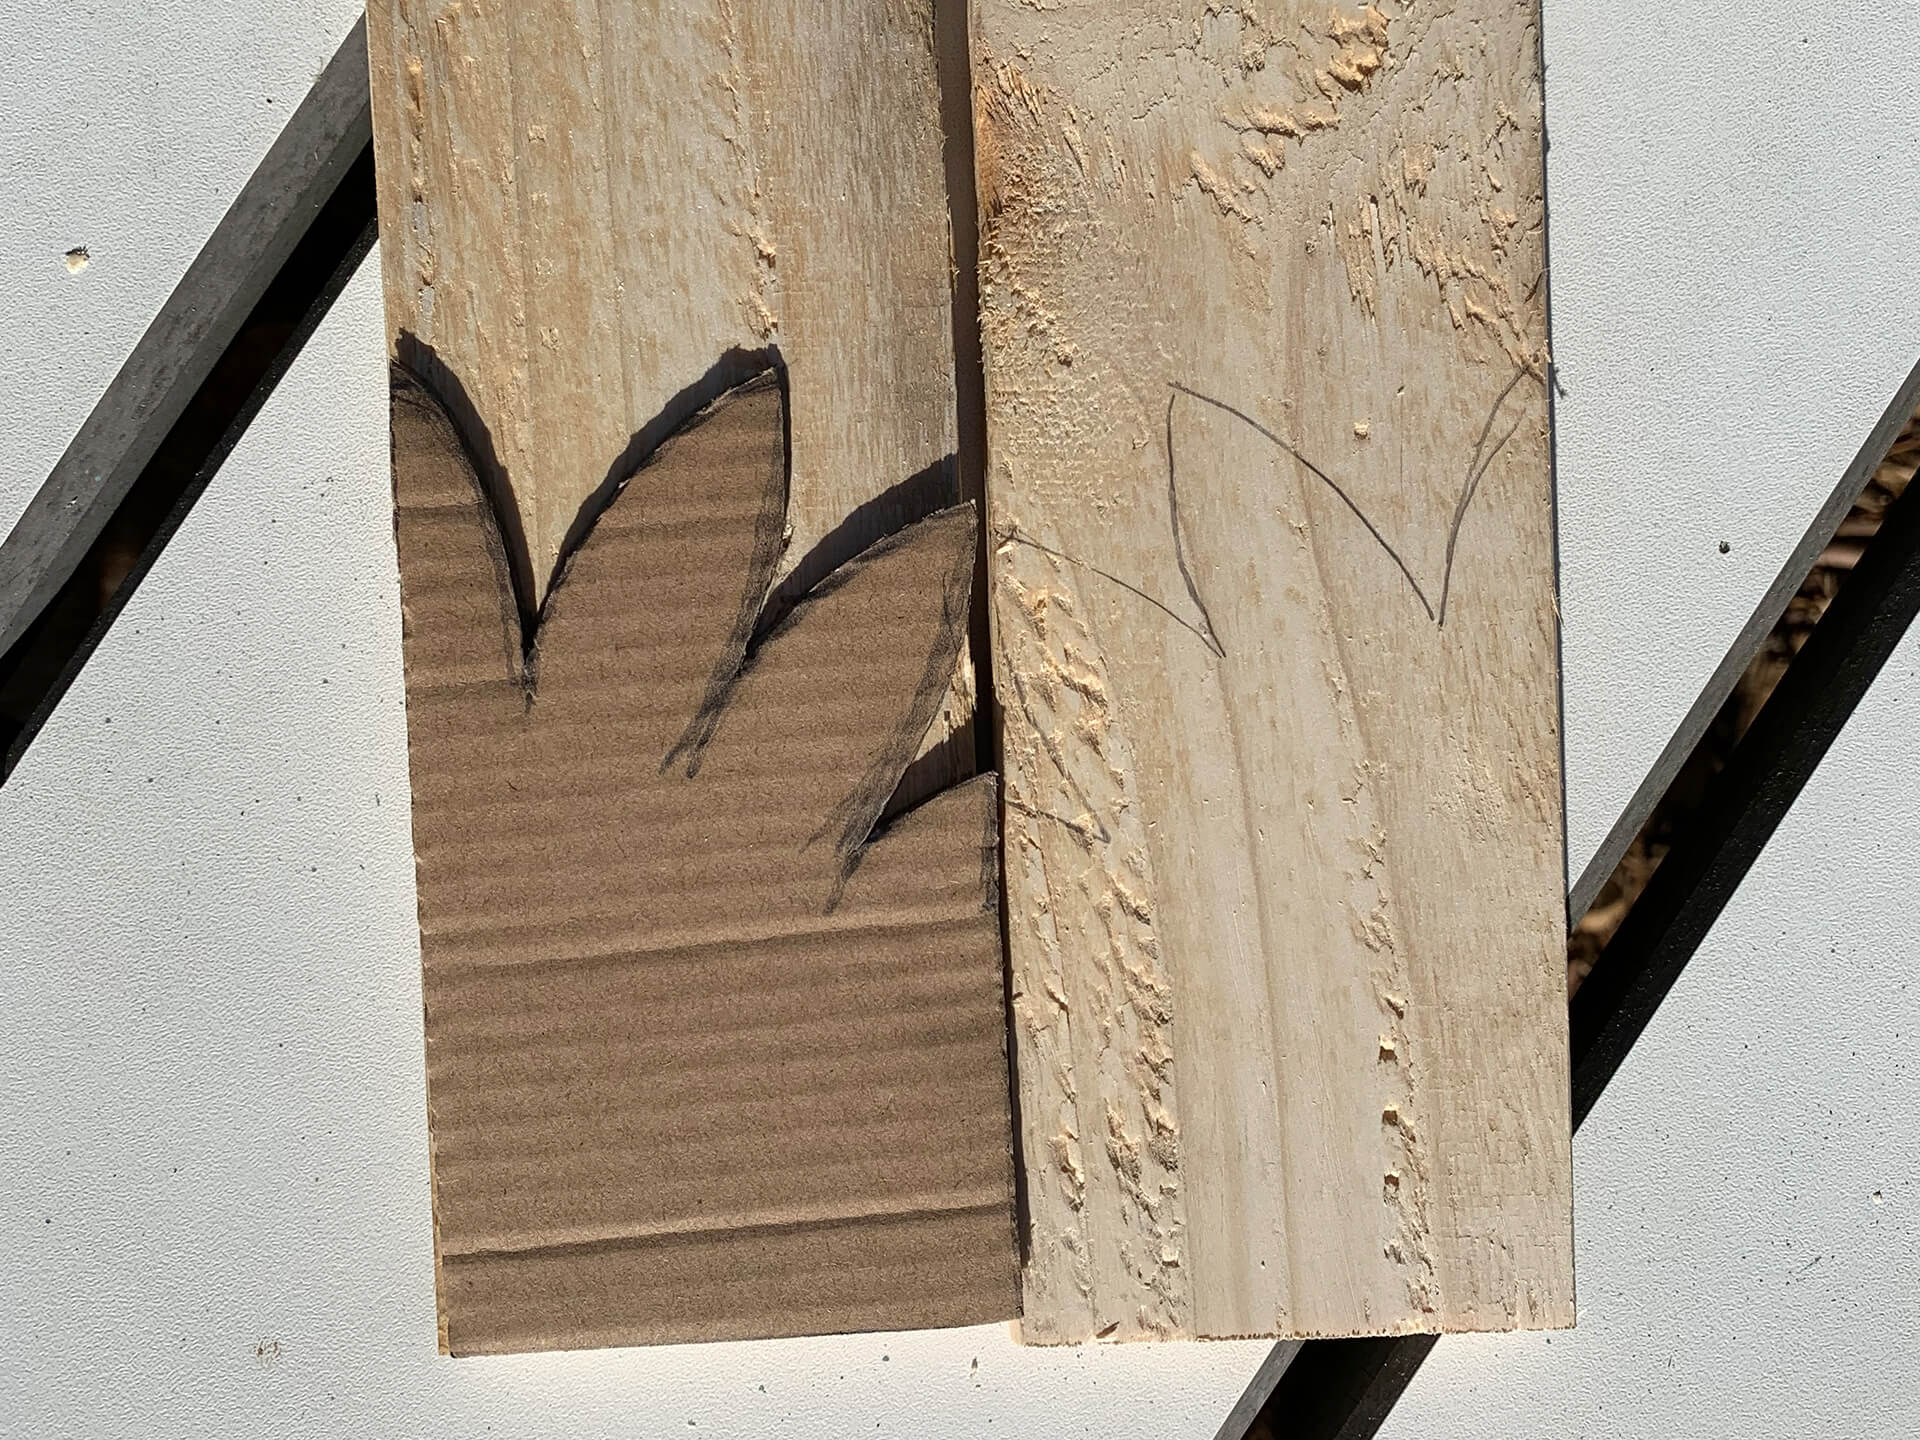
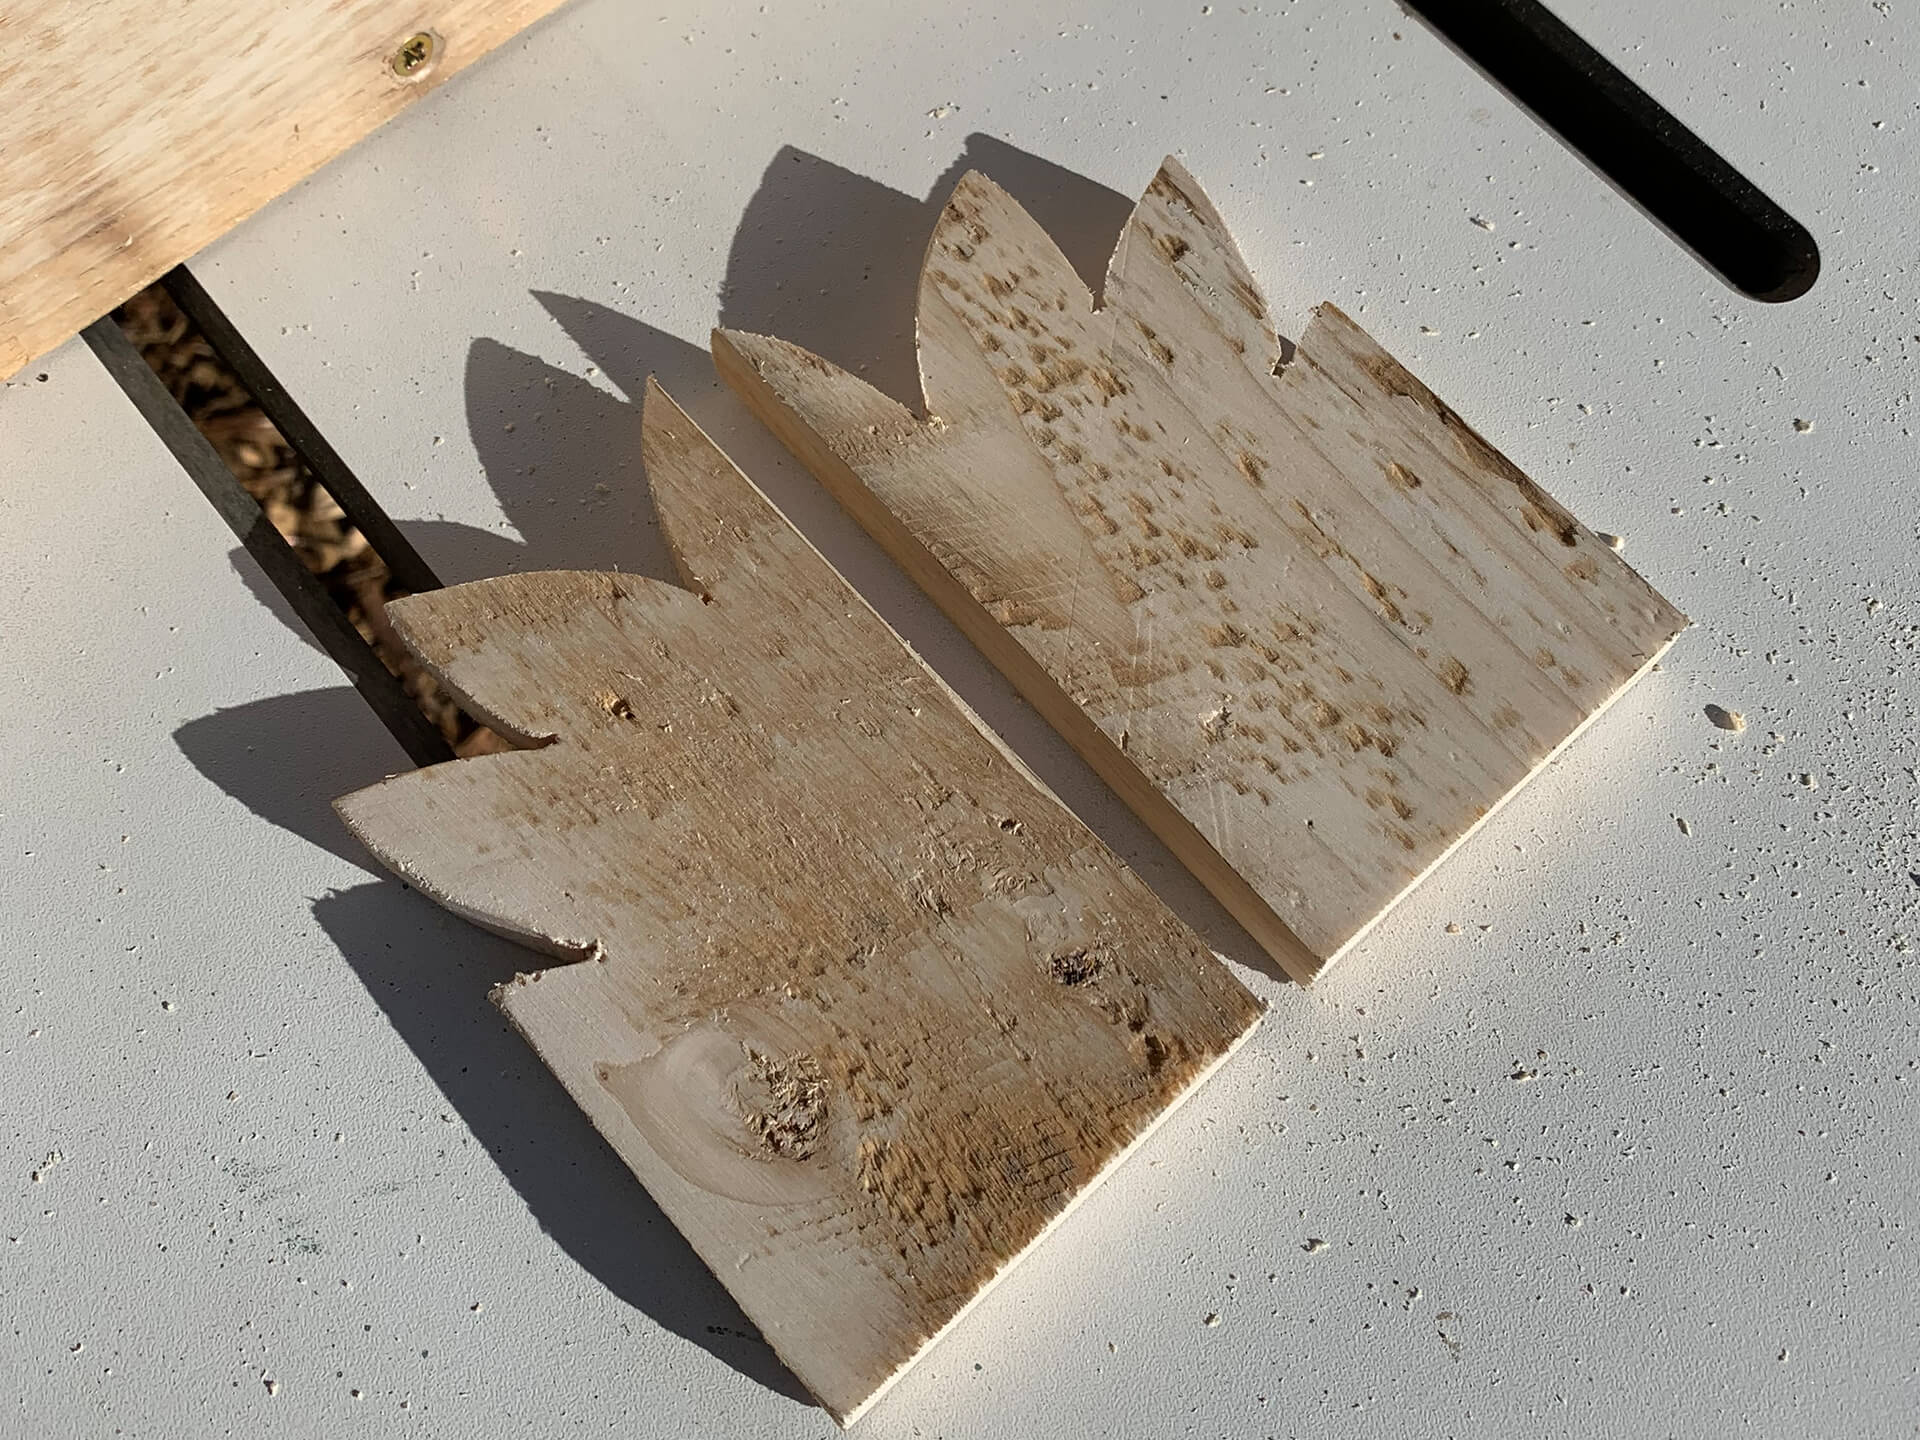
Take your last slat and roughly cut two lengths with the mitre saw, making sure they are longer than your card/paper template. Position the template at the base of your pieces and draw around your design. You can either hold and cut this with one hand using the jigsaw. Or if you want more stability, use a clamp to secure the square end to the table, leaving both hands free to manoeuvre the jigsaw around your design. Sand to remove any rough edges.
Step Eleven:
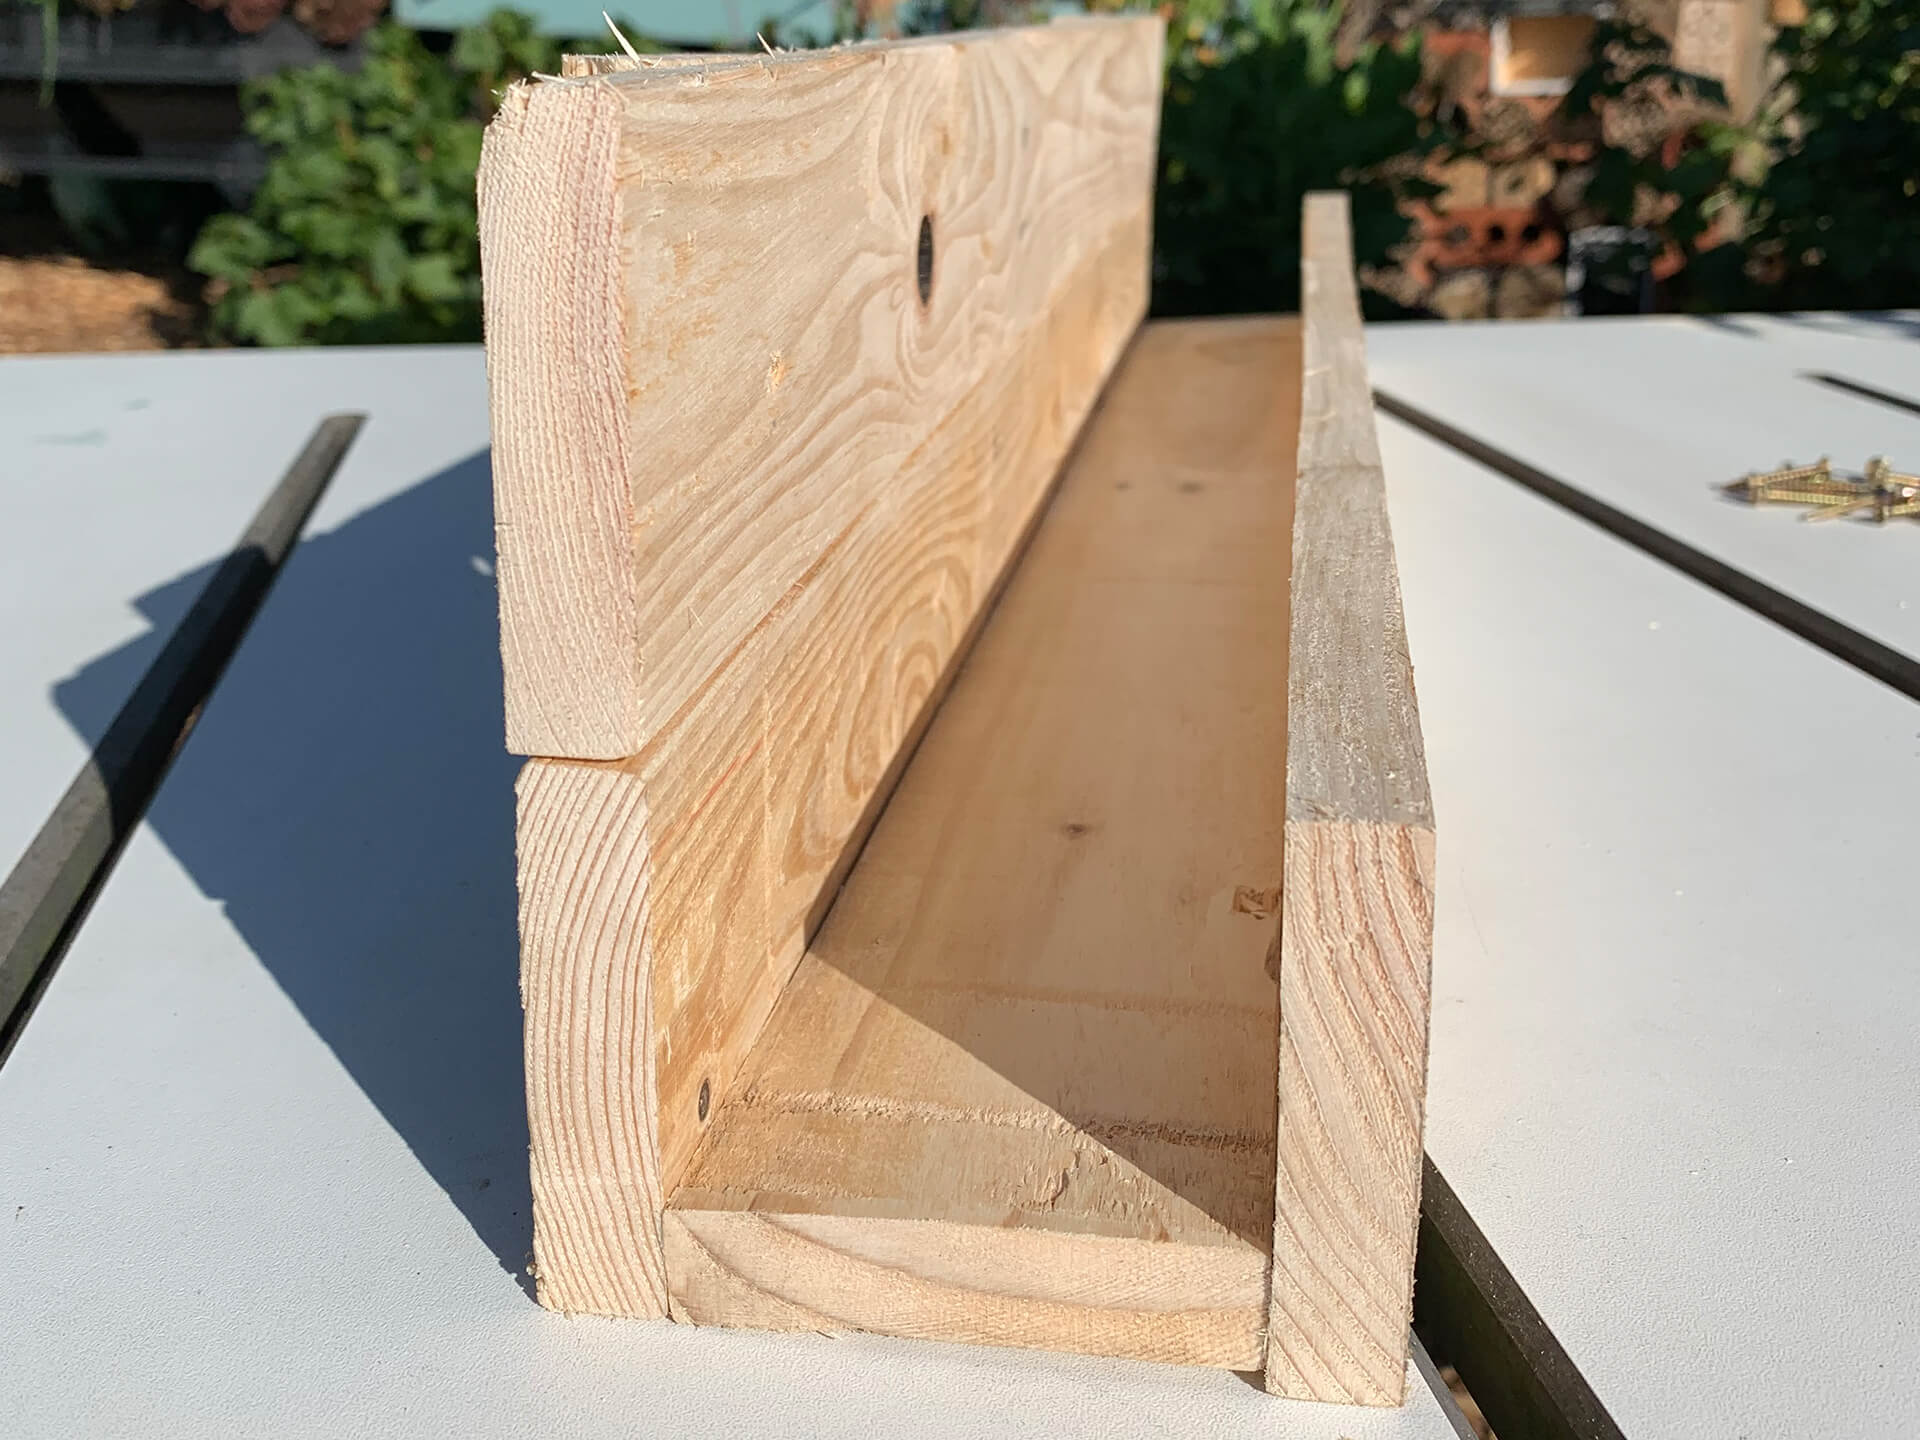
These end panels should slide snugly into place. Position both ends so they are flush with the end of the shelving unit. Because these end panels aren’t holding any weight, they just need to be fixed to the back panels. This will save you having more screws on show at the front.
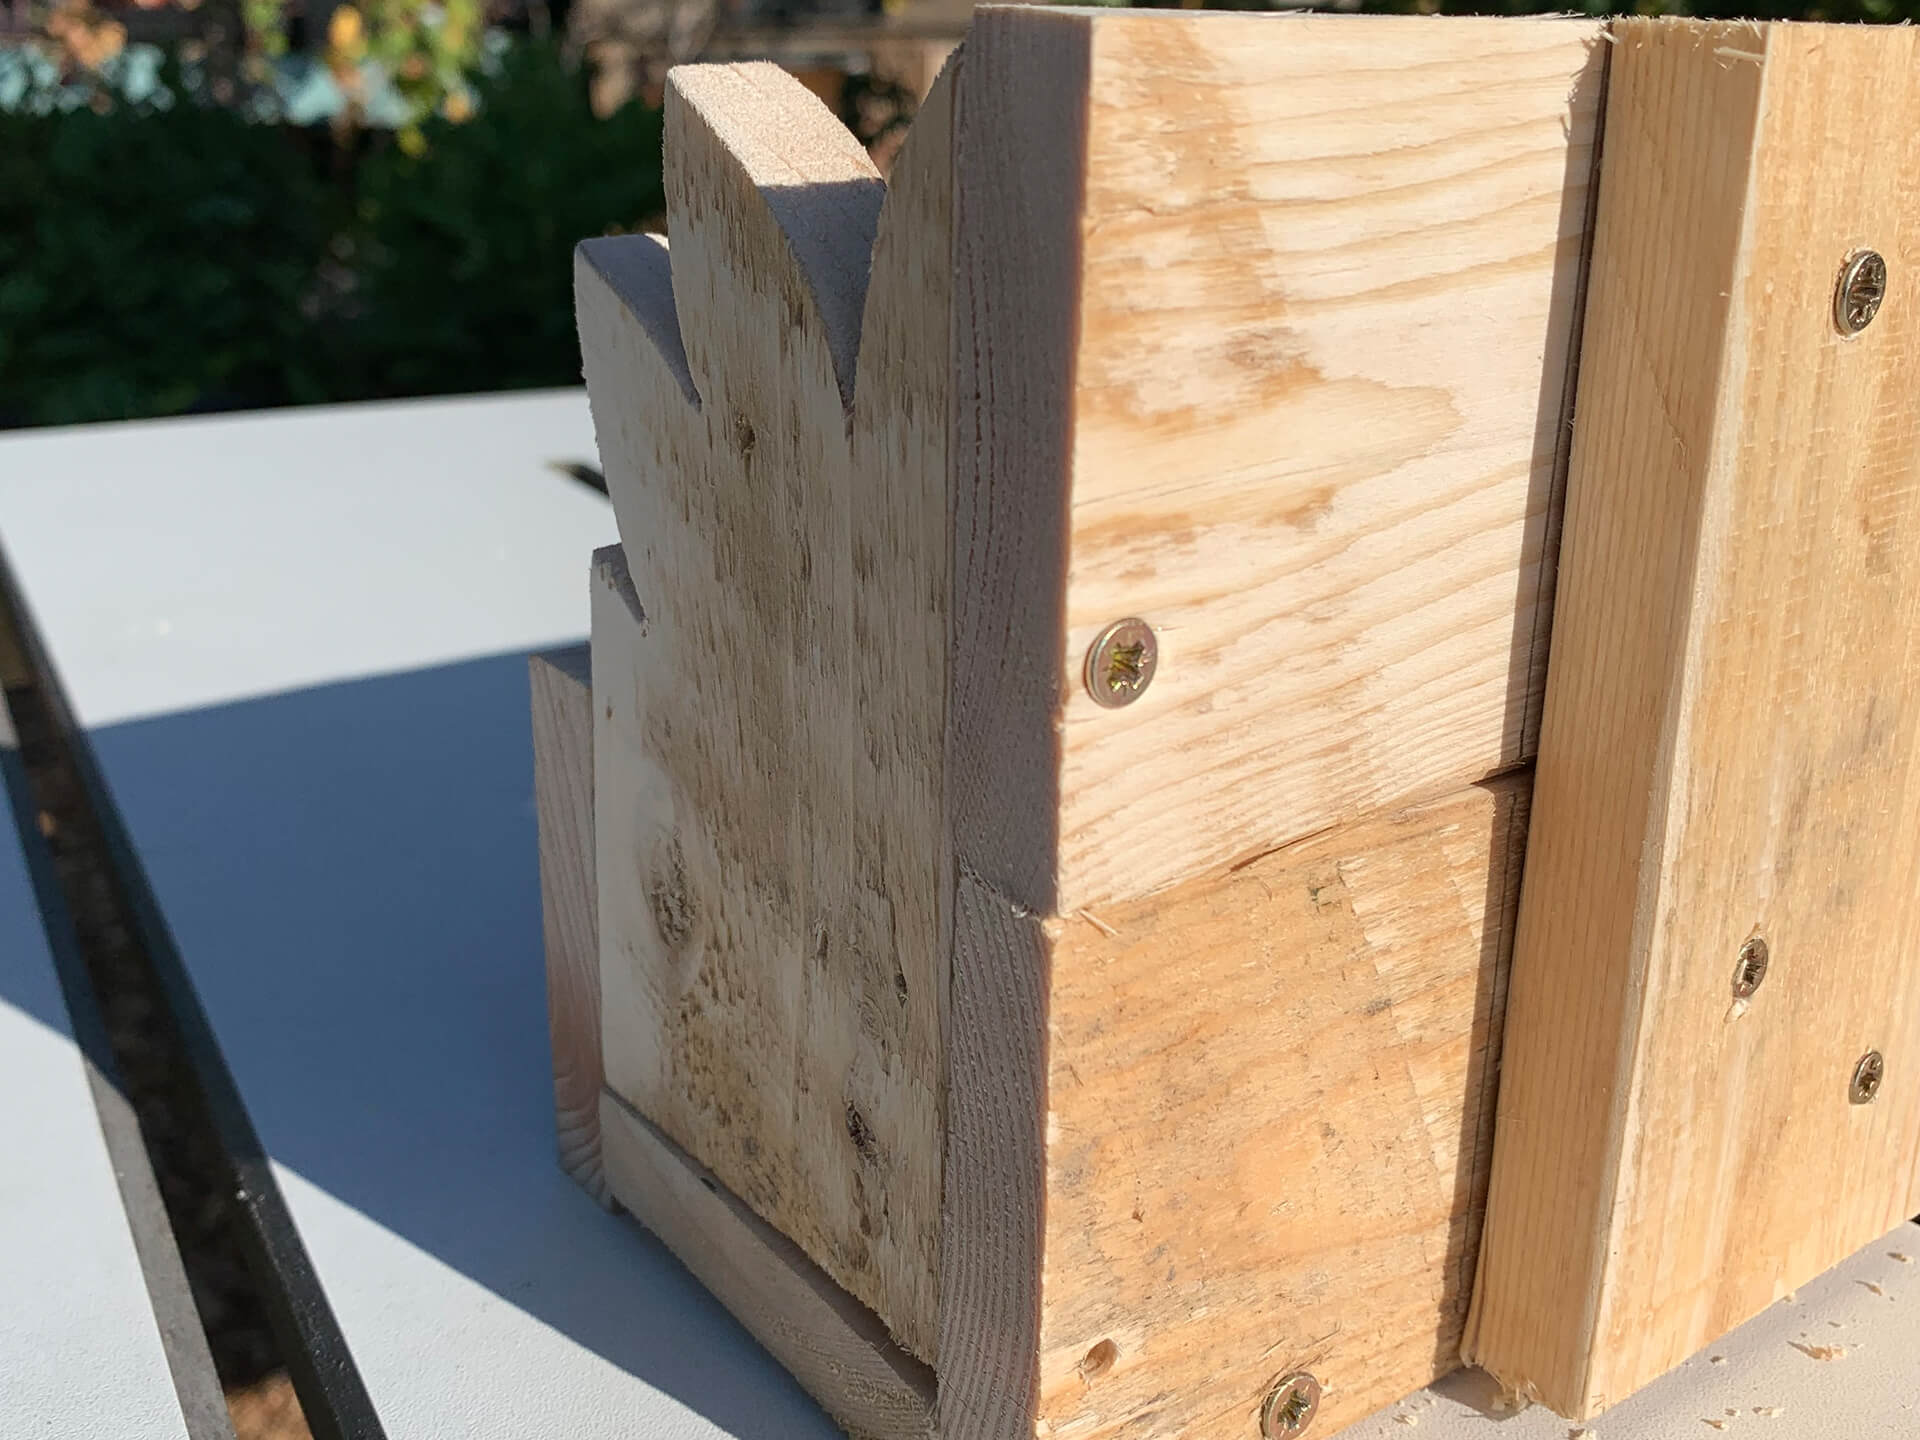
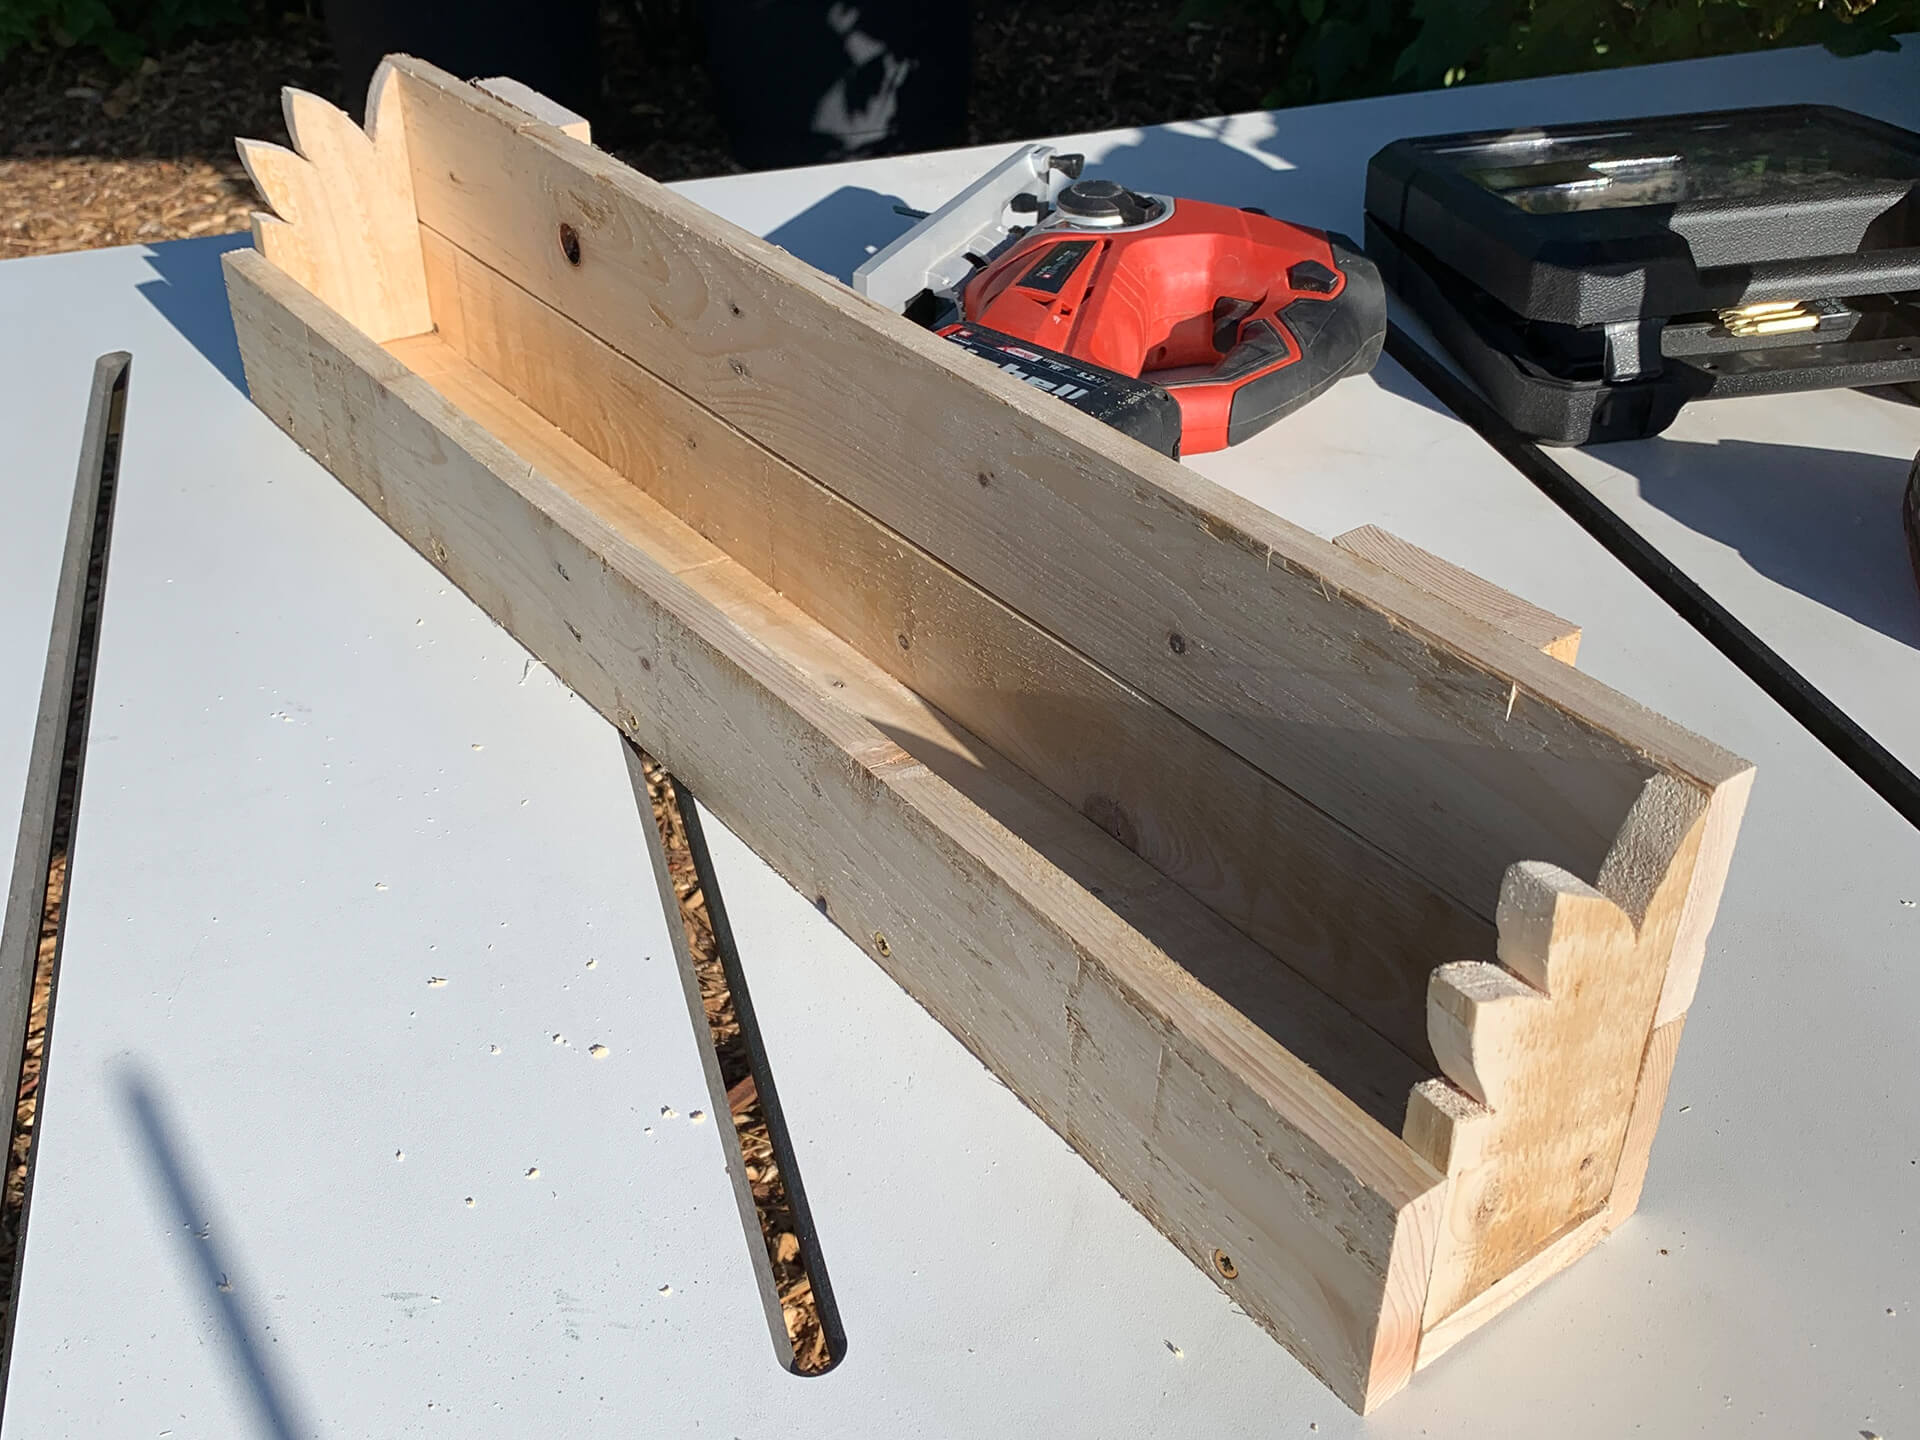
Step Twelve:
Repeat the step of measuring in half the thickness of your slats and make two pilot holes from the back at each end. Secure the end panels in place with 25mm screws.
Step Thirteen:
Sand your shelving using the orbital sander and either paint or leave natural.
Step Fourteen:
To secure your shelf to your shed, drill a pilot hole through the slats at the back and screw to the wall. Always try to fix to a supporting timber in the shed or wall.
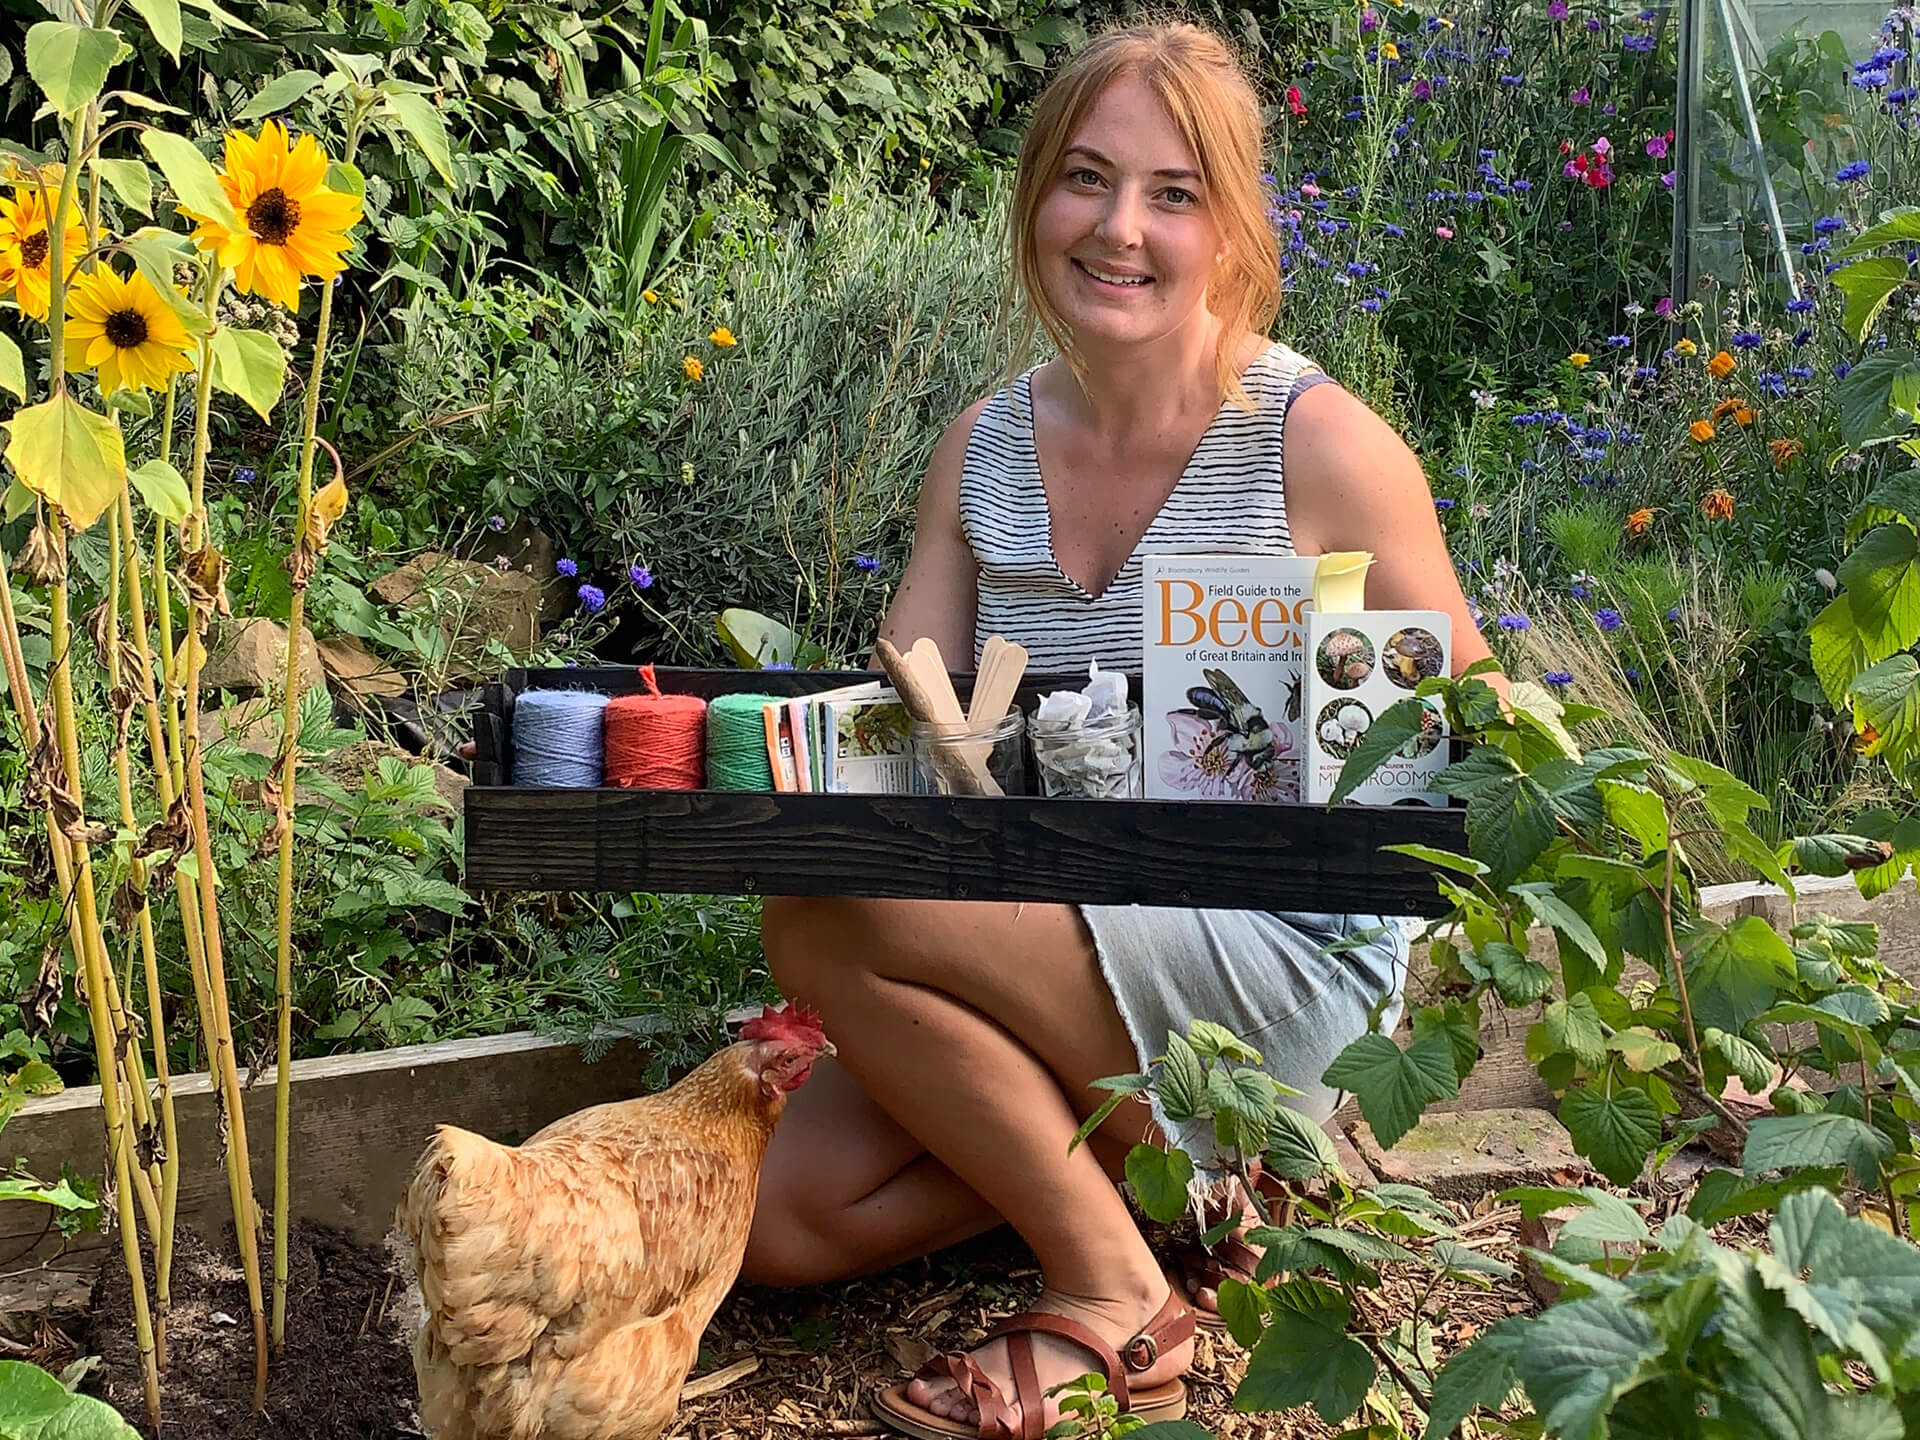
These would look great as a set of three, staggered at different heights. I will be making some to go outside to hold pots of herbs and succulents too.