Wildlife Welcome
How to make an insect mansion with a living roof.
Gardening with nature has always been an important part of my allotment. Last year I installed a wildlife area, complete with a pond and many beneficial flowers for a range of wildlife. Now is the perfect time to encourage even more wildlife into your garden, leaving the structure to weather over summer, before the wildlife look for shelter in the autumn.
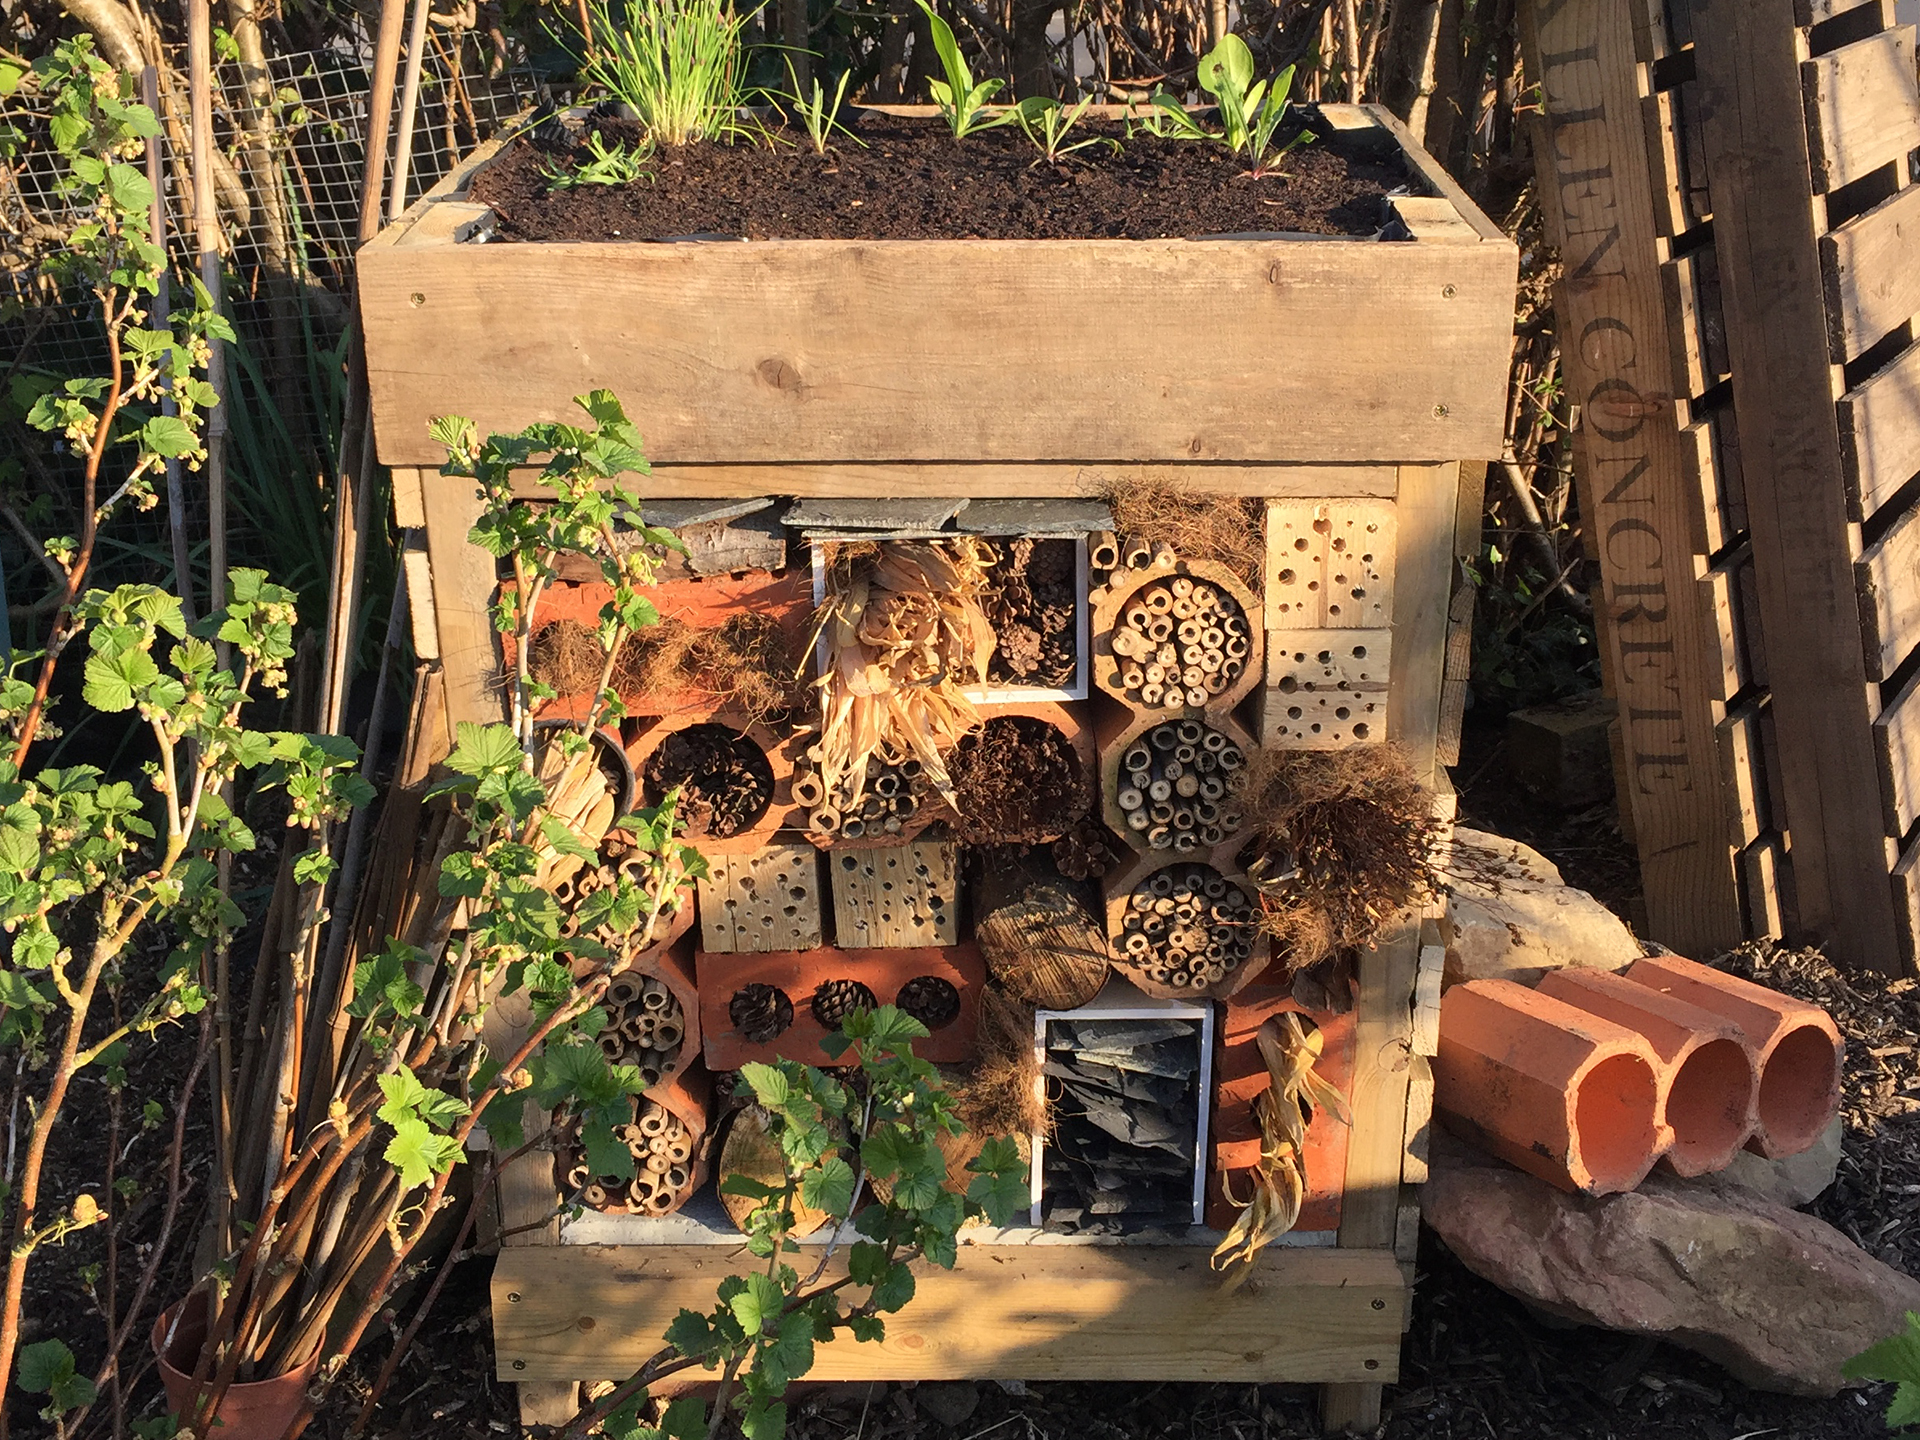
This mansion comes complete with a hedgehog basement, lots of structures and materials for a variety of insects including beneficial bees. This mansion is topped off with a rooftop garden, planted with wildlife loving plants and wildflower seeds. All of the materials in this project have been salvaged and reclaimed, giving new life to offcuts that would have been thrown away.
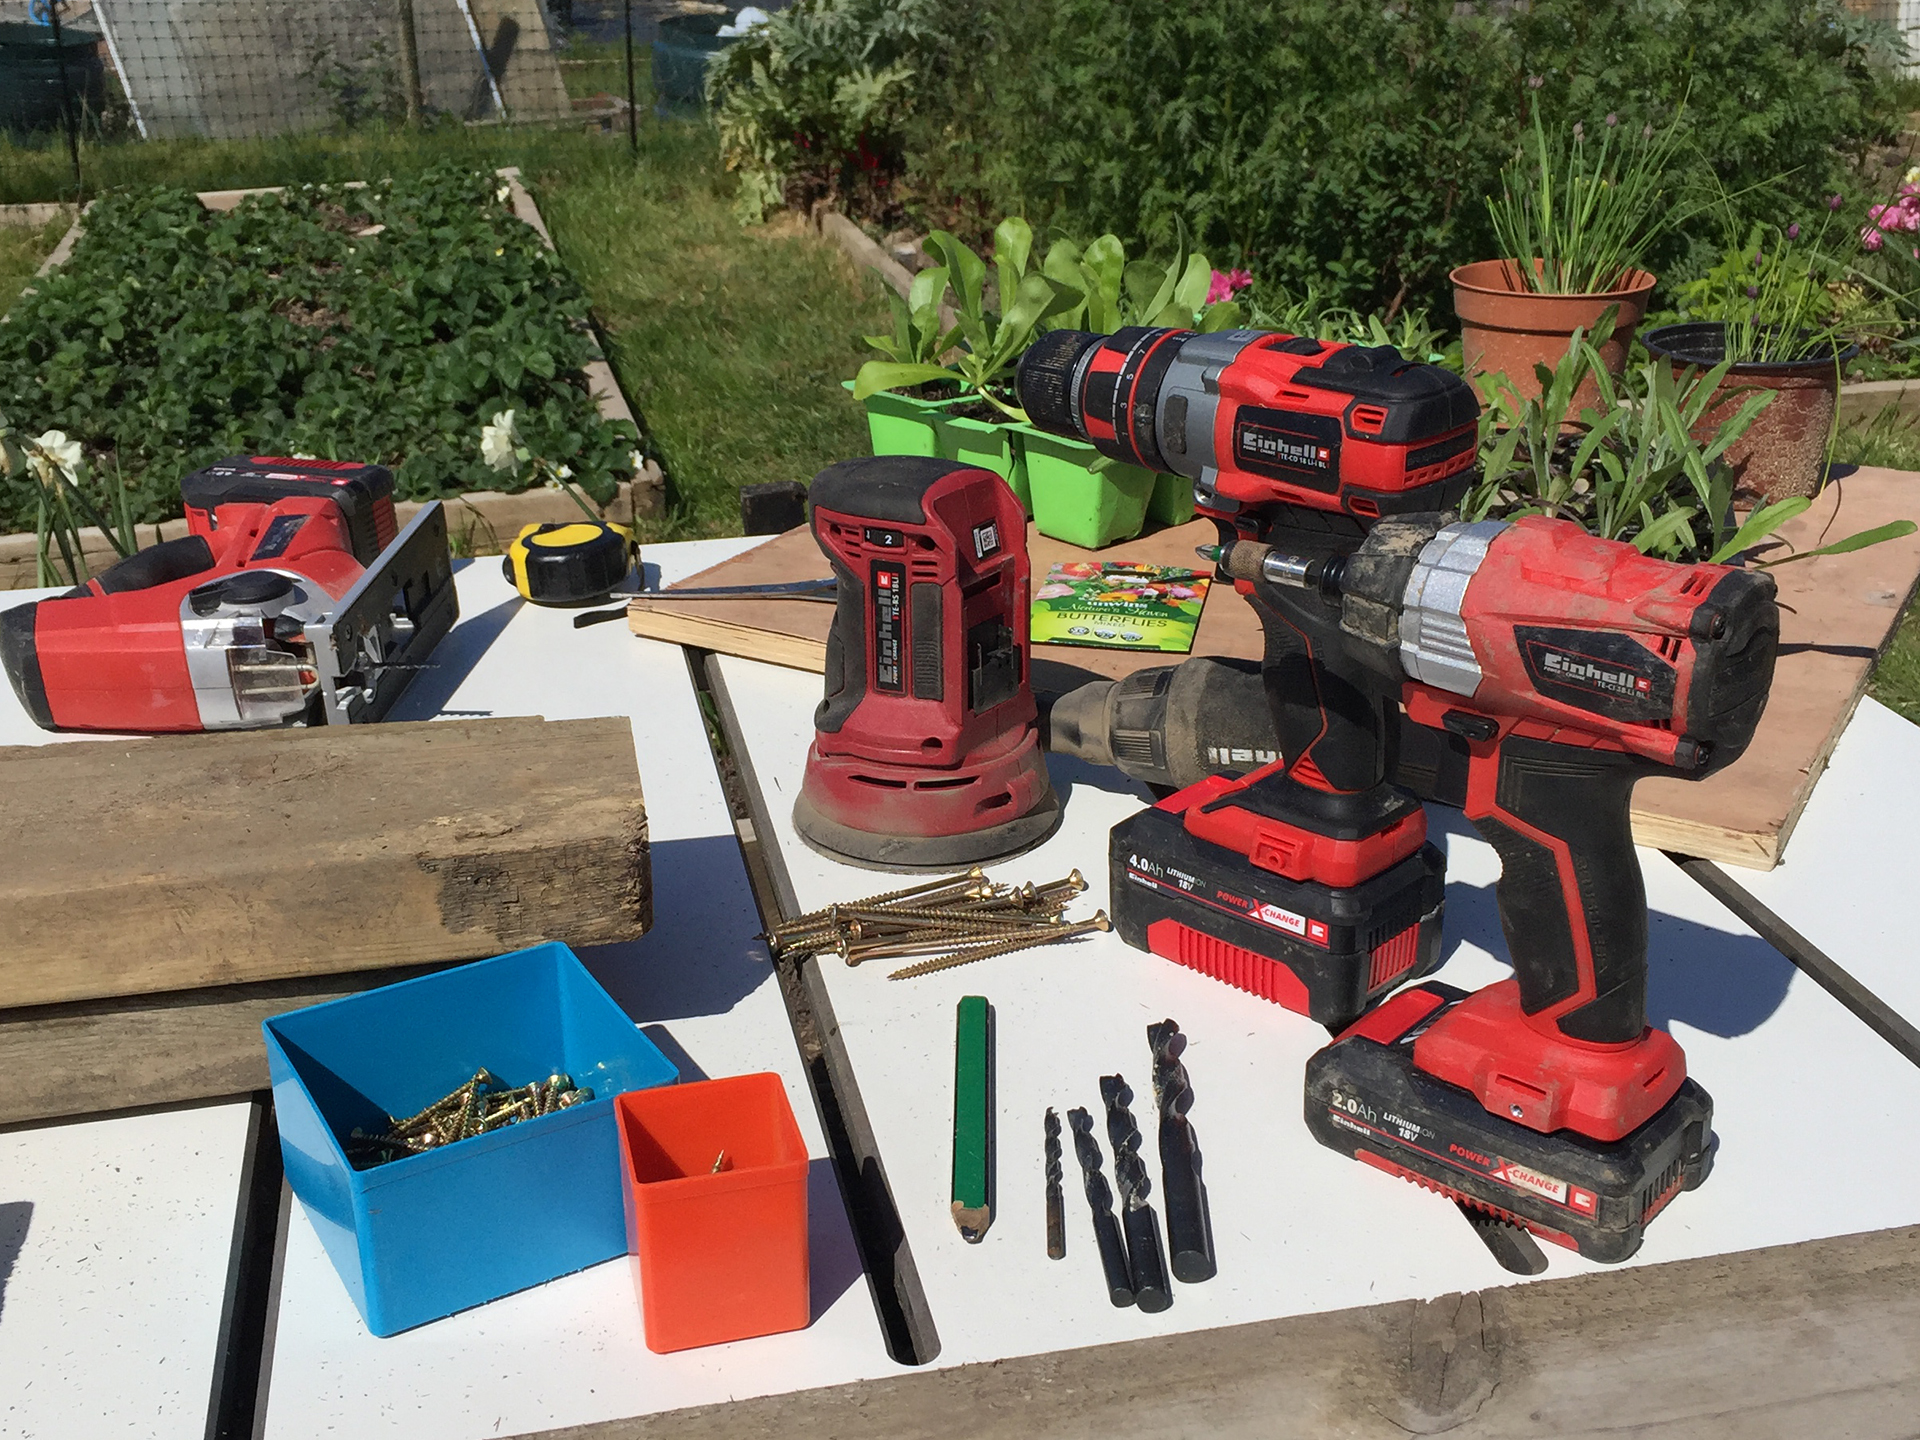
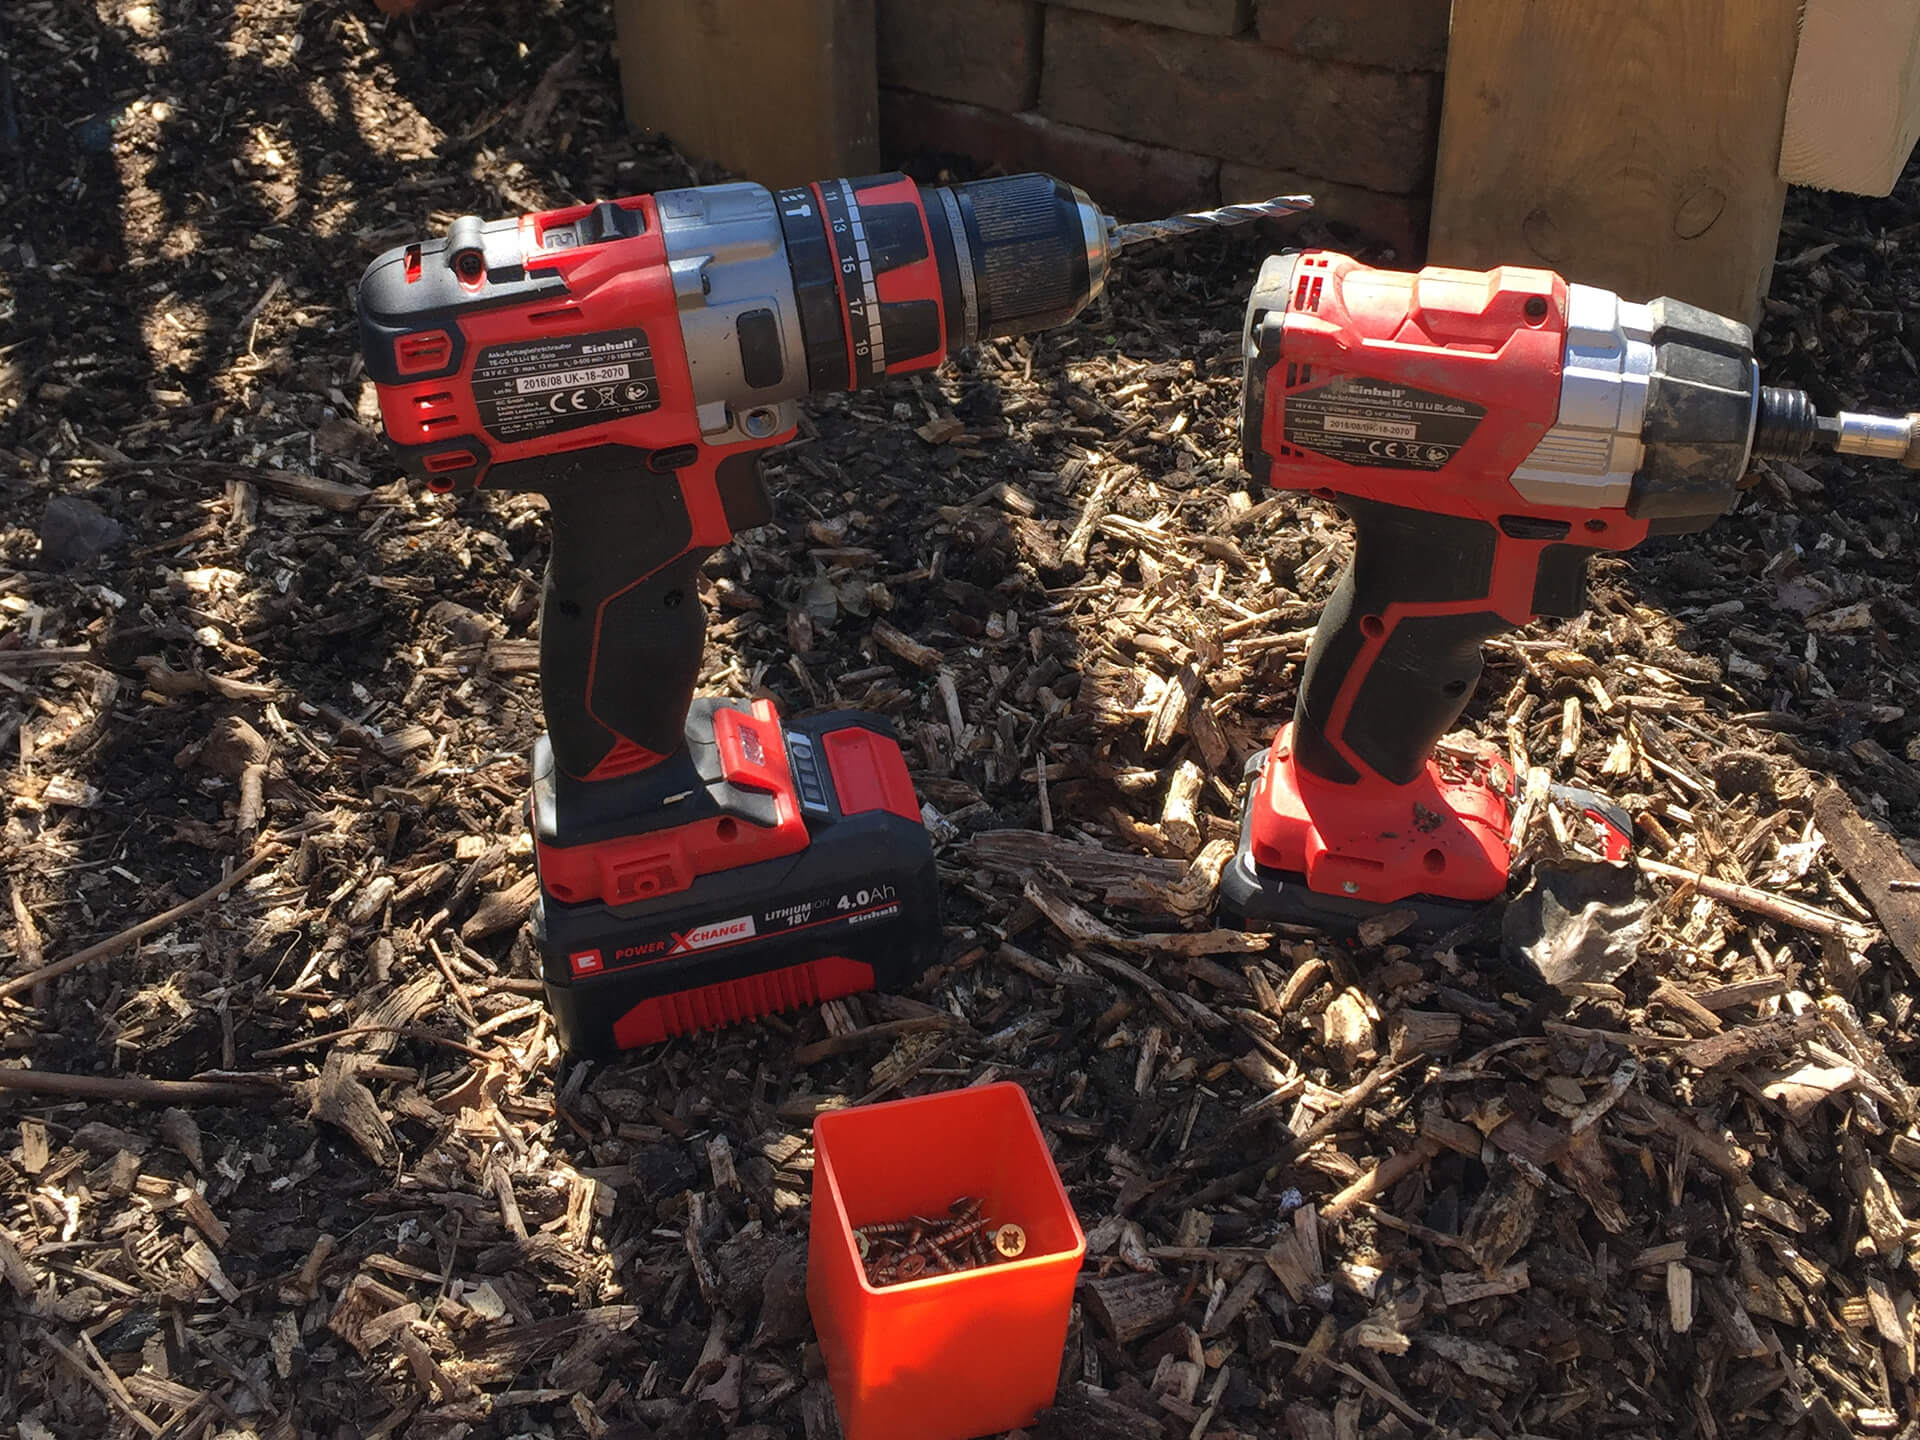
Here are the materials that you will need:
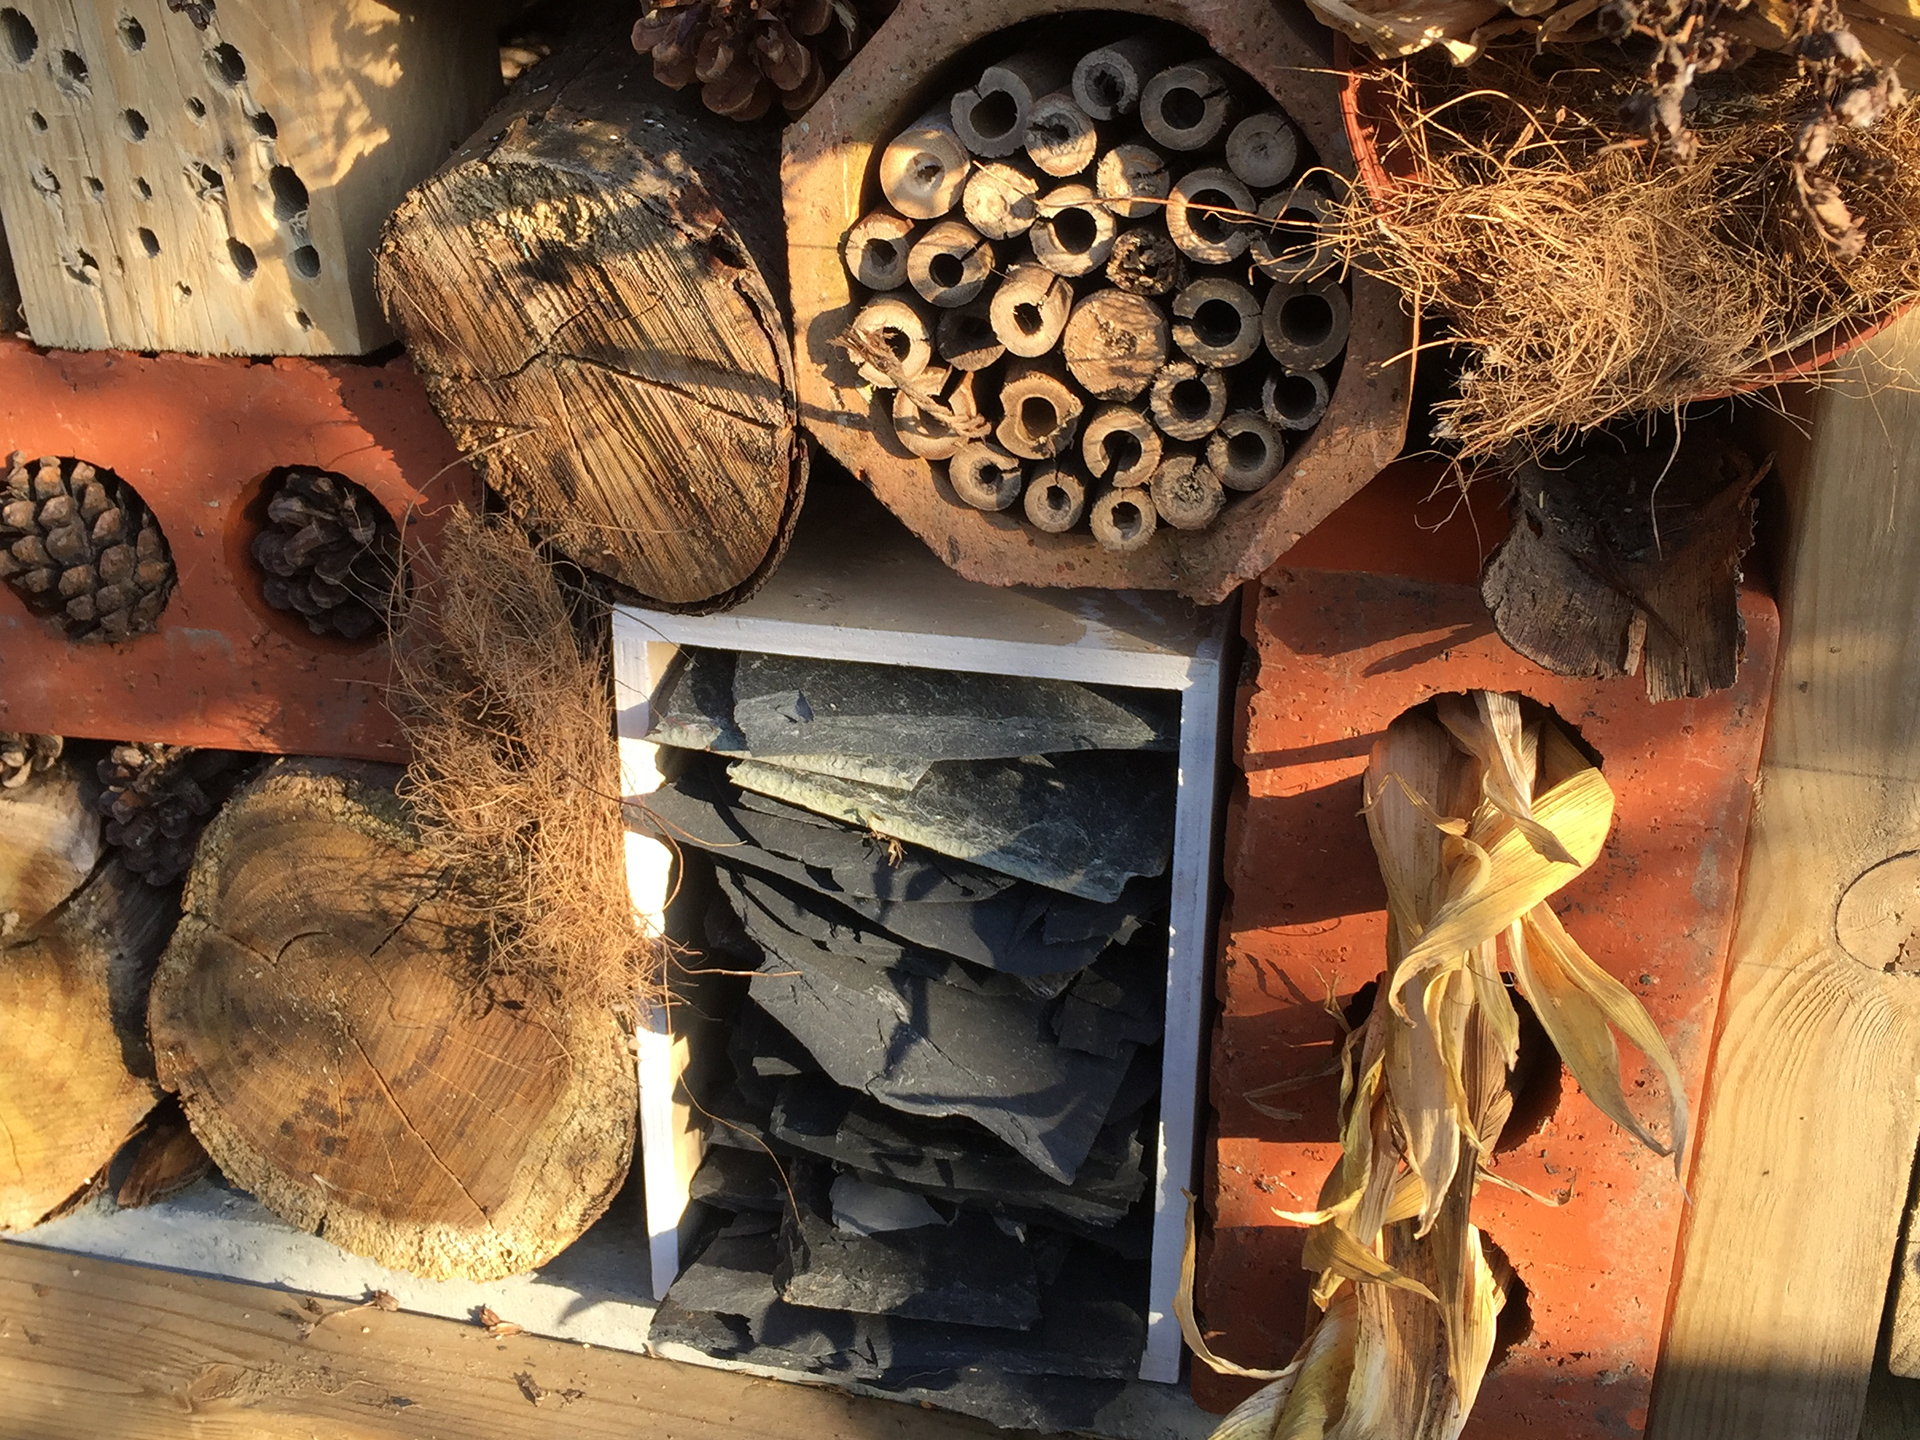
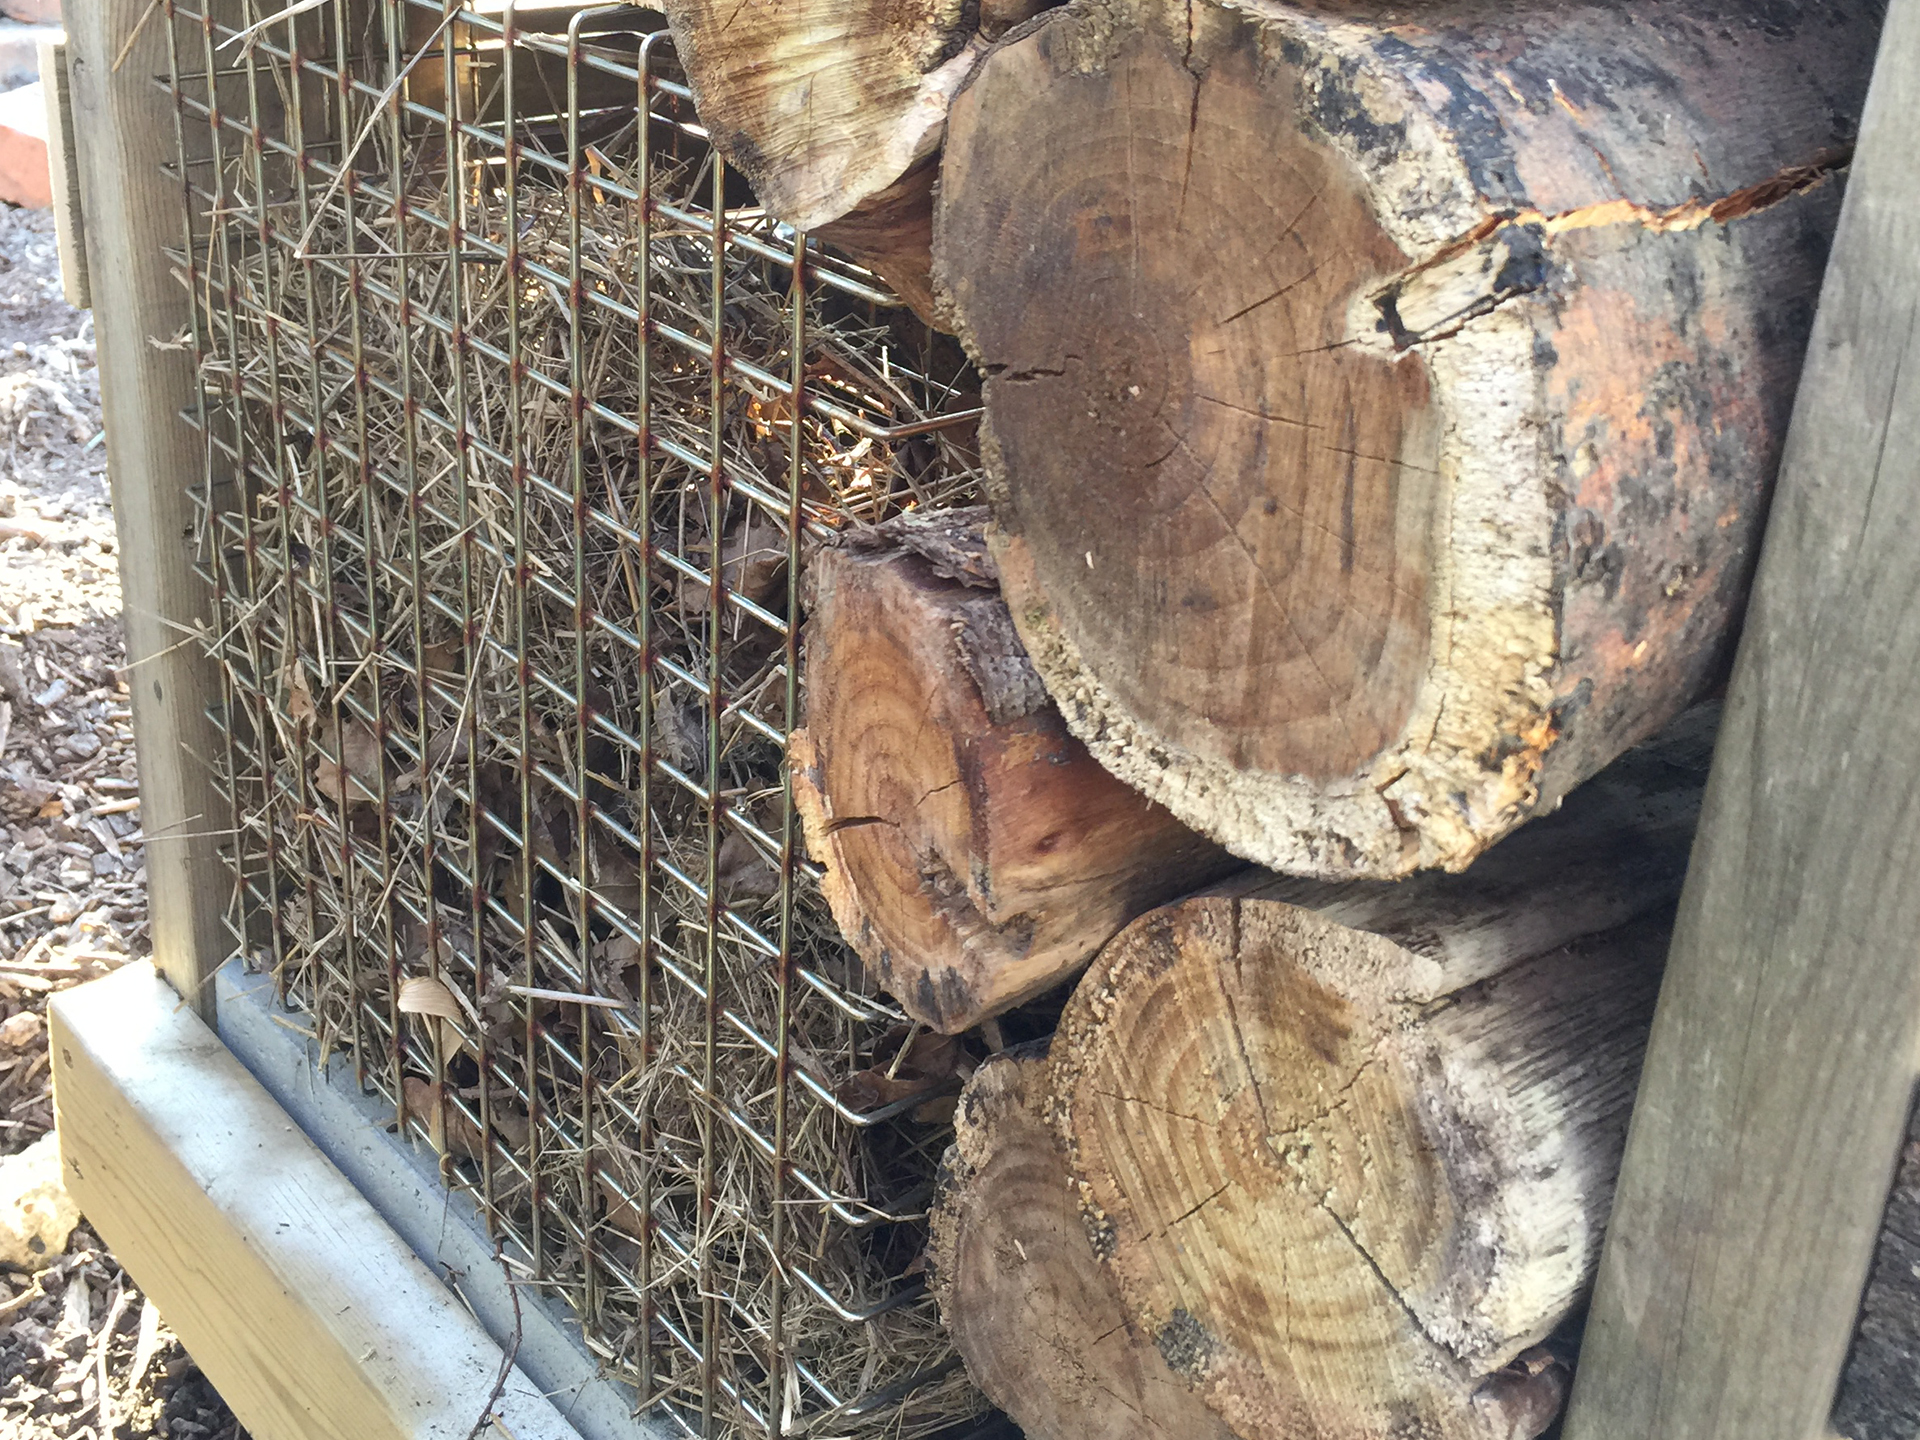
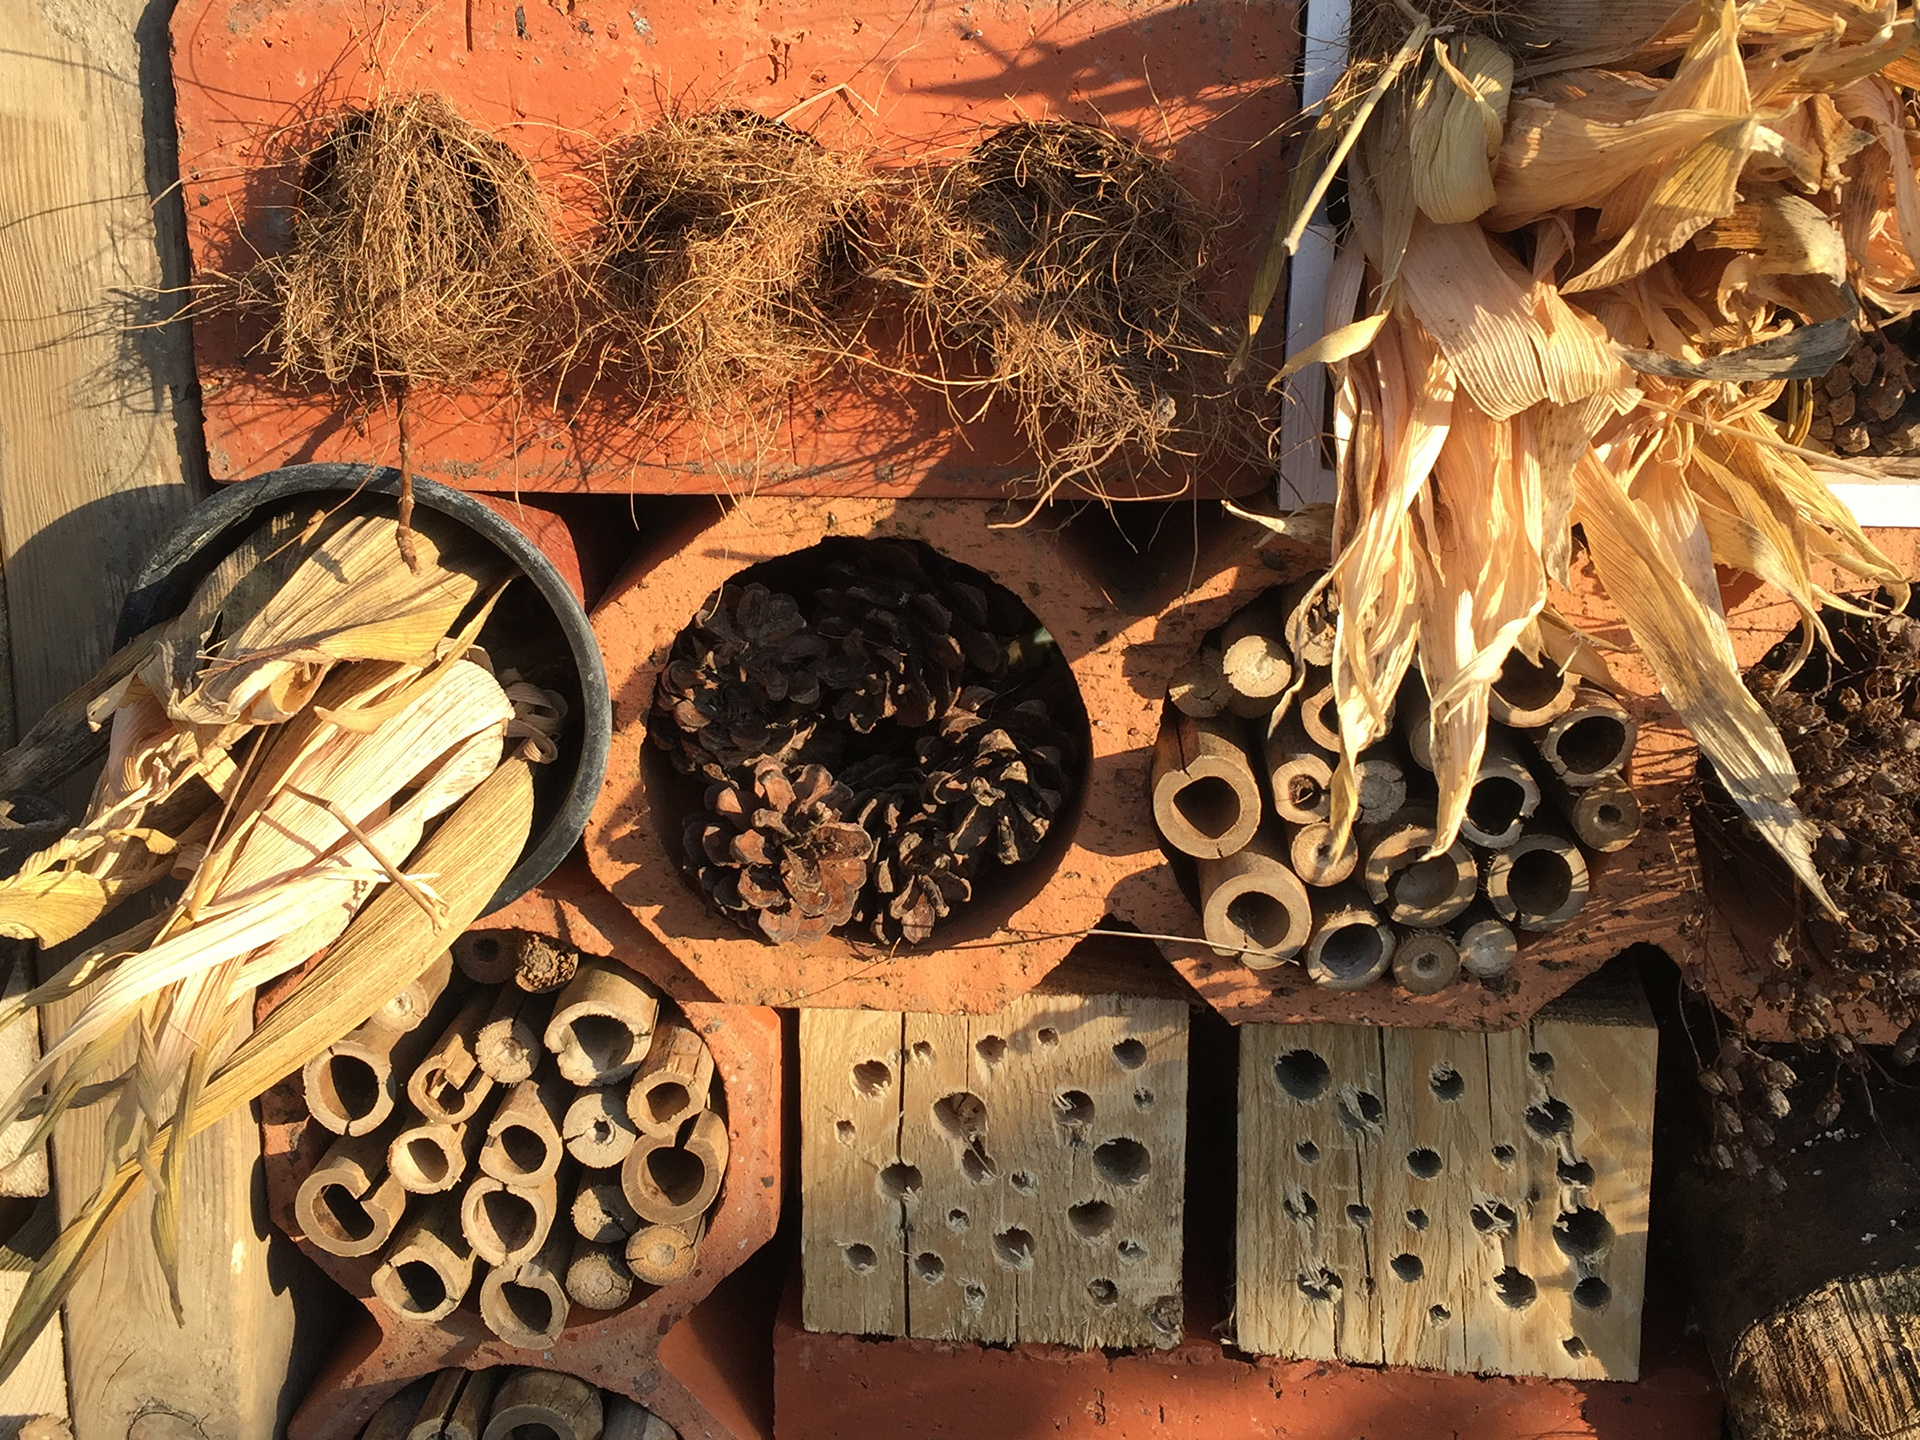
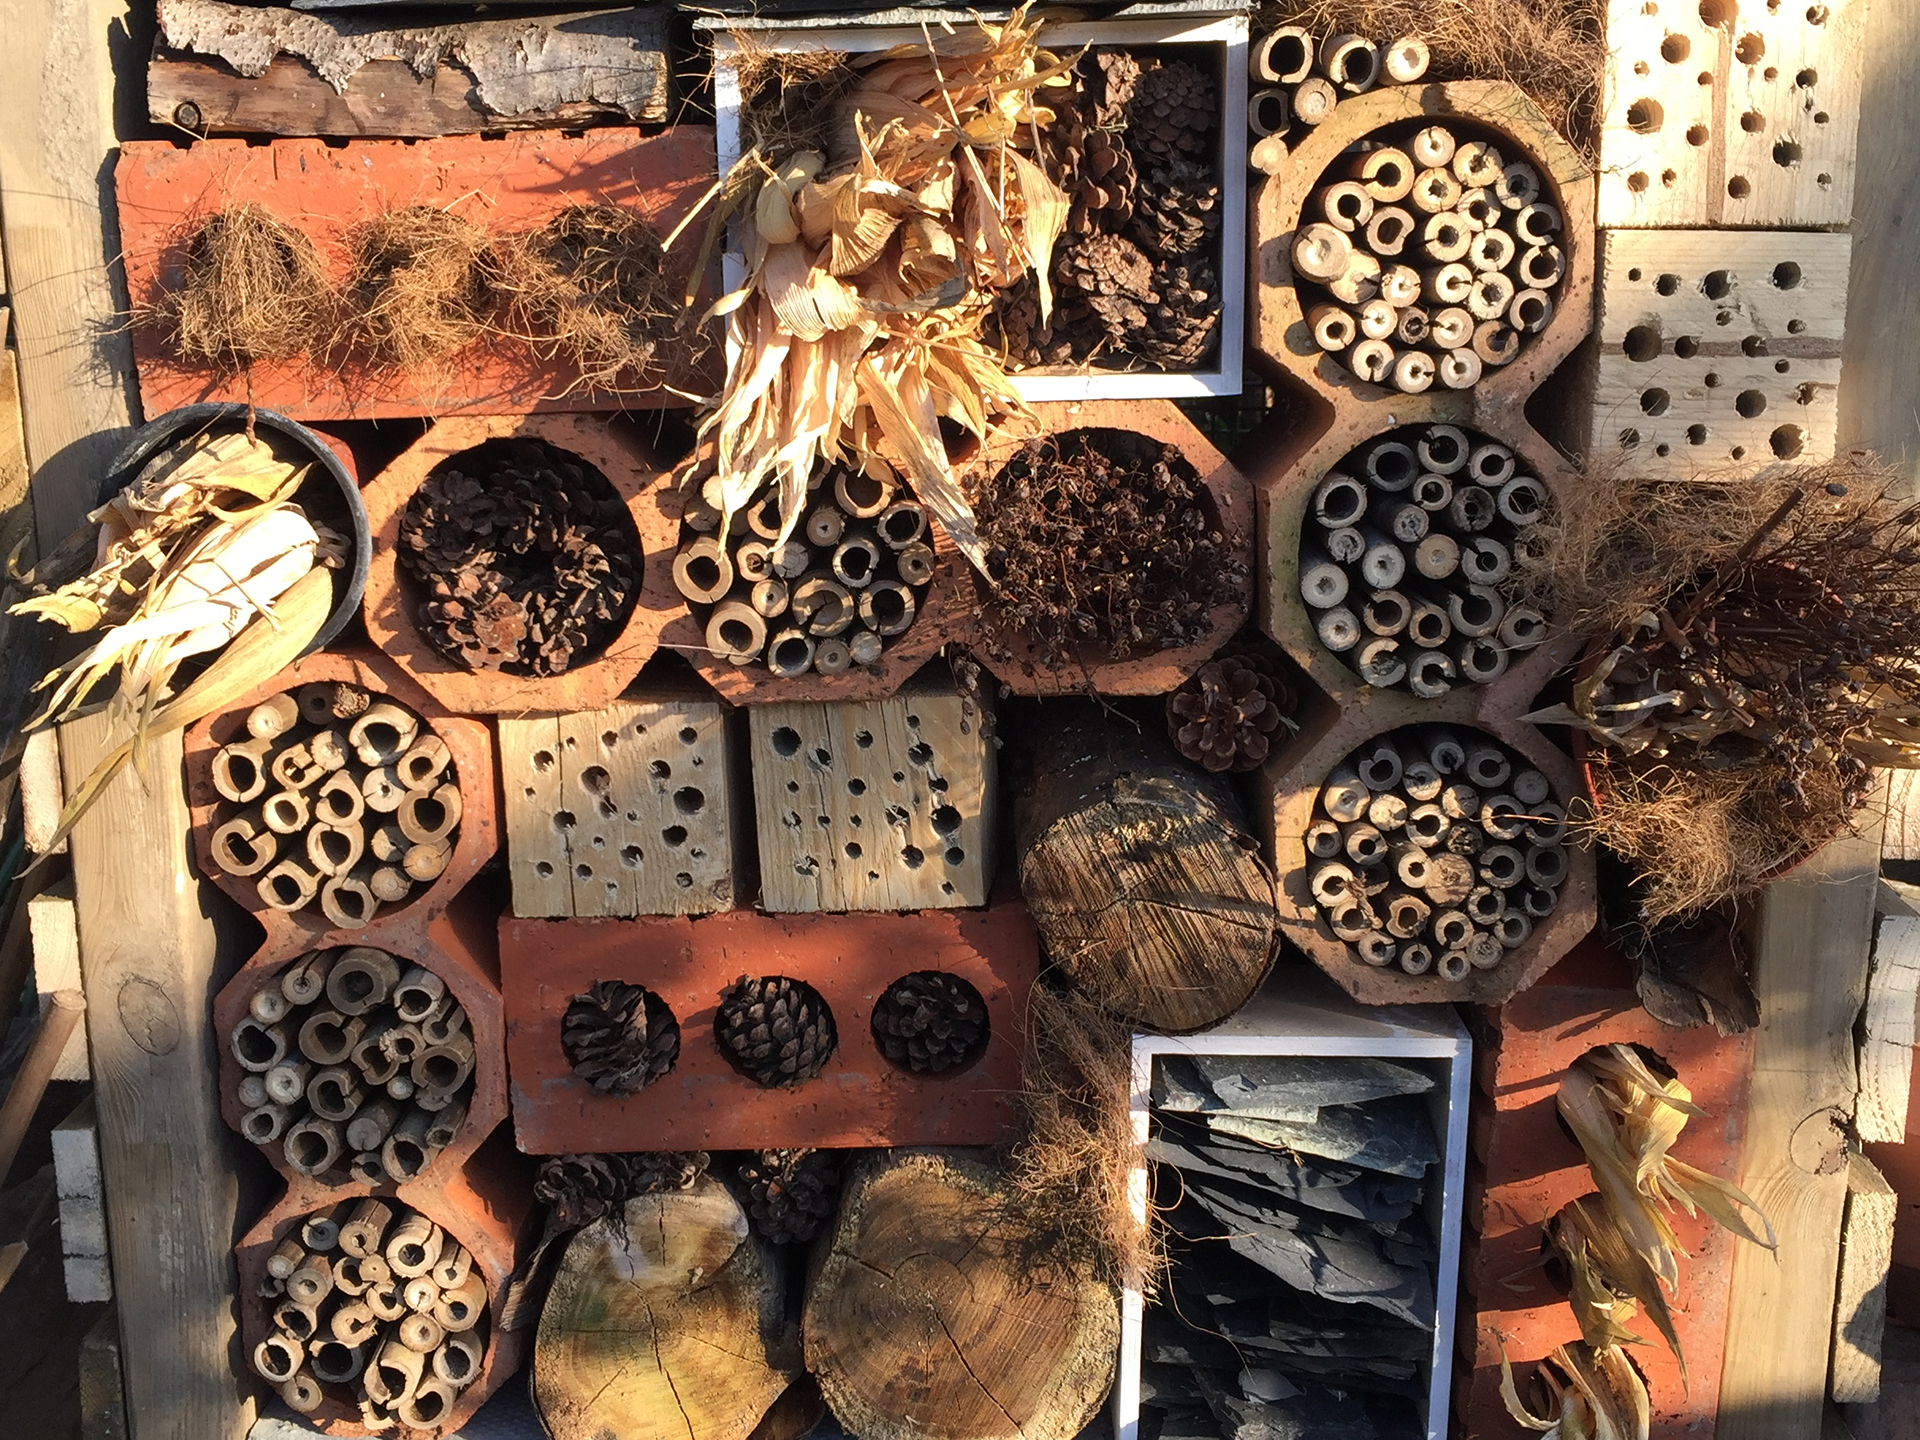
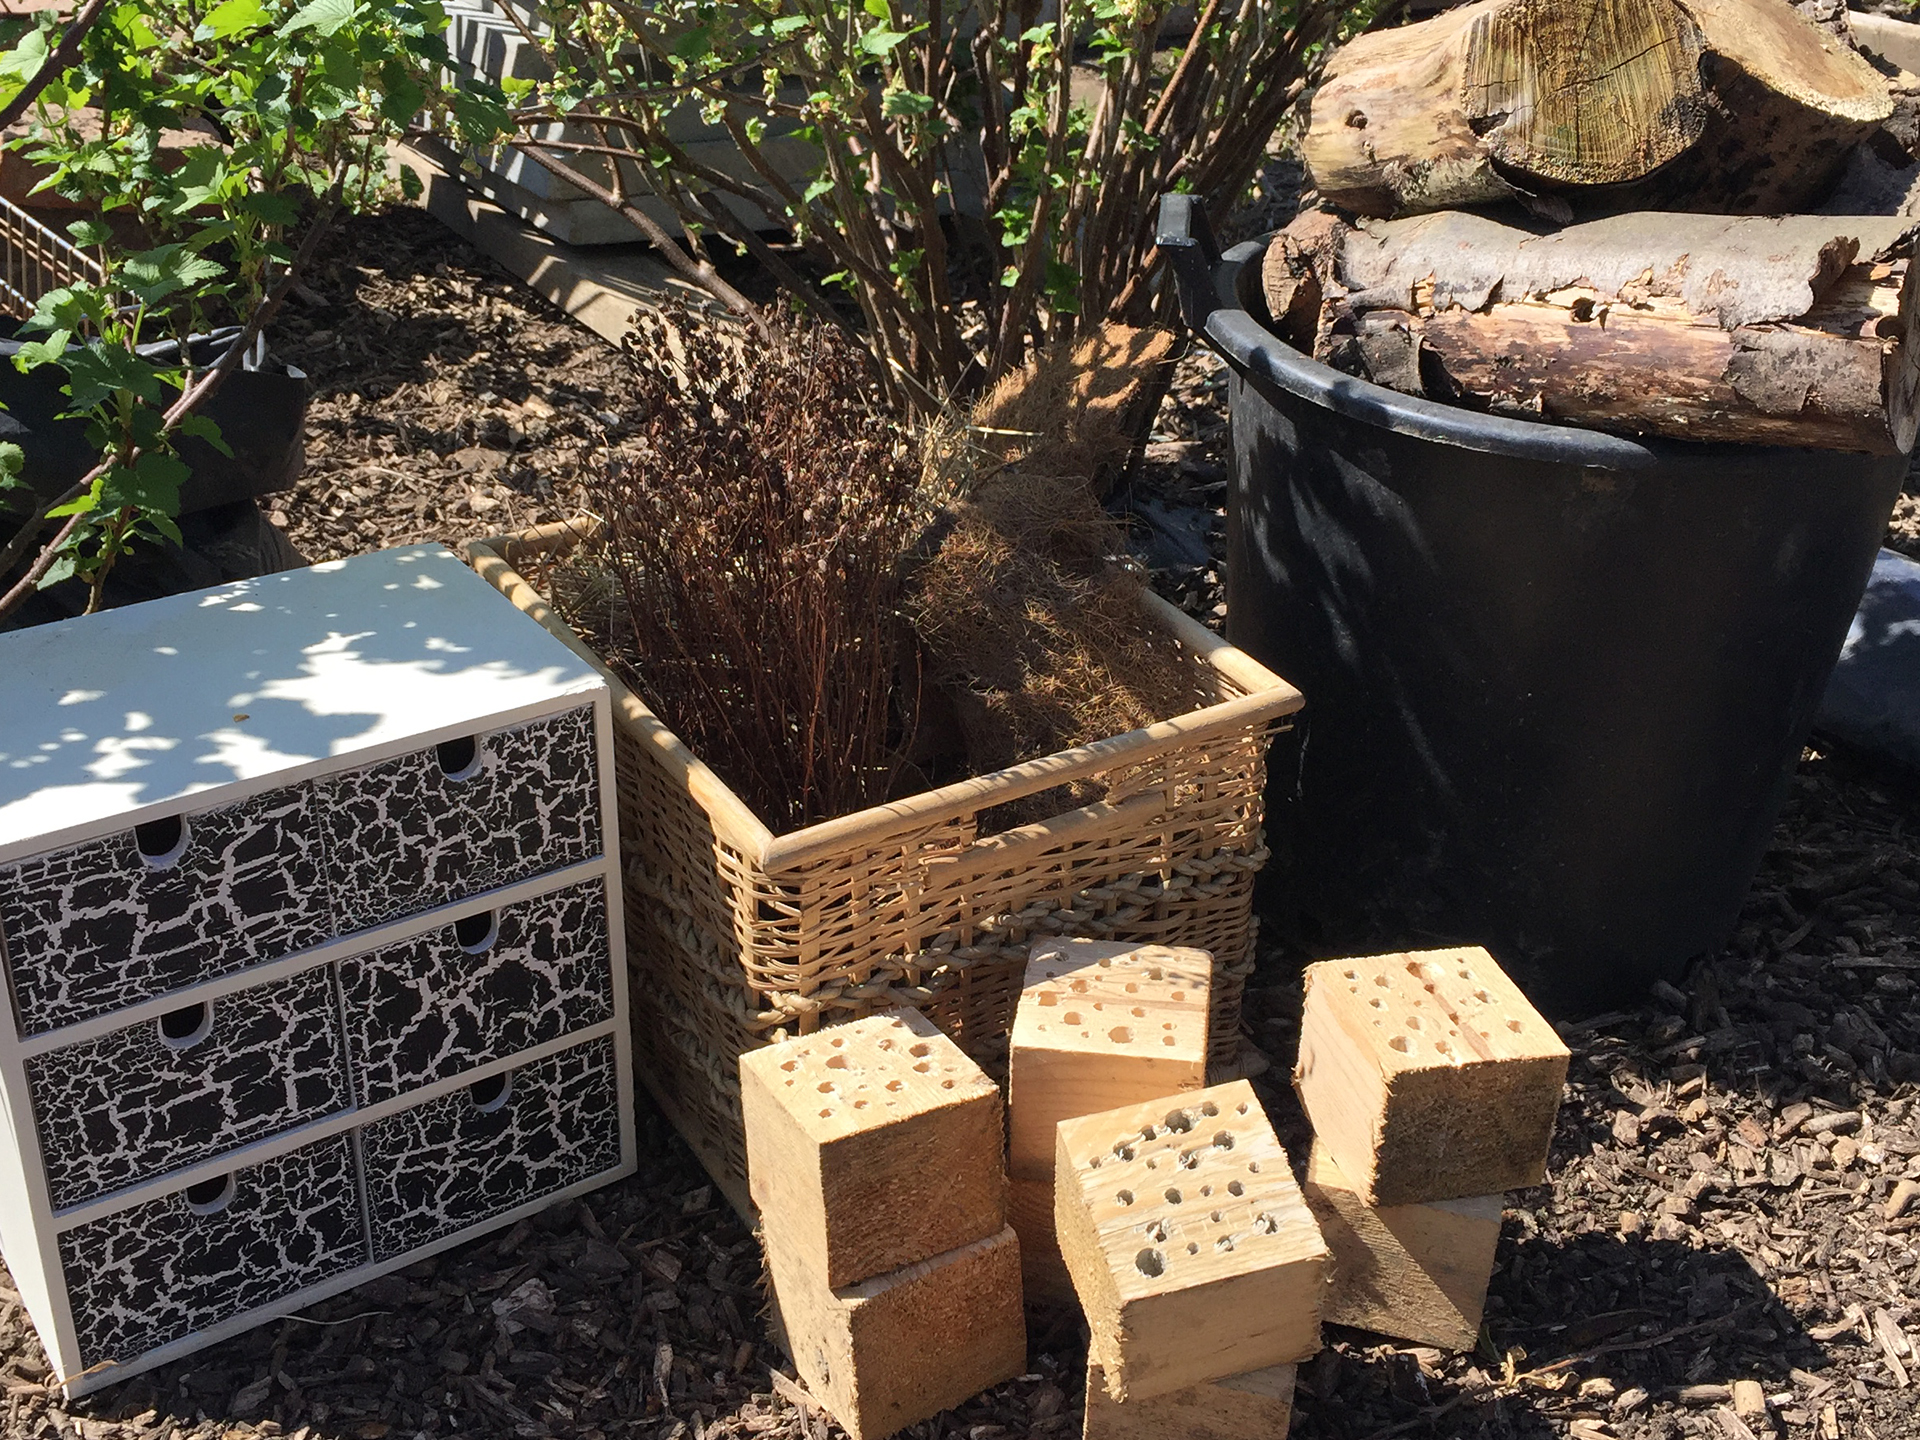
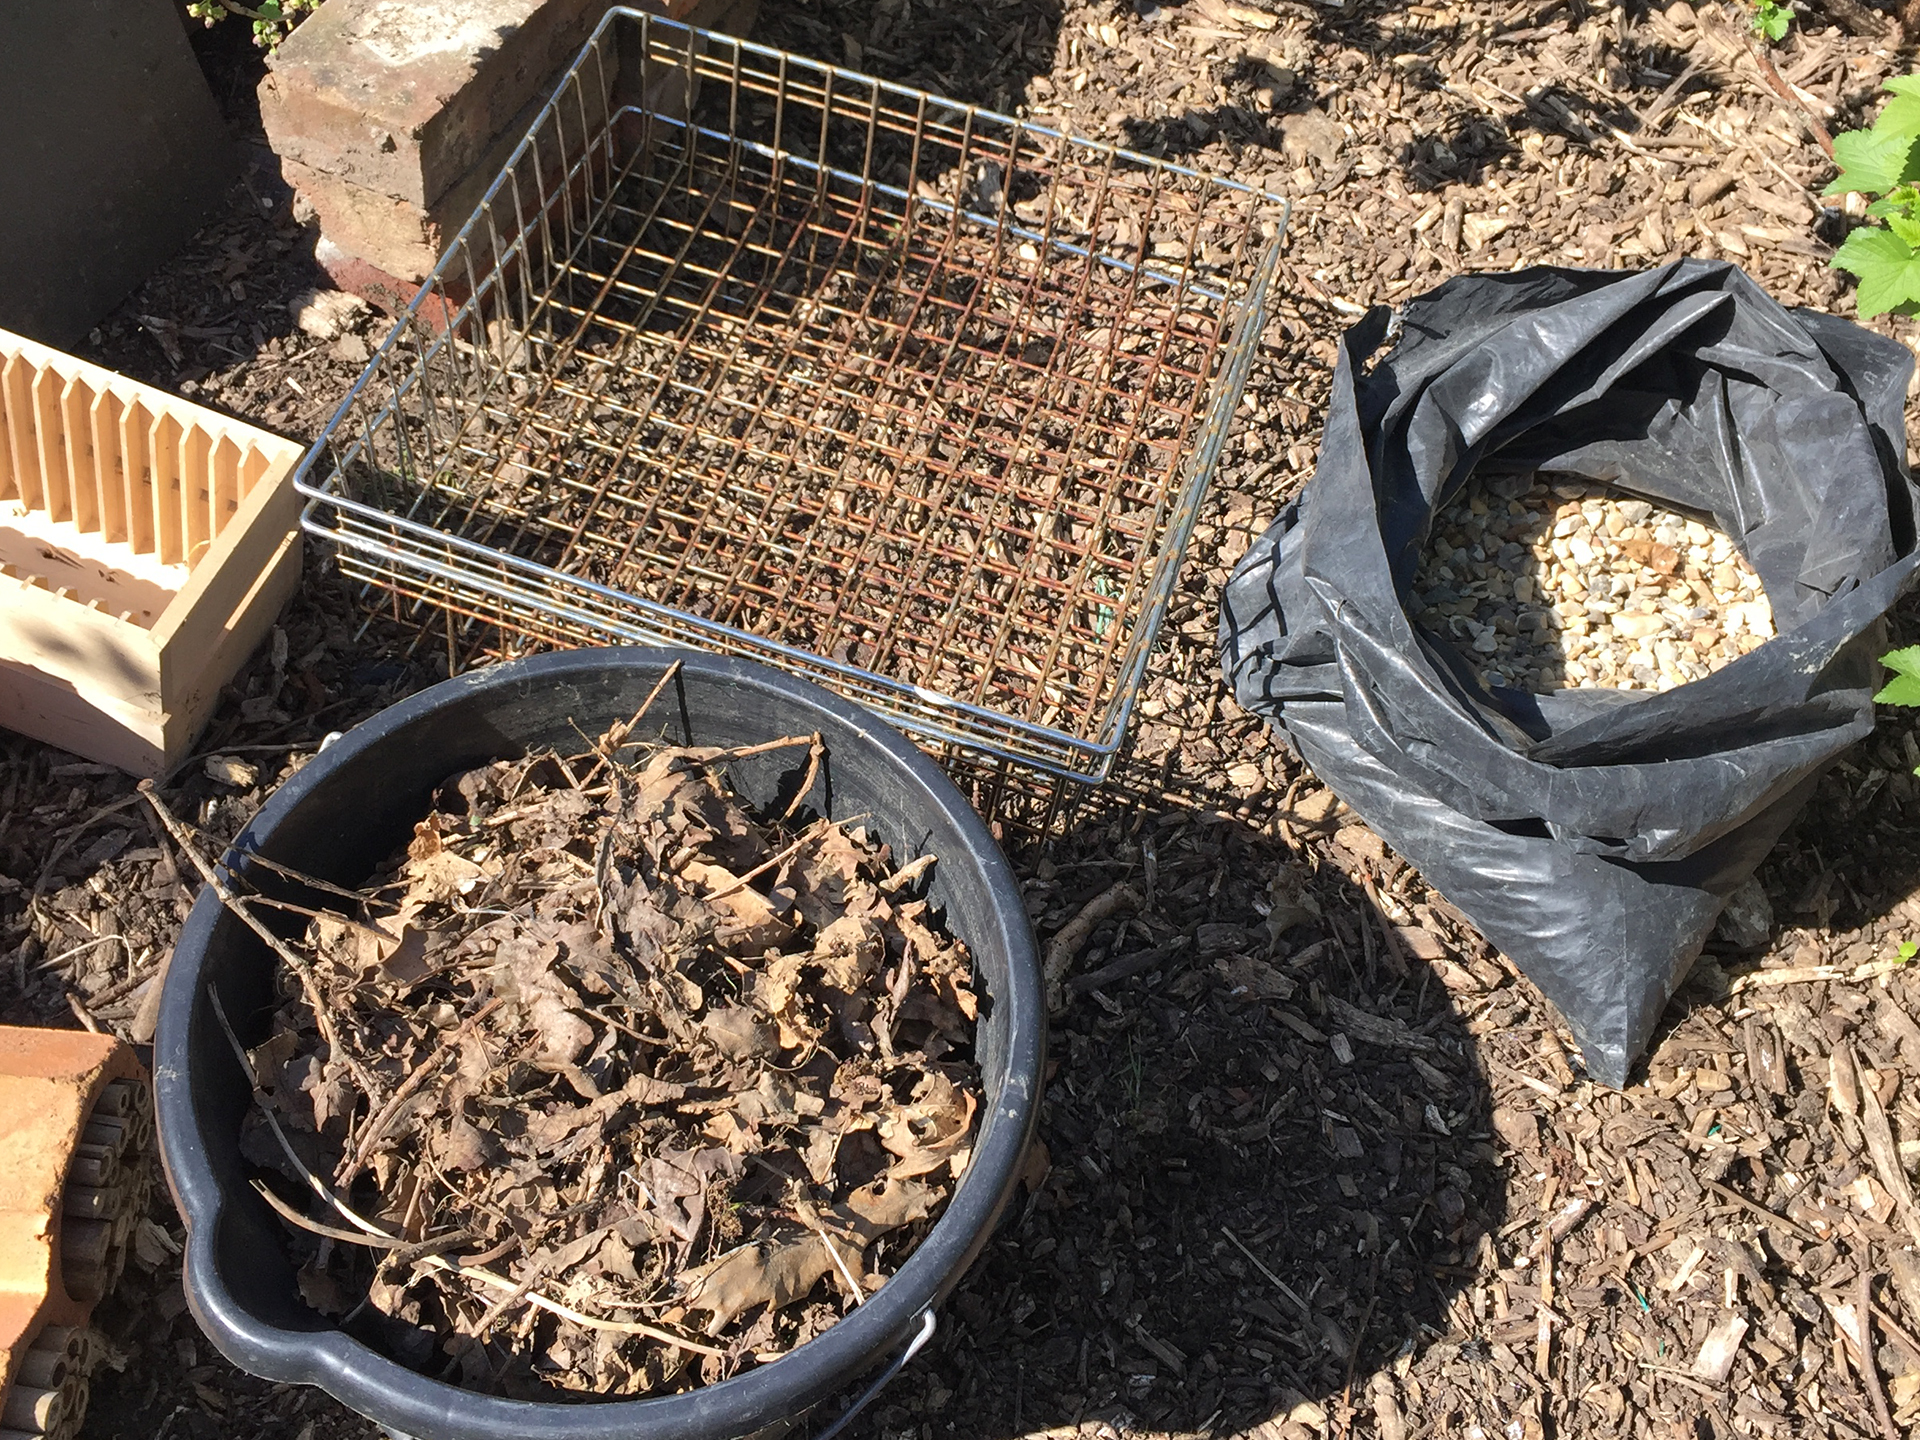
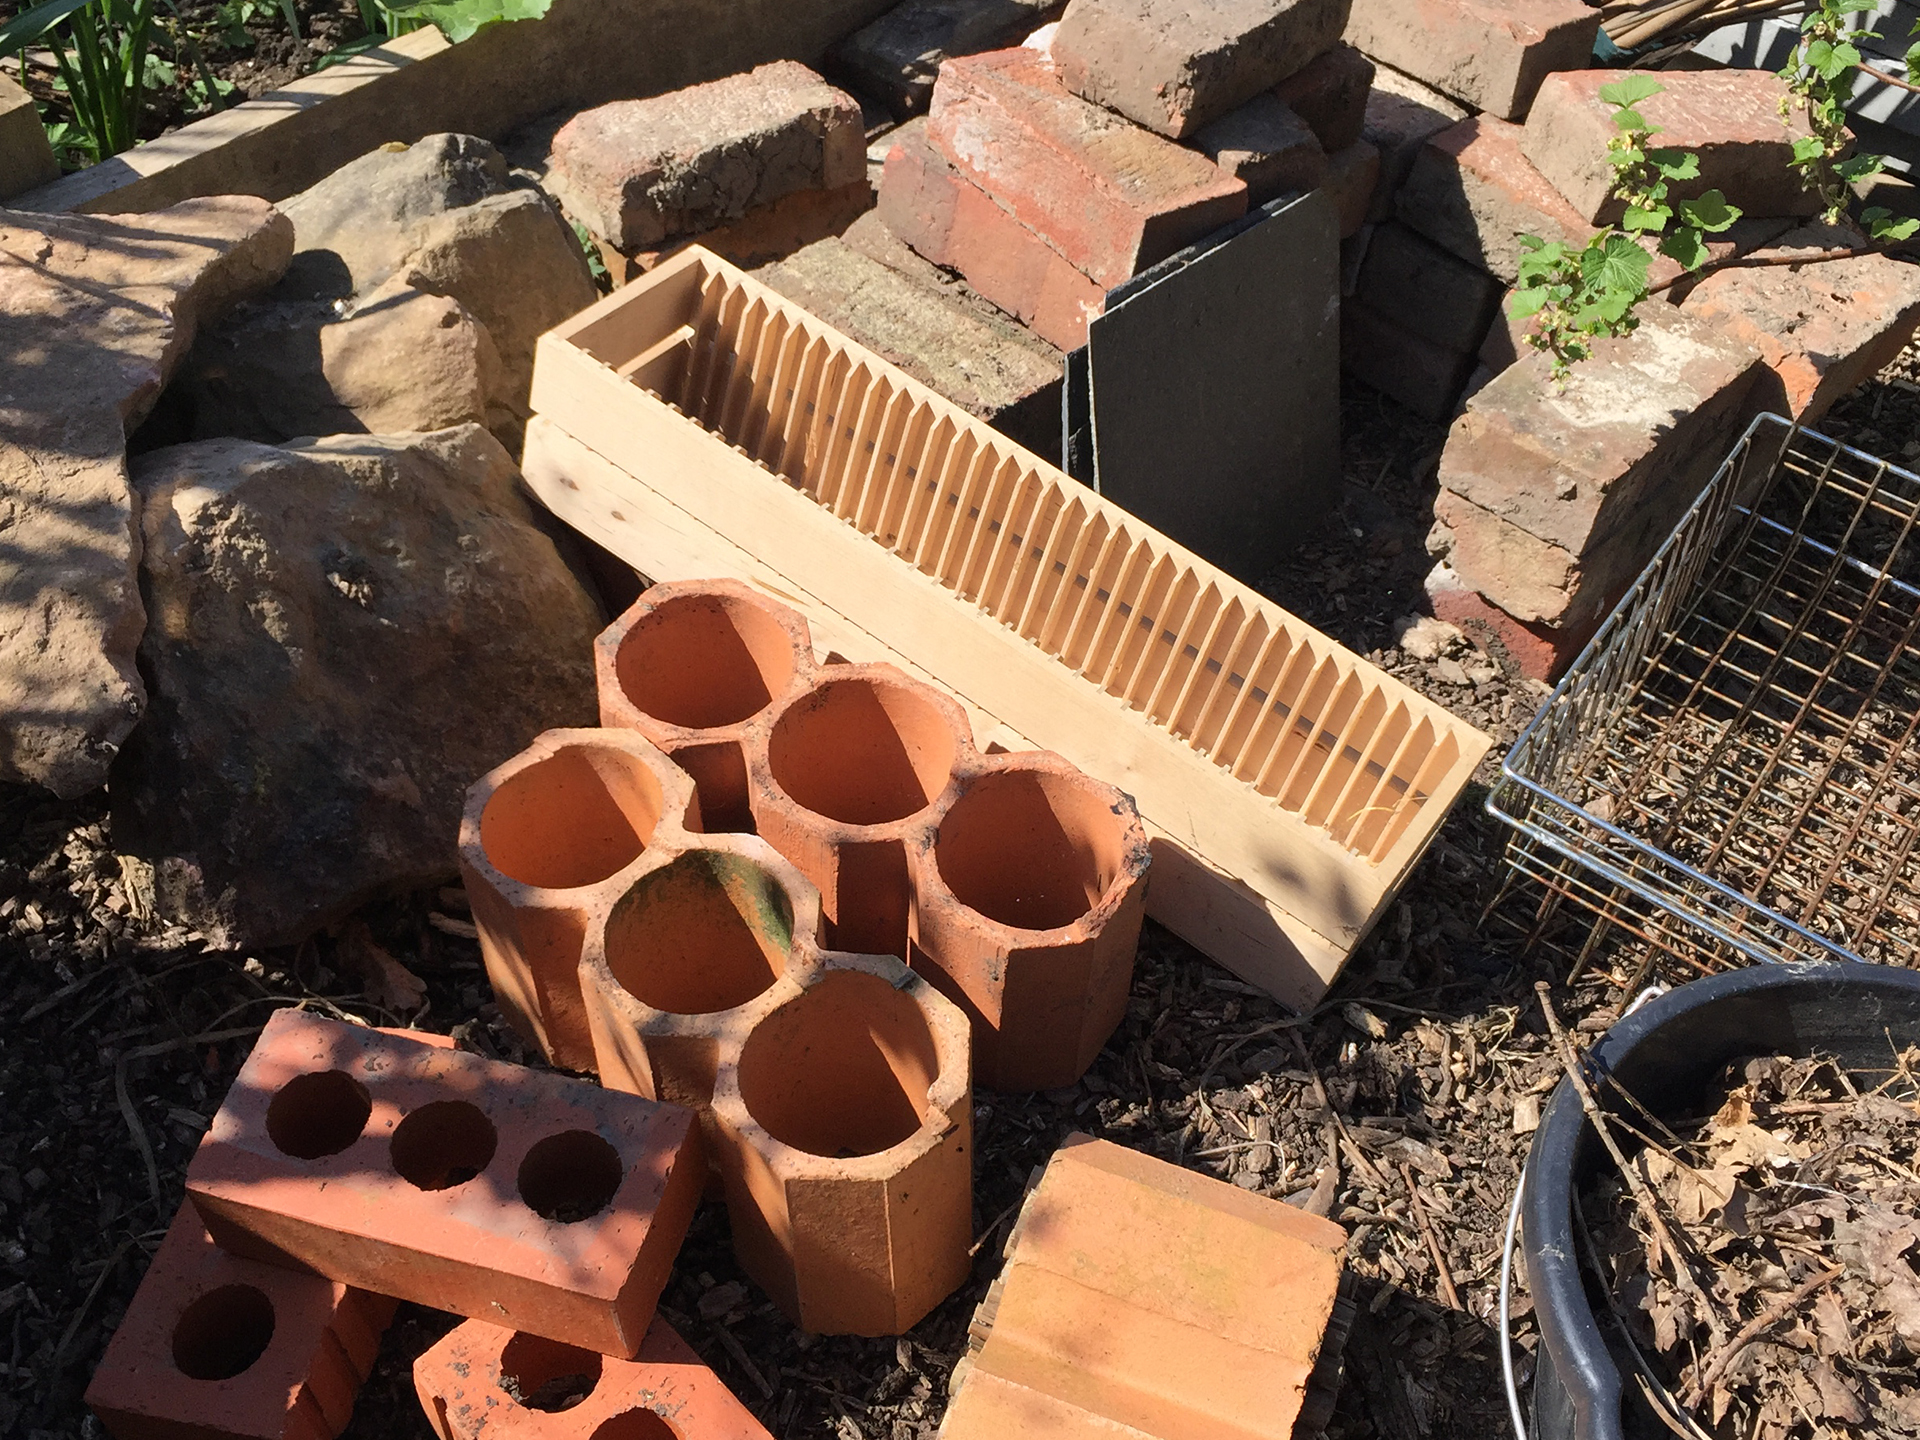
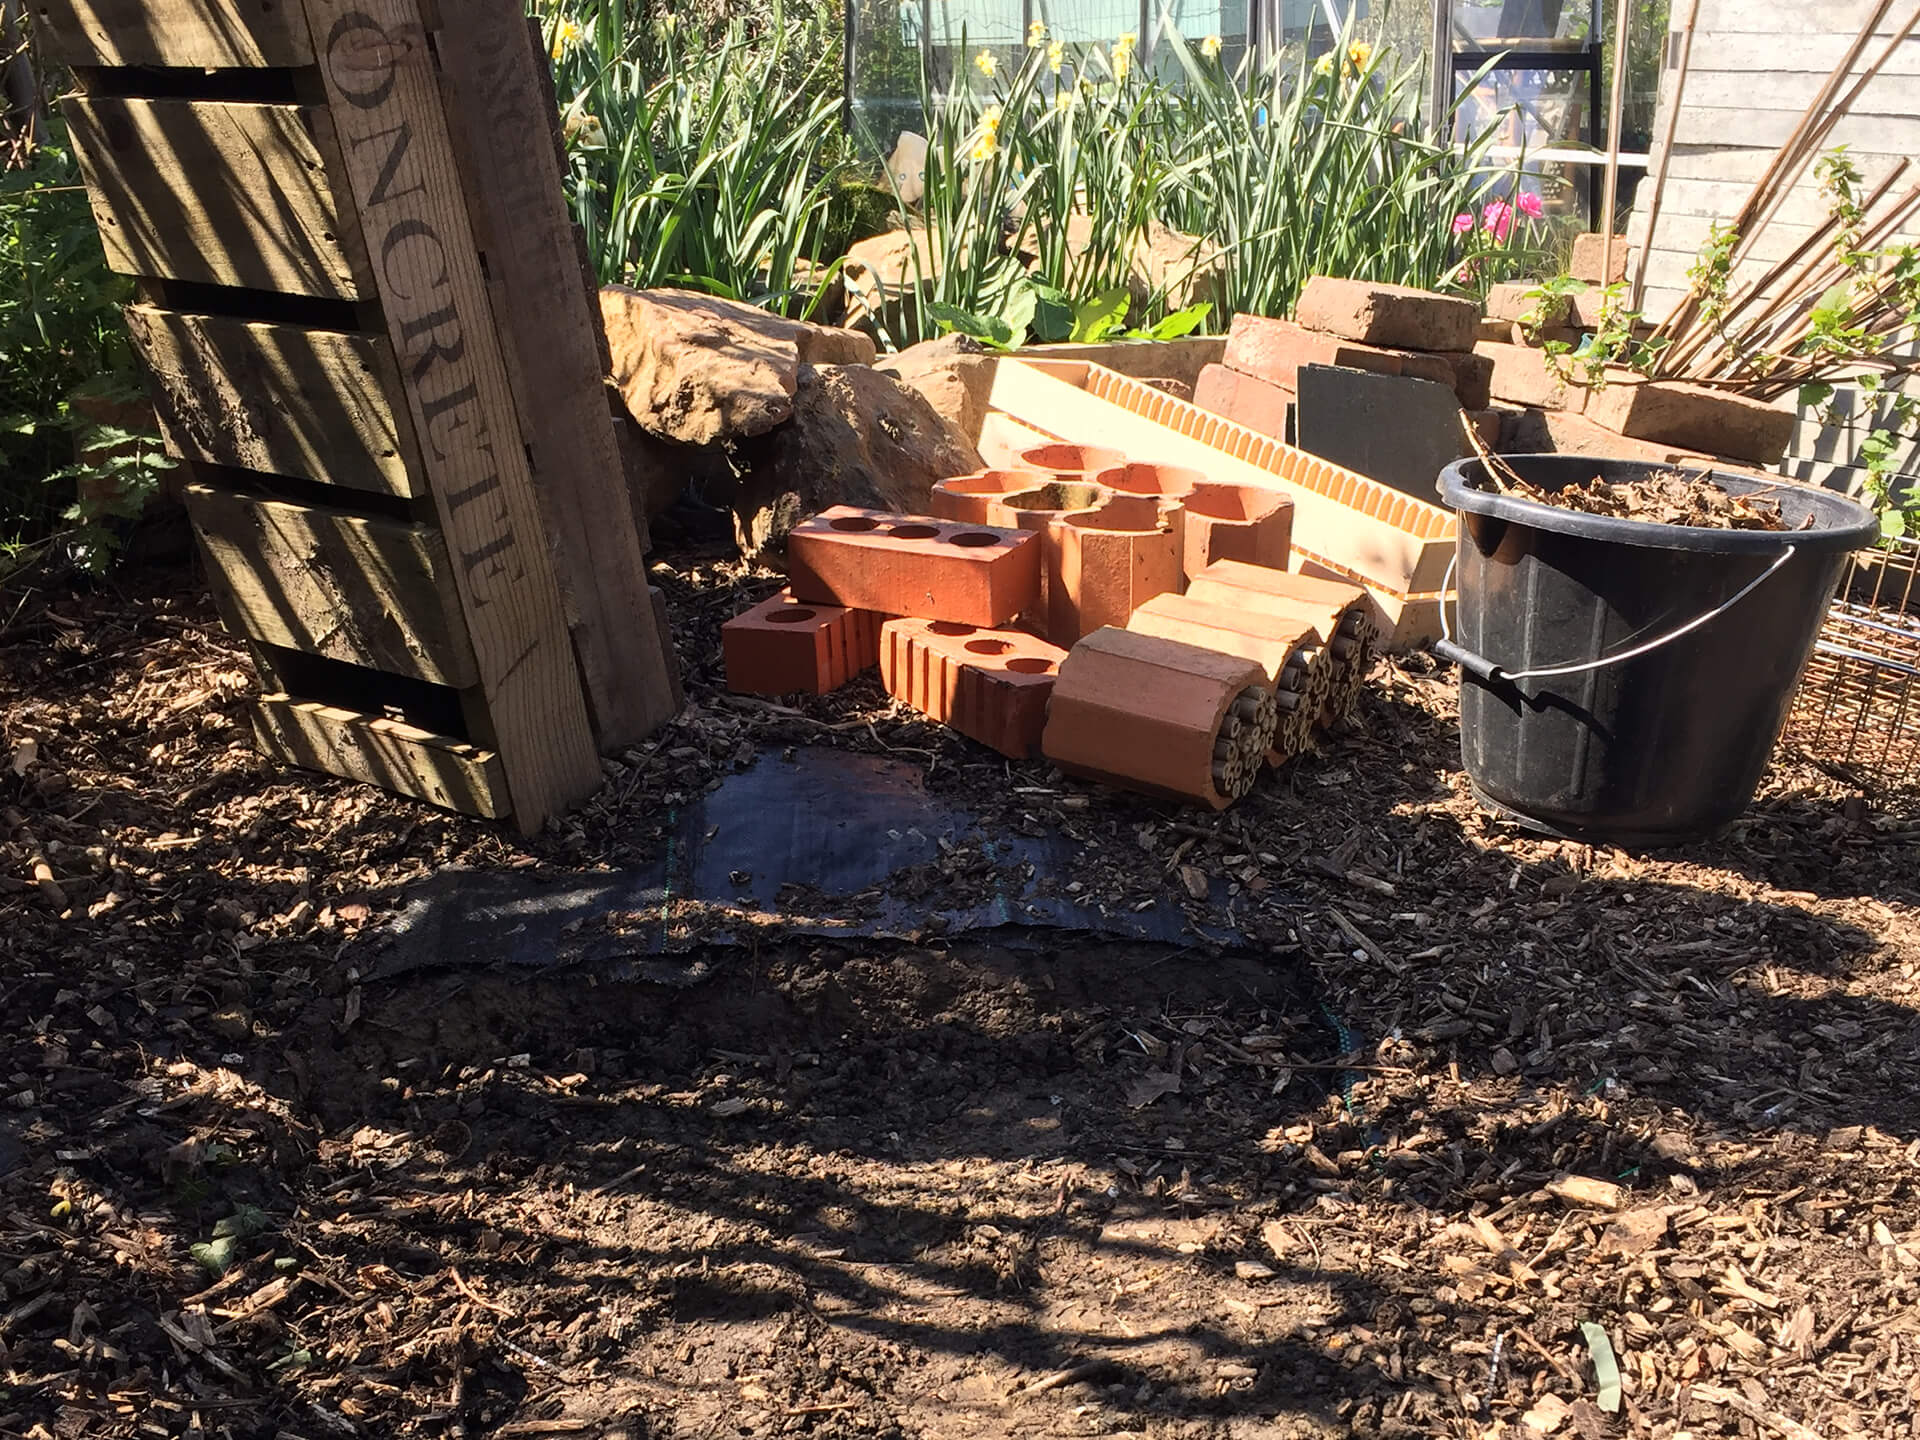
To fill the bug hotel, you will need lots of different materials and holders. I have used wire baskets, logs, bricks with holes in, bamboo canes, dried grass cuttings, dried leaves, seed heads, pinecones, the coir lining from a hanging basket, wooden blocks with holes drilled in, broken tiles or slate and plant pots.
| Material | Tools |
|---|---|
| 4m of chunky timber - I used 6x2 treated timber from an old shed base | Power X-Change Cordless Mitre Saw – 4300890 |
| 2.4m of timber - I used 4x2 timber left over from another project | Power X-Change Cordless Jig Saw TE-JS 18 Li-Solo - 4321200 |
| 1.2m of timber - 6x1 board | Power X-Change Cordless Impact Drill – 4513860 |
| 18mm Plywood or similar – 600x600mm | Power X-Change Cordless Impact driver – 4510030 |
| 1-2 pallets | Tape measure |
| 30 bricks | Pencil |
| 60x60cm paving slab | Level |
| Various screws depending on the thickness of your salvaged wood | Hammer/Mallet for levelling |
| Heavy duty black plastic sheeting - minimum 1x1m | Various sized drill bits |
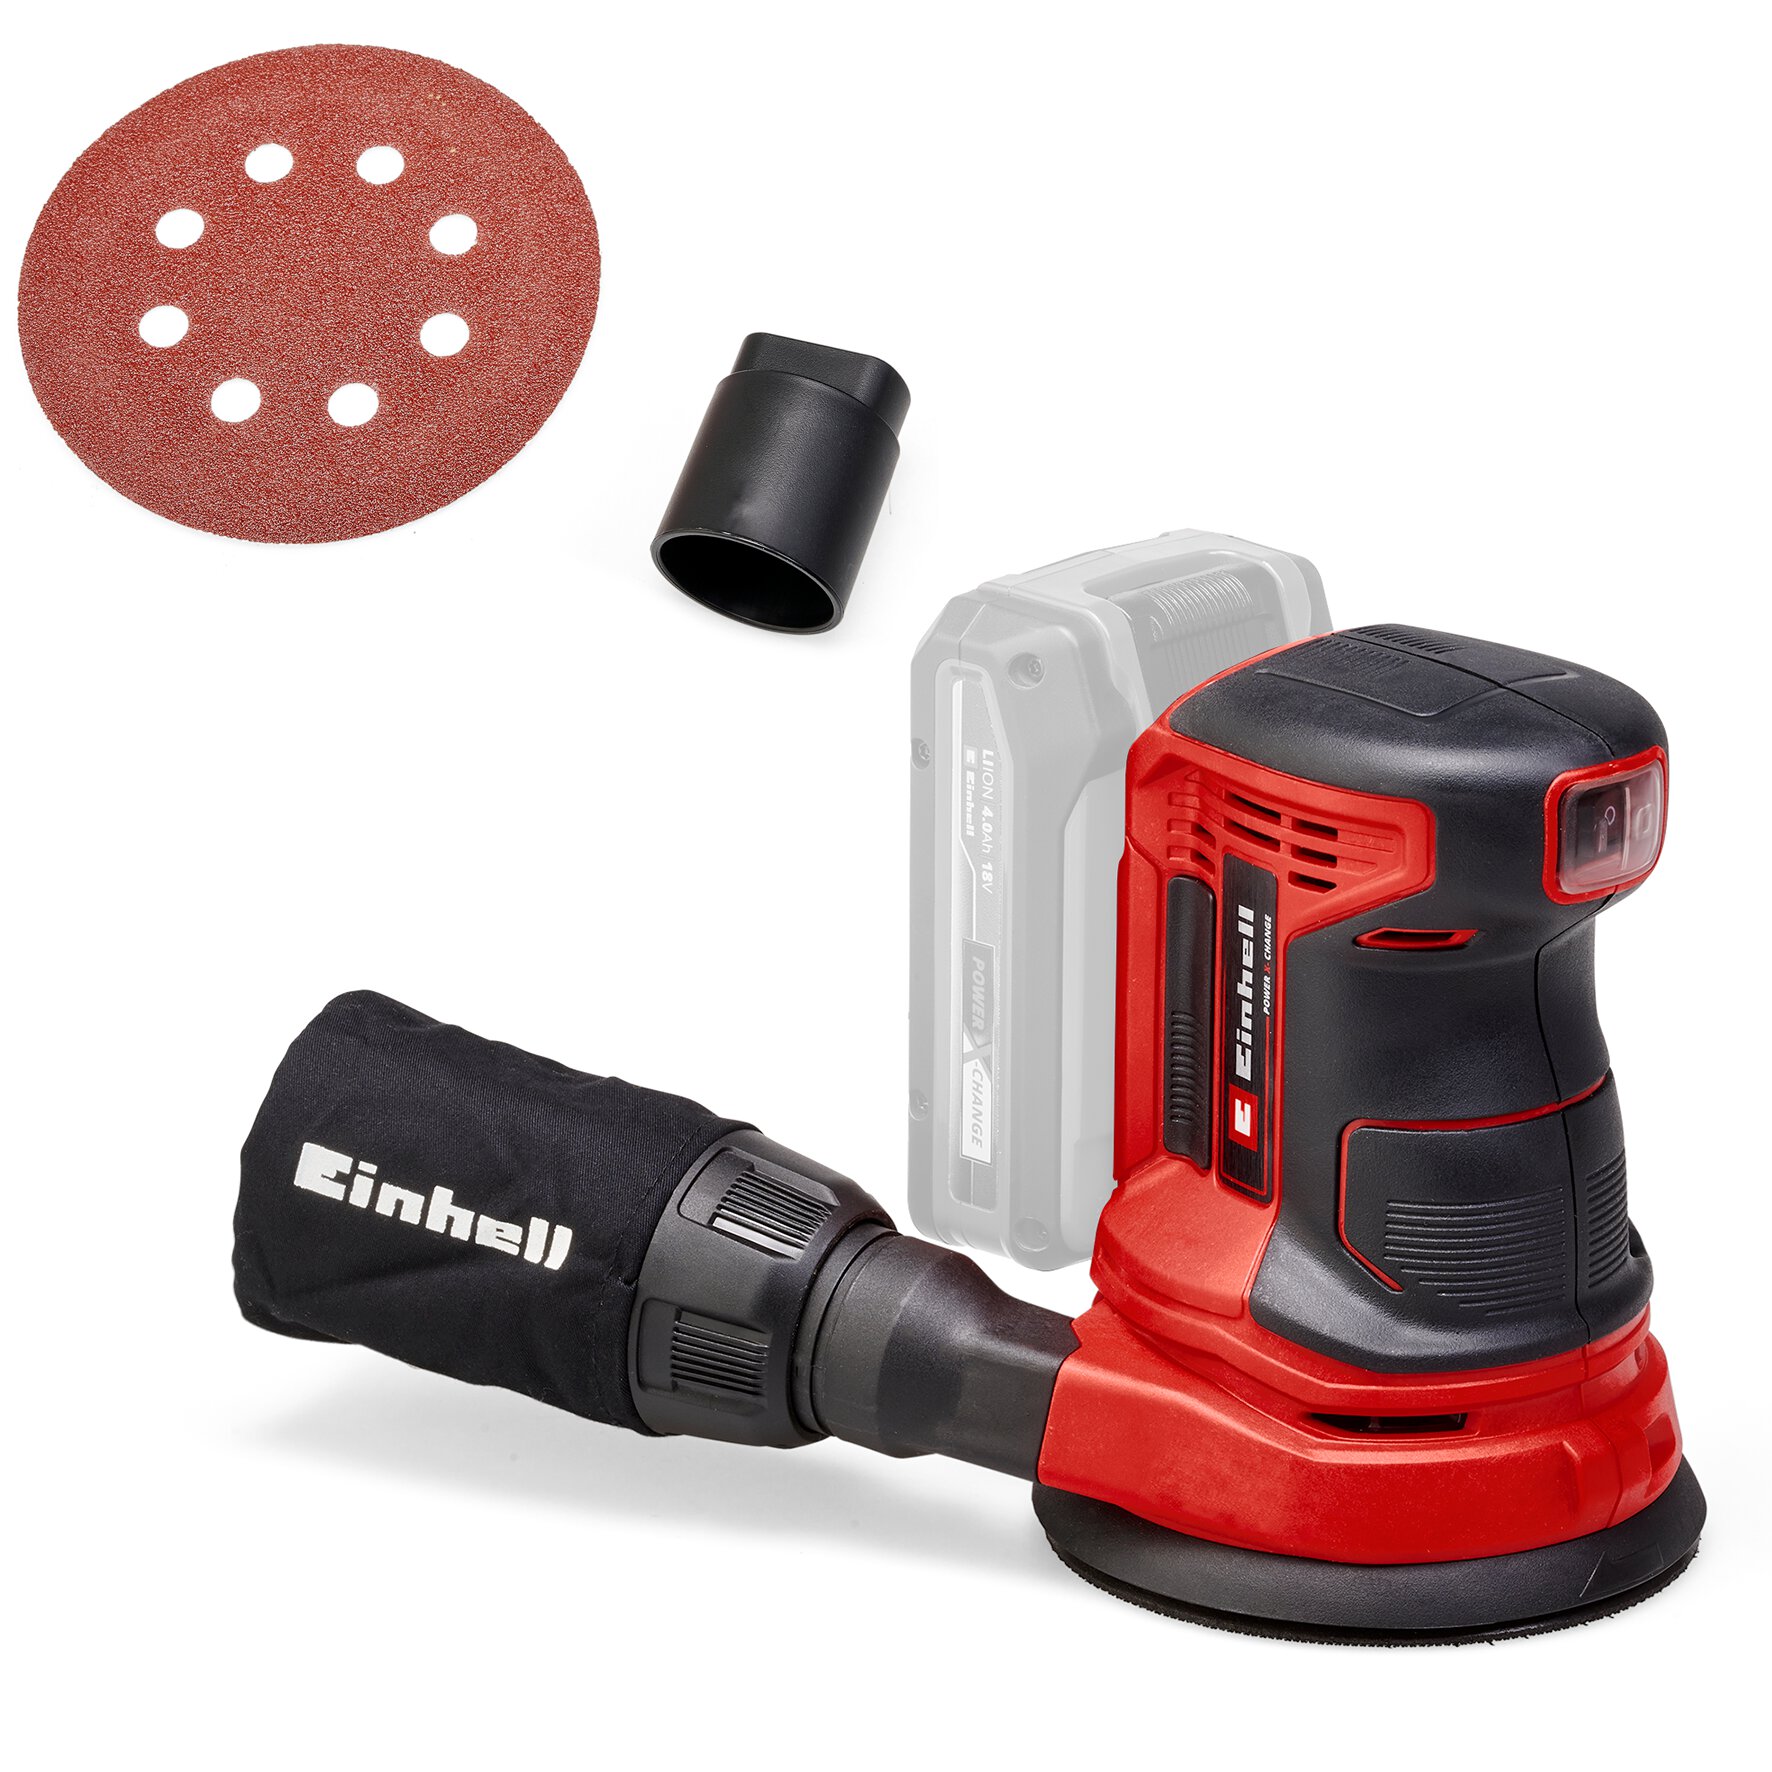
| Small bag of pea shingle or gravel | Power X-Change Cordless Sander – 4462010 |
| 60-litre bag of multipurpose compost | Stapler |
| Plants and/or seeds | Spade |
Step One:
The first step is to make a solid base. Your hedgehog house needs to face south-west and be in a shaded area. This needs to be built on bare ground so get a spade and level the ground, take your time, as this is the foundation of the mansion. Once you are happy, it is time to lay the bricks. Copy the layout of the image below which creates a narrow tunnel and area for hibernating.
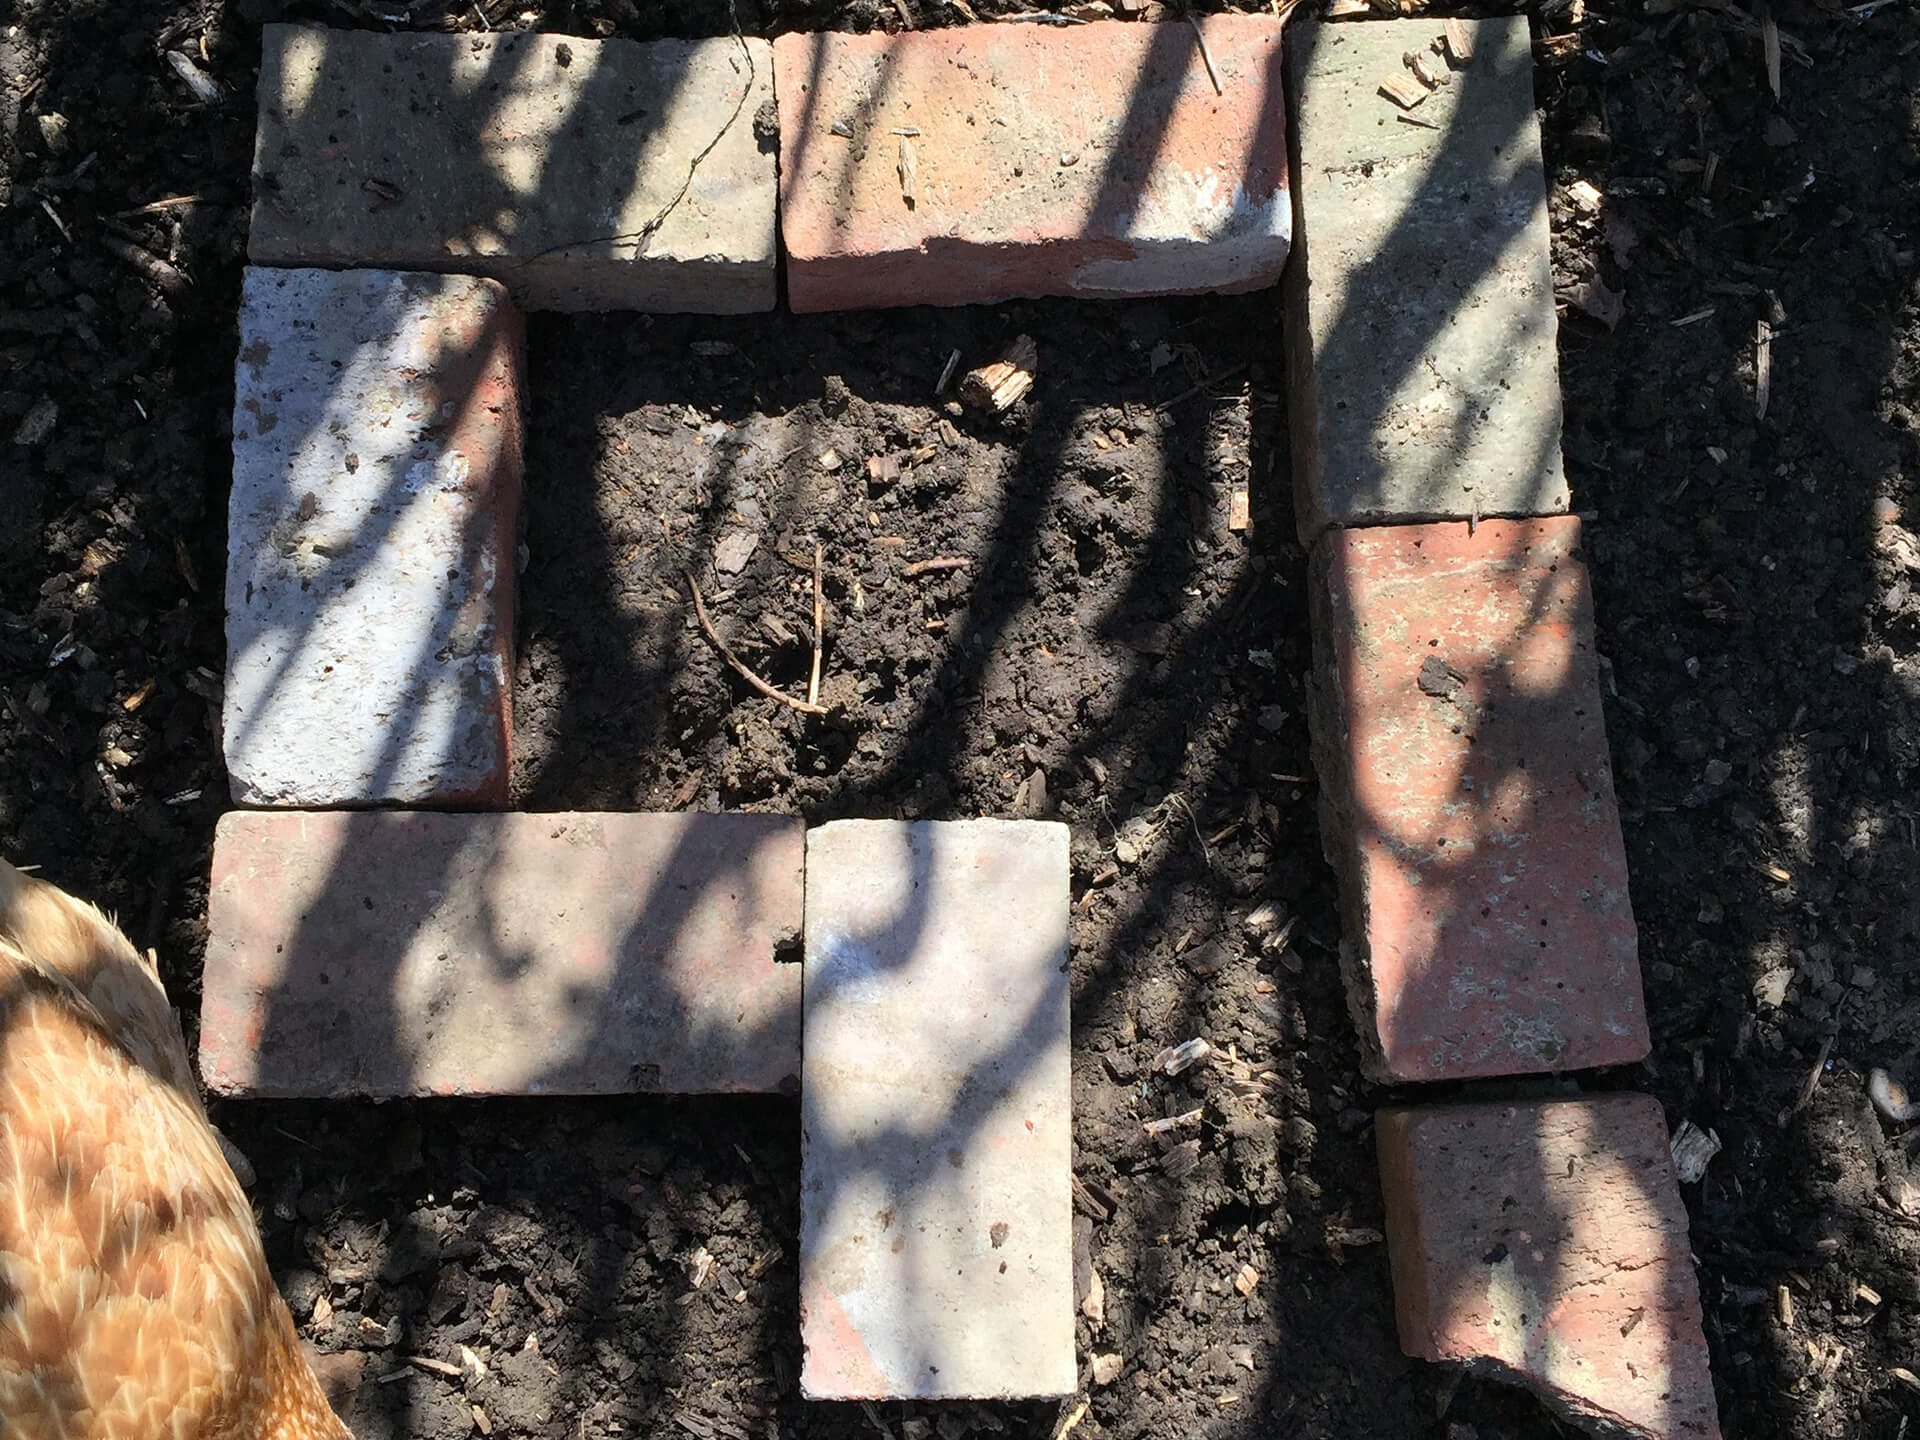
Once you have the correct shape, build another layer, trying to overlap the bricks, which will give a stronger structure. If you have some half bricks, you can add these to the front where nothing overlaps. Once you lay the third layer of bricks, place two horizontally over the tunnel to create a bridge.

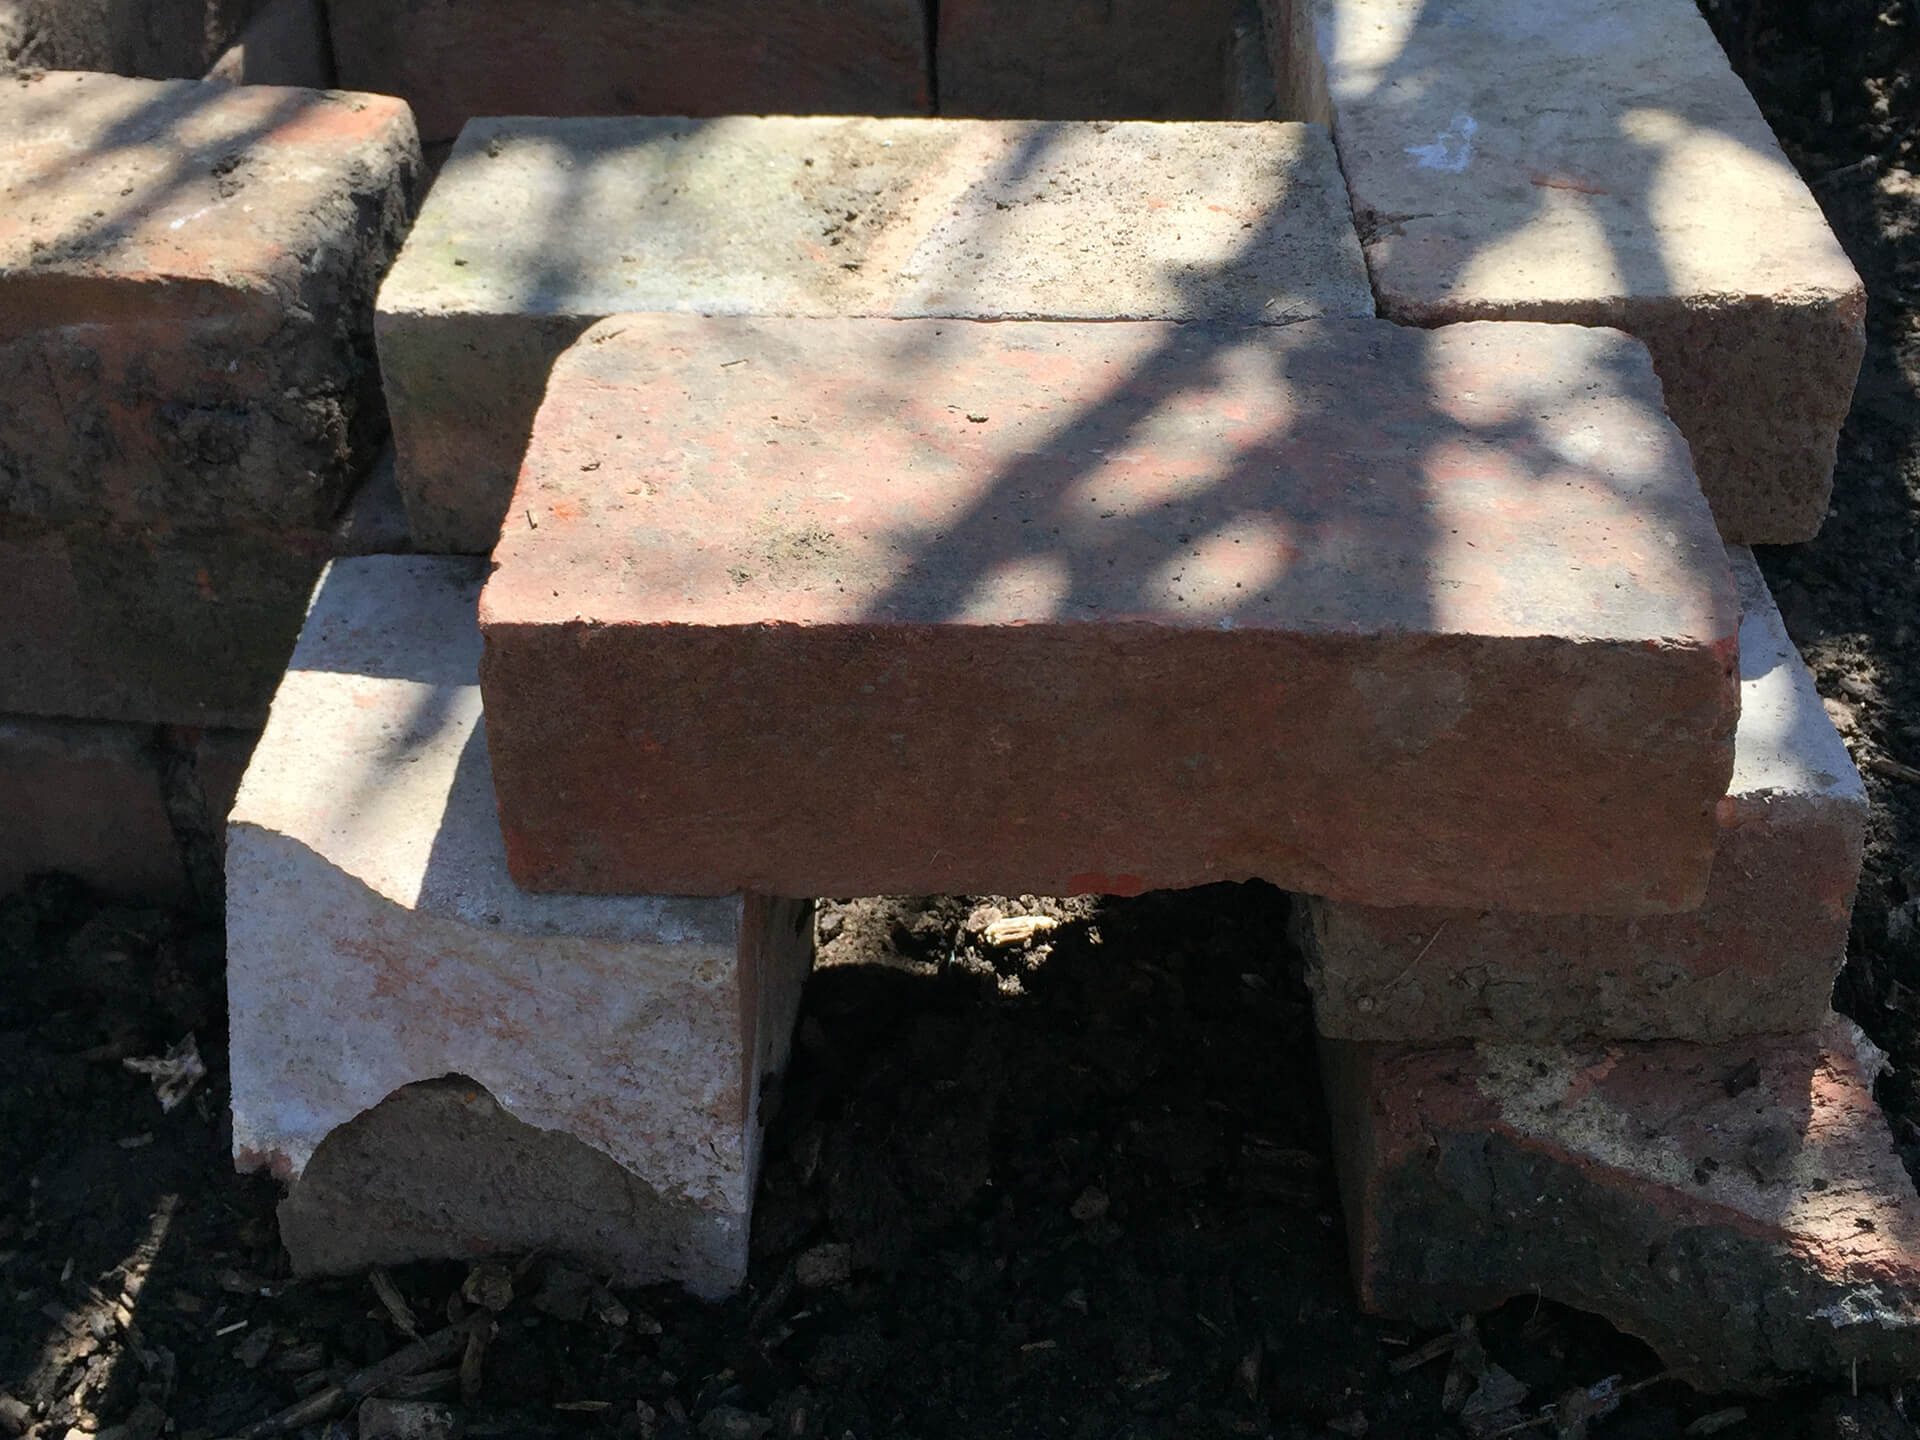
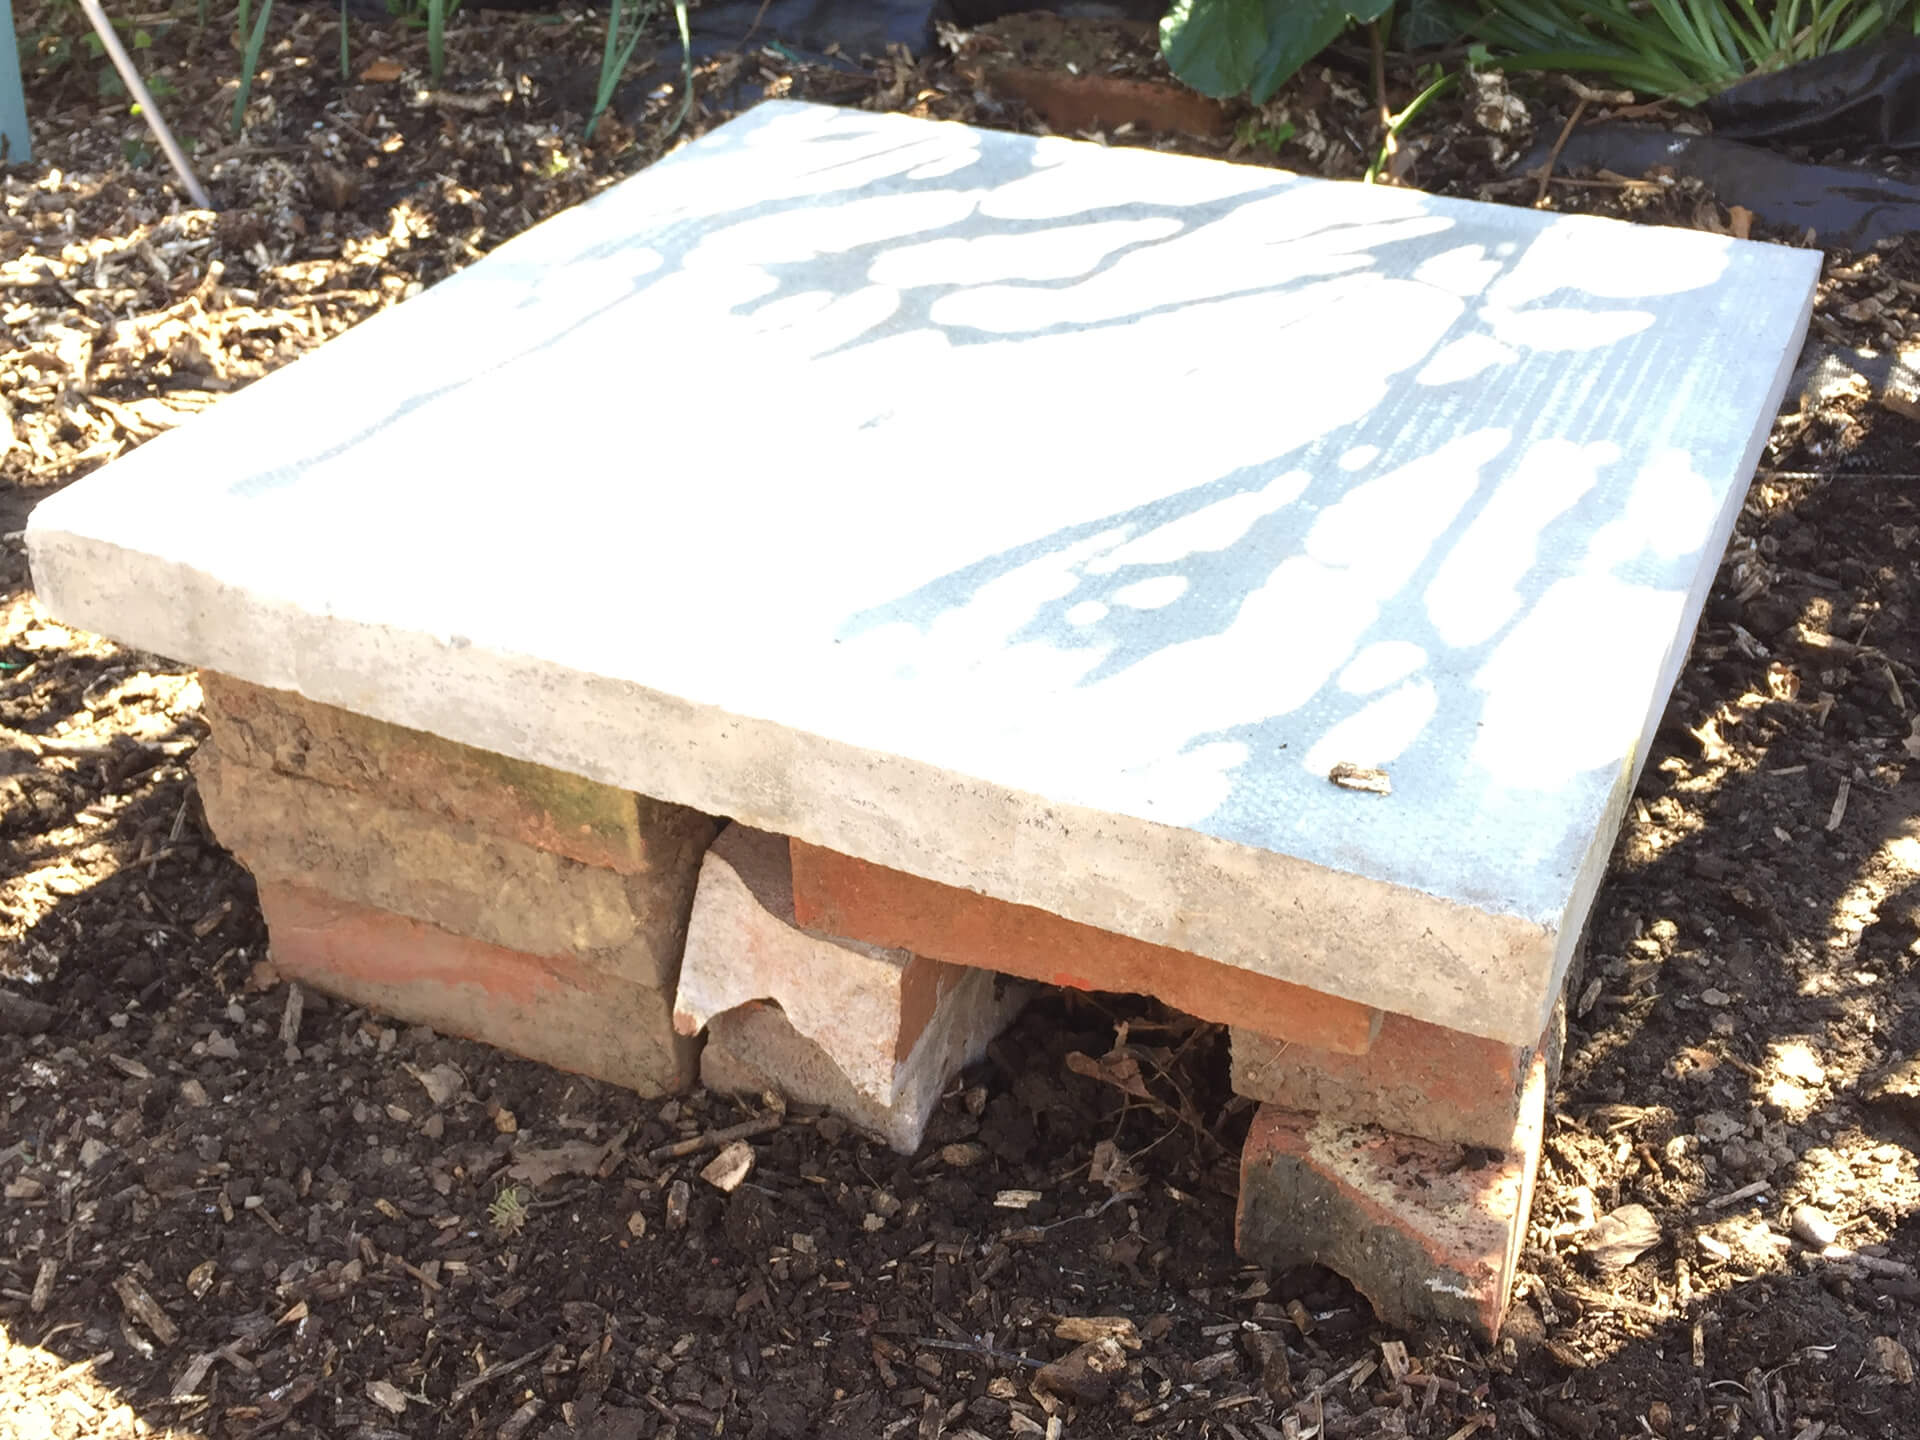
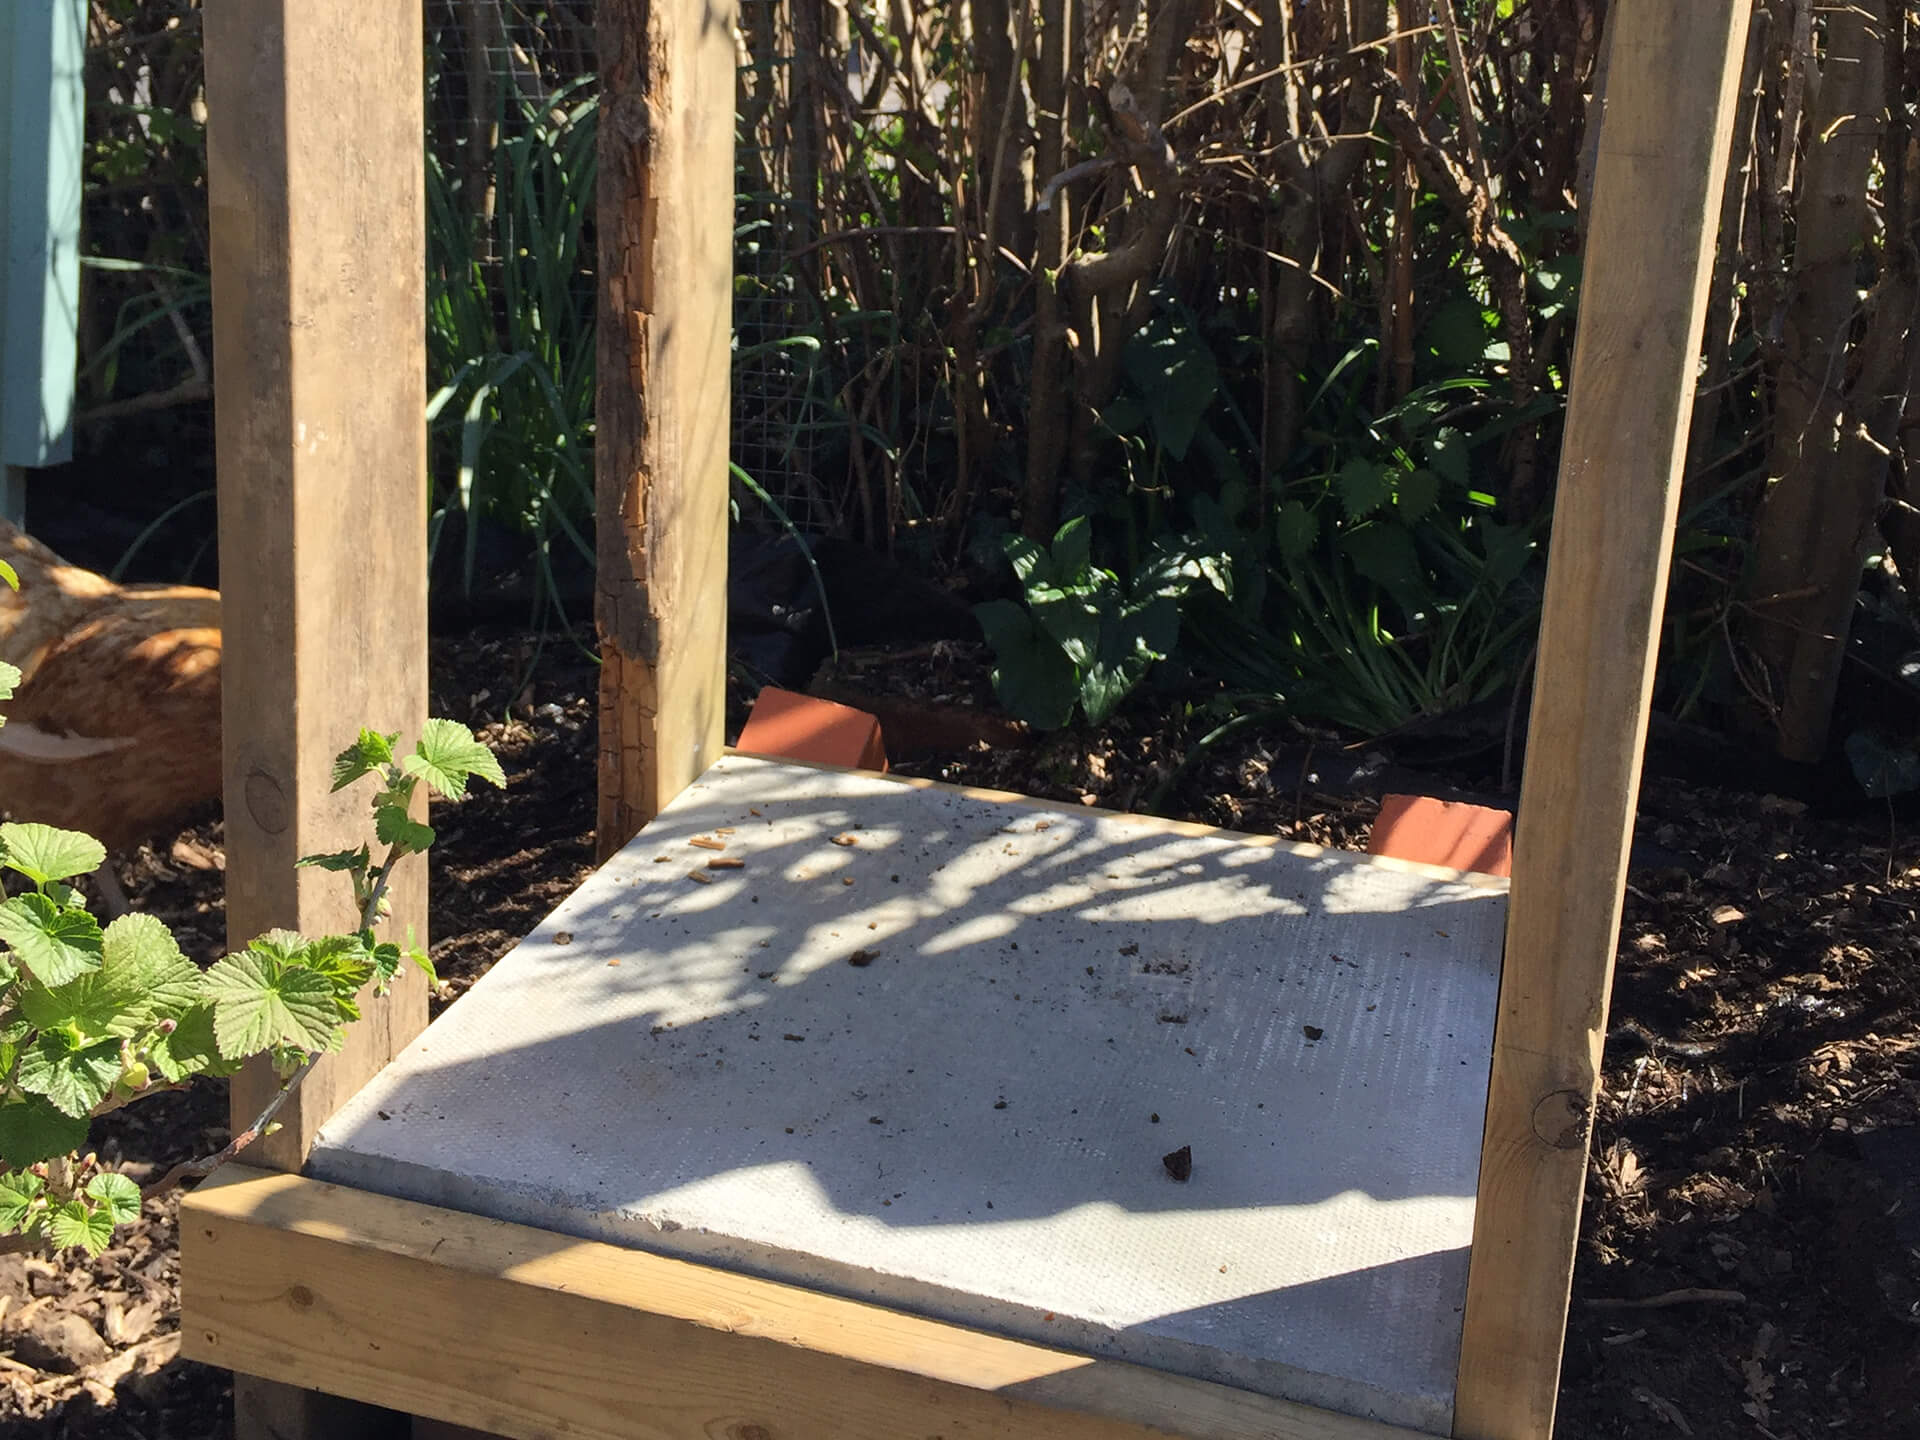
When you are happy, fill the middle compartment with dried leaves and small twigs. Now it is time to lift your paving slab on top of the bricks, ensuring it has an even over hang on all sides. This job will be easier with two people.
Step Two:
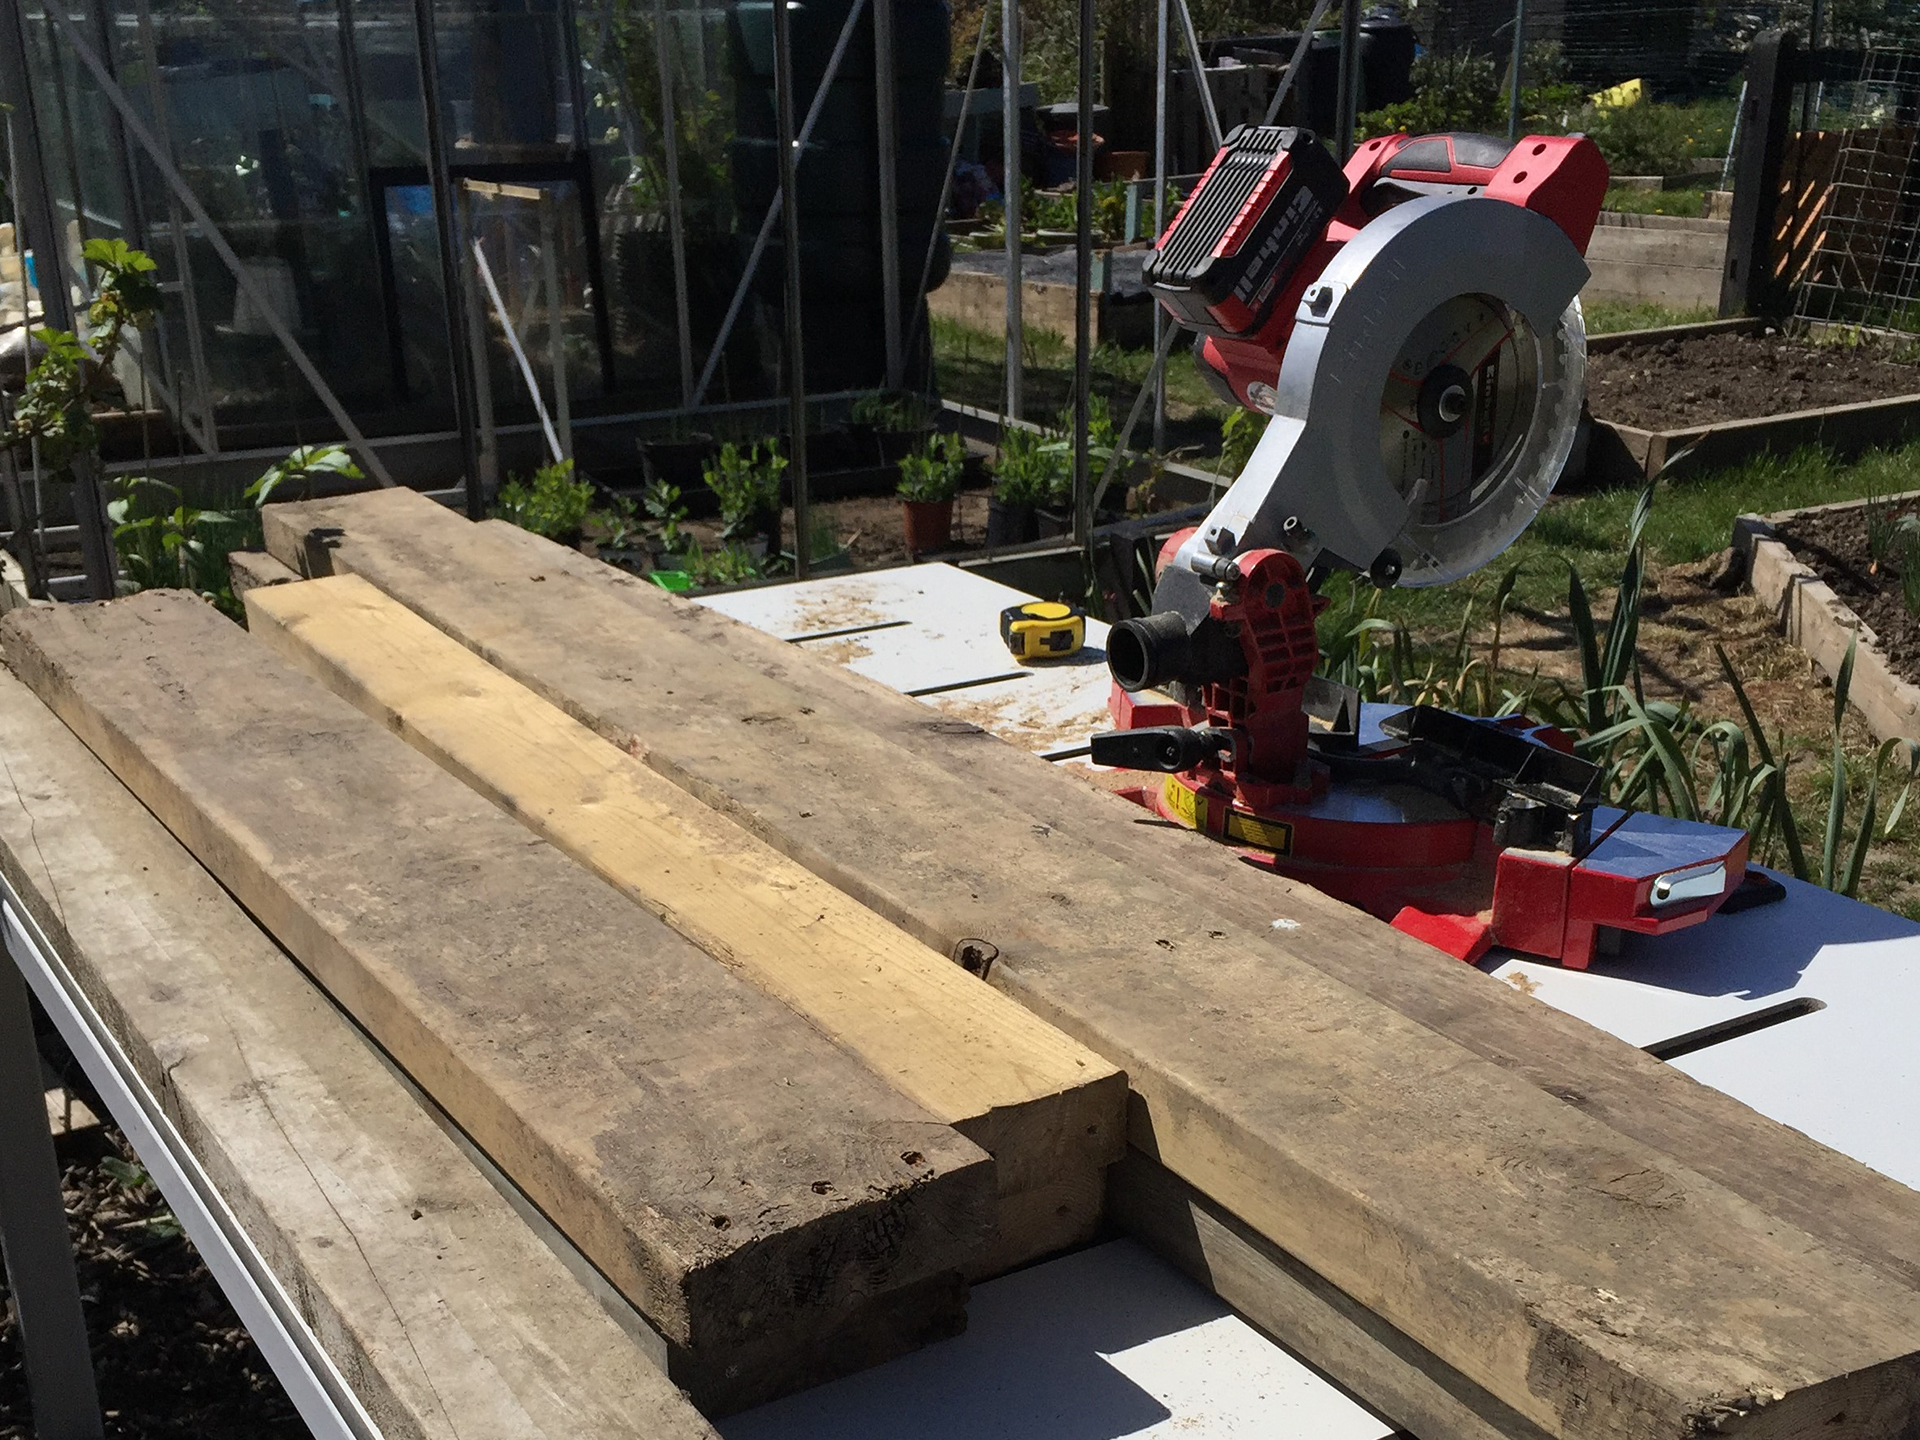
Now it is time to build your frame around the bricks and paving slabs. The paving slab is 600x600mm so I will be working to those dimensions, however always check yours with a tape measure. When using reclaimed wood, it is normally bowed with all the different elements it has been exposed to. It is good practise to check the measurements as your wood might not be straight. Likewise, always cut a slither off the end to ensure that the end is square. When cutting reclaimed wood, use an old saw blade as the weathered wood could blunt your blades quickly. Using the 6x2 wood, cut four lengths at 1000mm on your mitre saw.
Step Three:
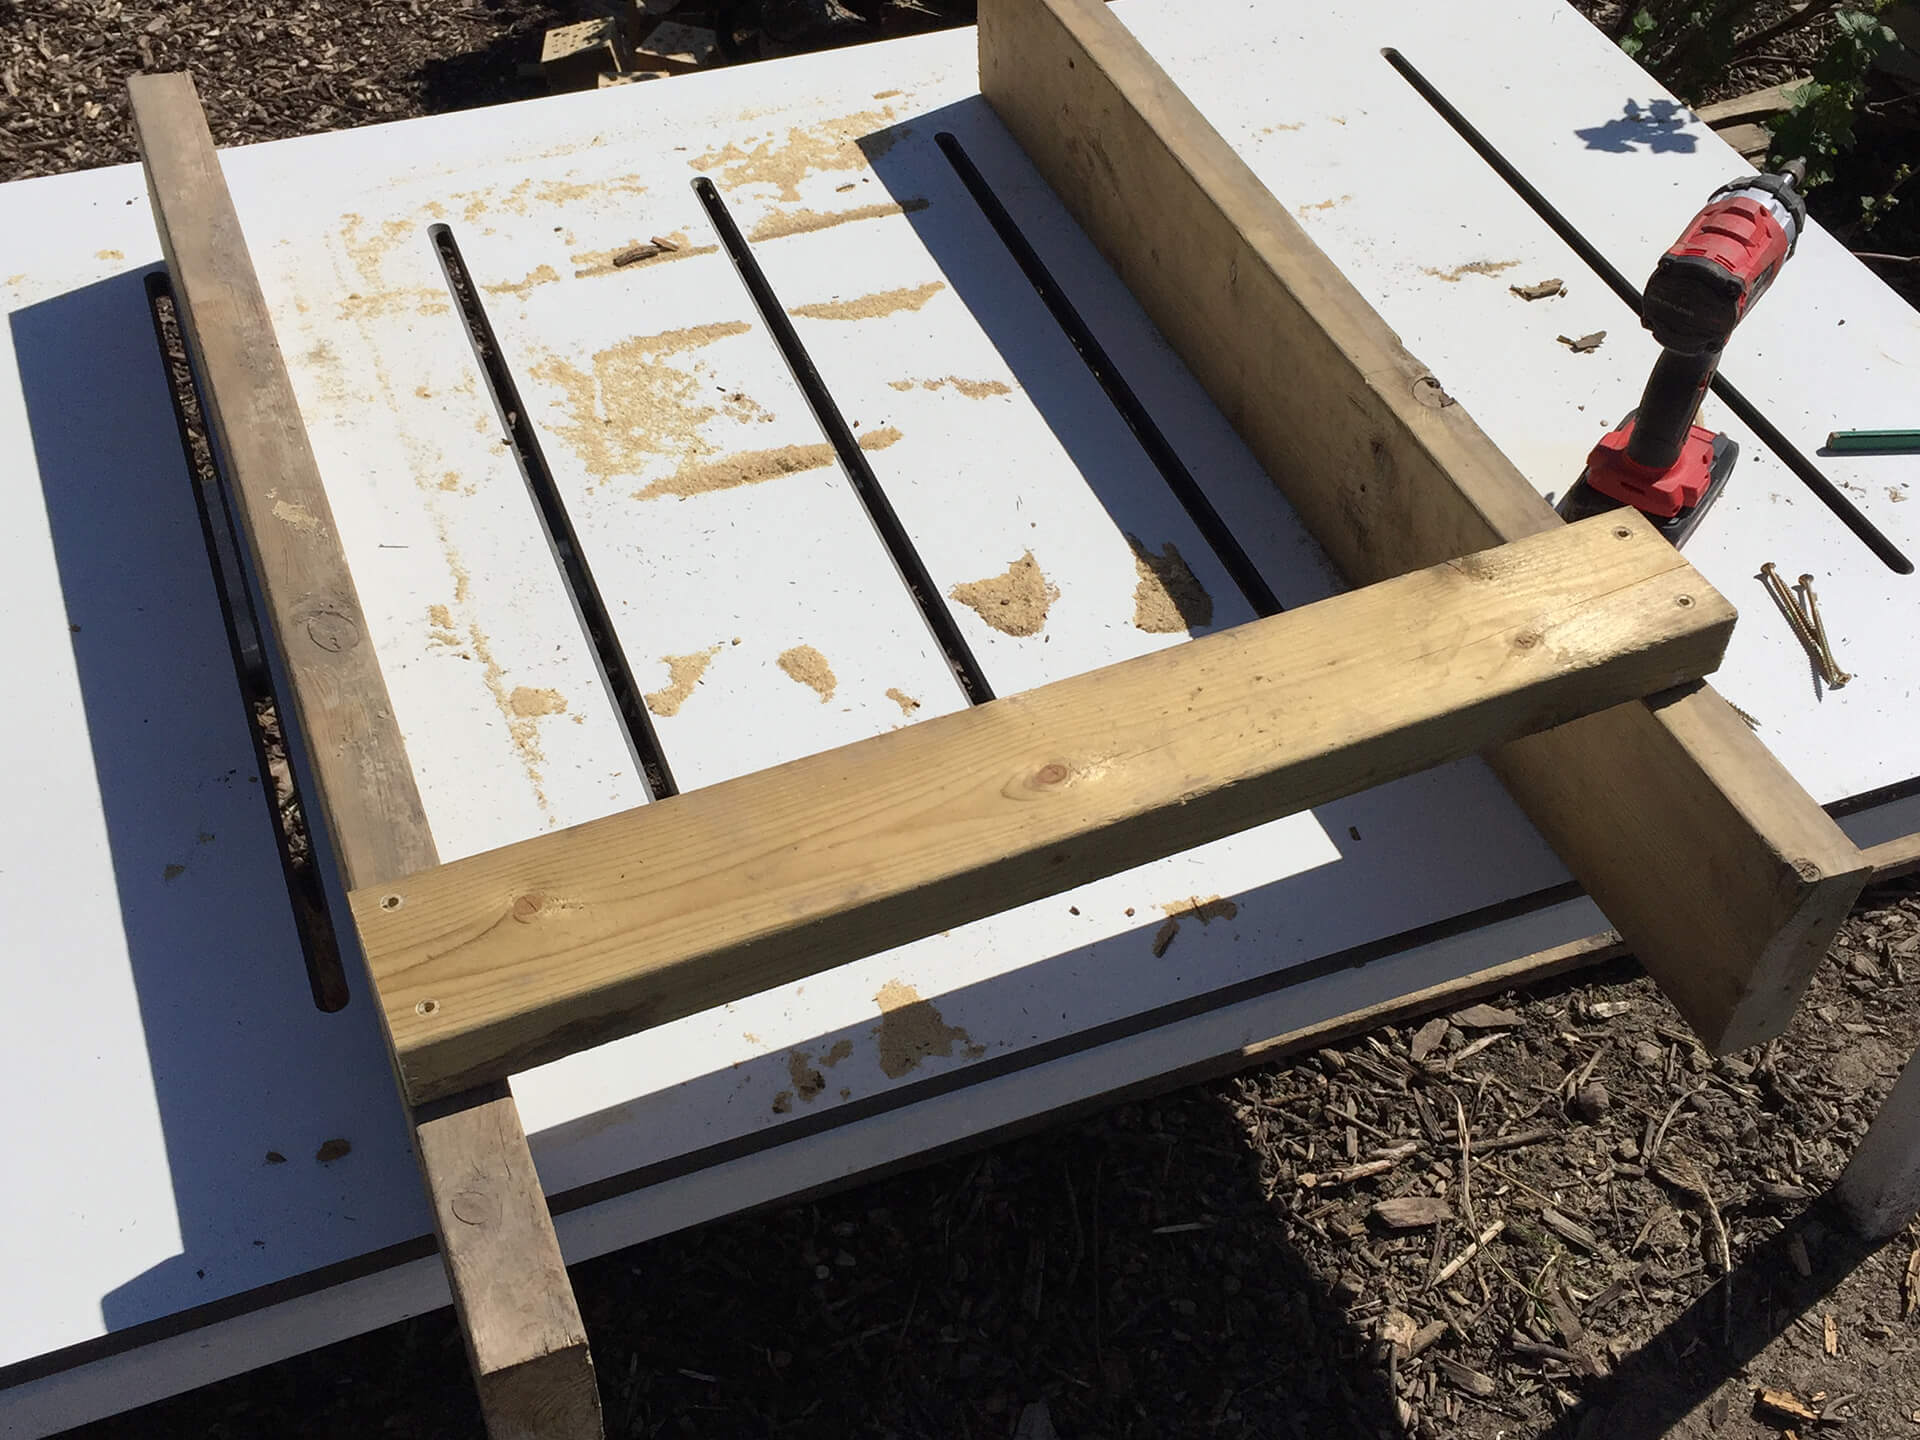
Take of your 4x2 wood and cut two lengths at 685mm. Take two of your metre lengths and lay them on a bench with a 600mm gap in between, top and bottom. Measure up from the bottom of the meter lengths and mark on 220mm. Take of your 685mm lengths and line it up so the top of the wood sits on those lines. Using a 5mm drill bit, drill through the top layer, where you want your fixing holes to be. Screw the pieces of wood together using extra-long screws and two in each corner, making sure everything is flush and in the right position. Repeat to make two frames.
Step Four:
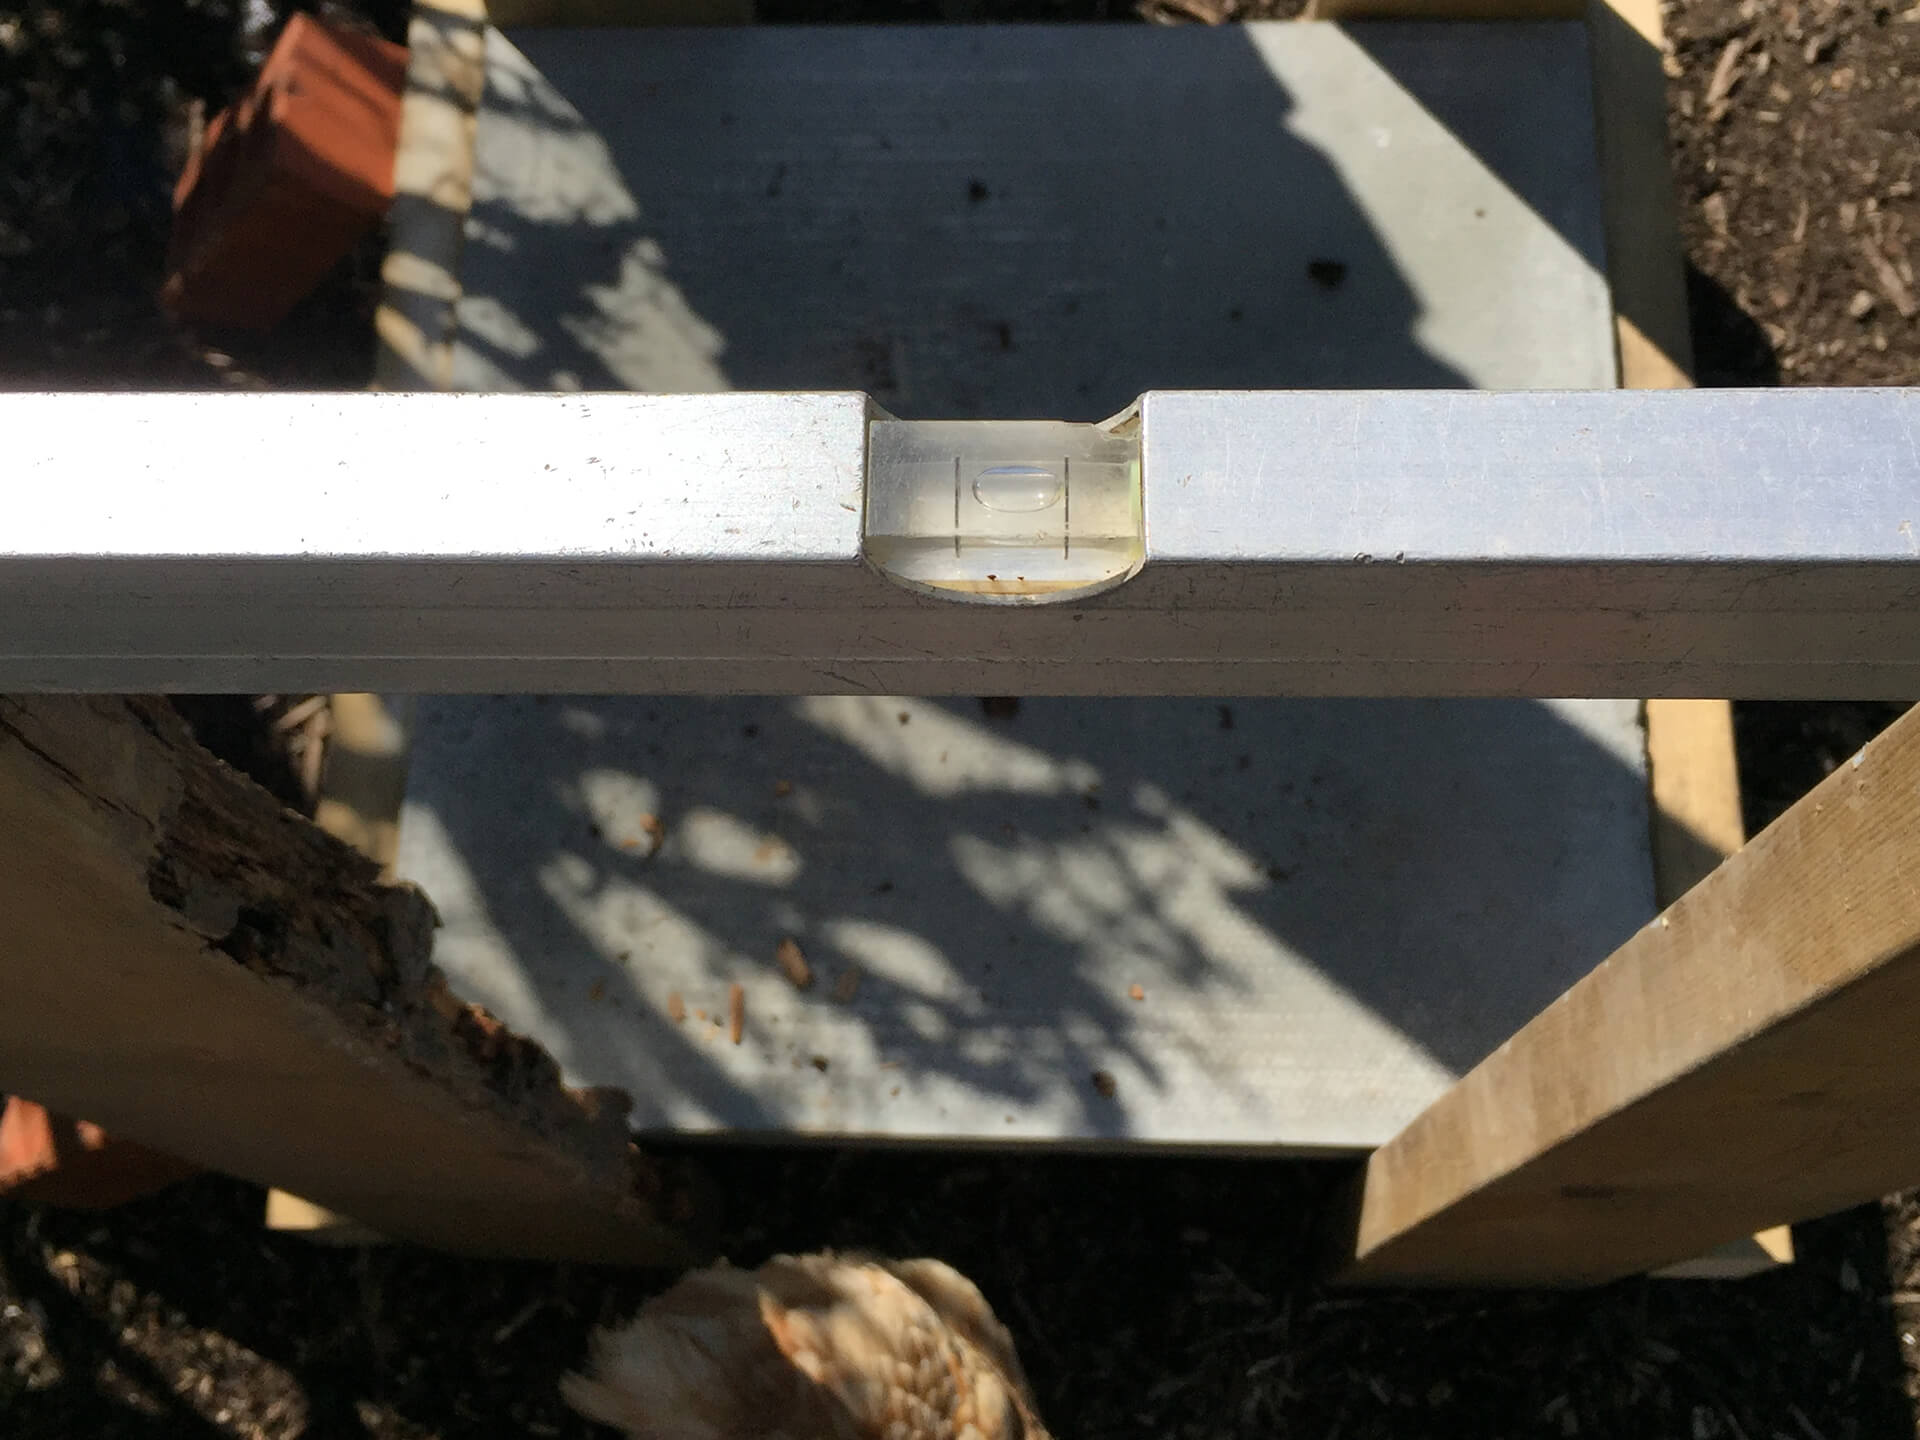
Move the frames over to your hedgehog hotel, placing one at the front, and one at the back with the 685mm cross bar lower to the ground. Now these four posts need to be levelled between all four points. Take your time doing this, as it will make the next steps easier.
Step Five:
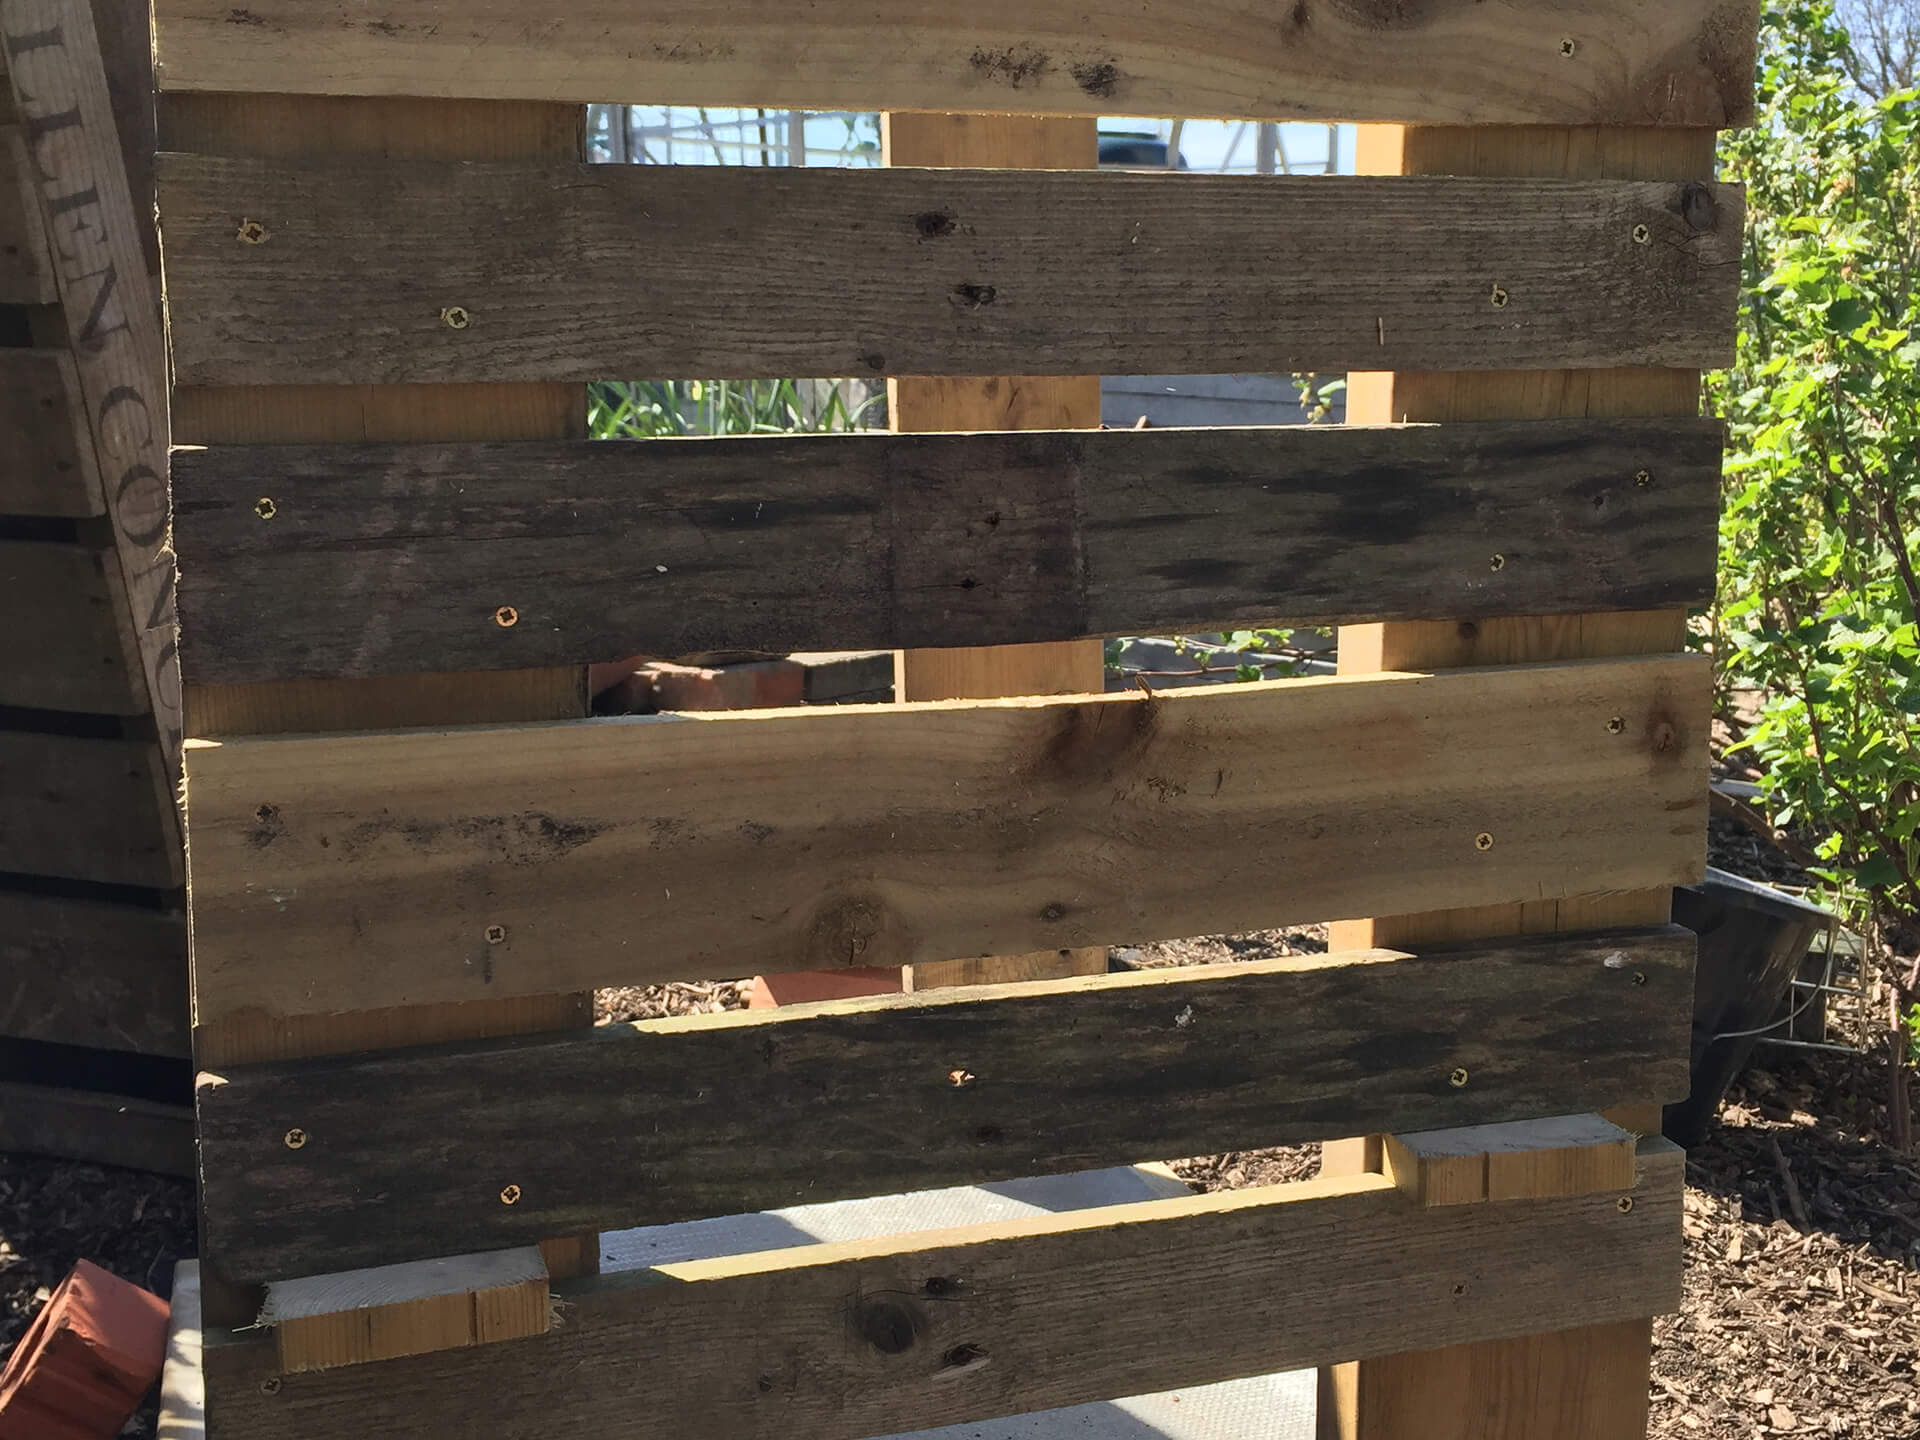
Once everything is levelled, take apart your pallets. We will be using the slats to create cladding on the sides which will join your two frames together. Do not throw away the square blocks that hold the pallets together as these will come in handy for your bug hotel. Using a Mitre Saw, cut the pallet slats to 600mm. Using an offcut from your chunky wood, cut two 20mm packers.
Step Six:
Take your slats, drill, impact driver, 30mm screws and two packers to your frames. Starting on one side, place your first slat at the top of your meter lengths. Put two piolet holes in each side of the slat and the screw them to the 1m pieces. With the wood being bowed, you may have to hold pieces into place while screwing them together. Using your packers push another slat up to the packer, giving a 20mm gap between the slats and repeat fixing in place. Carry on down the two sides until you reach the bricks.
Step Seven:
Now to begin constructing the living roof. There are a couple of elements that will ensure drainage for the plants above, whilst not getting the contents of the bug hotel wet. First, measure down 140mm from the top of your FRONT metre lengths. Do the same on the back but this time measure 160mm, this will give you a fall for the water to run off the back. Take a tape and measure in between the two pieces of wood, at the height of those pencil marks. Do this front and back. These measurements should be the same but if your wood is bowed like mine, they could be different. Do not panic.
Step Eight:
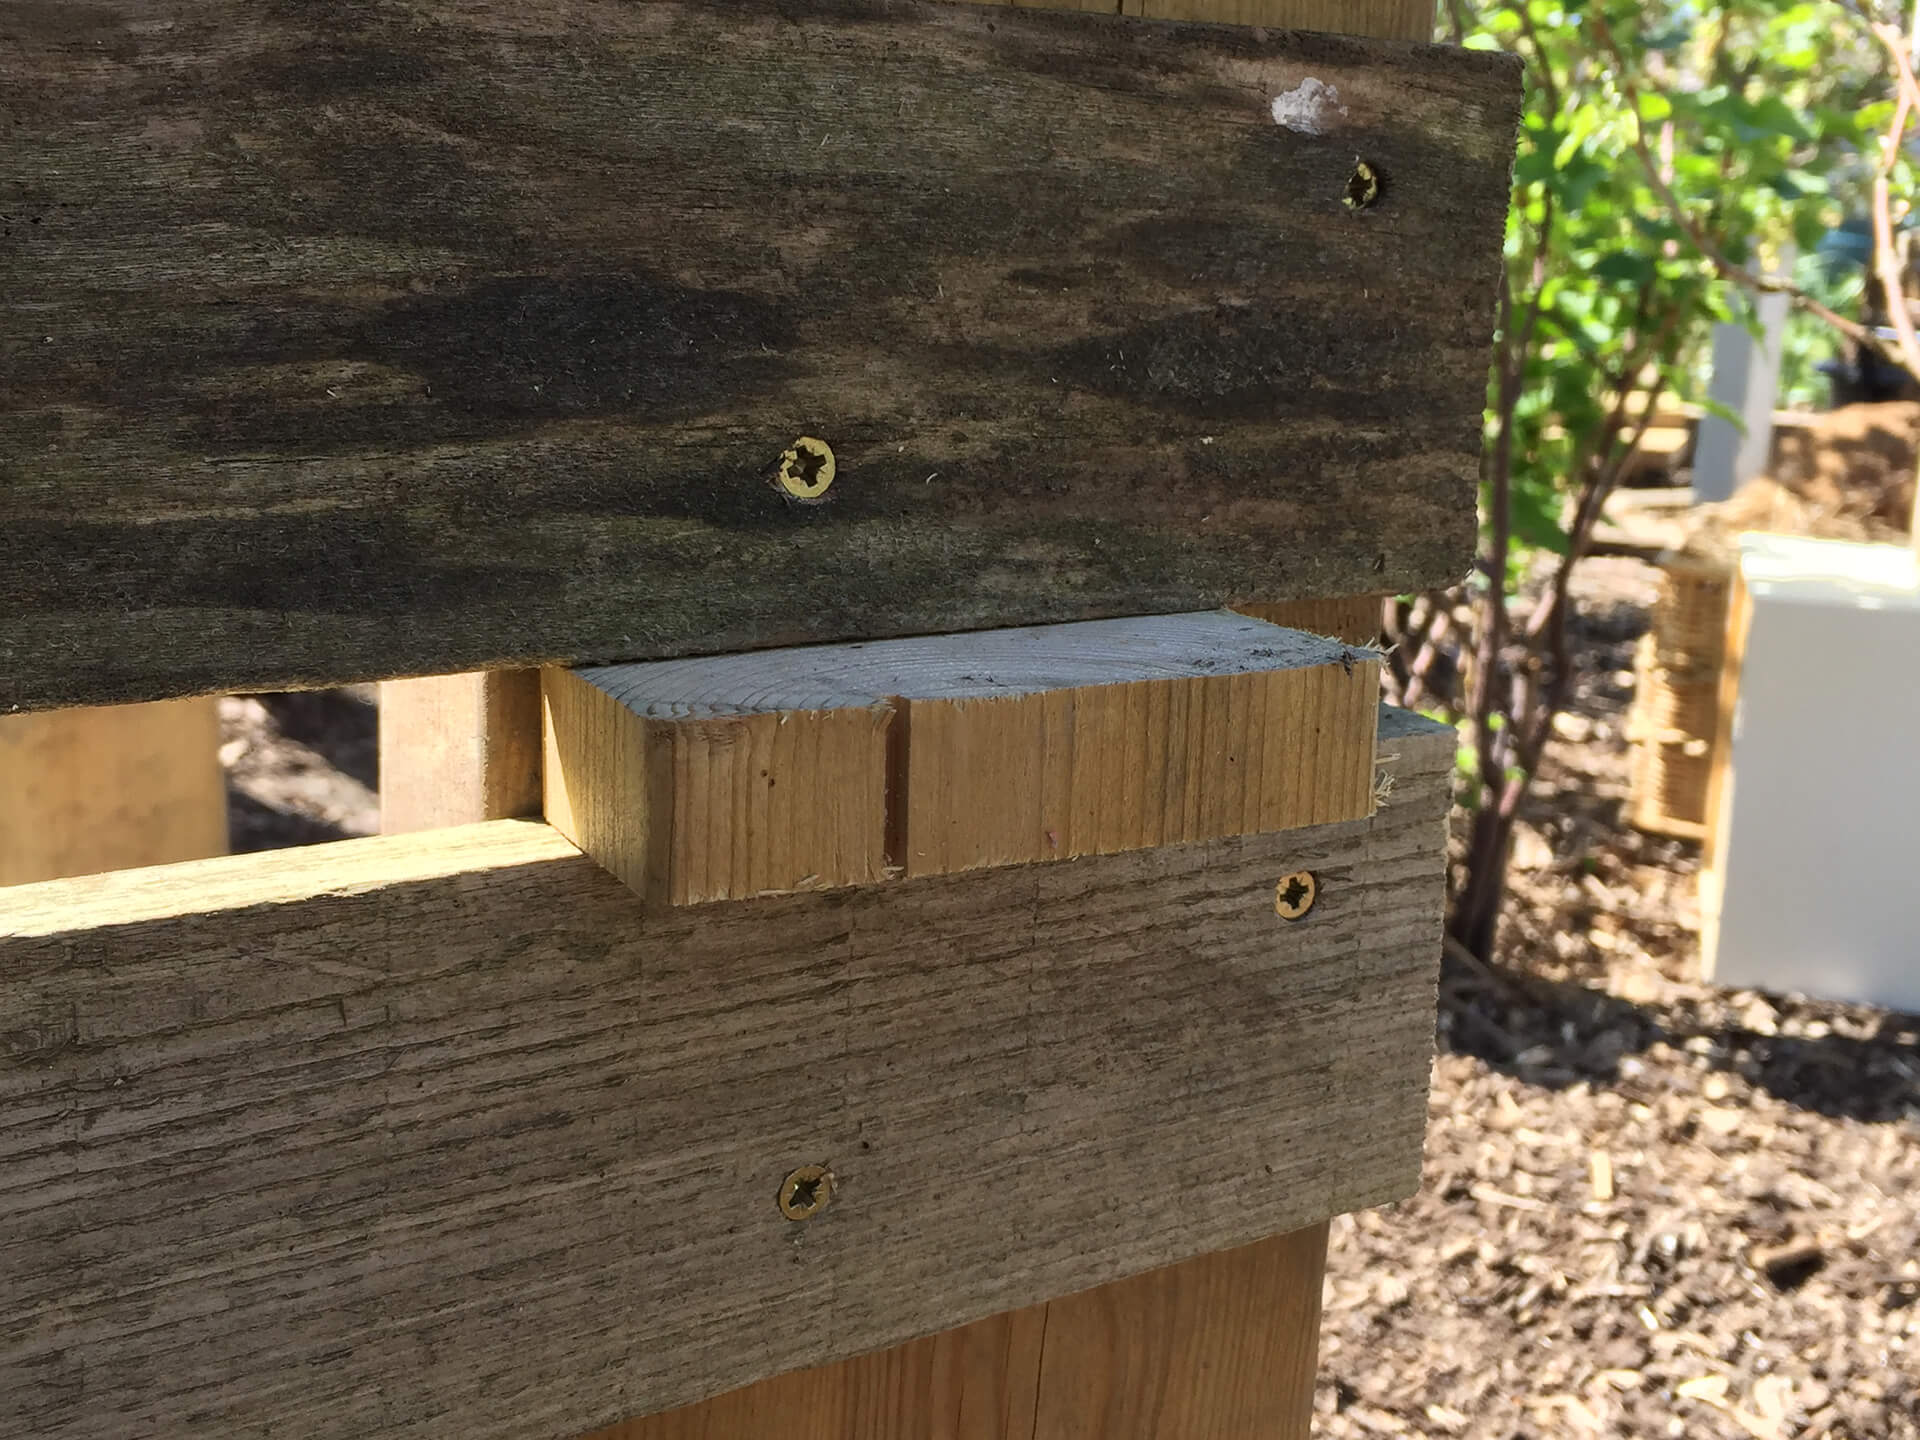
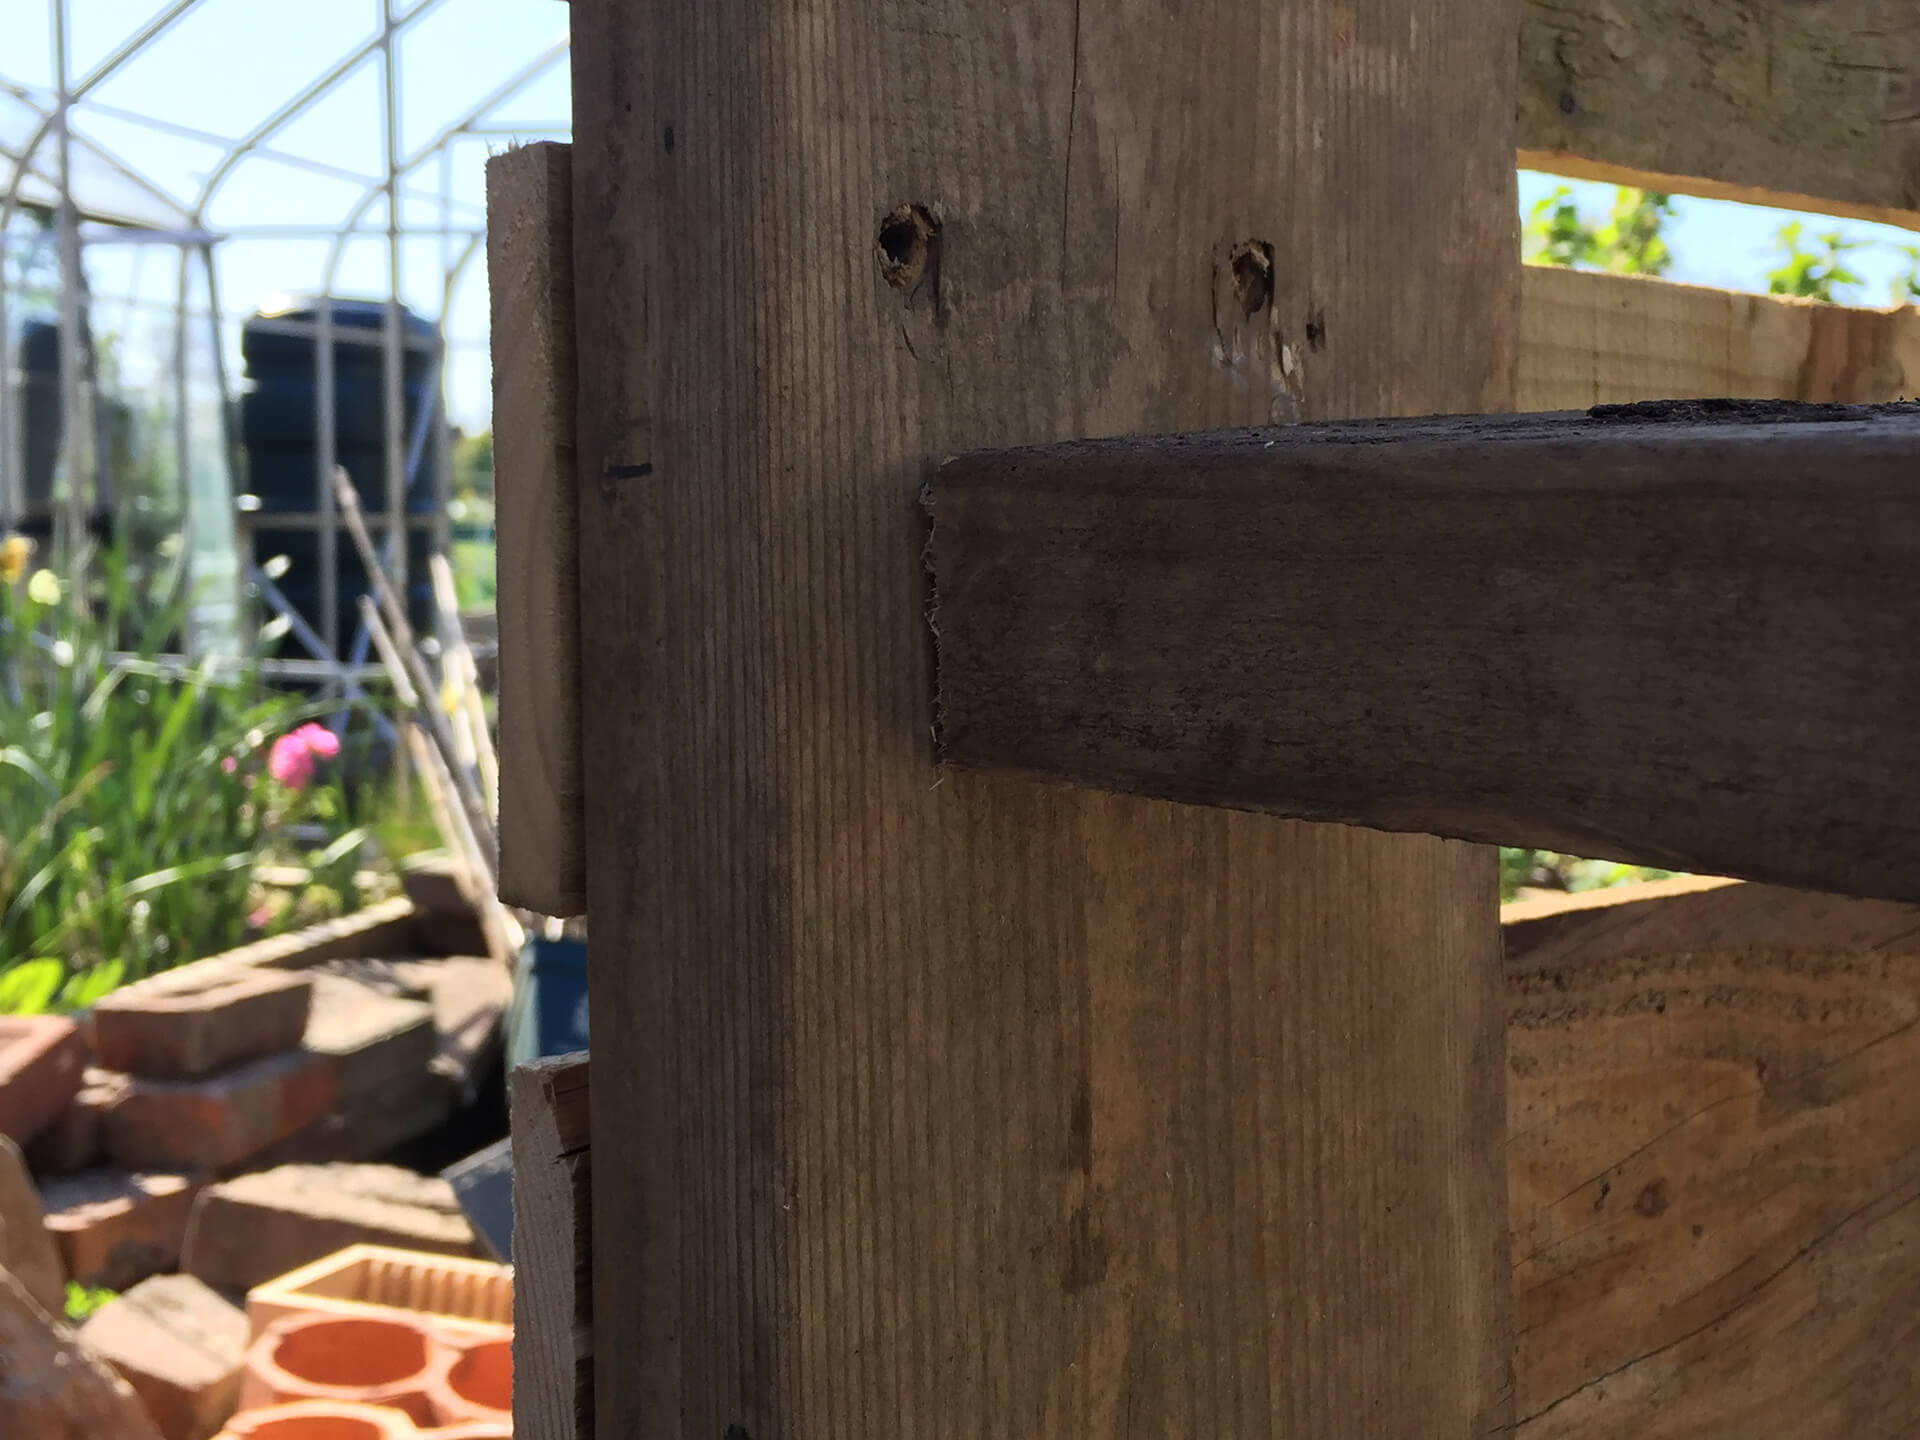
Taking your 4x2 and measurements, cut a post for the back and front. Fix the front horizontal bar in place so it is in line with the front of the frame. To do this, drill a piolet hole through the pallet and the corner post, then use the extra-long screws to screw it together. For the back horizontal bar, use your 20mm packer to set it back by 20mm, which will allow a gap for any water to escape.
Step Nine:
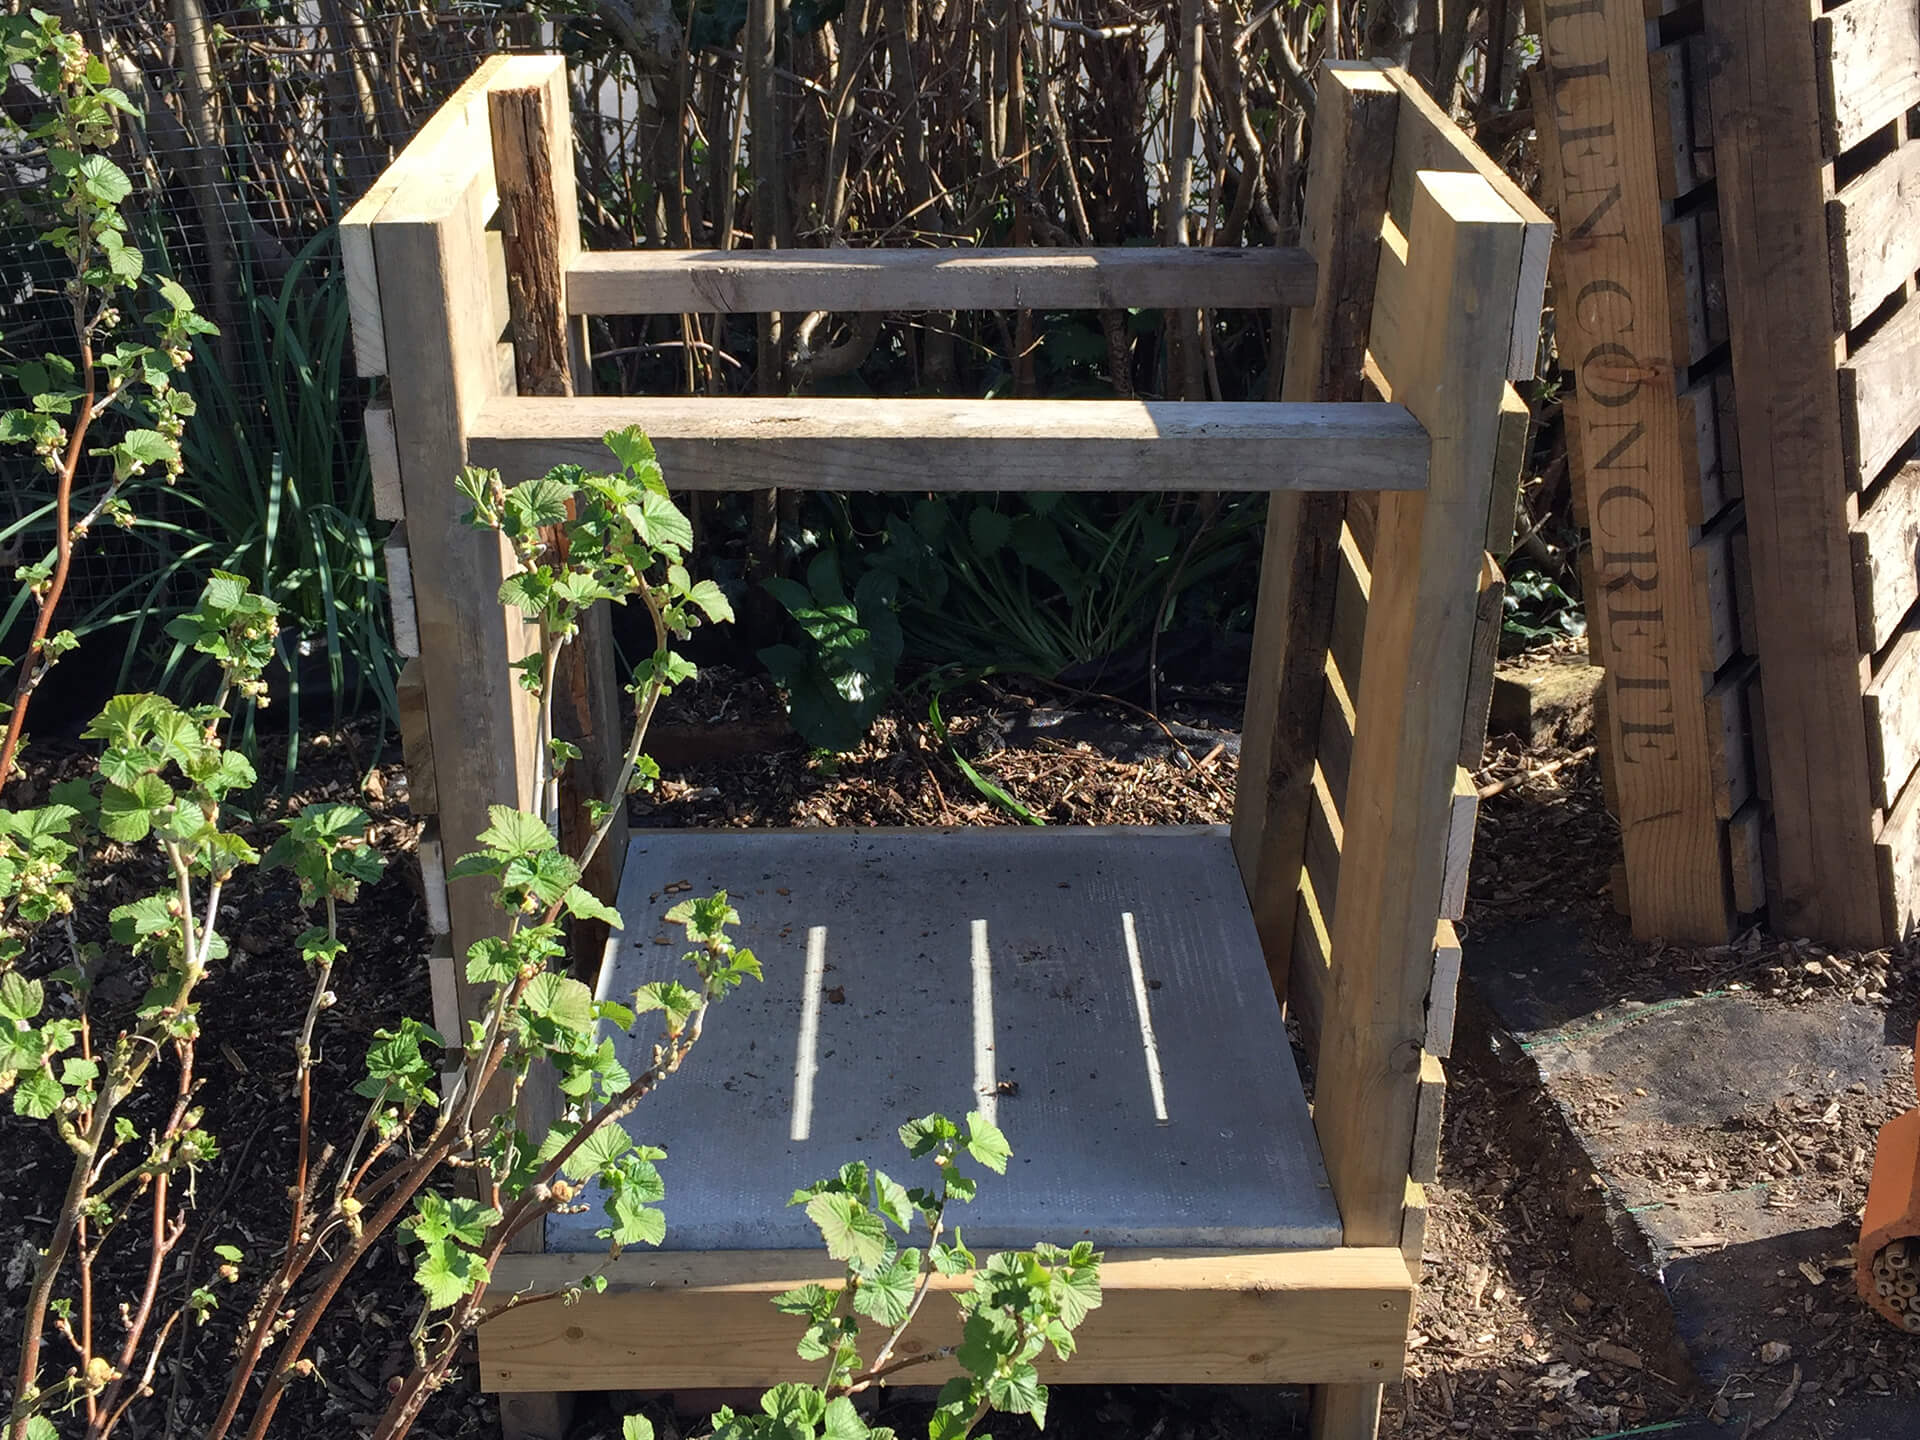
Next, you will need to add a base for the soil to sit on. I used 3/4inch plywood for this. Measure your opening with the back stopping in line with the back post i.e. 20mm shorter than the overall size. This does not need to be accurate, as long as there is enough of an overhang on the two horizontal bars you put in. You will find it easiest to cut your plywood with a Jigsaw. Secure the plywood to the horizontal bars with four screws back and front.
Step Ten:
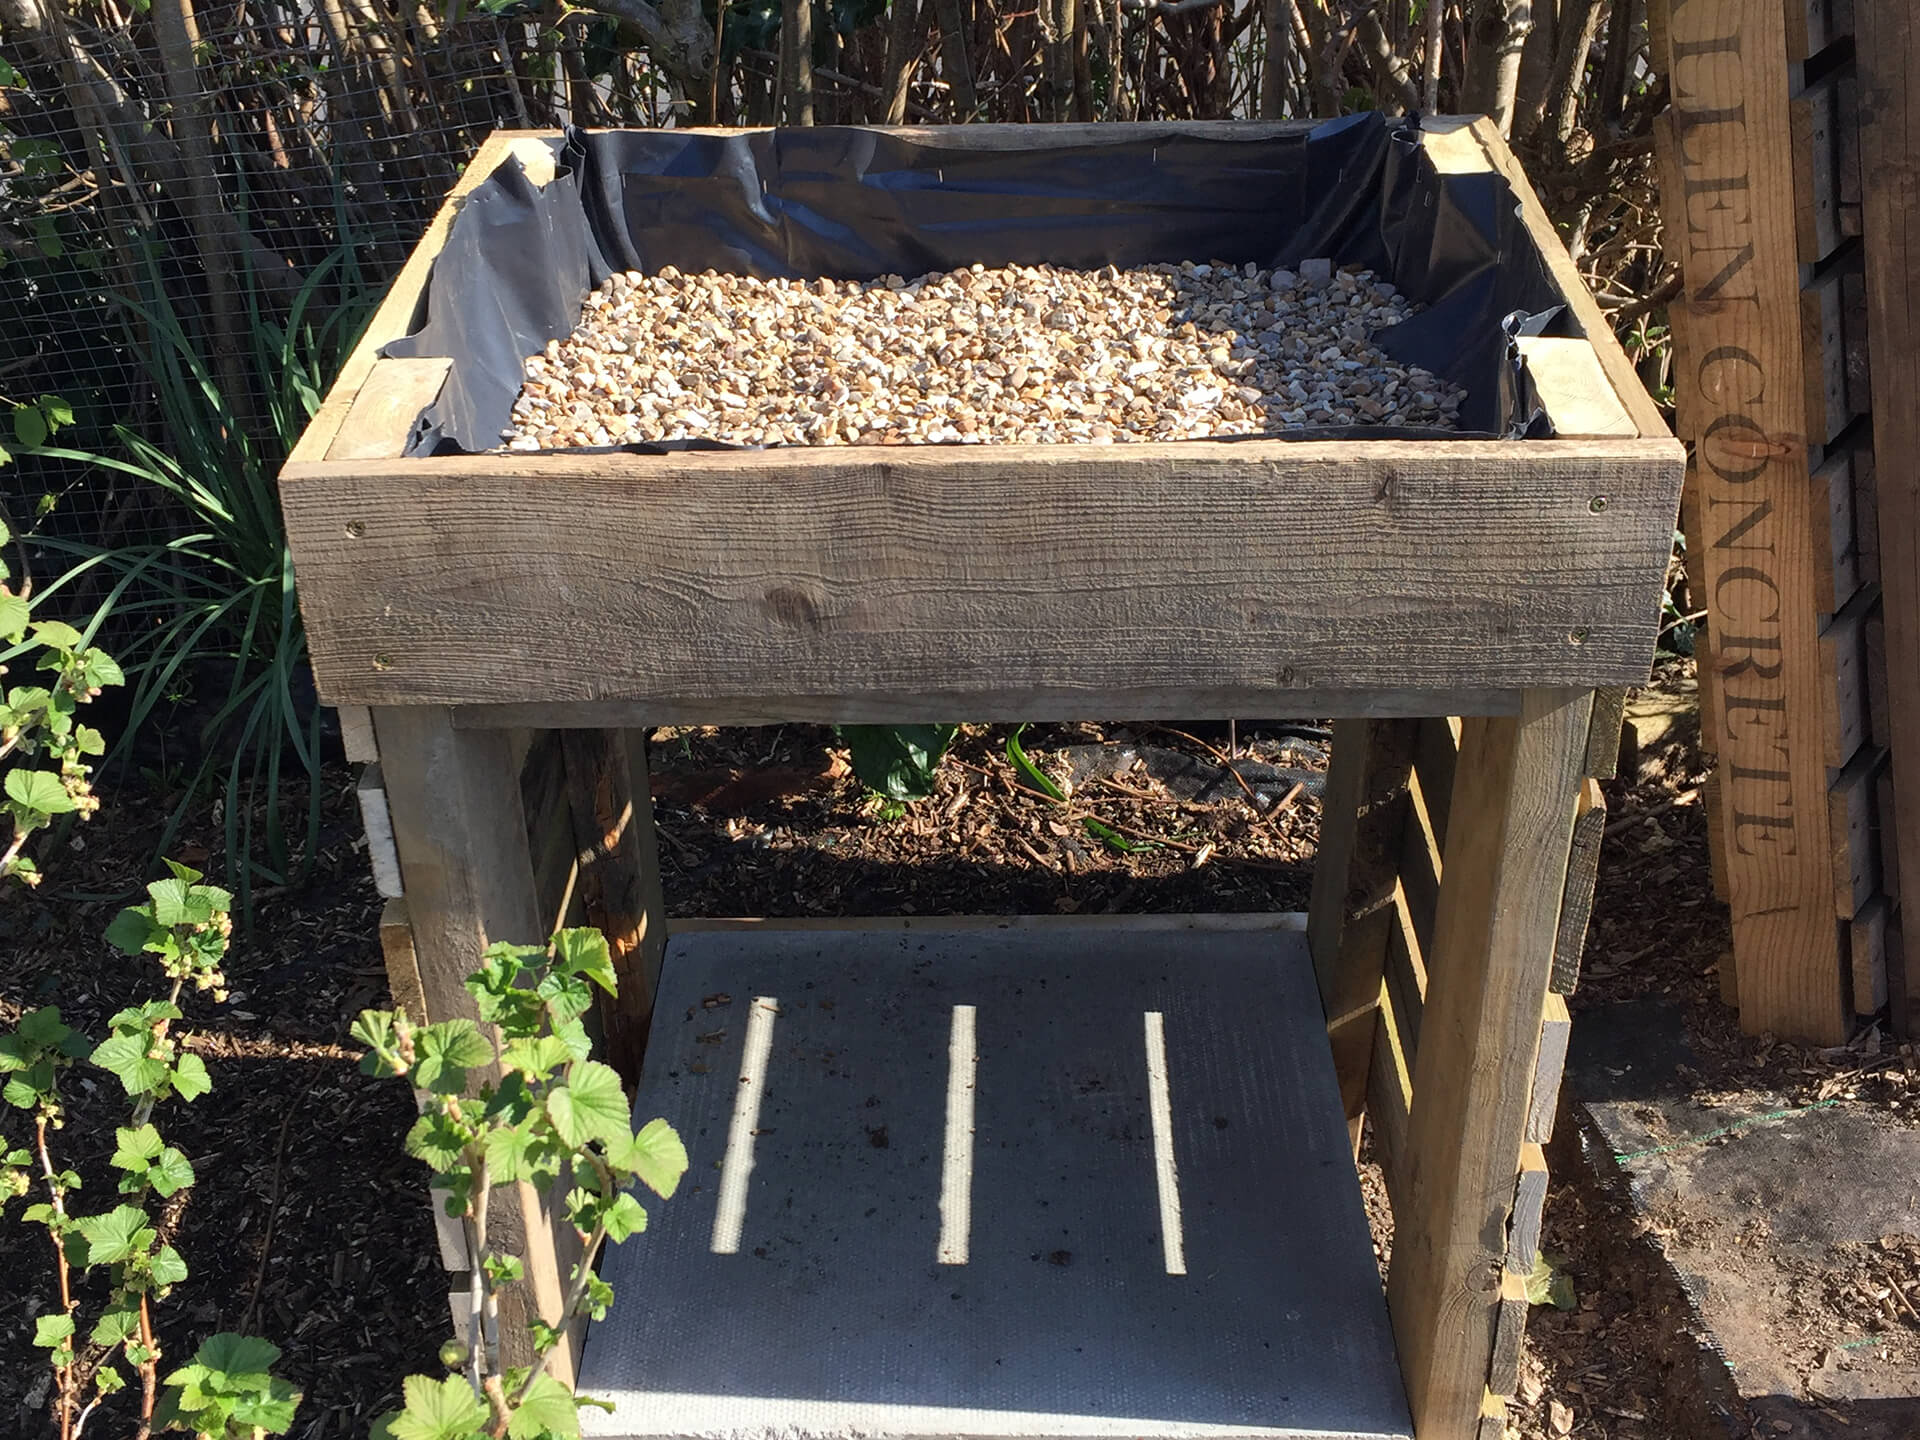
Add a sides to your living roof by measuring the front and back. Cut these two measurements from the 1x4 wood panel. Screw these to the front and back, into the corner posts. Now you are ready to fill it, but first we need to line it. Grab your plastic sheeting and stapler and secure it in place, pushing the plastic so it sits snuggly to the wood. Fold the corners as neatly as possible and staple in place. Now you can cut away any excess plastic with some scissors, following the line of the wooden frame.
Step Eleven:
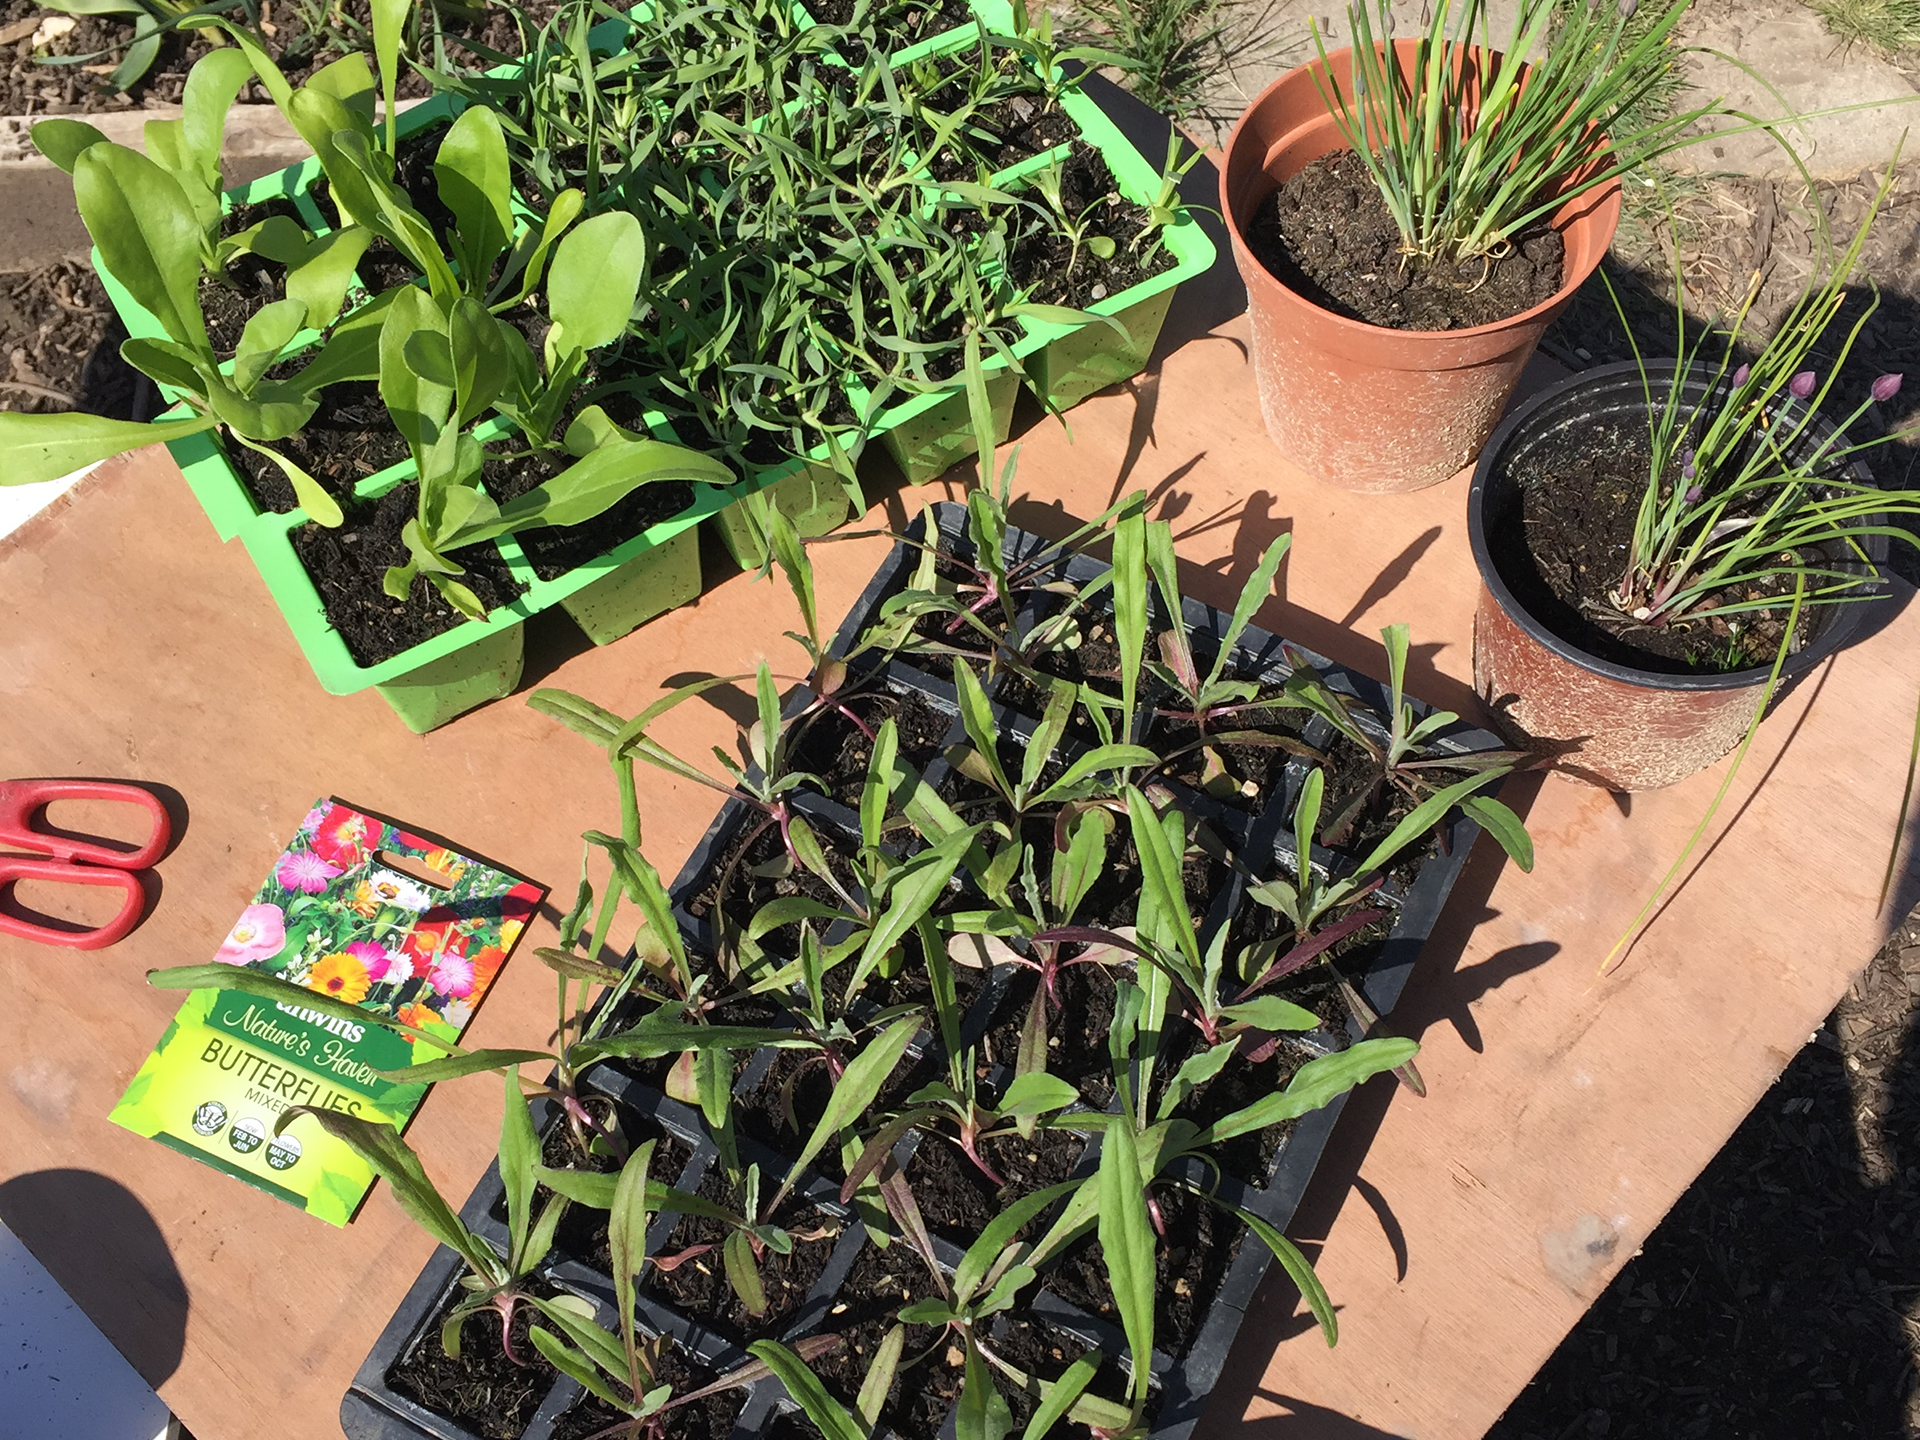
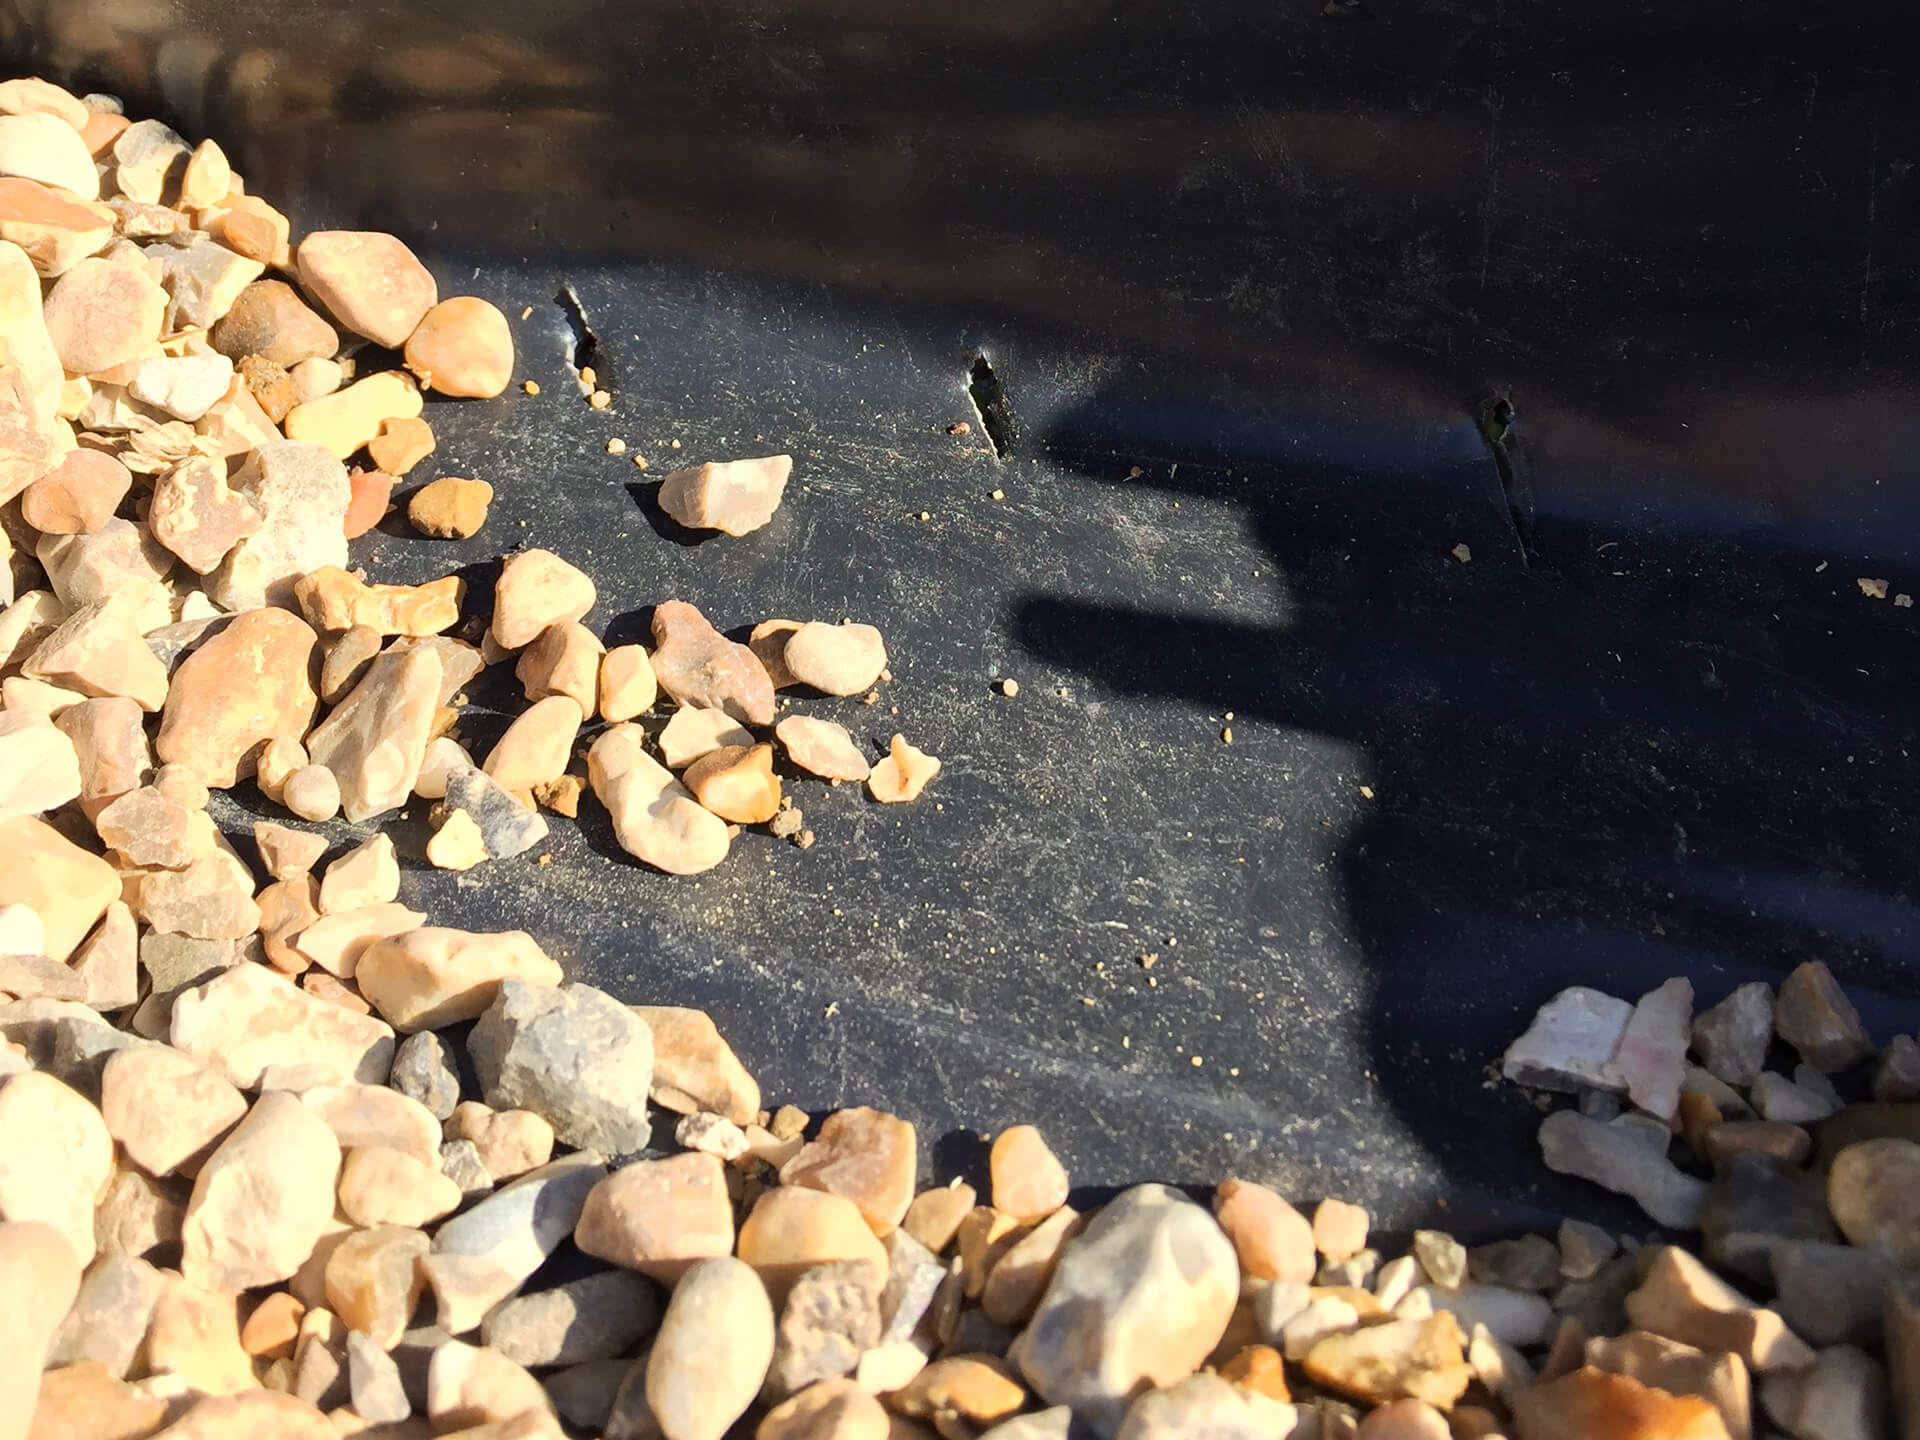
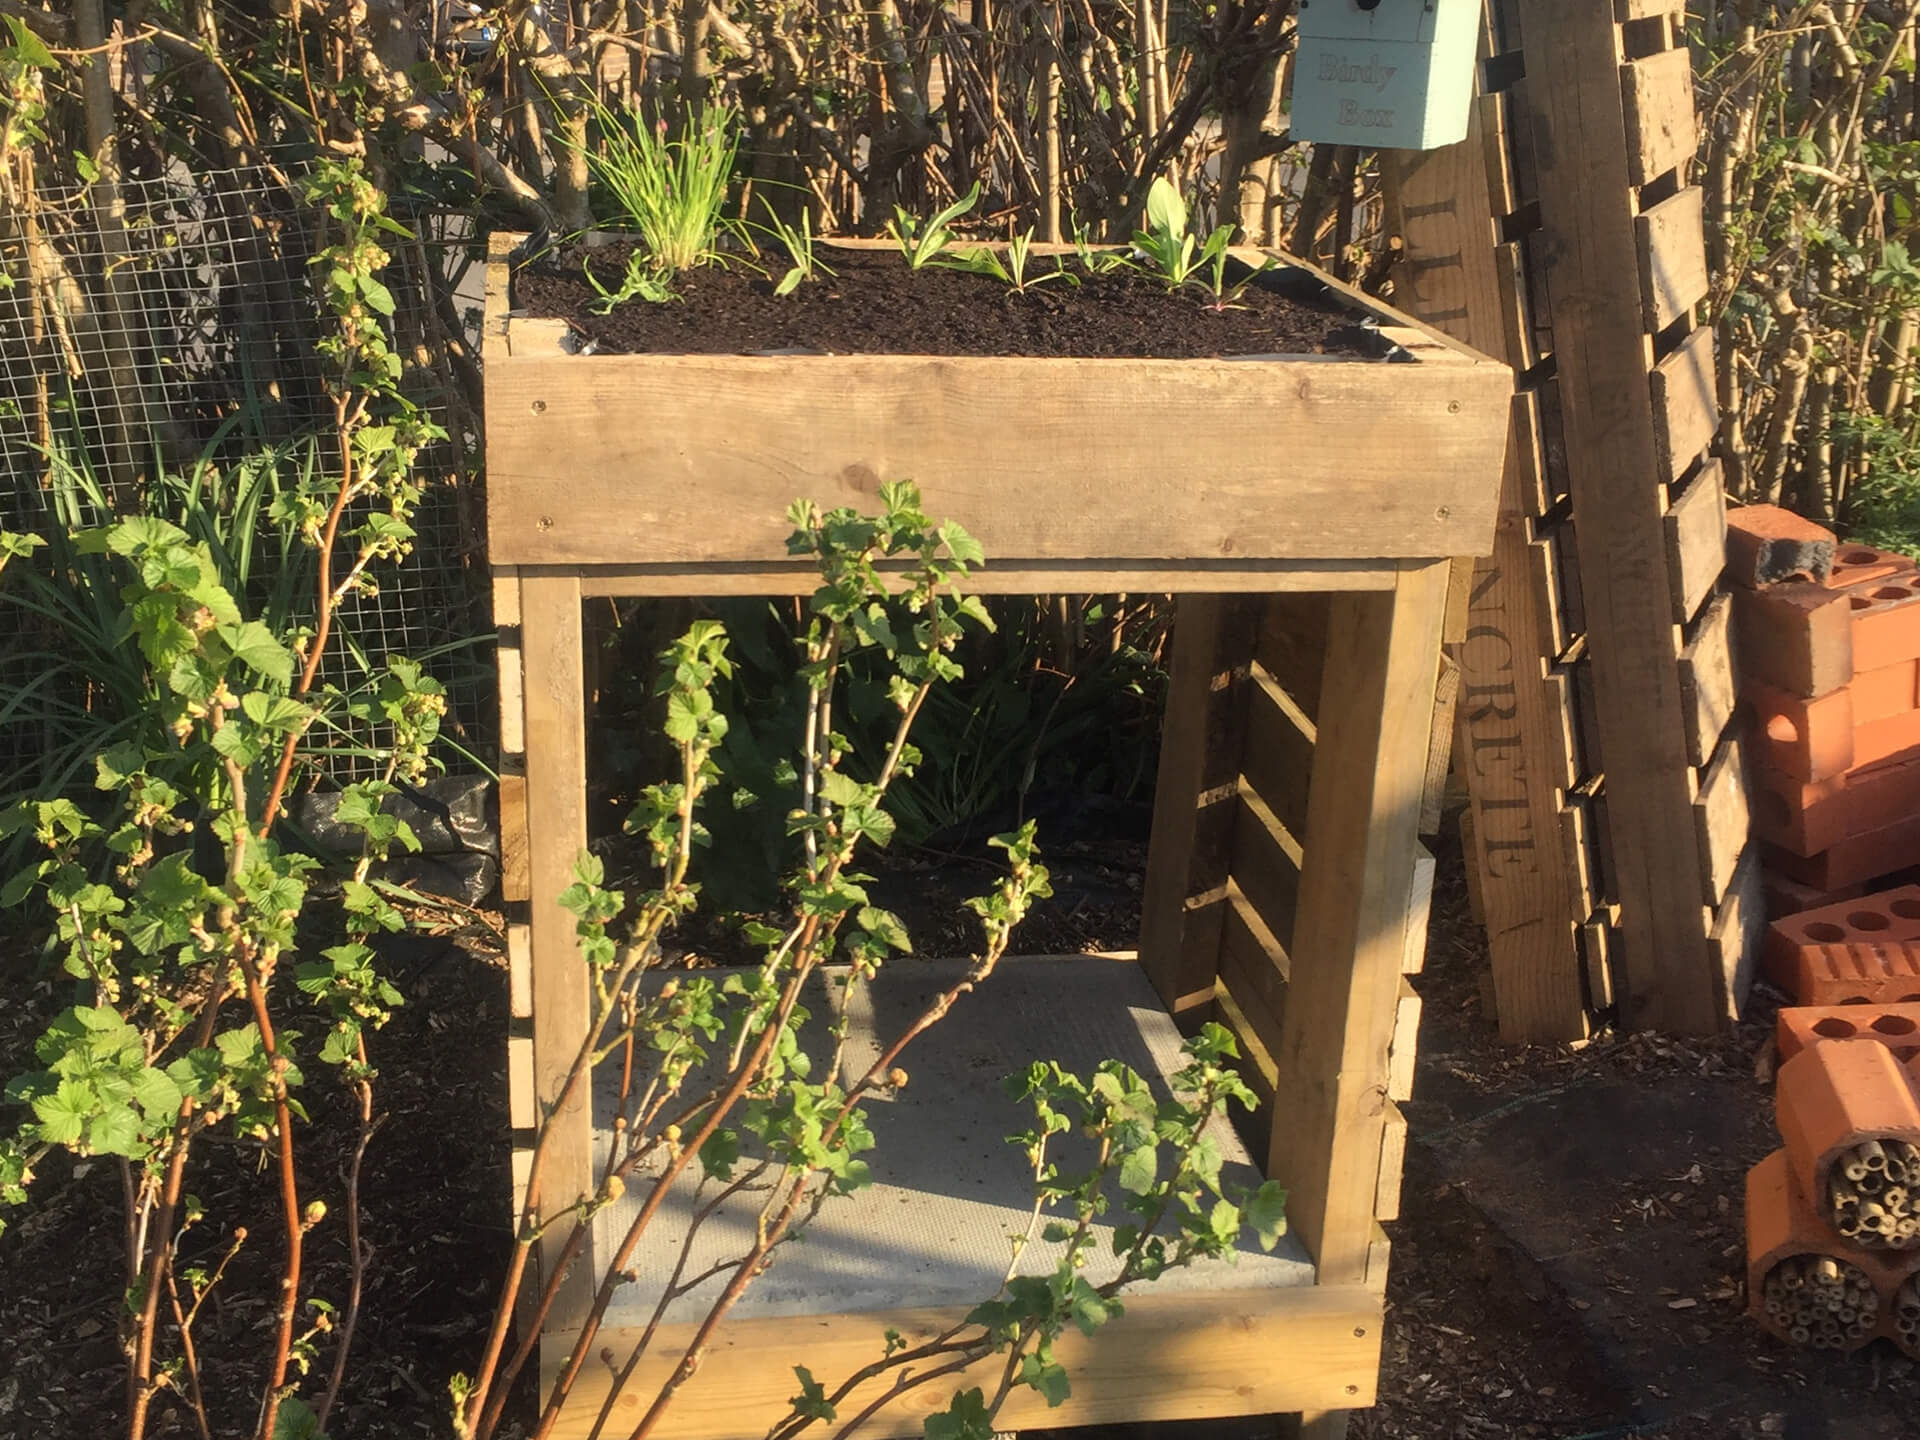
Pierce holes in black plastic with your scissors, all the way along the back edge where we left the gap. This is where any excess water will run to. To stop the holes being blocked with soil, spread a thin layer of shingle on the black plastic. Next fill with good quality multipurpose compost and mix in some well-rotted manure if you have some. This will give some nutrients to the compost to keep it going all summer long. There are lots of beneficial plants and seeds you can grow. Plants like Lavender, Marigolds, Cornflowers, Nicotiana and Cerinthe. Flowering herbs are great too like chives and rosemary. You can also plant some grass to provide coverage for insects.
Step Twelve:
You have taken care of the hedgehogs, built the bug mansion frame, and filled the living roof with everything the bees and insects will love…Now it is time to fill your bug mansion! This is the part where you can get creative and use some time outside to forage for materials. Grab your wooden blocks from the pallets and drill a series of random holes into the blocks, going three quarters deep. These holes can range from 2mm – 8mm.
Hollow stems are perfect for wildlife and I luckily have a big collection of bamboo canes. The easiest way to cut these to length is with a saw. If you are confident, you can line a few rows of canes up on the Mitre Saw, which saves hurting your hands with secateurs.
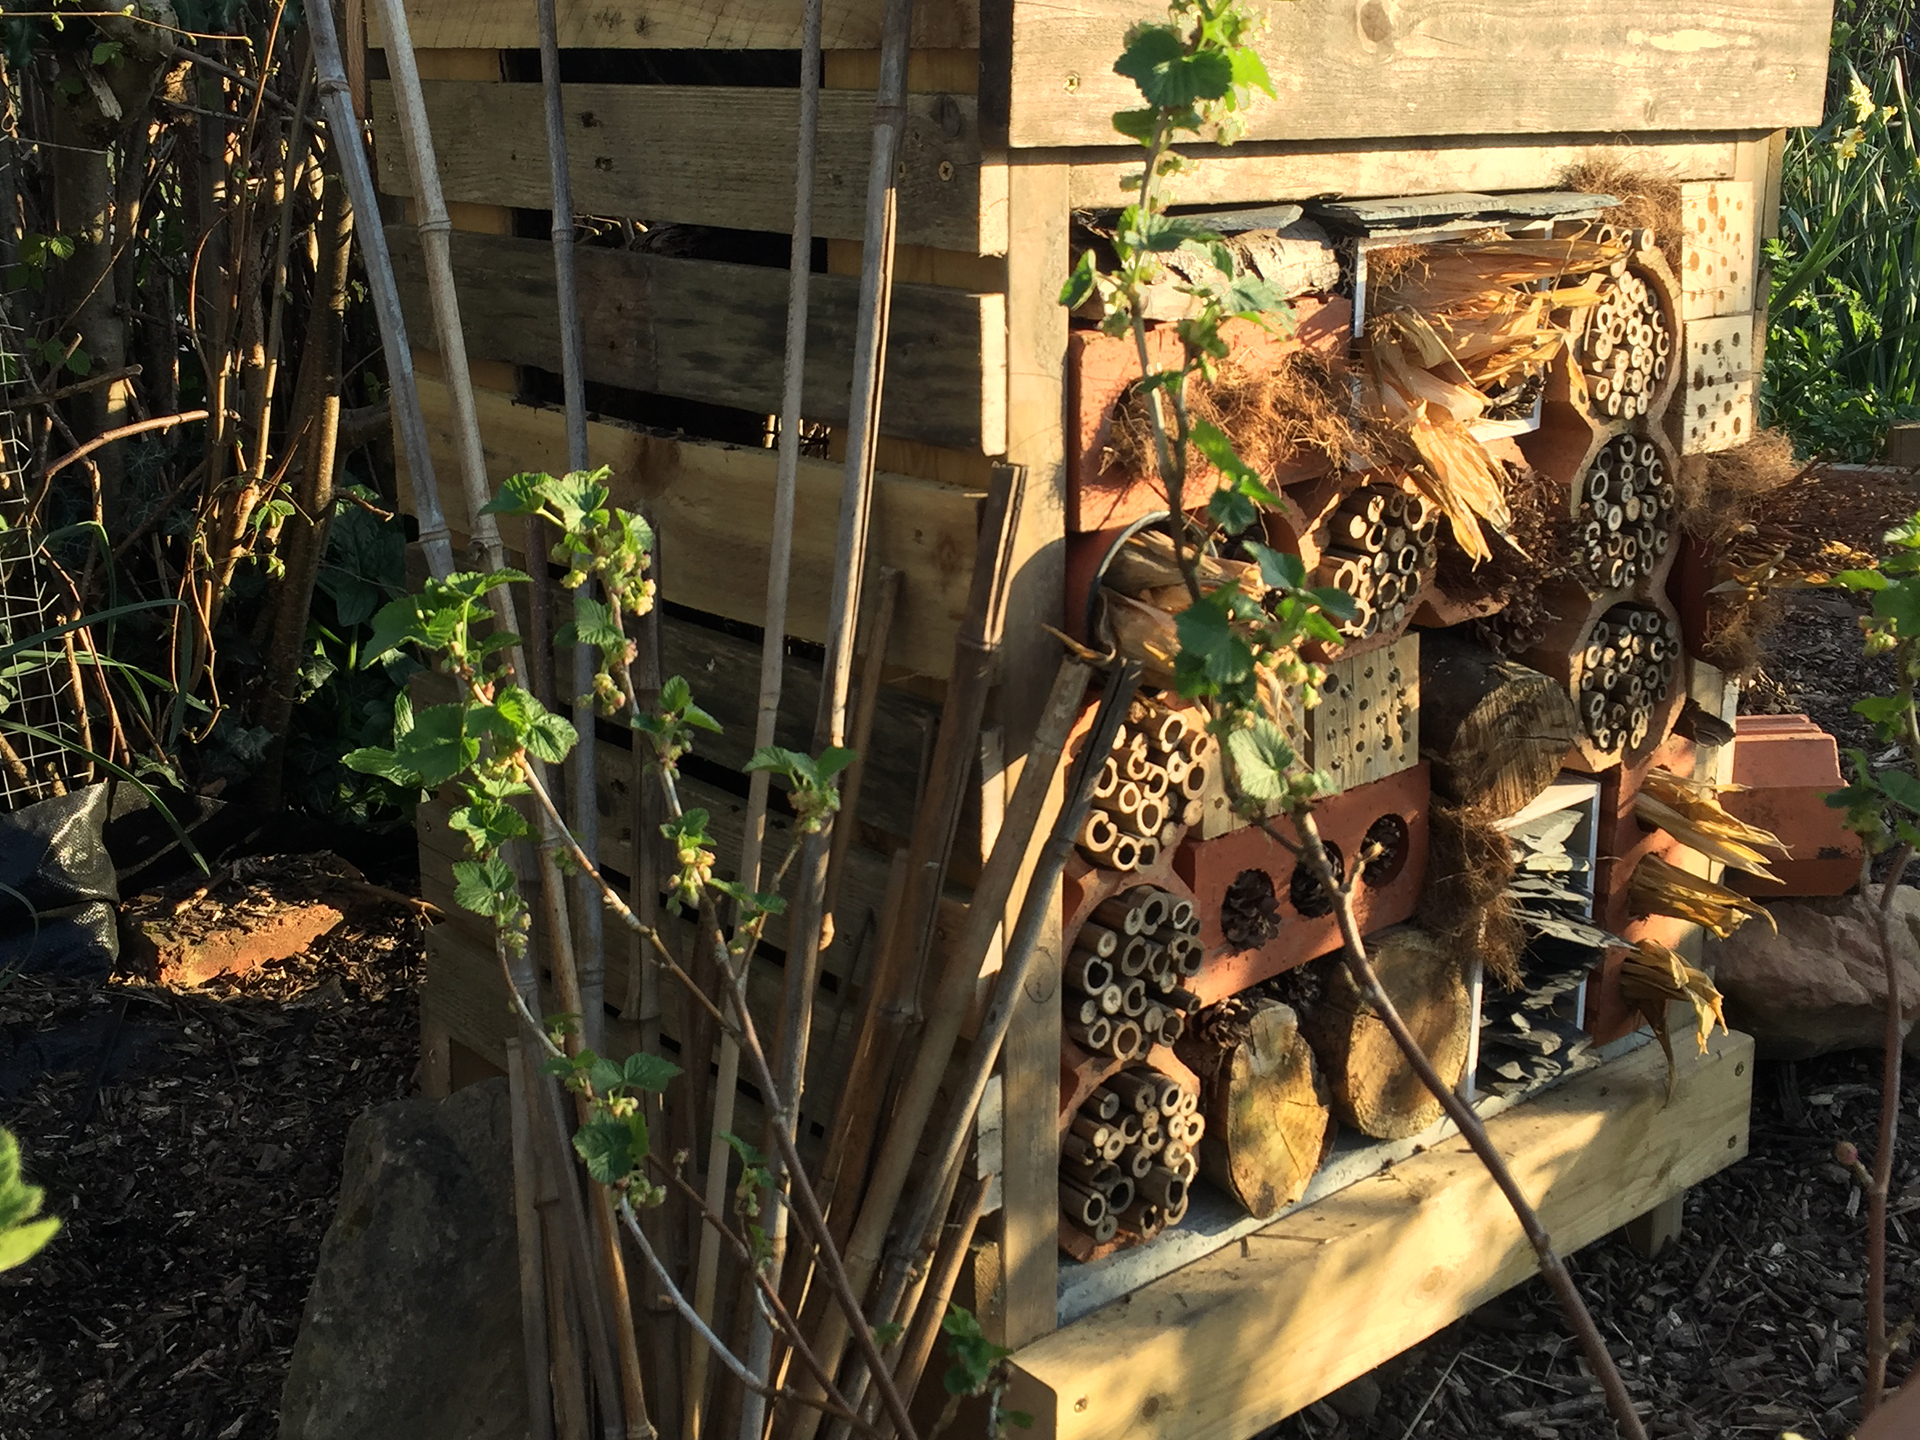
It may take some time or be a working progress while you find the materials but that is part of the fun of it. Treat it like a puzzle, finding those perfect components to slot in next to each other. Here are some photos of mine for some inspiration.